I’ve discovered a simple and effective way to fix those annoying holes in your bathtub. No need to panic or call in a professional – with just a few tools and materials, you can tackle this repair yourself.
In this article, I’ll guide you through the step-by-step process of assessing the damage, preparing the surface, applying the patching material, and finishing and sealing the repair.
Get ready to say goodbye to that unsightly hole and restore your bathtub to its former glory.
Key Takeaways
- Assess the extent of the hole in the bathtub to determine the appropriate repair method.
- Gather the necessary tools, materials, and protective gear before starting the repair.
- Thoroughly clean and prepare the damaged area before applying the patching material.
- Apply the patching material in thin layers, allowing each layer to dry completely before adding more if needed.
Assessing the Damage
Now, you’ll want to take a close look at the damage to determine the best course of action.
Start by evaluating the extent of the hole in your bathtub. Is it a small, superficial crack, or a larger, more severe damage? This assessment will help you choose the most suitable alternative for repairing the hole.
If the damage is minor, you may opt for a quick fix using a bathtub repair kit. However, if the hole is larger or more significant, you may need to consider a more extensive repair, such as replacing the damaged section of the bathtub.
By carefully assessing the damage, you can make an informed decision on how best to proceed.
Now that you understand the extent of the damage, it’s time to gather the necessary tools and materials.
Gathering the Necessary Tools and Materials
First, you’ll need to gather all the tools and materials that you’ll need for the job.
When it comes to choosing the right patching material for bathtub repair, it’s important to consider the type of bathtub you have and the extent of the damage. For minor cracks and chips, an epoxy-based filler can be used. However, for larger holes or structural damage, a fiberglass repair kit may be necessary.
Safety precautions during bathtub repair are essential to protect yourself from any potential harm. It is crucial to wear protective gear such as gloves, goggles, and a dust mask to prevent any contact with harmful chemicals or dust particles. Additionally, ensure proper ventilation in the area and follow the manufacturer’s instructions for any products used.
Preparing the Surface for Repair
To prepare the surface for repair, start by thoroughly cleaning the damaged area. This will ensure proper adhesion and a seamless finish. Remove loose debris or dirt using a soft brush or cloth. Use a mild detergent or cleaner designed for the bathtub surface to remove grease or soap scum. Once clean, proceed with the sanding technique. Gently sand the edges of the hole with fine-grit sandpaper to create a smooth surface for the filler. Avoid sanding too aggressively to prevent damage. After sanding, wipe away dust or residue before applying the filler.
Applying the Patching Material
After you’ve cleaned the surface, you’ll need to mix the patching material according to the manufacturer’s instructions. Applying the patching material is a crucial step in fixing a hole in a bathtub.
Here are some techniques and troubleshooting tips to ensure a successful repair:
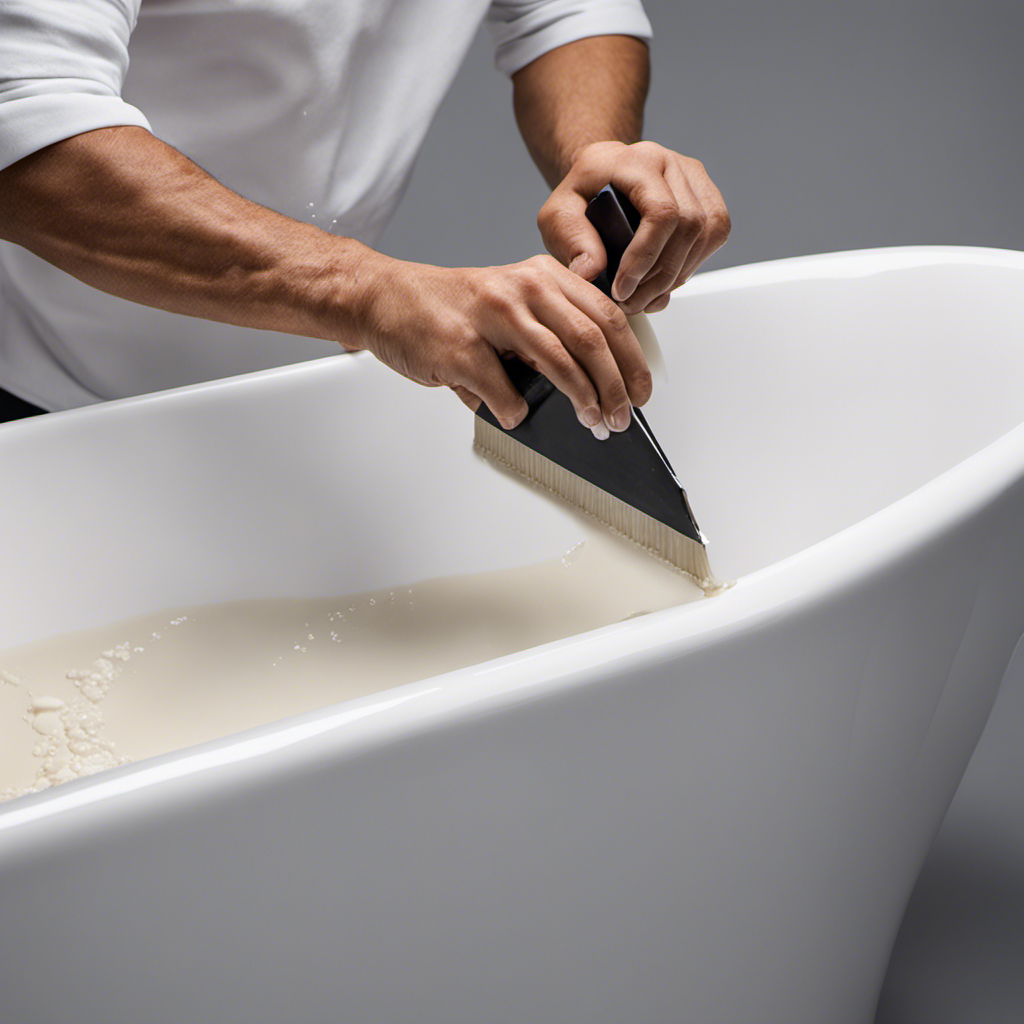
- Start by applying a thin layer of patching material to the hole, using a putty knife.
- Smooth out the patching material, ensuring it is level with the surrounding surface.
- Allow the patching material to dry completely before moving on to the next step.
- If needed, apply a second layer of patching material to ensure a strong and durable repair.
- Use sandpaper to smooth out any rough edges or imperfections in the patching material.
By following these applying techniques and troubleshooting tips, you can effectively repair the hole in your bathtub.
Now, let’s move on to the next step of finishing and sealing the repair.
Finishing and Sealing the Repair
Now, you can start finishing and sealing the repair by applying a layer of waterproof sealant to protect the patched area.
Choosing the right sealant is crucial to ensure a long-lasting and effective repair. Look for a sealant specifically designed for bathtub repairs, as it will have the necessary properties to withstand water exposure and resist mold and mildew growth. Silicone-based sealants are often recommended for their durability and flexibility.
Before applying the sealant, make sure the area is clean and dry. Smooth out any rough edges or unevenness with sandpaper or a putty knife.
Apply the sealant evenly over the patched area, using a caulk gun or a putty knife. Work in small sections, ensuring complete coverage.
Conclusion
In conclusion, fixing a hole in your bathtub may seem daunting, but it can be easily accomplished with the right tools and materials. By following the steps outlined in this article, you can assess the damage, gather the necessary tools, prepare the surface, apply the patching material, and finish and seal the repair.
Remember, a patched hole in your bathtub is not just a repair, but a symbol of your resilience and determination to overcome any obstacle. So go ahead, fix that hole and let your bathtub shine once again.


