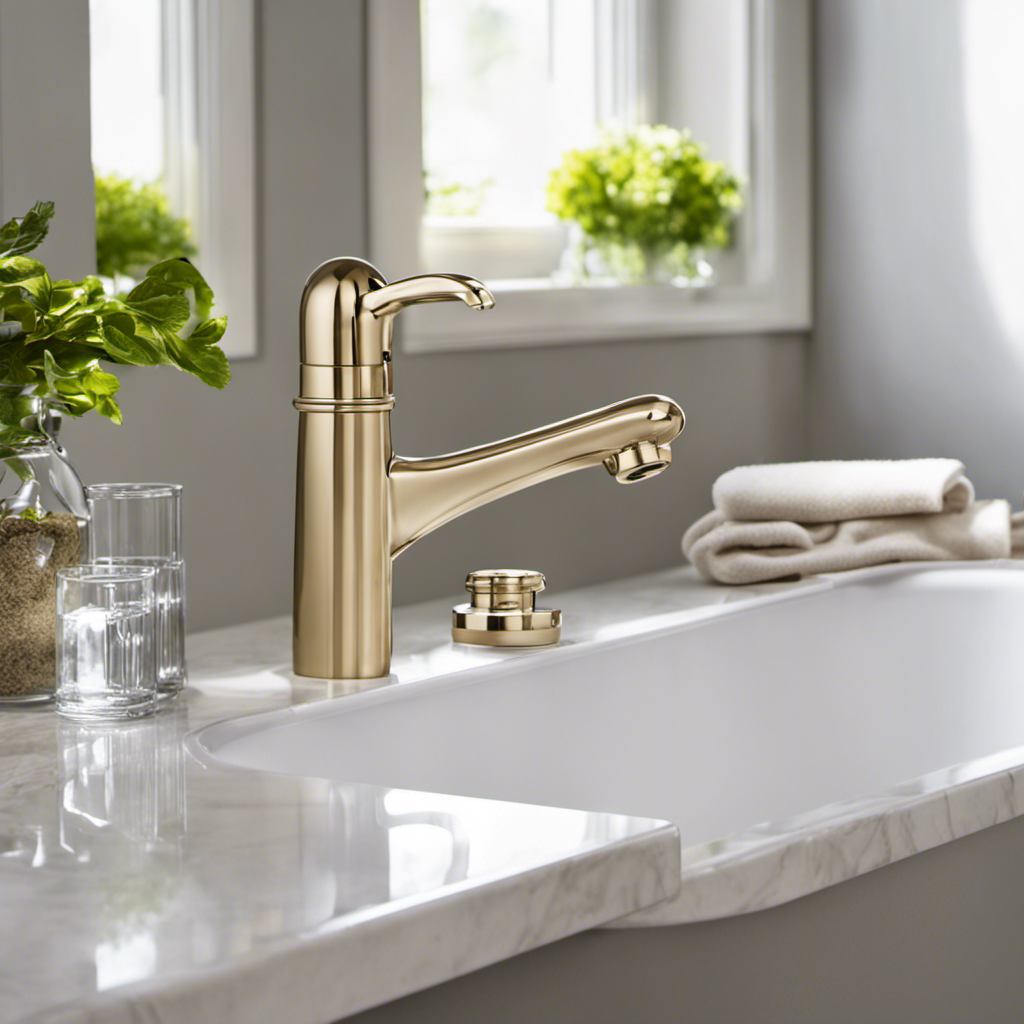

I’ll show you how to fix a leaky bathtub faucet in your apartment like a pro. No need to call a plumber or stress about a hefty bill. With just a few simple steps and some basic tools, you’ll have that annoying drip under control in no time.
So, roll up your sleeves and let’s dive into this DIY project. Trust me, it’s easier than you think!
Key Takeaways
- Water seeping out of the faucet can be caused by worn-out washers, damaged O-rings, or loose connections.
- Signs of a leak include water dripping from the spout, handles, or base of the faucet, constant dripping sound, water pooling around the faucet, and decrease in water pressure.
- Choose the right replacement parts based on the brand and model number of your bathtub faucet.
- Regularly clean and maintain the components to prevent future leaks.

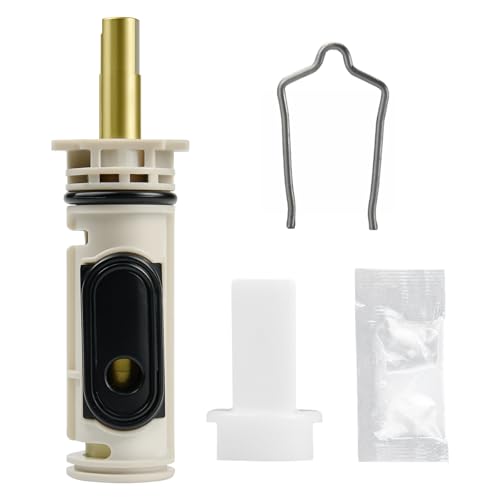
RP25513 faucet stem assembly Replacement Kit for two handle faucet repair kit with RP24096 Cartridge RP4993 Seats Springs RP24097 1/4 Turn stop, 2 Pack
Package included: Stem*2 , 1/4 Turn stop*2 , Rubber seat*2 , Spring*2 .
As an affiliate, we earn on qualifying purchases.
As an affiliate, we earn on qualifying purchases.
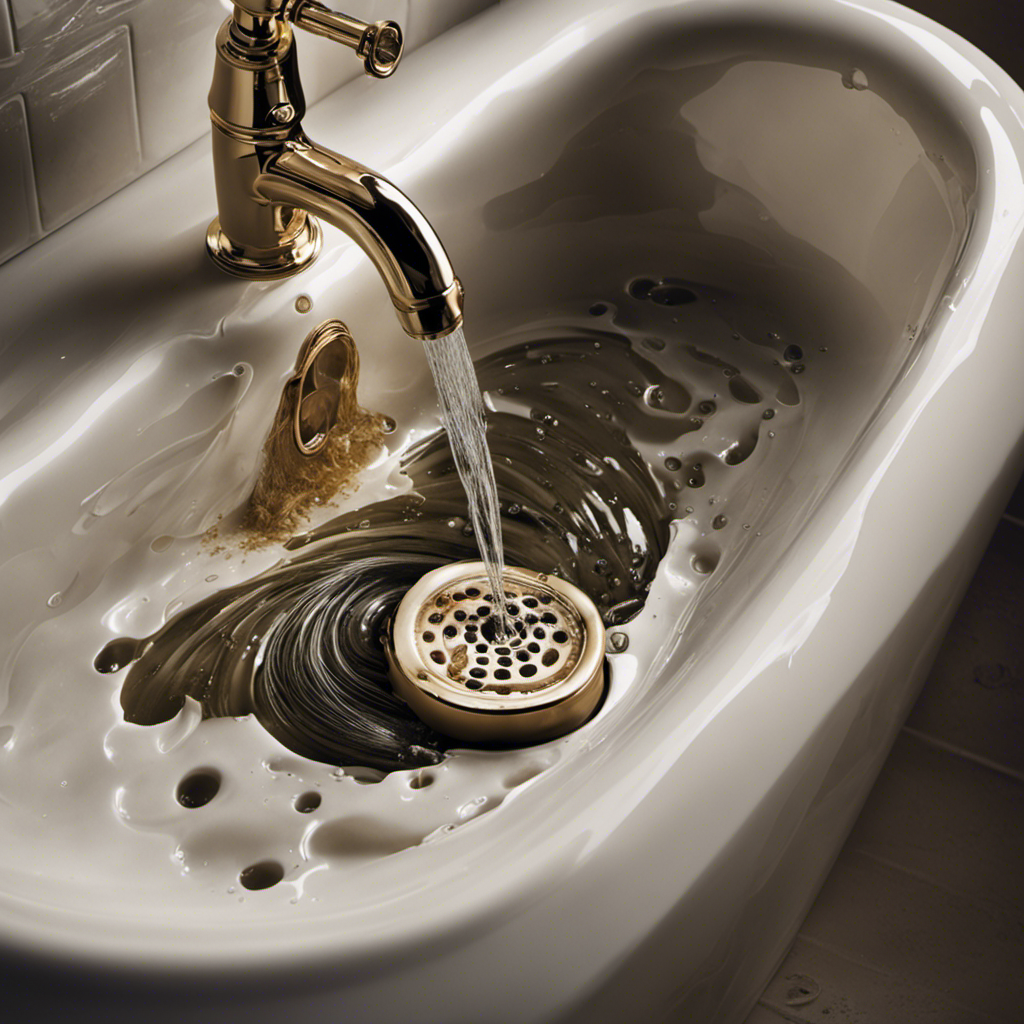
Identifying the Source of the Leak
First, you’ll want to check if the leak is coming from the faucet itself. There are common causes for a leaky bathtub faucet, such as worn-out washers, damaged O-rings, or loose connections. These issues can result in water seeping out and causing a persistent drip.
To identify the source of the leak, observe the signs and symptoms. Look for water dripping from the spout, handles, or base of the faucet. Listen for a constant dripping sound. If you notice water pooling around the faucet or a decrease in water pressure, these are also signs of a leak.

XBVV 106 PCS Faucet Washer Assortment Kit with Assorted Flat and Beveled Rubber Washers for Outdoor Garden Faucet Stem Leak Worn Replacement Repair
Multiple sizes: 106 Pcs faucet washer kit with assorted different flat beveled common sizes: 3/8, 1/4L, 1/4, 1/4M…
As an affiliate, we earn on qualifying purchases.
As an affiliate, we earn on qualifying purchases.
Gathering the Necessary Tools and Materials
Once you’ve got all the tools and materials ready, it’s time to start fixing the problem. Here are the steps you need to take:
-
Choose the right replacement parts: Before you start any repairs, it’s important to make sure you have the correct replacement parts for your specific bathtub faucet. Take note of the brand and model number, and consult with a professional if needed, to ensure you get the right parts.
-
Turn off the water supply: Before you begin any work, it’s crucial to turn off the water supply to your bathtub. This will prevent any accidents or further damage while you’re fixing the leak.
-
Disassemble the faucet: Carefully remove the handle, trim, and cartridge of the faucet, following the manufacturer’s instructions. Inspect each component for any signs of damage or wear.
-
Tips for preventing future leaks: Once you’ve fixed the leak, it’s important to take steps to prevent future leaks. Regularly check and maintain your bathtub faucet, ensuring it is clean and free from any debris. Additionally, consider installing a water pressure regulator to prevent excessive pressure that can cause leaks.

360 Pcs O Ring Assortment Kit,Rubber Washer Orings, Black 24 Sizes Pressure Washer O Ring Kit for Faucet, Hose, Automotive, Air Gas Plumbing Sealing Repair O Rings
Premium Material: These assorted o rings are made of outstanding rubber material with good air tightness and high…
As an affiliate, we earn on qualifying purchases.
As an affiliate, we earn on qualifying purchases.
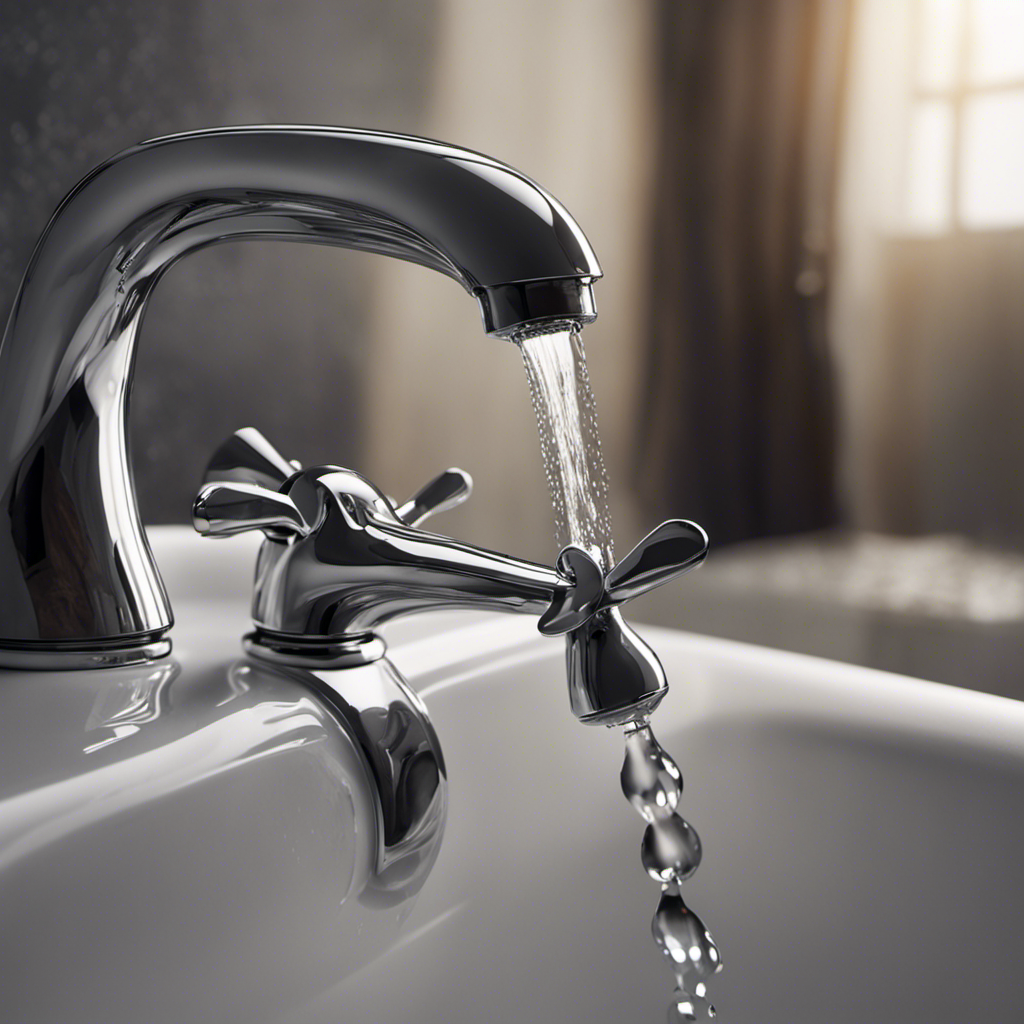
Disassembling the Faucet Handle
To disassemble the faucet handle, you’ll need to carefully follow the manufacturer’s instructions and remove the trim and cartridge.
Troubleshooting common faucet handle problems requires a good understanding of the anatomy of a bathtub faucet handle. The handle is typically attached to a spindle, which connects to the cartridge. The cartridge controls the flow of water and is responsible for mixing hot and cold water. By removing the trim, you can access the cartridge and determine if it is causing the issue.
It’s important to be gentle and precise when disassembling the handle to avoid any damage. Once you have successfully taken apart the handle, you can proceed to the next step of repairing or replacing the faulty parts.
1222 Replacement Cartridge Kit for Moen One Handle Posi Temp Faucet, Compatible with Moen Bathtub & Shower Valve Cartridge, Durable Brass & Plastic Construction
Premium Durability: High-density brass core components + engineering plastics, anti-rust and anti-corrosion design, high-pressure and high-temperature resistance, to…
As an affiliate, we earn on qualifying purchases.
As an affiliate, we earn on qualifying purchases.
Repairing or Replacing the Faulty Parts
You can easily repair or replace the faulty parts by following these steps.
-
Identify the problem: Before repairing or replacing any parts, it’s crucial to troubleshoot the common issues with your bathtub faucet. Is the leak coming from the handle, spout, or both? This will help you determine which parts need to be repaired or replaced.
-
Gather the necessary tools: To successfully repair or replace the faulty parts, you will need a set of screwdrivers, pliers, and an adjustable wrench. Make sure you have these tools handy before starting the repair process.
-
Disassemble the faucet: Carefully remove the handle, spout, and any other components to gain access to the faulty parts. Take note of the order in which you disassemble the faucet, as it will make reassembling easier.
-
Repair or replace the parts: Depending on the issue, you may need to either repair or replace the faulty parts. Common parts that may need attention include the cartridge, O-rings, washers, or the valve stem. Make sure to follow the manufacturer’s instructions or seek professional help if needed.
By following these steps, you will be able to repair or replace the faulty parts in your bathtub faucet. Remember to conduct regular maintenance and follow these tips to prevent future leaks in your faucets:
- Avoid excessive force when turning the faucet handle.
- Clean the aerator regularly to prevent clogs.
- Check for any loose connections and tighten them if necessary.
- Use a plumber’s tape to ensure a snug fit when installing new parts.
Taking these preventive measures will help prolong the lifespan of your faucet and prevent future leaks.
Reassembling and Testing the Faucet
After disassembling the faucet, carefully reassemble the handle, spout, and other components to complete the reassembling process. It is crucial to perform this step correctly to ensure that the faucet functions properly and doesn’t leak.
Here are some common mistakes to avoid when reassembling the faucet:
-
Over-tightening: It’s important not to over-tighten the parts as this can damage the threads and cause leaks. Use just enough pressure to secure the components.
-
Incorrect placement: Make sure to align the parts correctly according to the manufacturer’s instructions. Improper placement can lead to leaks and malfunctioning.
-
Skipping maintenance: Proper maintenance is essential to prevent future leaks. Regularly clean the components, check for any wear or damage, and replace any worn-out parts.
Conclusion
In conclusion, fixing a leaky bathtub faucet in your apartment is a simple task that anyone can do. By following the steps outlined in this article, you can identify the source of the leak, gather the necessary tools and materials, and disassemble the faucet handle.
Once you have done that, you can proceed to repair or replace the faulty parts. Finally, you can reassemble and test the faucet.
With a little time and effort, you can have your bathtub faucet working like new again. Don’t let that drip keep you up at night, take action and fix it today!