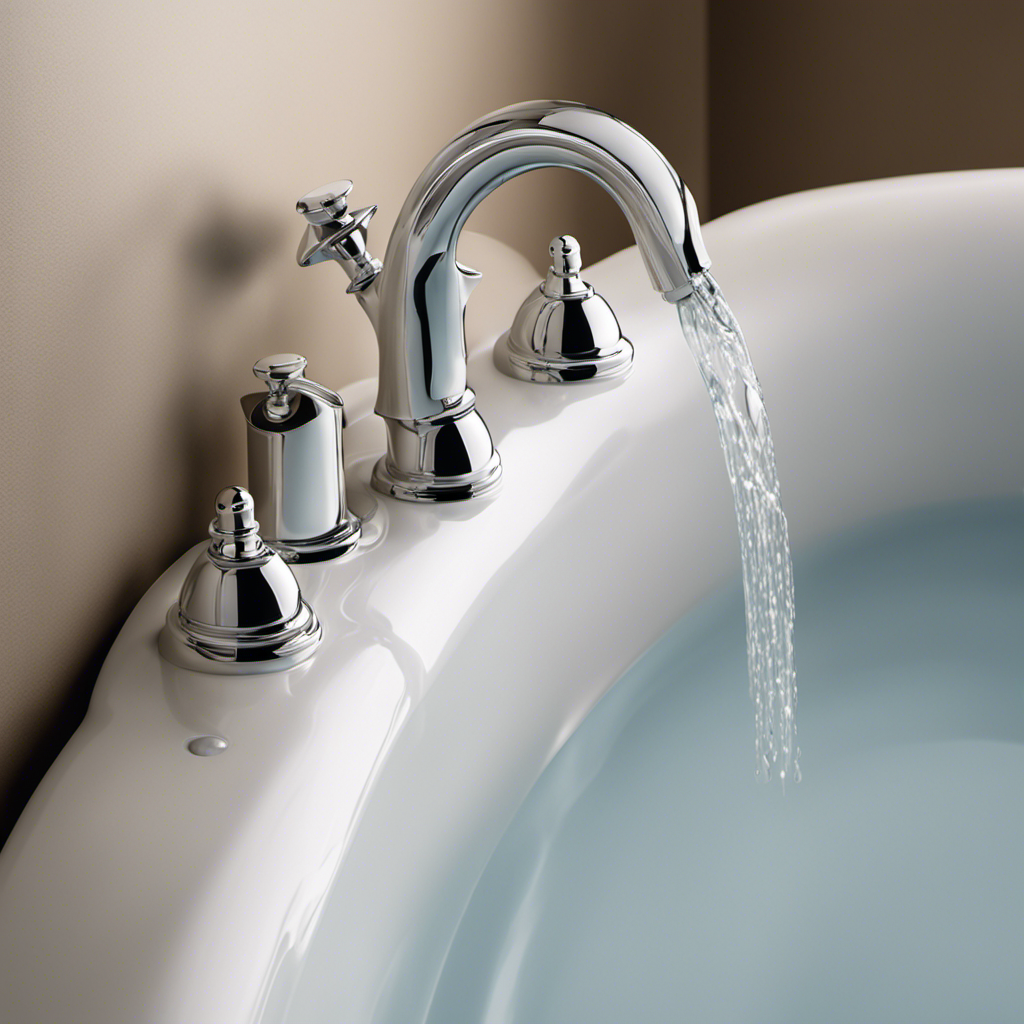
Did you know that a leaky bathtub faucet can waste up to 3,000 gallons of water per year? If you’re tired of that annoying drip, I’ve got you covered.
In this article, I’ll guide you through the steps to fix a leaky bathtub faucet with two handles. With just a few tools and a little bit of time, you can put an end to the wastefulness and enjoy a fully functional faucet once again.
Let’s get started!
Key Takeaways
- Common causes of a leaky bathtub faucet include worn-out washers, faulty cartridges, or damaged seals.
- Essential tools for fixing a leaky bathtub faucet with two handles include an adjustable wrench, screwdriver, plumber’s tape, replacement washers and O-rings, and a bucket.
- Shutting off the water supply properly before attempting repairs prevents accidents and further damage.
- Proper removal and installation of faucet handles and cartridges are crucial for a successful repair.

Shower Panel System, Multi-Function Shower Tower With 5 Body Spray, 5 Handheld Settings & Shelf, Rainfall + Waterfall Shower Head, Rain Massage Spa System For Bathroom (Mo Black)
【Luxurious Spa Shower Experience】 Upgrade your bathroom with a full shower panel system featuring rainfall, waterfall, massage body...
As an affiliate, we earn on qualifying purchases.
Identifying the Issue
First, you need to figure out which handle is causing the leak. To do this, there are a few troubleshooting techniques you can use.
Start by turning off the water supply to the bathtub. Then, one by one, test each handle to see if the leak stops when it is closed. If the leak persists with one handle closed, it means that particular handle is causing the issue.
Common causes of a leaky bathtub faucet include worn-out washers, faulty cartridges, or damaged seals. These components can degrade over time due to regular use or mineral deposits in the water.

ELLO&ALLO Stainless Steel Shower Panel Tower System,LED Rainfall Waterfall Shower Head 6-Function Faucet Rain Massage System with Body Jets, Brushed Nickel
LOWER Water Pressure: If the water pressure has decreased, please refer to the manual to clean the water...
As an affiliate, we earn on qualifying purchases.
Gathering the Necessary Tools
When it comes to tackling a repair project, having the right tools is essential. In this discussion, I will be addressing the key points of essential tools for repair and proper tool organization.
Essential Tools for Repair
To fix a leaky bathtub faucet with two handles, you’ll need a few essential tools. These tools are necessary for a successful repair and will make the process much easier. Here is a table outlining the tools you’ll need:
| Tools | Purpose |
|---|---|
| Adjustable wrench | Loosening and tightening nuts |
| Screwdriver | Removing screws |
| Plumber’s tape | Sealing pipe threads |
| Replacement washers and O-rings | Fixing worn out parts |
| Bucket | Catching water during the repair |
Now that you have gathered all the necessary tools, let’s move on to the next step: identifying the problem. Common faucet problems include dripping, leaking, or difficulty turning the handles. Understanding these plumbing basics will help you diagnose the issue and proceed with the appropriate repair.
Proper Tool Organization
Now that you have all the necessary tools, let’s discuss the importance of proper tool organization. Efficient tool usage and organizing your workspace are crucial for any repair task.
Here are four reasons why proper tool organization is essential:
-
Time-saving: When your tools are well-organized, you can quickly locate the ones you need, reducing the time spent searching for them.
-
Increased productivity: A clutter-free workspace allows you to focus on the task at hand, improving your efficiency and productivity.
-
Safety: Proper tool organization helps prevent accidents, such as tripping over misplaced tools or mistakenly using the wrong tool for the job.
-
Tool longevity: By storing your tools properly, you can protect them from damage and extend their lifespan, saving you money in the long run.
By organizing your tools, you can work more efficiently and effectively, ensuring a successful repair.
Now, let’s move on to the next step: shutting off the water supply.

VEVOR Shower Panel Tower System, 6 Shower Modes, LED & Display Shower Panel, Rainfall, Waterfall, 4 Body Massage Jets, Tub Spout, Handheld Shower Head 59" Hose, Stainless Steel Wall-Mounted Shower Set
6-in-1 Shower System: Enjoy 6 invigorating shower modes—rainfall, waterfall, big body massage jets, small body massage jets, bathtub...
As an affiliate, we earn on qualifying purchases.
Shutting off the Water Supply
When it comes to shutting off the water supply, it’s important to do it properly to avoid any potential damage or accidents.
One key point to consider is locating the water shut-off valve, which is usually found near the water meter or in the basement.
Once located, turning off the water supply can be done by simply turning the valve clockwise until it is fully closed.
Shutting off Water Properly
First, make sure you turn off both hot and cold water supplies before attempting to fix the leaky bathtub faucet. Shutting off the water properly is crucial to prevent any accidents or further damage. Here are four important steps to follow:
-
Locate the water shut-off valves: Look for the valves underneath the sink or near the bathtub. They should be labeled for hot and cold water.
-
Turn off the hot water supply: Use a wrench or pliers to turn the valve clockwise until it is fully closed. This will stop the flow of hot water to the faucet.
-
Turn off the cold water supply: Repeat the same process for the cold water valve, turning it clockwise to shut it off completely.
-
Test the water supply: Open the bathtub faucet to ensure that the water has been successfully shut off.
Locating Water Shut-Off
To locate the water shut-off valves, you’ll need to look under the sink or near the bathtub. These valves are essential for shutting off the water supply to your bathtub faucet, especially when it’s leaking. By knowing where they are, you can quickly stop the flow of water and prevent any further damage.
Here is a helpful table that outlines the common causes of low water pressure in your bathtub:
| Common Causes | Potential Solutions |
|---|---|
| Clogged aerator | Clean or replace the aerator |
| Faulty pressure regulator | Replace the pressure regulator |
| Pipe blockage | Clear the blockage in the pipe |
| Faulty water pressure valve | Replace the valve |
Turning off Water Supply
If water is leaking from your bathtub, you can shut off the water supply by turning the valve under the sink or near the bathtub. This is an important step to take before attempting any repairs.
To ensure a successful fix, it is crucial to identify the water pressure and check the condition of the valve. Here are four steps to help you turn off the water supply effectively:
-
Locate the valve: Look under the sink or near the bathtub for the valve handle. It is usually a round knob or lever.
-
Turn off the water: Rotate the valve handle clockwise until it stops. This will shut off the water supply to the bathtub.
-
Test the water flow: Turn on the faucet to check if the water has stopped flowing. If it hasn’t, try turning the valve further clockwise.
-
Check the valve condition: Inspect the valve for any signs of damage or leaks. If it appears faulty, it may need to be replaced.

Homevacious 4 IN 1 Stainless Steel Multi-Function Shower Panel Tower System Rainfall Shower Head Massage Body Jets Handheld Shower and Bath Tub Spout Wall Mounted Bathroom Shower Panel Matte Black
【SUS 304 Stainless Steel Shower Panel】This shower system is mainly made of thickened stainless steel to ensure that...
As an affiliate, we earn on qualifying purchases.
Removing the Faucet Handles
Once you’ve gathered the necessary tools, you can start by unscrewing the handles to remove the faucet. It’s important to follow the correct repair techniques to ensure a successful fix.
First, turn off the water supply to the bathtub by locating the shut-off valves under the sink or near the water heater. This will prevent any further water damage while you work on the faucet.
Next, use a screwdriver or Allen wrench to remove the screws that hold the handles in place. Once the screws are removed, gently pull the handles straight out to expose the cartridge or stem assembly.
If you encounter any difficulties, troubleshooting tips such as using lubricant or applying gentle heat with a hairdryer can help loosen stubborn handles.
Replacing the Faulty Components
You’ll need to gather the necessary replacement parts before proceeding with the repair. Here are the steps to replace faucet cartridges and troubleshoot common faucet issues:
-
Identify the type of faucet cartridge: Before purchasing a replacement cartridge, determine whether you have a compression, ball, cartridge, or ceramic disk faucet.
-
Turn off the water supply: Locate the water shut-off valves underneath the sink and turn them off to prevent any water flow during the repair process.
-
Remove the old cartridge: Use a screwdriver or pliers to remove the handle and access the cartridge. Unscrew or unclip the cartridge and carefully remove it from the faucet.
-
Install the new cartridge: Insert the new cartridge into the faucet and secure it according to the manufacturer’s instructions. Make sure it is properly aligned and tightly fitted.
Reassembling the Faucet Handles
Now that I’ve replaced the faulty components of my leaky bathtub faucet, it’s time to reassemble the faucet handles.
First, I’ll reinstall the valve stems. I’ll carefully align them with the corresponding holes in the faucet body and gently push them back into place. It’s important to ensure a secure and tight fit to prevent any future leaks.
Next, I’ll check for any loose connections. I’ll firmly tighten all the screws and nuts that hold the handles and other parts of the faucet together. This step is crucial in preventing any further water leakage.
Once I’ve completed these steps, I’ll turn on the water supply and test the faucet. If I notice any leaks or issues, I’ll go back and double-check the valve stems and connections to ensure everything is properly installed and tightened.
Testing for Leaks and Final Adjustments
To make sure there are no leaks and make final adjustments, check all the connections and give a gentle twist to the nuts and screws. This step is crucial in ensuring that your bathtub faucet is properly fixed and functioning optimally.
Here are some testing methods and troubleshooting tips to help you with this process:
-
Turn on the water supply: Slowly turn on the water supply valves and observe if any water is leaking from the faucet. If you notice any leaks, tighten the connections further.
-
Check for water pressure: Make sure the water pressure is sufficient by turning on both hot and cold handles simultaneously. If the water flow is weak, there might be an issue with the water supply or the faucet itself.
-
Test the handles: Turn the handles on and off to see if they operate smoothly. If there are any difficulties or stiffness, you may need to lubricate or replace the handle components.
-
Inspect for any remaining leaks: After performing the above steps, inspect the entire faucet assembly for any remaining leaks. If you notice any, double-check the connections and ensure everything is properly tightened.
Frequently Asked Questions
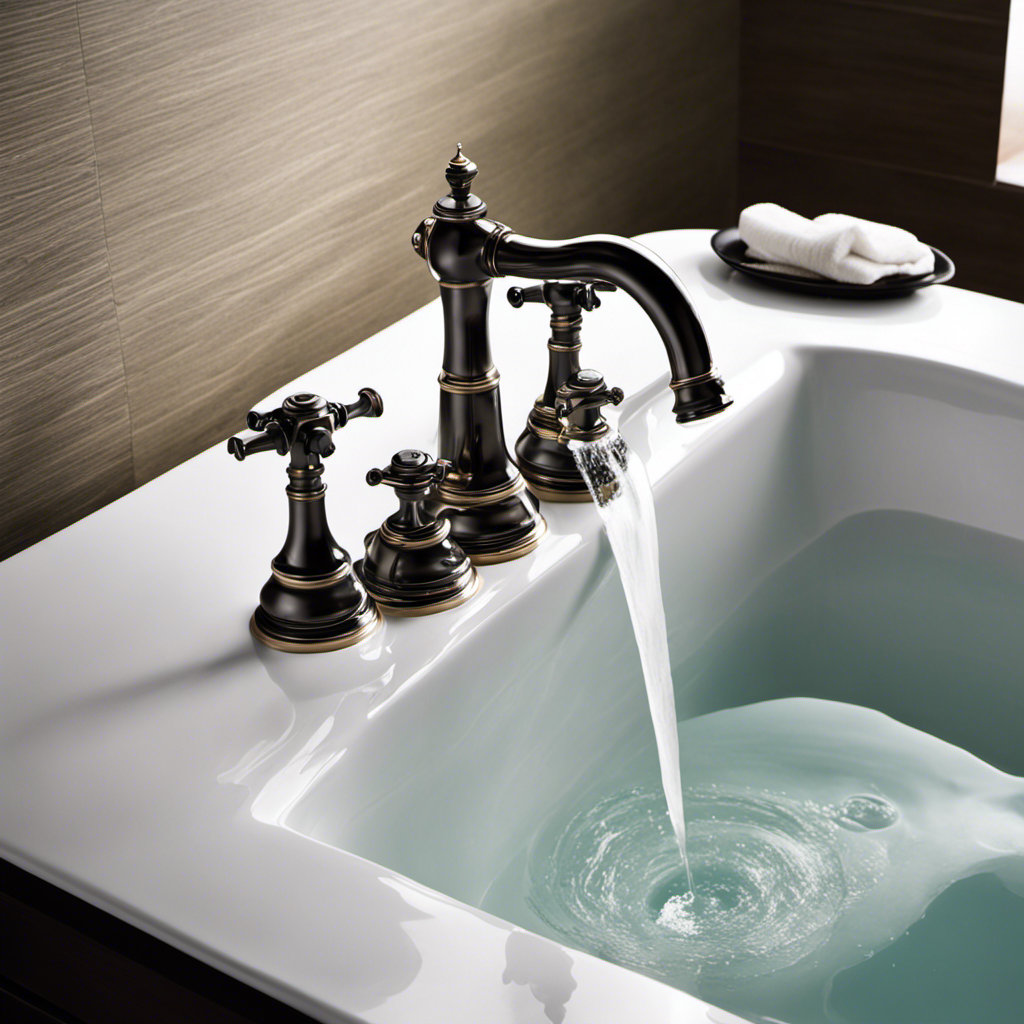
How Do I Know if My Bathtub Faucet Has Two Handles?
If my bathtub faucet has two handles, I can identify it by the presence of two separate knobs or levers. This style of faucet allows for separate control of hot and cold water, providing more precise temperature adjustment.
Can I Use Regular Household Tools to Fix a Leaky Bathtub Faucet?
Yes, you can use regular household tools to fix a leaky bathtub faucet. However, it’s important to note that professional tools may be more effective. Common causes of leaky faucets include worn-out washers or faulty O-rings.
Is It Necessary to Shut off the Water Supply to Fix a Leaky Bathtub Faucet?
It is important to regularly maintain bathtub faucets to prevent leaks. Shutting off the water supply is necessary to fix a leaky bathtub faucet. This step ensures safety and allows for a proper repair.
What Should I Do if I Encounter Difficulties Removing the Faucet Handles?
If I encounter difficulties removing the faucet handles, there are a few troubleshooting tips I can try. I can use a wrench or pliers for added leverage, apply penetrating oil to loosen any rust, or seek professional help if needed.
How Long Does It Typically Take to Fix a Leaky Bathtub Faucet With Two Handles?
Typically, fixing a leaky bathtub faucet with two handles can take anywhere from 30 minutes to a few hours, depending on the severity of the problem and the experience level of the person doing the repairs.
Conclusion
In conclusion, fixing a leaky bathtub faucet with two handles is a piece of cake! Just follow the simple steps outlined in this informative guide, and you’ll have that pesky leak fixed in no time.
Remember to gather your tools, shut off the water supply, and replace any faulty components. Then, reassemble the faucet handles and test for leaks. It’s as easy as pie!
So go ahead, become a DIY plumbing expert and save some money while you’re at it. Happy fixing!