I know fixing a leaky faucet in the bathtub might sound daunting, but trust me, it’s easier than you think.
In this article, I’ll walk you through the step-by-step process of identifying the cause of the leak, shutting off the water supply, and disassembling the faucet. Then, I’ll guide you on repairing or replacing the faulty parts.
With just a few tools and materials, you’ll have that annoying drip fixed in no time.
Let’s get started!
Key Takeaways
- Proper maintenance is key to preventing future leaks
- Check water supply valves for issues
- Worn-out washer is a common cause of a leaky faucet
- Corroded or damaged valve seat can cause water to leak around the spout

59 Inch Corner Jetted Tub - Luxury White Whirlpool Plastic Acrylic Bathtub with 7 Color Light Perfect for Couples' Relaxation and Wellness Home Spa, Ergonomical Designed Bathtub with Water Message
[Ergonomic Design for Ultimate Comfort] Featuring dual headrests and ergonomically angled sides, this bathtub delivers exceptional support for...
As an affiliate, we earn on qualifying purchases.
Tools and Materials Needed
You’ll need a few tools and materials to fix a leaky faucet in the bathtub. Choosing the right replacement parts is crucial to ensure a successful repair.
Start by turning off the water supply to the faucet and gathering the necessary tools like an adjustable wrench, screwdriver, and plumber’s tape.
To replace the faulty parts, such as the washer or cartridge, you may need to remove the handle, trim, and other components. It’s important to follow the manufacturer’s instructions and use the correct replacement parts for your specific faucet model.
Additionally, proper maintenance is key to preventing future leaks. Regularly inspect the faucet for any signs of wear or damage, and promptly address any issues to avoid costly repairs later on.
With the right tools and maintenance, you can fix your leaky faucet and prevent future leaks.
Now, let’s move on to identifying the cause of the leak.

Empava 2 Person Heated Soaking Whirlpool Bathtub, 71” Jetted Tubs with 16 Jets(8 Water Jetted + 8 Air Bubble), Acrylic SPA Bath Tub, with LED control panel, Faucet and two white pillows
Upgraded High Quality Jetted Tub: Crafted from glossy 100% acrylic reinforced with fiberglass and a stainless-steel frame, this...
As an affiliate, we earn on qualifying purchases.
Identifying the Cause of the Leak
To identify what’s causing the drip, start by checking the water supply valves. This step is important because it allows you to determine if the problem is related to the water supply or the faucet itself.
Here are some common causes and signs to look out for:
-
Water supply valve issues:
-
Valve not fully open: If the valve is not fully open, it can restrict the flow of water and cause a dripping faucet.
-
Valve worn out or damaged: Over time, water supply valves can become worn out or damaged, leading to leaks.
-
Faucet issues:
-
Worn-out washer: A worn-out washer is one of the most common causes of a leaky faucet. Signs include a steady drip when the faucet is turned off.
-
Corroded or damaged valve seat: A corroded or damaged valve seat can cause water to leak around the spout.

Empava 59" Corner Whirlpool Bathtub for 2-Person, Luxury Jetted Spa Tub with 10 Hydro Massage Jets, Built-in Heater, Chromatherapy LED Lights & Constant Heat System, ETL Certified Acrylic Tub
Dual-Person Hydrotherapy: Experience couples' relaxation in this corner tub featuring 10 strategically placed jets powered by a 1.0...
As an affiliate, we earn on qualifying purchases.
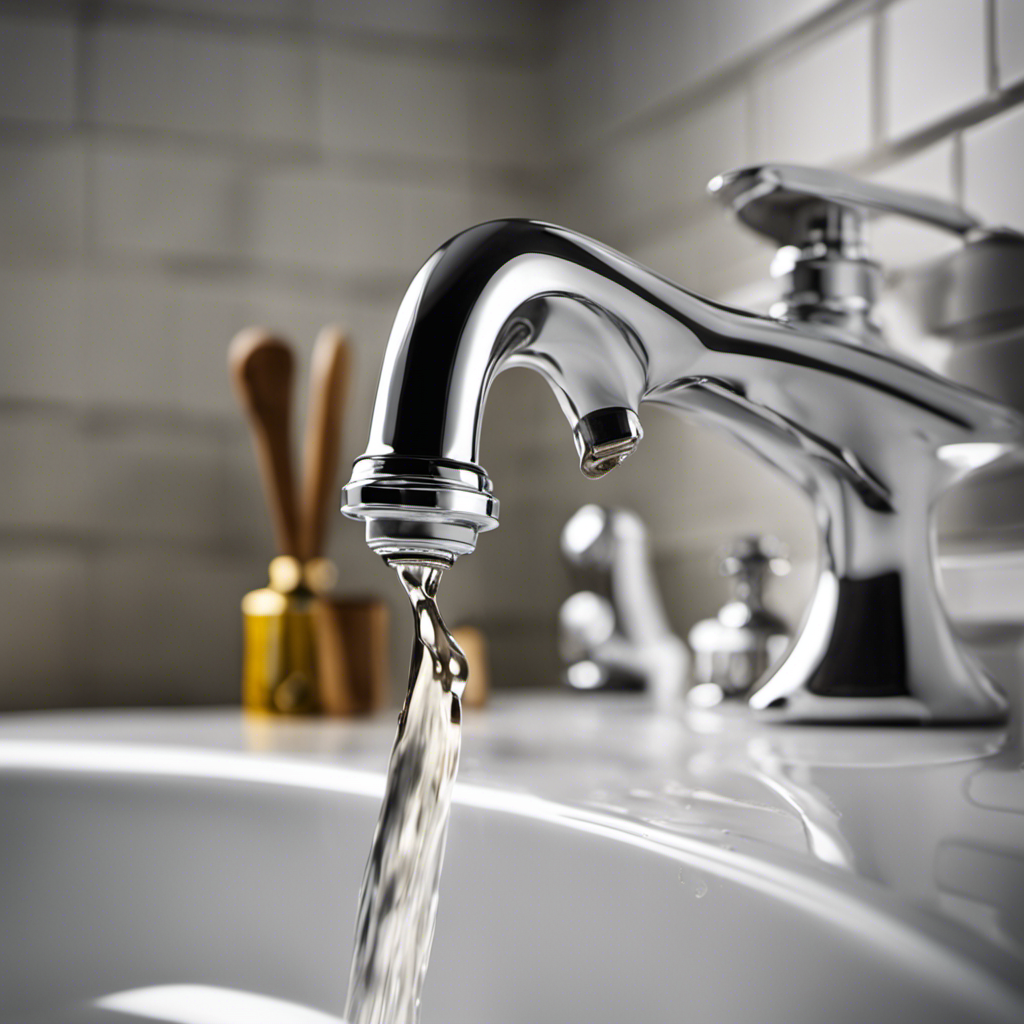
Shutting off the Water Supply
Once you’ve identified the cause of the leak, it’s important to shut off the water supply to prevent any further damage.
There are a few temporary solutions for a leaky faucet that you can try while waiting for a permanent fix. One option is to place a bucket or towel under the faucet to catch any dripping water. Another solution is to use a wrench to tighten the packing nut or replace the O-ring. However, it’s crucial to remember that these are just temporary fixes and a professional plumber should be called for a permanent solution.
When shutting off the water supply, there are common mistakes to avoid. Firstly, ensure you shut off the correct valve, either at the fixture or the main water shut-off valve. Secondly, make sure you turn the valve fully to prevent any residual water from leaking.

Empava 59" Acrylic Alcove Whirlpool Bathtub - 11 Jets Hydromassage with Chromatherapy, 750W, 58 Gallons, 3-Side Apron, Waterfall Faucet & ETL Certified
Targeted Hydro Massage Therapy-Relieve muscle tension with 11 adjustable water jets strategically placed in the lumbar, body, and...
As an affiliate, we earn on qualifying purchases.
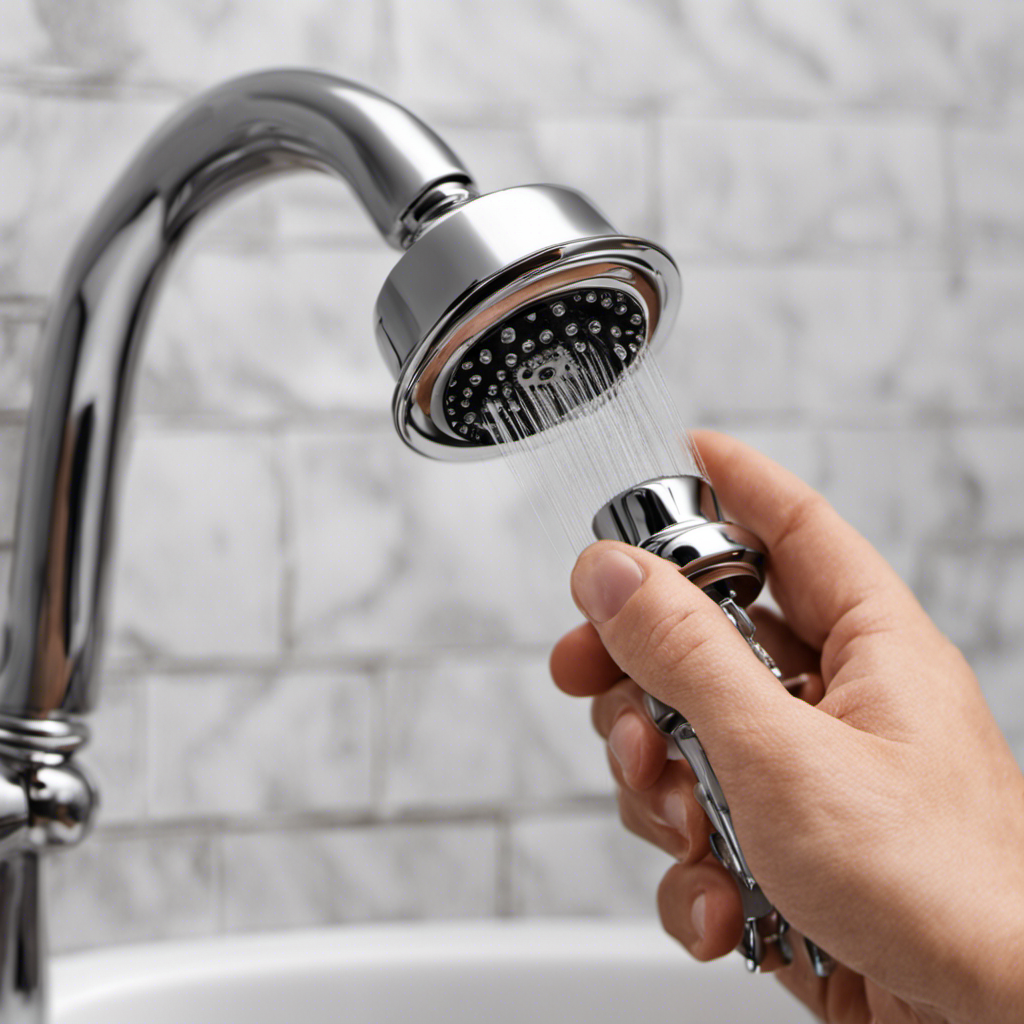
Disassembling the Faucet
When disassembling the faucet, start by gathering the necessary tools such as a wrench, screwdriver, and pliers.
Here’s a step-by-step guide on how to disassemble a faucet:
-
Turn off the water supply: Locate the water shut-off valves under the sink and turn them clockwise to shut off the water supply to the faucet.
-
Remove the handle: Use a screwdriver to remove the handle by unscrewing the screws or popping off the decorative cap and unscrewing the handle.
-
Take off the escutcheon: Use a wrench to loosen and remove the escutcheon, which is the decorative plate around the faucet handle.
-
Unscrew the cartridge: Use a pair of pliers to unscrew the cartridge, which is responsible for controlling the flow of water.
-
Replace washers and O-rings: Inspect the washers and O-rings for damage and replace them if necessary.
-
Tighten connections: Check all the connections and tighten any loose ones using a wrench.
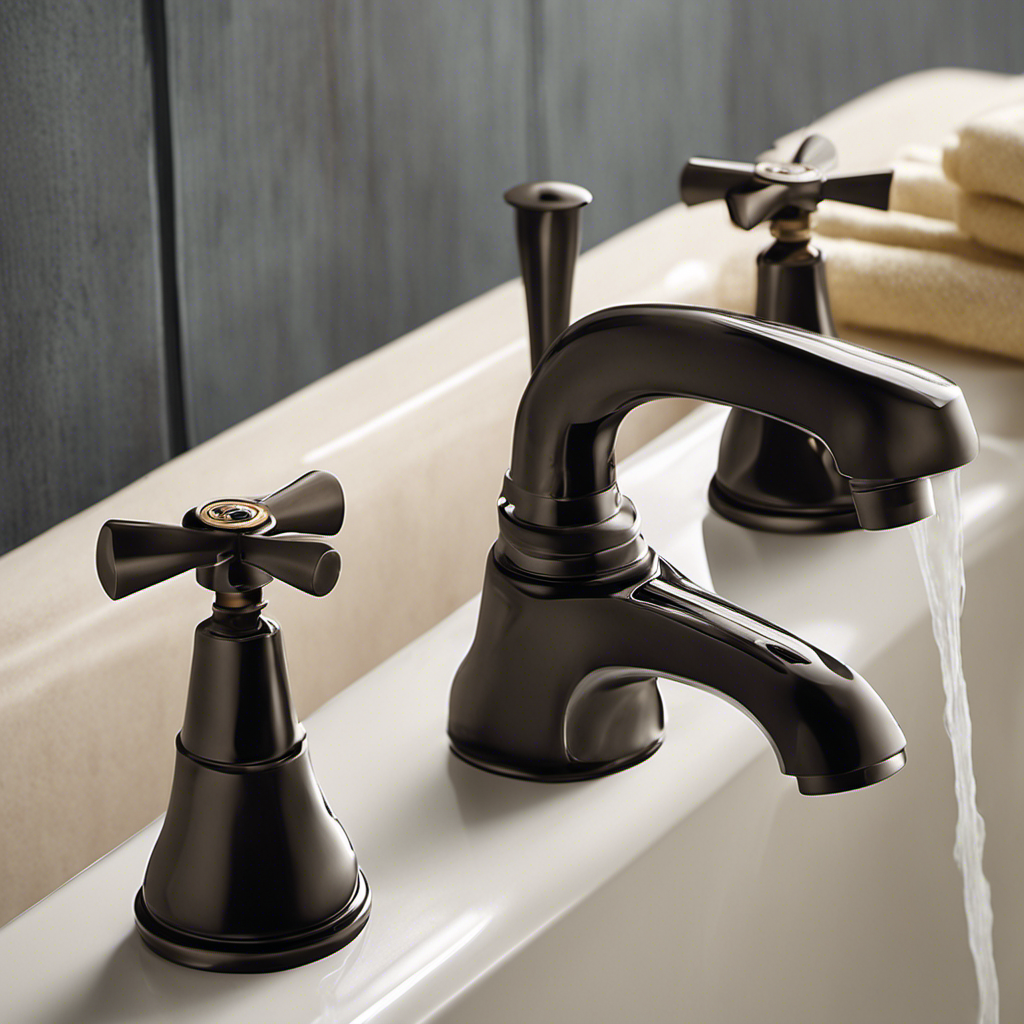
Repairing or Replacing the Faulty Parts
You’ll need to inspect the faulty parts carefully and determine if they need to be repaired or replaced.
Common causes of leaks in bathtubs can include worn out washers, damaged O-rings, or corroded valve seats.
To fix the leak, start by turning off the water supply to the faucet. Then, disassemble the faucet and remove the faulty parts. Inspect them closely for any signs of wear or damage.
If the washers or O-rings are worn out or damaged, replace them with new ones. If the valve seats are corroded, you may need to use a valve seat grinder to smooth them out or replace them altogether.
Once the repairs are done, reassemble the faucet and turn the water supply back on.
To prevent future leaks in faucets, make sure to regularly check for any signs of wear or damage and replace any faulty parts promptly. Additionally, avoid overtightening the faucet handles as this can cause damage to the washers and O-rings.
Conclusion
In conclusion, fixing a leaky faucet in the bathtub is a relatively simple task that can save you both water and money.
By identifying the cause of the leak, shutting off the water supply, and carefully disassembling the faucet, you can easily repair or replace the faulty parts.
Remember to use the necessary tools and materials, and don’t be afraid to seek professional help if needed.
With a little knowledge and effort, you can successfully fix your leaky faucet and enjoy a fully functional bathtub once again.