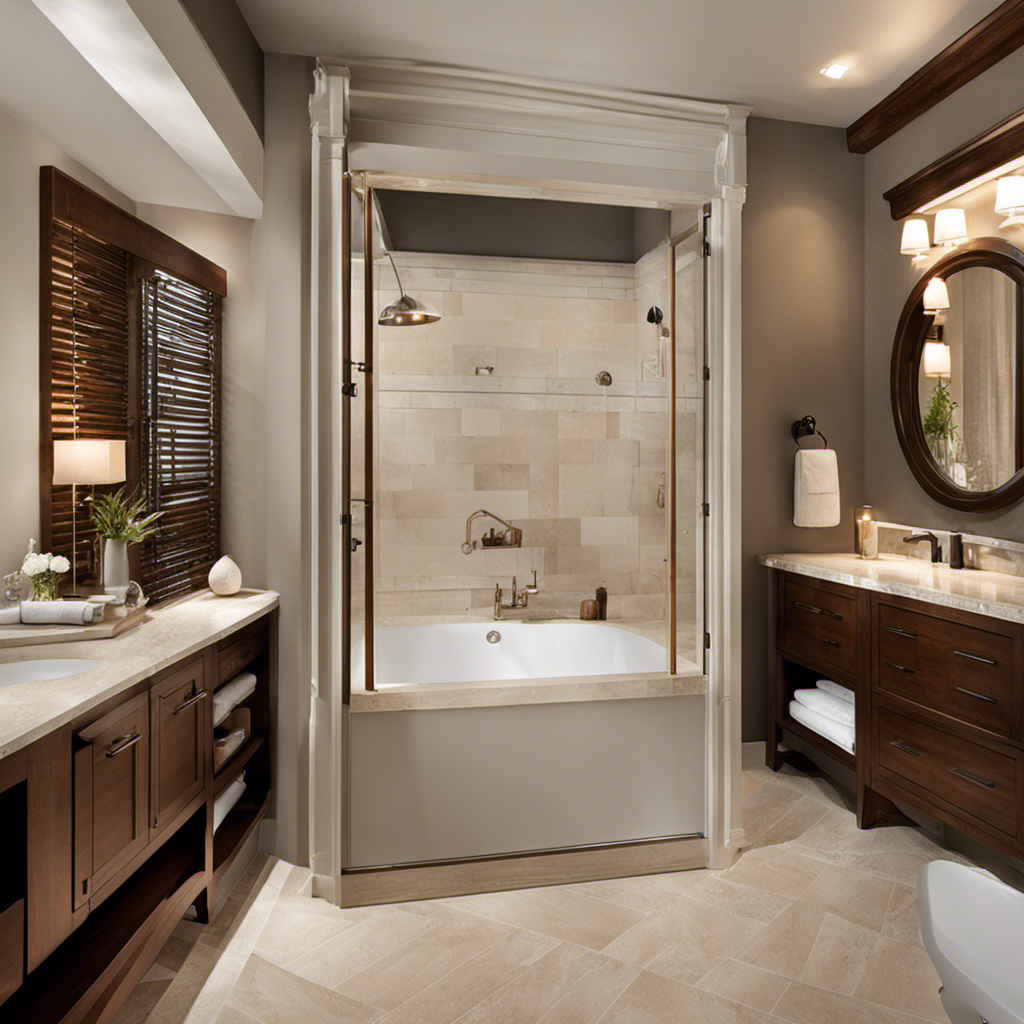

Fixing a leaky Moen two handle bathtub faucet is a common problem many homeowners face. I’ve encountered this issue myself and understand the frustration it can cause.
But fear not, with a few simple steps and the right tools, you can easily tackle this problem on your own. In this article, I’ll guide you through the process of identifying the problem, gathering the necessary tools, and replacing the faulty parts to bring your faucet back to its leak-free glory.
Let’s get started!
Key Takeaways
- Examine handles and spout for signs of water leakage
- Gather the necessary tools and materials for the repair
- Disassemble the faucet handles to access and inspect the inner components
- Replace the faulty parts carefully and test for any remaining leaks
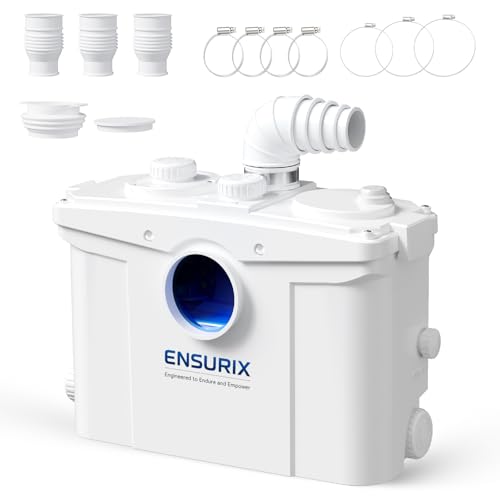
Ensurix 1200W Macerator Pump – 2800GPH, 28FT Vertical Lift Toilet Water Pump with Anti-Backflow, PCB Smart Control, IPX4 Waterproof, Macerator Pump Basement for Toilet, Sink, Bathroom etc.
STRONG POWER & HIGH EFFICIENCY – Equipped with a 1.6HP motor, this macerator pump supports 28ft vertical and...
As an affiliate, we earn on qualifying purchases.
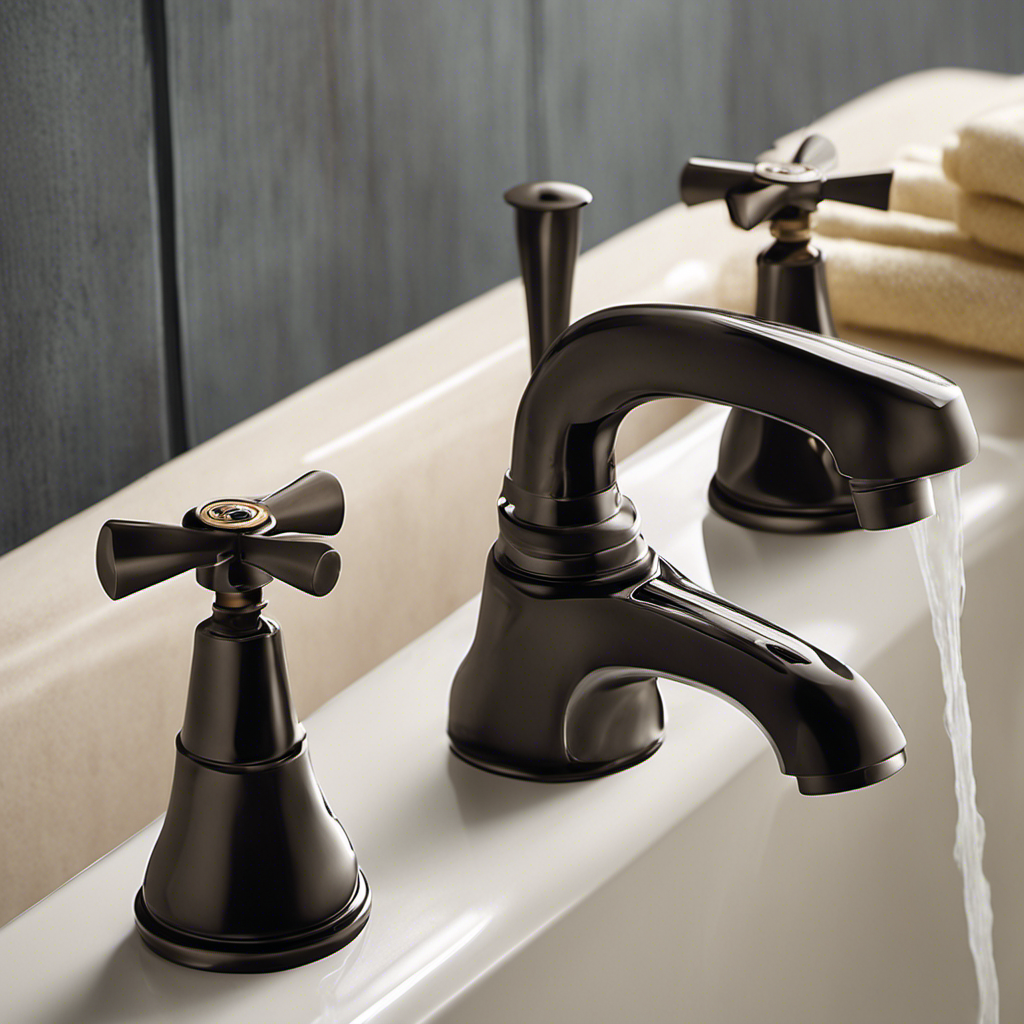
Identifying the Problem
To identify the problem with your leaky Moen two-handle bathtub faucet, you’ll need to examine the handles and the spout for any signs of water leakage.
There are several potential causes for a leaky faucet, including worn out O-rings, damaged cartridges, or loose connections.
To troubleshoot the issue, start by turning off the water supply to the faucet.
Next, remove the handles by unscrewing the screws or using a handle puller. Inspect the O-rings for any signs of damage or wear. If they appear worn out, replace them with new ones.
Additionally, check the cartridges for any cracks or debris that may be causing the leak. Clean or replace the cartridges as needed.

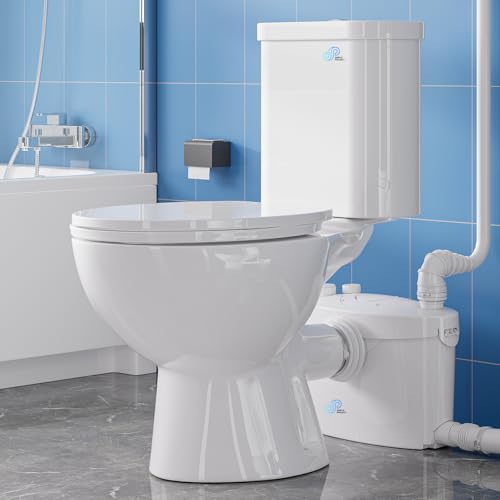
600W Macerating Toilet for Basement,Upflush Toilet System Connect Dual Flush & Rear Outlet Toilet, Sink & Tub,included Toilet Bowl, Water Tank & Macerator Pump SUPERFLO
Macerating toilet system: Toilet pump sewage upwards to 32.8 feet and/or 263 feet horizontally, effectively solving sewage problems...
As an affiliate, we earn on qualifying purchases.
Gathering the Tools and Materials
Start by gathering all the necessary tools and materials for the job. To fix a leaky Moen two-handle bathtub faucet, you’ll need a few key items.
- Set of Allen wrenches: These will be essential for removing the handle.
- Pair of adjustable pliers: They will come in handy for various tasks throughout the repair process.
- Replacement cartridge: Obtain one that matches the model of your Moen faucet. Choosing the right replacement part is crucial for a successful repair.
- Roll of plumber’s tape: Don’t forget to have this on hand, as it will help ensure a watertight seal.
By gathering these tools and materials, you’ll be well-prepared to tackle the job at hand.
As you work, keep in mind some tips for preventing future leaks. Regularly check for any signs of wear or damage to the faucet components, and promptly replace any worn-out parts. Additionally, consider installing a water pressure regulator to prevent excessive pressure that can lead to leaks.
Simple Project 750W PRO Macerating Toilet System - High Powerful, Upflush Toilet for Basement with 4 Water Inlet & Attics, Dual Flush Toilets with Macerator Pump, Quiet Operation, Space Saving
【Powerful 750W Macerator Pump】This compost toilet Equipped with a 750W motor and sharp stainless steel blades to efficiently...
As an affiliate, we earn on qualifying purchases.
Disassembling the Faucet Handles
First, you’ll need to remove the handle from the faucet to begin disassembling it. This is a crucial step in fixing a leaky Moen two-handle bathtub faucet. Once the handle is removed, you can access the inner components of the faucet and address the issue causing the leak.
Here are three important steps to follow during this process:
-
Lubricating the faucet components: Apply a small amount of silicone-based lubricant to the moving parts of the faucet, such as the stem and cartridge. This will help reduce friction and ensure smooth operation.
-
Cleaning the faucet handles: Use a mild cleaner or vinegar solution to remove any built-up grime or mineral deposits from the handles. This will improve their appearance and functionality.
-
Inspecting the O-rings: Check the O-rings for any signs of wear or damage. If necessary, replace them to prevent future leaks.
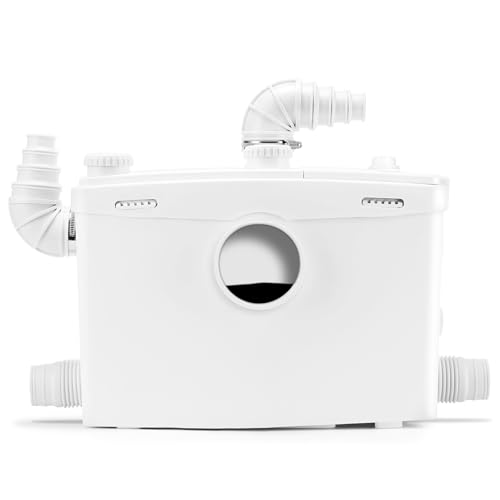
1500W Macerator Pump with Grinding Blade Toilet Pump Utility Sink Pump Upflush to 32.8FT 2800GPH Macerating Toilet System with 4 Water Inlets 2 Outlets for Toilet Sink Shower Laundry Kitchen Basement
FULLY AUTOMATIC MACERATOR PUMP : 1500W | 110V-120V/60Hz | 32.8 ft Vertical/328 ft Horizontal | 8000 RMP. Designed...
As an affiliate, we earn on qualifying purchases.
Replacing the Faulty Parts
Before replacing the faulty parts, make sure to turn off the water supply to the faucet. This step is crucial to ensure a safe and effective repair process.
Once you have done so, you can proceed with installing new components to fix the leaky Moen two-handle bathtub faucet. Begin by identifying the specific parts that need replacement, such as the cartridge or the O-rings. These components are commonly responsible for leaks in this type of faucet.
Carefully remove the old parts and replace them with the new ones, making sure they fit securely and snugly. Take note of the orientation and alignment of the parts to ensure proper functionality.
After the installation, turn the water supply back on and test the faucet for any leaks. If the issue persists, further troubleshooting may be necessary.
Reassembling and Testing the Faucet
Once you have replaced the faulty parts, you can reassemble the faucet and test it for any further leaks. To ensure a successful reassembly, follow these steps:
- Attach the faucet handle back onto the stem and secure it with the screw.
- Slide the escutcheon plate over the stem and line it up with the faucet base.
- Tighten the escutcheon plate screws to secure it in place.
After reassembling the faucet, it’s time to test it for any remaining leaks. Turn on the water supply valves slowly and observe the faucet closely. Look out for any drips or leaks around the handles or spout. If you notice any leaks, you may need to further troubleshoot the issue or consider replacing additional parts.
Understanding the different types of bathtub faucet leaks can help you identify the root cause and take appropriate action.
Conclusion
So there you have it, a step-by-step guide on how to fix a leaky Moen two-handle bathtub faucet.
By following these instructions and using the right tools and materials, you can easily tackle this common plumbing issue.
Just like a skilled surgeon mending a delicate heart, you too can mend your faucet and bring back the smooth flow of water.
Remember, a leaky faucet is not only a nuisance but also a potential waste of water and money.
Don’t wait, take action and fix that leak today!