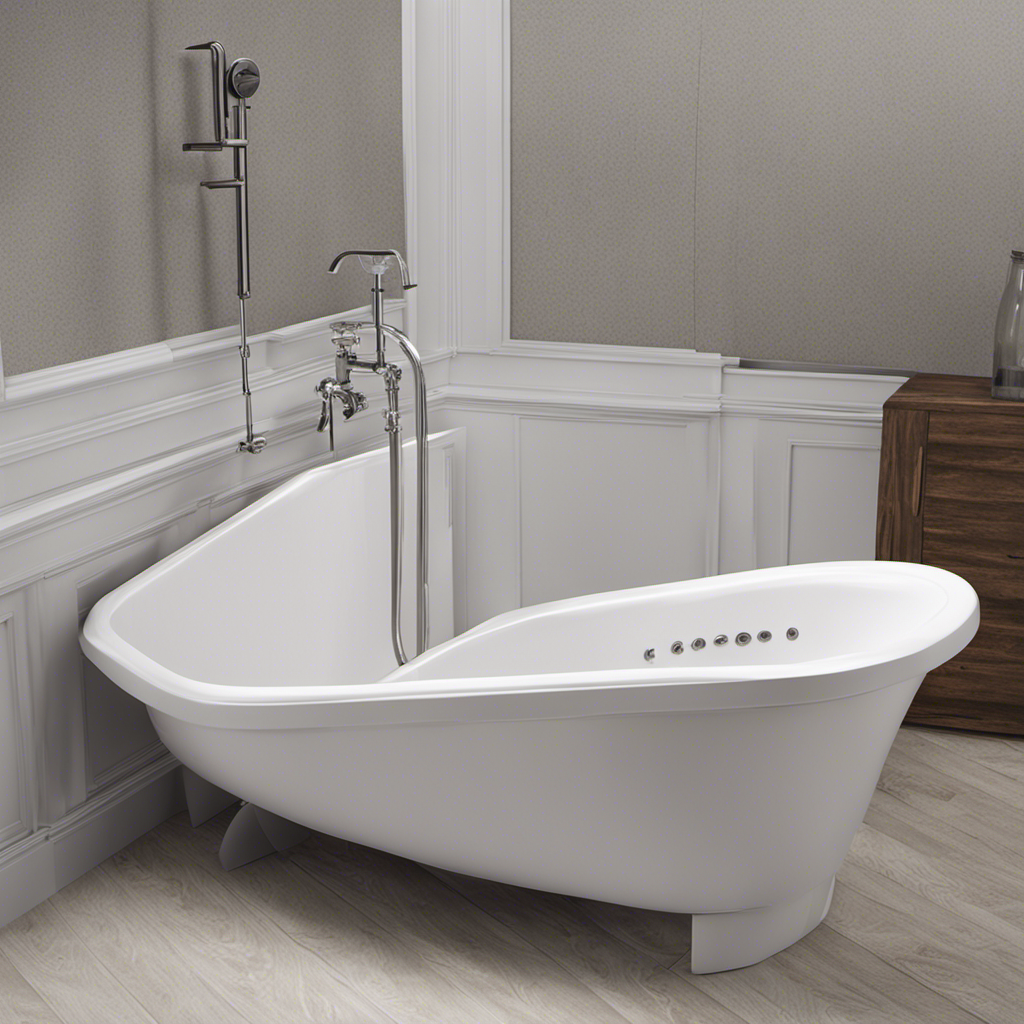
Hey there, folks! So, you’ve noticed a pesky crack in your bathtub, huh? Well, fear not, because I’ve got just the solution for you.
In this article, I’ll walk you through the step-by-step process of sealing that crack like a pro. We’ll start by assessing the severity of the crack and then gather the necessary materials.
After prepping the surface, we’ll apply the sealant and give your bathtub a good-as-new finish.
So, let’s dive right in and get that crack sealed up in no time!
Key Takeaways
- Measure the length and width of the crack to determine its size.
- Assess the severity of the crack to decide if DIY repair is sufficient or if professional intervention is needed.
- Select a sealant suitable for the bathtub material (acrylic-based for acrylic or fiberglass tubs, epoxy-based for porcelain or ceramic tubs).
- Clean the crack thoroughly with a mild detergent and warm water before applying the sealant.

KitchenAid Artisan Series 5 Quart Tilt Head Stand Mixer with Pouring Shield KSM150PS, Milkshake
- Durable Metal Construction: Built to last with 59 touchpoints
- 5 Quart Stainless Steel Bowl: Handles small or large batches, dishwasher safe
- Tilt-Head Design: Easy ingredient addition and bowl access
As an affiliate, we earn on qualifying purchases.
Assessing the Crack
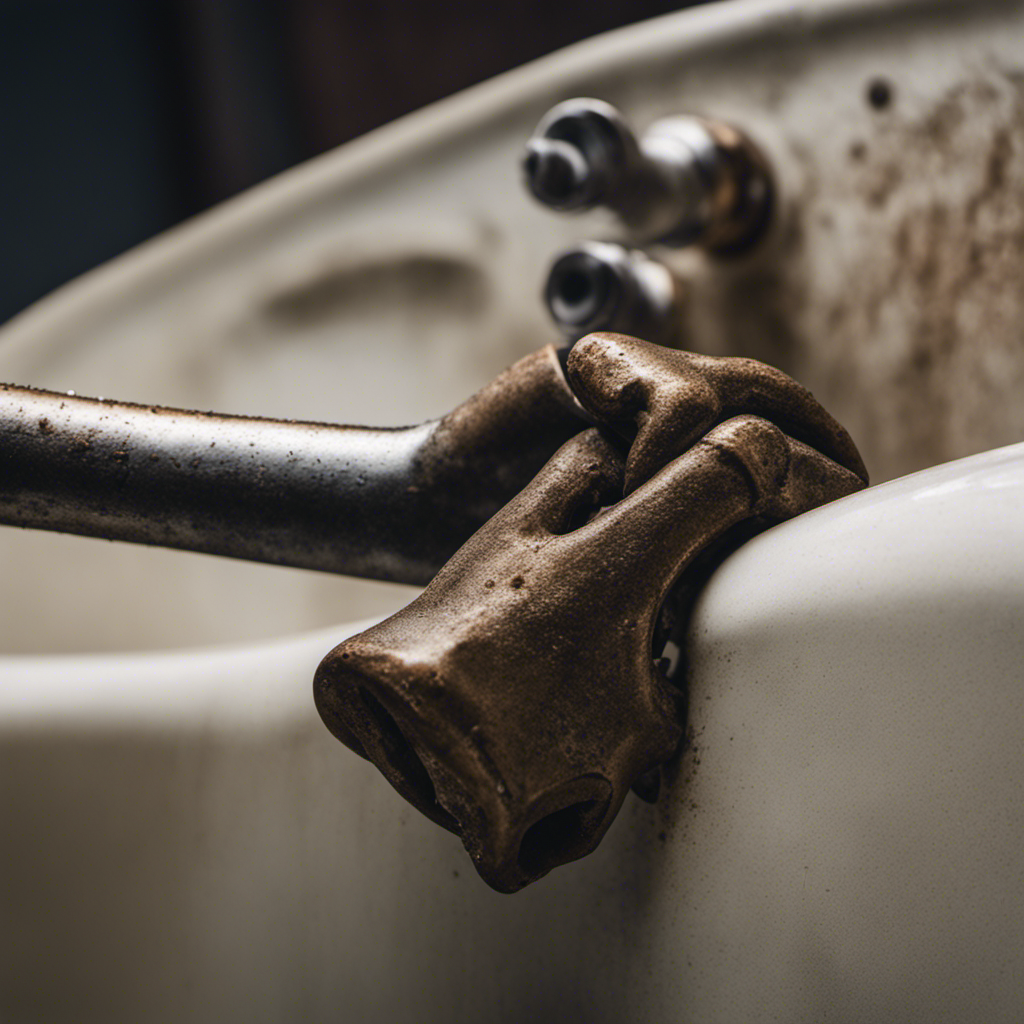
Before you can seal the crack in your bathtub, you’ll need to assess its size and severity. Evaluating the damage is crucial to determine the appropriate course of action.
Start by examining the crack closely. Measure its length and width to get an accurate idea of its size. Is the crack superficial or does it penetrate through the entire thickness of the bathtub? Assessing the severity will help you decide whether a simple DIY fix is enough or if professional intervention is necessary.
Once you have evaluated the damage, the next step is choosing the right sealant. Consider factors such as the material of your bathtub, the extent of the crack, and whether the sealant is specifically designed for bathtub repairs. Selecting the appropriate sealant will ensure a lasting and effective repair.
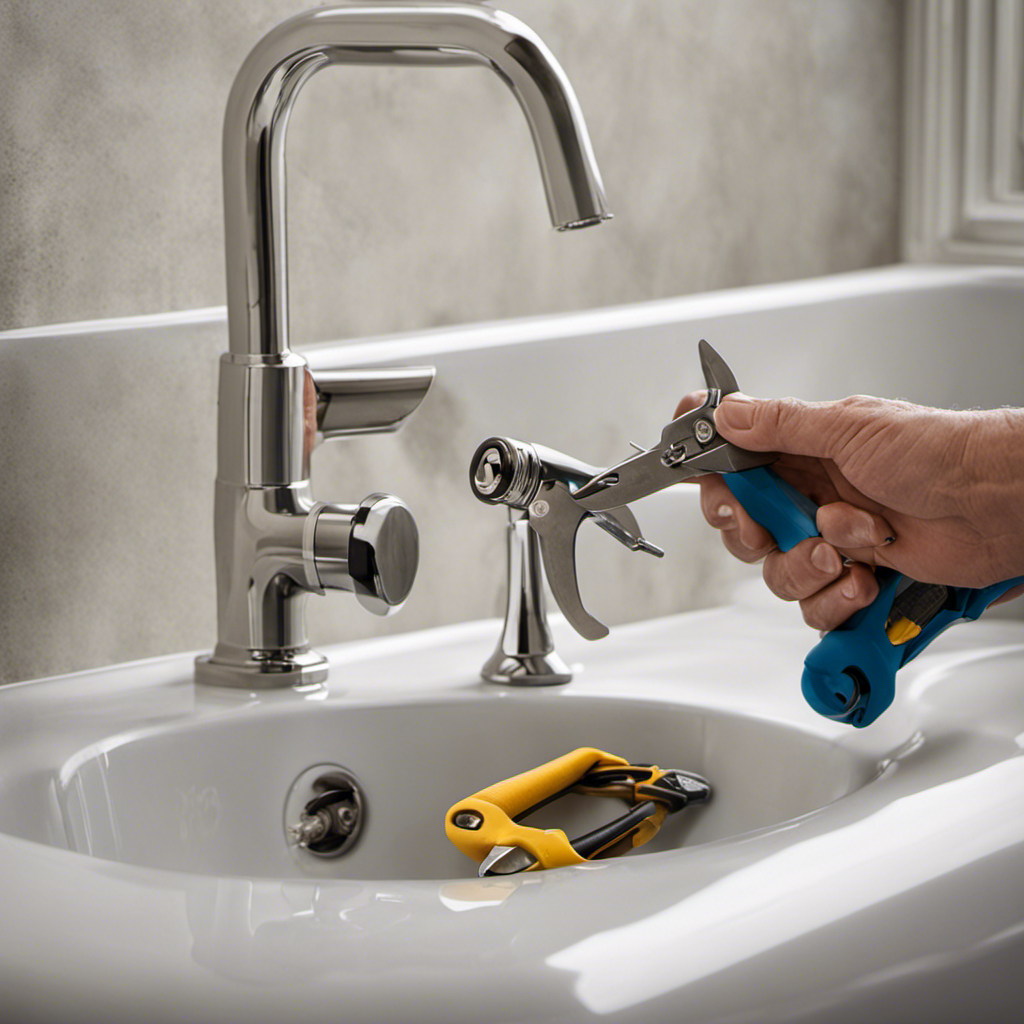
Gathering the Necessary Materials
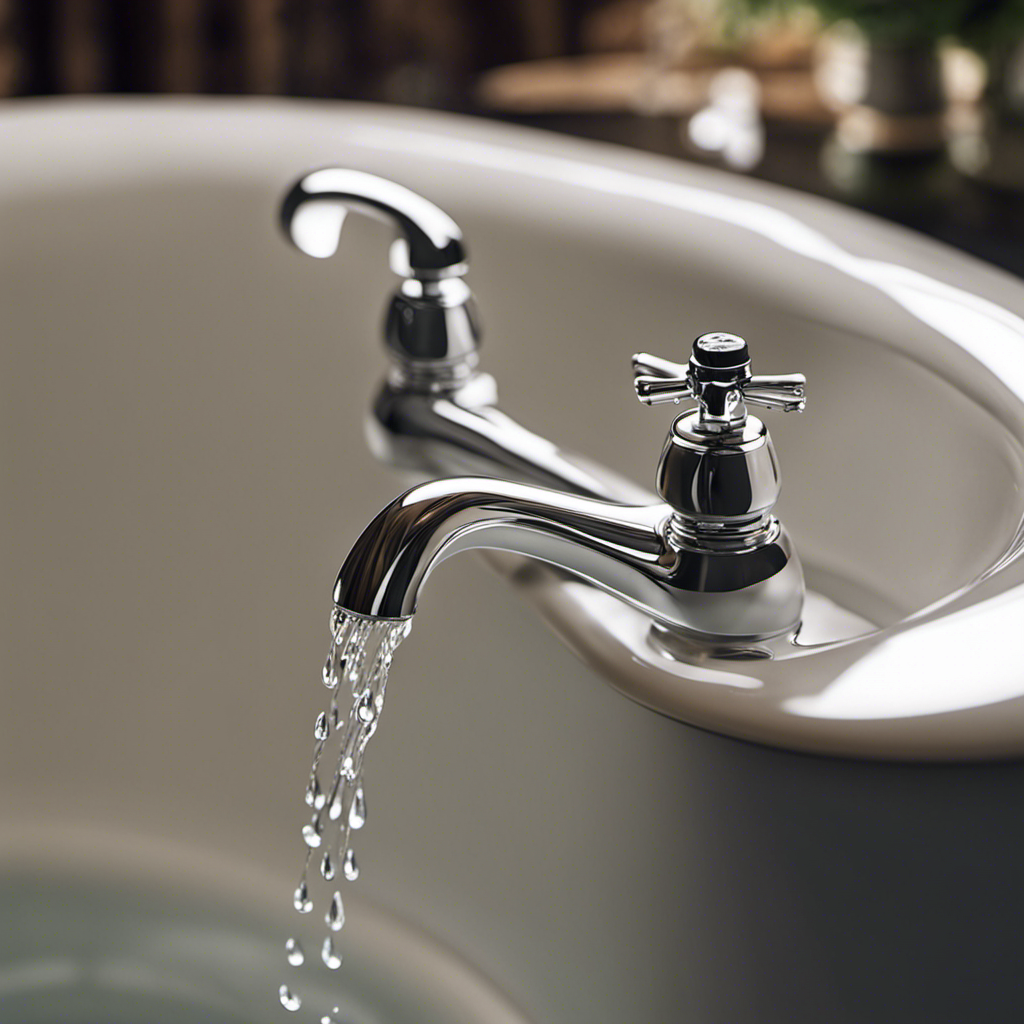
First off, you’ll need to gather all the necessary materials for fixing the crack in your bathtub. Choosing the right sealant is crucial for a successful repair. You want to select a sealant that is specifically designed for bathtub repairs and is waterproof.
Here are some tips for a successful repair:
-
Safety equipment: Wear gloves and safety goggles to protect yourself during the repair process.
-
Sealant: Choose a sealant that is suitable for your bathtub material. For acrylic or fiberglass tubs, use an acrylic-based sealant. For porcelain or ceramic tubs, use an epoxy-based sealant.
-
Tools: Gather the necessary tools such as a putty knife, sandpaper, and a caulking gun.
Preparing the Surface
To prepare the surface, you’ll need to remove any loose debris or old caulking from the area. Begin by thoroughly cleaning the crack using a mild detergent and warm water.
Once the crack is clean and dry, it’s time to sand the surface. Use a fine-grit sandpaper to gently sand the area surrounding the crack. This will create a smooth and even surface for the primer and sealant to adhere to. After sanding, wipe away any dust or debris with a damp cloth.
Now, it’s time to apply the primer. This step is crucial as it helps the sealant bond properly to the surface. Apply a thin coat of primer using a brush or roller, making sure to cover the entire cracked area.
Once the primer is dry, you can move on to the next step of applying the sealant, which will be discussed in the following section.
Applying the Sealant
Once the primer is dry, you can now start applying the sealant to the surface. Proper sealant application techniques are crucial to ensure a long-lasting and effective seal. Here are three important points to remember:
-
Clean the surface: Before applying the sealant, make sure the surface is clean and free from any dirt, grime, or old sealant residue. Use a mild detergent and scrub brush to thoroughly clean the area.
-
Apply a smooth and even bead: Use a caulking gun to apply the sealant in a continuous, smooth line along the crack. Make sure to maintain a steady pressure on the gun for a consistent bead.
-
Smooth and shape the sealant: After applying the sealant, use a wet finger or a caulking tool to smooth and shape the bead. This will help create a neat and professional finish.
When applying bathtub sealant, it’s important to avoid some common mistakes:
-
Applying too much sealant: Overapplying the sealant can lead to messy, uneven results. Apply a thin, even layer for the best outcome.
-
Not allowing enough drying time: Give the sealant enough time to dry and cure before using the bathtub. Read the manufacturer’s instructions to know the recommended drying time.
-
Neglecting to check for leaks: After applying the sealant, test for leaks by filling the bathtub with water and checking for any signs of water seepage. Address any leaks promptly to prevent further damage.
Finishing and Cleaning Up
When finishing and cleaning up, make sure to wipe away any excess sealant from the surface using a damp cloth. This step is crucial in achieving a smooth and professional-looking finish.
To ensure the best results, it is important to choose the right sealant for your bathtub crack. Consider factors such as the type of material your bathtub is made of and the specific requirements of the sealant.
Additionally, here are some tips for a smooth finish:
- Use a caulk gun for precise application.
- Apply the sealant in a steady and continuous motion.
- Smooth out the sealant using a caulk smoothing tool or your finger dipped in soapy water.
Conclusion
So there you have it, folks! With just a few simple steps, you can transform your cracked bathtub into a pristine oasis of relaxation. Trust me, sealing a crack has never been so easy!
Armed with the right materials and a little bit of elbow grease, you’ll be amazed at the transformation. Say goodbye to leaks and hello to a stress-free bathing experience.
So what are you waiting for? Get cracking and seal that bathtub today!