Are you tired of the constant drip, drip, drip of your leaky single handle bathtub faucet? Well, worry no more!
In this step-by-step guide, we will show you how to fix that pesky leak and restore peace and tranquility to your bathroom oasis.
With just a few simple tools and materials, you’ll be able to tackle this DIY project like a pro.
So, grab your wrench and let’s get started!
Key Takeaways
- Ensure the bathtub faucet handle is tightly shut to prevent water leakage.
- Check the cartridge or valve for wear and consider replacing it if necessary.
- Inspect the O-rings and seals for signs of damage or deterioration and replace them if needed.
- Proper preparation, including having the necessary tools and materials on hand, is crucial for a successful repair.

1222 Replacement Cartridge Kit for Moen One-Handle PosiTemp Faucets, Replacement Compatible with Moen Tub Shower,Metals & Plastics
Compatible design – Our high-quality replacement for moen 1222 cartridge works perfectly for moen shower faucets.
As an affiliate, we earn on qualifying purchases.
As an affiliate, we earn on qualifying purchases.
Identifying the Cause of the Leak
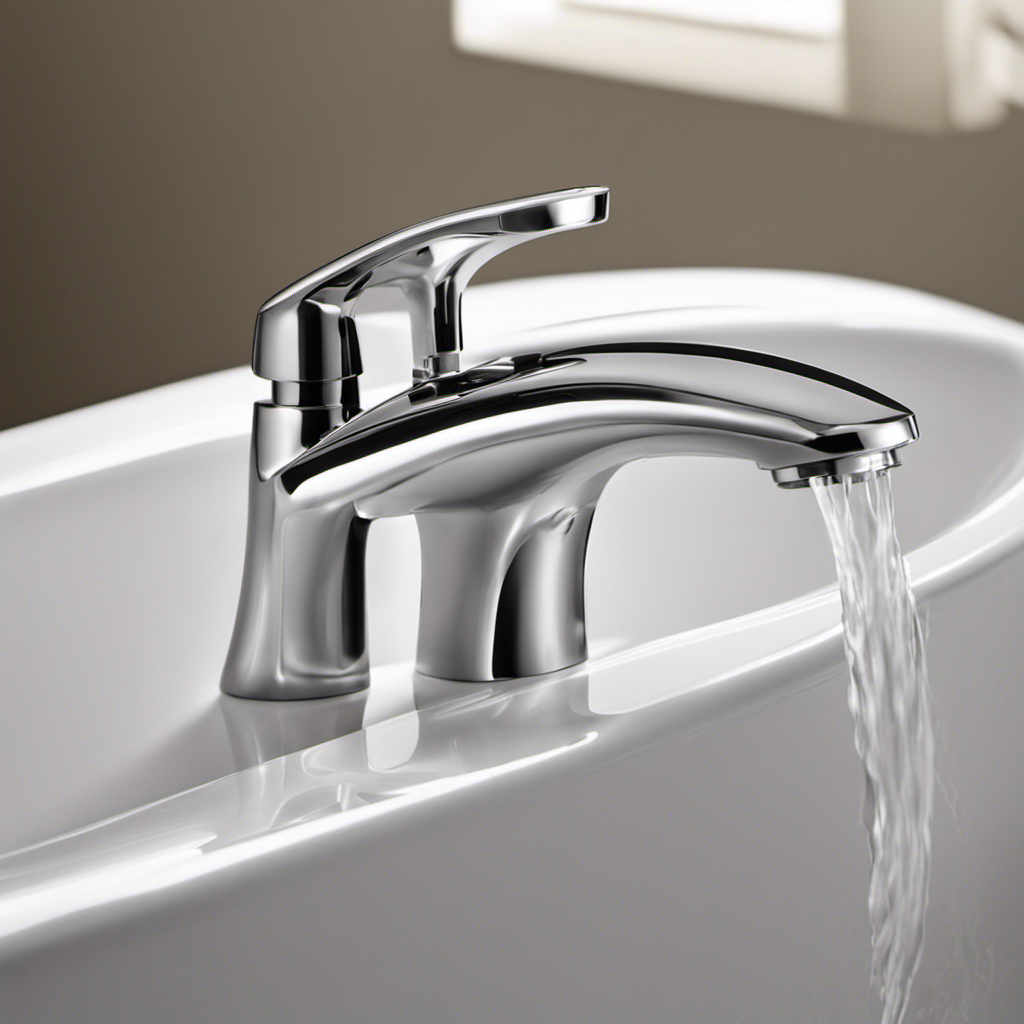
Now, let’s figure out why your single handle bathtub faucet is leaking.
Diagnosing common faucet problems and troubleshooting faucet leaks requires a systematic approach.
First, check the handle to ensure it is tightly shut. A loose handle can cause water to leak from the faucet.
Next, examine the cartridge or valve inside the faucet. A worn-out cartridge can result in leaks. To fix this, you may need to replace the cartridge.
Additionally, inspect the O-rings and seals for any signs of damage or deterioration. These components can also cause leaks if they are worn out.
Finally, check the water supply lines and connections for any leaks. Tighten or replace any fittings if necessary.

Danco 88103 Repair Kit for Delta/Peerless Single-Handle Faucets, Pack of 1, Black, White, Stainless Steel
Designed for repair on single-handle faucets
As an affiliate, we earn on qualifying purchases.
As an affiliate, we earn on qualifying purchases.
Gathering the Necessary Tools and Materials
Before you begin the repair process, there are a few essential tools that you’ll need. These tools include an adjustable wrench, a screwdriver set, and a pair of pliers.
In addition to the tools, you’ll also need some required materials for the repair. These materials include a replacement cartridge or O-rings, plumber’s grease, and Teflon tape.
Proper preparation is crucial in order to successfully fix a leaky single handle bathtub faucet. This means ensuring that you have all the necessary tools and materials on hand before starting the repair.
Essential Tools Needed
You’ll need a few essential tools to fix a leaky single handle bathtub faucet. First, make sure you have a set of adjustable wrenches. These will allow you to loosen and tighten the different components of the faucet.
Next, grab a screwdriver, preferably a Phillips head, as this is commonly used to remove screws on faucet handles.
A pair of needle-nose pliers will also come in handy, especially if you need to remove small parts or reach into tight spaces.
Lastly, have some plumber’s tape ready to seal any threaded connections securely.
While not directly related to the faucet repair, knowing some caulking techniques can also be useful in case you discover any leaks around the edges of your bathtub or when repairing a leaky showerhead.
Required Materials for Repair
To repair the faucet, gather the necessary tools and materials. Plumbing basics dictate that common faucet problems, like leaks, can often be fixed with a few simple steps.
The required materials for repair include a replacement cartridge or O-ring, plumber’s tape, and a wrench. These materials are essential for resolving common faucet issues, such as dripping or inconsistent water flow.
The replacement cartridge or O-ring will help fix any internal leaks, while plumber’s tape ensures a tight seal. The wrench is necessary for removing the faucet handle and accessing the internal components.
Importance of Proper Preparation
Proper preparation is essential for successfully resolving common issues with your bathtub faucet.
To start, turn off the water supply and close the drain, ensuring that no water is flowing through the system.
Next, gather the necessary tools and materials, such as an adjustable wrench, replacement parts, and plumber’s tape.
Before disassembling the faucet, take a moment to familiarize yourself with its structure and operation. This will help you understand how each component works and how they fit together.
When removing the old parts, be careful not to force or damage any of the components. Additionally, make sure to clean the area thoroughly and remove any debris that may have accumulated.
These proper preparation techniques will help you avoid common mistakes and ensure a smooth and successful repair process.

Delta Faucet RP28603 Replacement Part
Seats, Springs & Quad Rings (2)
As an affiliate, we earn on qualifying purchases.
As an affiliate, we earn on qualifying purchases.
Shutting off the Water Supply
First, make sure the water supply valve is fully closed to stop the water flow. This step is crucial to prevent any further water damage and to ensure a successful pipe repair.
To shut off the water supply, locate the water valve near the bathtub. Turn the valve clockwise until it is fully closed.
Once the water flow has been stopped, you can proceed with the necessary repairs. Remember to have the following tools ready: a wrench, plumber’s tape, replacement parts, and a cloth for cleaning up any excess water.
These items will help you complete the pipe repair efficiently and effectively.

WORKPRO 2-Piece Adjustable Wrench Set, 6-Inch & 10-Inch Wide Jaw Black Oxide Wrench, Cr-V Steel, Metric & SAE Scales, Max Jaw Opening 15/16" & 1-5/16", for Home Repairs, Plumbing, Garage Work
DUAL-SIZE SET FOR VERSATILE USE: This 2-piece set includes 6-inch and 10-inch adjustable wrenches, designed for everyday household…
As an affiliate, we earn on qualifying purchases.
As an affiliate, we earn on qualifying purchases.
Disassembling the Faucet Handle
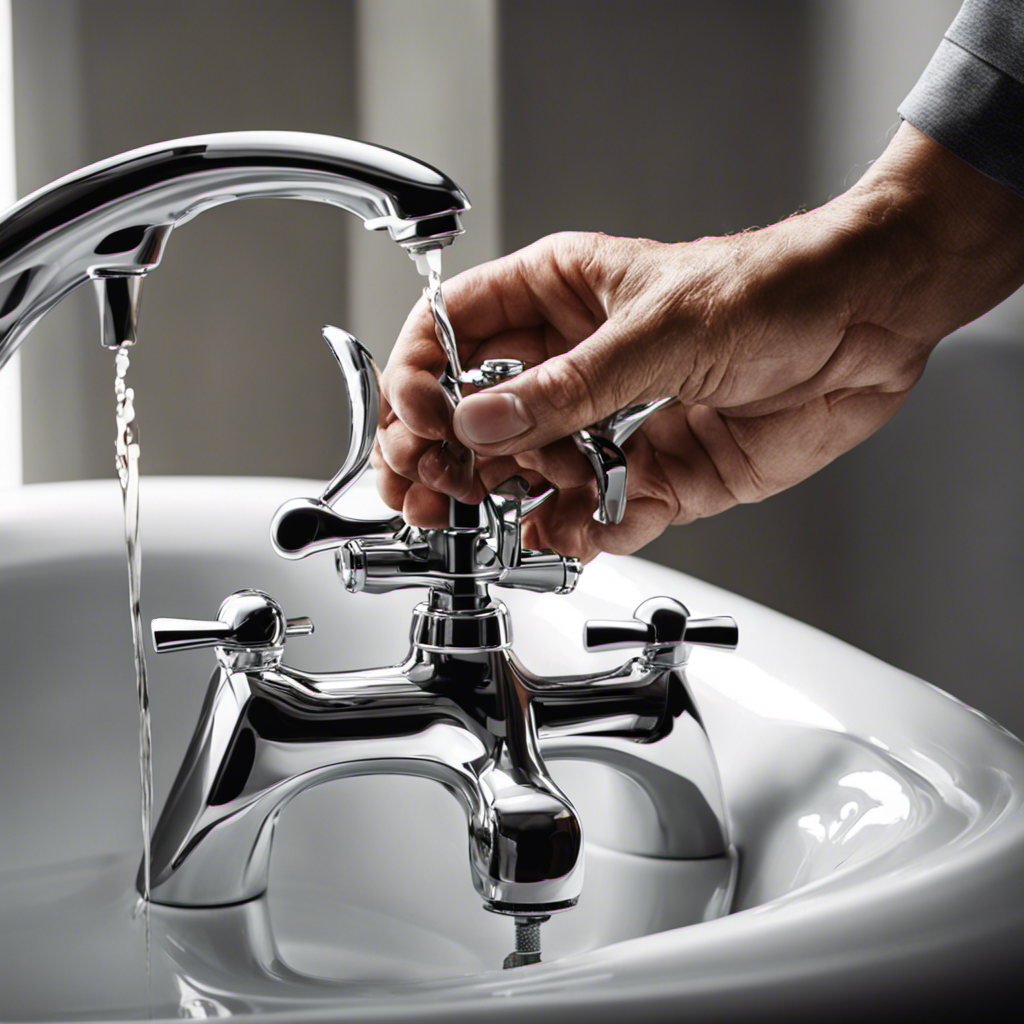
Now that you’ve successfully shut off the water supply, it’s time to move on to the next step in fixing your leaky single handle bathtub faucet.
The current subtopic focuses on disassembling the faucet handle, which is crucial for identifying and resolving common handle issues.
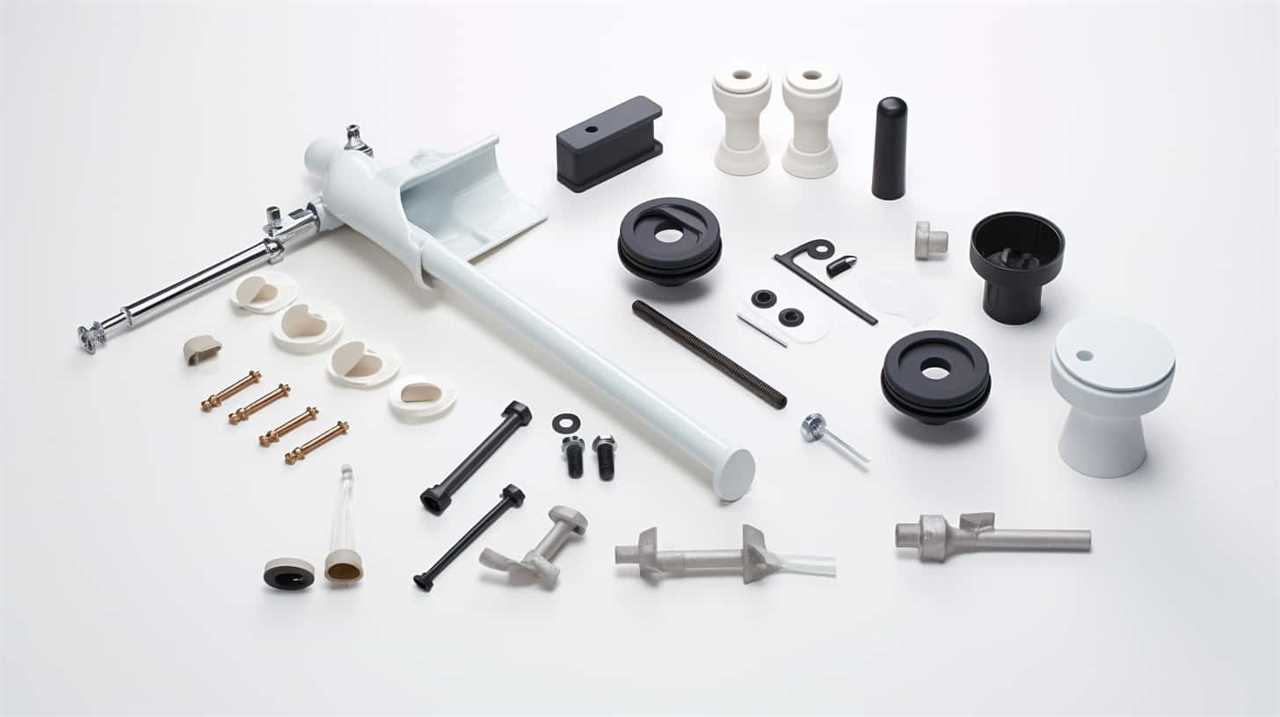
To begin the disassembling technique, locate the decorative cap on the handle. This cap is often found at the center and can be gently pried off with a flathead screwdriver. Once removed, you will see a screw that holds the handle in place. Use a screwdriver to unscrew it and carefully lift off the handle.
Upon removing the handle, you will gain access to the cartridge or valve stem assembly, which is responsible for controlling the water flow. By disassembling the handle, you will be able to inspect and address any issues, such as a worn-out cartridge or a loose valve stem.
Inspecting and Replacing the Cartridge or Valve
Once you’ve removed the handle, it’s time to inspect and potentially replace the cartridge or valve responsible for controlling the water flow. This is a crucial step in troubleshooting faucet leaks and diagnosing faucet problems. Here’s what you need to do:
-
Inspect the cartridge or valve: Carefully examine the cartridge or valve for any signs of wear, damage, or buildup. Look for cracks, corrosion, or mineral deposits that may be causing the leak.
-
Clean or replace the cartridge: If the cartridge is dirty or has mineral deposits, cleaning it with vinegar or a mild detergent may solve the problem. However, if it’s damaged, it’s best to replace it altogether.
-
Check the valve seat: Inspect the valve seat for any nicks or rough edges that could be causing the leak. If necessary, use a valve seat dressing tool to smooth out any imperfections.
-
Reassemble and test: Once you’ve inspected and replaced any necessary components, reassemble the faucet handle and test for leaks. If the problem persists, further troubleshooting may be required.
Reassembling the Faucet Handle
To complete the reassembly process, make sure you align the components correctly and securely tighten the screws.
After inspecting and replacing the cartridge or valve in your leaky single handle bathtub faucet, it’s time to reassemble the faucet handle. This step is crucial to ensure proper functioning and prevent any further leakage.
Follow these steps to reassemble the faucet handle:
- Place the handle onto the stem and align it with the valve body.
- Push the handle down firmly to secure it in place.
- Using a screwdriver, tighten the screws on the handle to hold it securely.
- Finally, attach the aerator to the end of the faucet spout by screwing it on clockwise.
Testing for Leaks
To ensure the proper functioning of your plumbing system, it is important to understand water pressure and how leaks can occur.
Water pressure plays a crucial role in maintaining a steady flow of water throughout your home, while leaks can lead to wasted water and potential damage.
Identifying hidden leaks can be challenging, but with the right techniques and tools, you can detect and address these issues before they escalate.
In this discussion, we will explore water pressure and leaks, methods for identifying hidden leaks, and do-it-yourself leak detection techniques to help you maintain a well-functioning plumbing system.
Water Pressure and Leaks
If your water pressure is too high, it can cause leaks in your single handle bathtub faucet. High water pressure puts excessive strain on the faucet’s internal components, leading to cracks and leaks.
To prevent this issue and ensure the longevity of your faucet, it is essential to adjust the water flow to a suitable level. Here are some water conservation measures you can take to reduce water pressure and prevent leaks:
-
Install a pressure regulator: This device helps control the water pressure entering your home, keeping it at a safe level.
-
Use aerators: These small devices can be attached to your faucet to reduce the flow rate without compromising water pressure.
-
Check for leaks: Regularly inspect your faucets for any signs of leaks and promptly fix them to prevent further damage.
-
Limit water usage: Be mindful of water usage by taking shorter showers and turning off the faucet when not in use.
Identifying Hidden Leaks
Now that you understand the importance of water pressure in relation to leaks, it’s time to dive into the process of identifying hidden leaks in your bathtub faucet.
Diagnosing the causes of leaks can be a tricky task, requiring a keen eye and some plumbing knowledge. If you’re not confident in your abilities, it’s highly recommended to hire a professional plumber. These experts have the skills and tools necessary to accurately diagnose and fix any leak issues you may be facing.
By enlisting their help, you can ensure a thorough assessment and proper repair of your bathtub faucet. With their expertise, you can have peace of mind knowing that the root cause of the leak will be identified and remedied effectively.
Now, let’s move on to the next section where you’ll learn about DIY leak detection methods.
DIY Leak Detection
Let’s start by discussing some DIY methods for detecting leaks in your bathtub faucet. Here are some simple and effective leak detection techniques that can help you identify and fix any potential leaks:
-
Visual Inspection: Examine the faucet closely for any signs of water dripping or pooling around it.
-
Paper Towel Test: Place a dry paper towel under the faucet overnight and check for any wet spots in the morning.
-
Food Coloring Test: Add a few drops of food coloring to the water in the bathtub and wait to see if any colored water appears in the faucet.
-
Pressure Test: Turn off all the water sources in your home and check if the water meter is still running. If it is, there might be a leak in your faucet.
Common causes of leaks in bathtub faucets include worn-out washers, damaged O-rings, or loose connections. By using these simple DIY techniques, you can quickly identify leaks and take the necessary steps to fix them.
Adjusting Water Temperature and Pressure
To adjust the water temperature and pressure, you can simply turn the handle clockwise or counterclockwise. This will allow you to find the perfect balance for your bathing experience. However, if you are experiencing issues with adjusting the water flow or encountering any problems with your faucet, there are a few common troubleshooting steps you can take. Refer to the table below for a quick reference guide on how to address some of these issues.
| Problem | Possible Solution |
|---|---|
| Low water pressure | Check for any blockages in the aerator or clean it if necessary. |
| Uneven water temperature | Adjust the temperature limit stop or replace the cartridge if needed. |
| Leaking faucet | Tighten any loose connections or replace worn-out parts such as O-rings or washers. |
| Noisy faucet | Inspect the water supply lines and ensure they are properly secured. |
| Stiff handle | Lubricate the handle mechanism with a silicone-based grease. |
Regular Maintenance Tips to Prevent Future Leaks
To prevent future leaks, you should regularly maintain your faucet by cleaning and inspecting the aerator for any debris buildup. This simple maintenance routine can help you avoid costly repairs and water damage in the long run.
Here are some tips to keep your faucet in top shape:
-
Clean the aerator: Remove the aerator from the faucet and soak it in vinegar to dissolve any mineral deposits. Use a soft brush to scrub away any remaining debris.
-
Check for leaks: Look for any signs of leaks, such as dripping water or moisture around the base of the faucet. If you notice any leaks, promptly address them to prevent further damage.
-
Replace worn-out parts: Over time, the seals and gaskets in your faucet can wear out, leading to leaks. Regularly inspect these parts and replace them as needed to maintain a watertight seal.
-
Avoid excessive force: Be gentle when turning the faucet handle. Applying too much force can damage the internal components and cause leaks.
Frequently Asked Questions
How Much Does It Typically Cost to Fix a Leaky Single Handle Bathtub Faucet?
Fixing a leaky single handle bathtub faucet can be costly. The cost breakdown depends on whether you choose to DIY or hire a professional. DIY can save money, but professional services ensure a precise and technical fix.
Can I Fix a Leaky Faucet Without Turning off the Water Supply?
To temporarily fix a leaky faucet without tools, you can try tightening the handle or using a wrench to tighten the packing nut. However, it’s best to turn off the water supply and fix it properly.
How Long Does It Usually Take to Fix a Leaky Single Handle Bathtub Faucet?
On average, fixing a leaky single handle bathtub faucet takes about 30 minutes to an hour. The most common causes of leaks include worn-out O-rings, damaged cartridges, or loose connections.
Are There Any Risks Involved in Disassembling and Reassembling the Faucet Handle?
When disassembling and reassembling a faucet handle, there are potential risks involved. However, by taking proper precautions such as turning off the water supply and using the right tools, you can minimize any potential hazards.
What Are the Signs That Indicate a Need for a Complete Replacement of the Cartridge or Valve?
If you’re experiencing consistent leaks or reduced water flow, it may be time to replace the cartridge or valve. This can be costly, but troubleshooting common issues with bathtub faucets may help avoid a complete replacement.
Conclusion
In conclusion, you’ve successfully fixed your leaky single handle bathtub faucet. You accomplished this by following a series of steps. First, you identified the cause of the leak. Next, you gathered the necessary tools and materials. After that, you shut off the water supply. Then, you disassembled the faucet handle. Once the handle was disassembled, you inspected and replaced the cartridge or valve. Finally, you reassembled the faucet handle.
After completing these steps, you tested for leaks and adjusted the water temperature and pressure. By doing so, you restored functionality to your faucet. It’s important to remember that regular maintenance is crucial to prevent future leaks.
Now, you can take pride in your newfound skills and enjoy a leak-free bathing experience!