I’ve discovered a foolproof method for fixing cracks in a bathtub, and I’m excited to share it with you.
No need to panic or call a professional – with a little bit of know-how and the right tools, you can tackle this problem yourself.
In this article, I’ll guide you through the step-by-step process of:
- Assessing the damage
- Preparing the surface
- Applying the repair solution
- Sanding and smoothing
- Finally, finishing and sealing.
Get ready to restore your bathtub to its former glory!
Key Takeaways
- Carefully examine the entire surface of the bathtub and pay close attention to the cracks and surrounding areas.
- Thoroughly clean the surface of the bathtub before applying the repair solution.
- Read the manufacturer’s instructions carefully and apply a thin layer of repair solution onto the cracks.
- Gently sand the repaired areas using fine-grit sandpaper and apply a waterproof sealant for a finished look.
Top picks for "crack bathtub"
Open Amazon search results for this keyword.
As an affiliate, we earn on qualifying purchases.
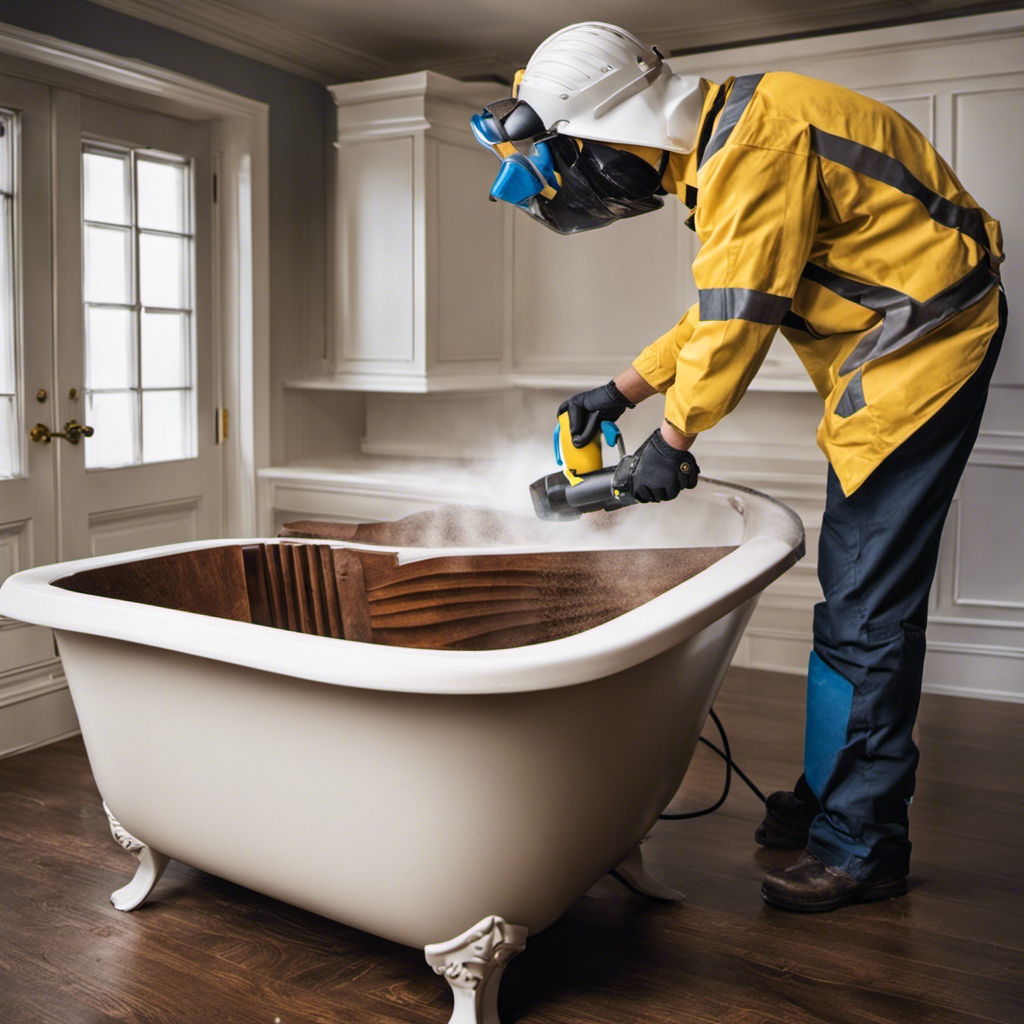
Assessing the Damage
Before we can fix the cracks in the bathtub, we need to assess the damage.
Assessing the extent of the cracks is crucial to determine the appropriate repair method. To do this, carefully examine the entire surface of the bathtub, paying close attention to the cracks and any surrounding areas that may have been affected. Look for any signs of water leakage or structural damage.
Next, it is important to determine the cause of the cracks. Common causes include excessive weight, impact, or age-related wear and tear. Understanding the cause will help in choosing the best repair approach and prevent future cracks.
If the cracks are superficial and limited in number, they can often be fixed using DIY repair kits. However, if the cracks are extensive or indicate underlying issues, it is recommended to seek professional help to ensure a durable and long-lasting fix.
Preparing the Surface
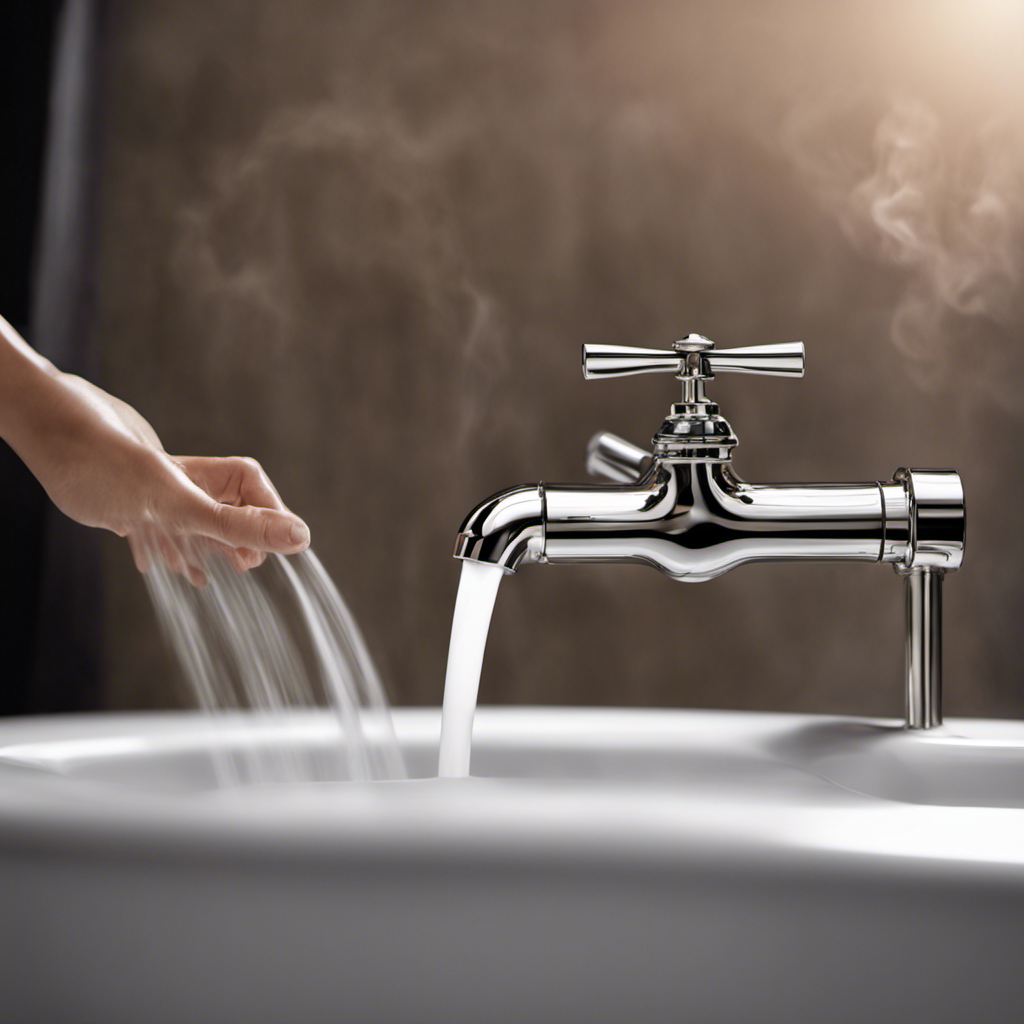
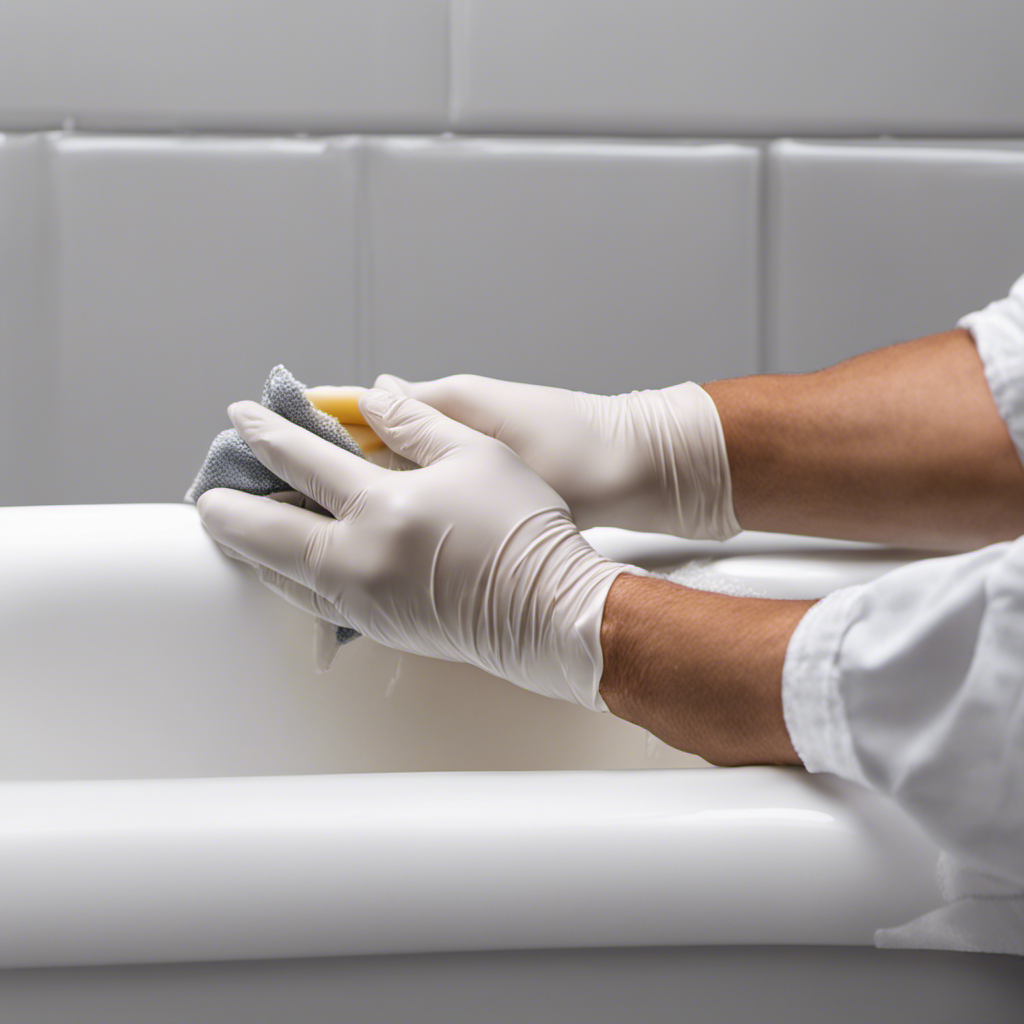
Start by thoroughly cleaning the surface of the bathtub to prepare it for repair. This step is crucial in ensuring a successful and long-lasting fix for cracks in your bathtub.
To begin, gather the necessary equipment, including a non-abrasive cleaner, a sponge or soft cloth, and warm water. Before applying any cleaner, make sure to remove any loose debris or dirt from the surface.
Then, mix the cleaner with water according to the instructions and apply it to the cracks. Use the sponge or cloth to scrub the area gently, focusing on the cracks.
Rinse the surface thoroughly with warm water and dry it completely before moving on to the next step. Following these cleaning tips and using the right equipment will help create a clean and smooth surface for the repair.
Applying the Repair Solution
Now that the surface has been thoroughly cleaned, you can apply the repair solution to the affected areas. When it comes to repairing cracks in a bathtub, proper application techniques are crucial for a successful outcome.
First, make sure to read the manufacturer’s instructions carefully. This will ensure that you understand the specific steps and precautions for your chosen repair solution.
Begin by applying a thin layer of the repair solution onto the crack, using a putty knife or a similar tool. Smooth out the solution evenly to ensure proper adhesion. Allow the solution to dry completely before applying additional layers, if necessary.
It’s important to avoid common mistakes when applying the repair solution, such as applying too much product or rushing the drying process. By following the recommended techniques and avoiding these mistakes, you can achieve a strong and durable repair.
Sanding and Smoothing
To achieve a smooth and even finish, gently sand the repaired areas using fine-grit sandpaper. Sanding is an important step in the bathtub repair process as it helps to blend the repaired areas with the rest of the surface. When sanding, it is important to wear safety goggles and a dust mask to protect yourself from any airborne particles. Start by sanding the repaired areas in a circular motion, gradually expanding the sanding area to feather the edges. This will ensure a seamless transition between the repaired and unaffected areas. Once you are satisfied with the smoothness, wipe away any dust with a damp cloth before moving on to the next step.
| Column 1 | Column 2 | Column 3 |
|---|---|---|
| Safety Goggles | Dust Mask | Fine-grit Sandpaper |
| Protects eyes from flying debris | Filters out harmful dust particles | Provides smooth finish |
Remember to follow all safety precautions and choose the best refinishing option for your bathtub.
Finishing and Sealing
Once you’re satisfied with the smoothness of the repaired areas, it’s time to apply a finishing coat and sealant for added protection.
Choosing the right sealant is crucial in maintaining the finished surface of your bathtub. Look for a sealant that is specifically made for bathtubs and is resistant to water, mildew, and stains. Silicone-based sealants are a popular choice as they offer excellent waterproofing properties and flexibility.
Before applying the sealant, make sure the surface is clean and dry. Use a caulk gun to apply a thin, even layer of sealant along the cracks and seams. Smooth the sealant with a wet finger or a caulk smoothing tool to create a seamless finish.
Allow the sealant to dry completely before using the bathtub. Regularly inspect and maintain your bathtub’s finished surface to ensure its longevity and continued protection.
Conclusion
In conclusion, fixing cracks in a bathtub is a straightforward process that can be done by anyone with a little bit of time and effort. By following the steps outlined in this article, you can assess the damage, prepare the surface, apply the repair solution, sand and smooth, and finish and seal the bathtub.
Remember, ‘A stitch in time saves nine,’ so don’t delay in addressing any cracks in your bathtub to prevent further damage and costly repairs.