Did you know that over 30% of households in the United States experience bathtub damage at some point?
If you find yourself facing a hole in your bathtub, don’t panic. This article will guide you through the step-by-step process of fixing it.
From assessing the damage to applying patching compound and finishing touches, you’ll learn all the necessary techniques to restore your bathtub to its former glory.
So roll up your sleeves and let’s get started!
Key Takeaways
- Assess the extent of the damage before starting the repair process.
- Gather all necessary materials, including a bathtub repair kit and sandpaper.
- Choose the appropriate tools for the size of the hole and material of the bathtub.
- Properly prepare the surface before applying the patching compound.

Unisom SleepTabs, Nighttime Sleep-aid, Doxylamine Succinate, 80 Tablets
- Package Quantity: 80 tablets per bottle
- Faster Sleep Onset: Fall asleep 33% quicker*
- Non-Habit Forming: Safe and non-habit forming
As an affiliate, we earn on qualifying purchases.
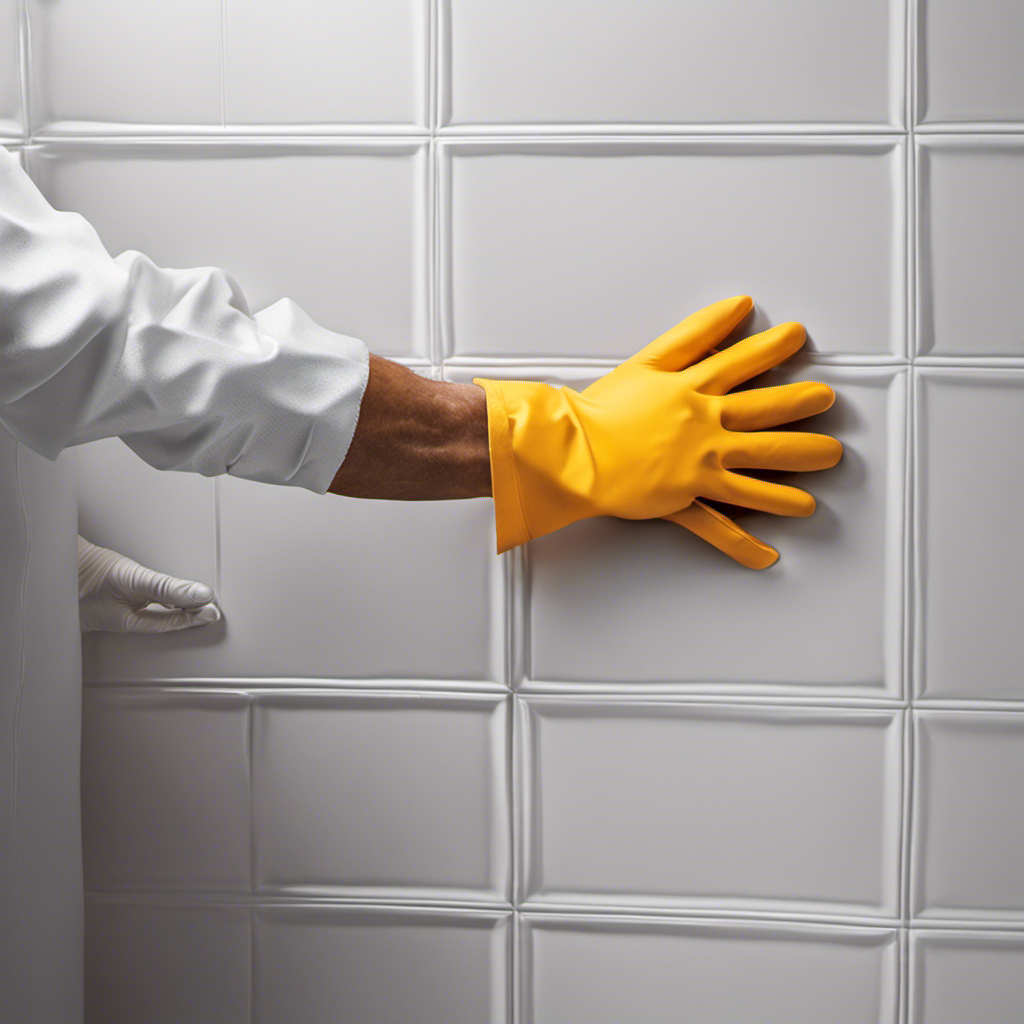
Assess the Damage
First, you’ll need to check out the hole in your bathtub and see how bad the damage is. Start by carefully inspecting the area around the hole to determine the extent of the damage. Look for any cracks or additional signs of wear and tear.
Assessing the damage will help you determine the best repair options available to you. If the hole is small and superficial, you may be able to fix it with a simple patch. However, if the damage is more extensive or if the bathtub is made of a delicate material, you may need to consider a more involved repair process.
Once you have assessed the damage, you can move on to gathering the necessary materials for the repair.
Gather Necessary Materials
To successfully repair a hole in your bathtub, you will need to gather the necessary materials and select the proper equipment.
The required repair materials typically include a bathtub repair kit, sandpaper, a putty knife, and epoxy adhesive.
When it comes to selecting the proper equipment, ensure that you choose a putty knife with a flexible blade and a sandpaper with a grit suitable for smoothing the repaired area.
Required Repair Materials
You’ll need a few materials to fix the hole in your bathtub. Here’s what you’ll need:
-
Epoxy putty: This is a versatile material that can be used to fill and seal cracks in your bathtub. It is water-resistant and durable, making it ideal for bathtub repairs.
-
Sandpaper: Before applying the epoxy putty, you’ll need to prepare the surface by sanding it down. Use a fine-grit sandpaper to smooth out the edges of the hole and create a rough surface for better adhesion.
-
Putty knife: This tool will help you apply the epoxy putty evenly and smoothly. Choose a putty knife with a flexible blade for easy application.
-
Disposable gloves: It is important to wear gloves to protect your hands from the epoxy putty. This will also prevent any skin irritation or contact with harmful chemicals.
Now that you have the necessary materials, let’s move on to selecting the proper equipment for the repair process.
Proper Equipment Selection
Once you have the required repair materials, it’s important to select the proper equipment for the job.
When choosing tools to fix a hole in your bathtub, you need to consider the size of the hole and the type of material your bathtub is made of.
For small holes, a putty knife or a small trowel can be used to apply the patching compound.
If the hole is larger, you may need a larger trowel or a drywall saw to cut out the damaged area.
Safety precautions should also be taken into account. Always wear protective gloves and safety glasses to prevent any injuries.
Additionally, ensure proper ventilation in the area and be aware of any electrical wires or pipes that may be present.
Prepare the Surface
First, make sure you’ve cleaned the surface around the hole in the bathtub. Surface preparation is crucial to ensure a successful repair. Follow these steps for proper surface cleaning:
- Remove any loose debris or particles from the hole using a vacuum or brush.
- Thoroughly clean the surrounding area with a mild detergent and water solution. Scrub gently to remove any dirt, grime, or soap scum.
- Rinse the area with clean water to remove any residue from the cleaning solution.
- Dry the surface completely using a clean cloth or towel.
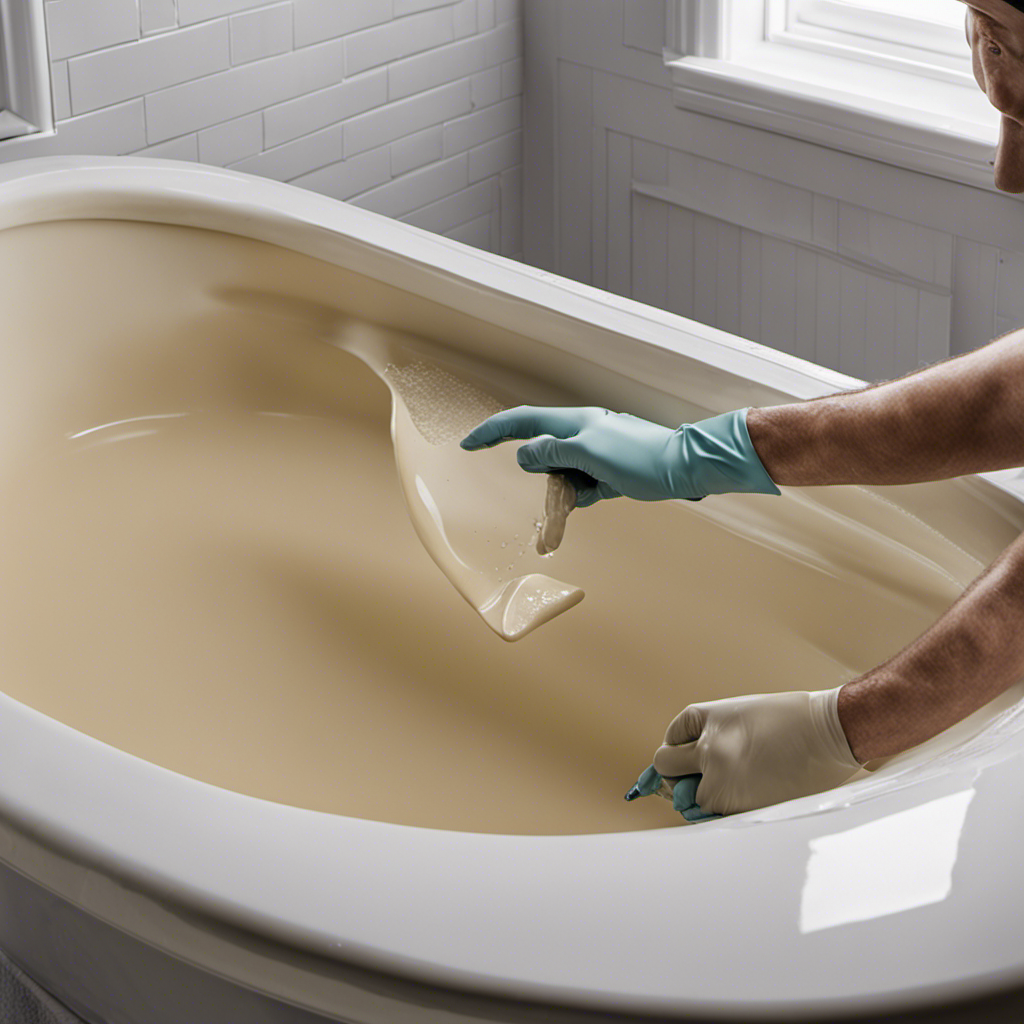
Apply Patching Compound
After cleaning and drying the surface, you can now apply the patching compound to repair the damaged area.
Start by preparing the patching compound according to the manufacturer’s instructions. Ensure that you mix it thoroughly to achieve a smooth consistency.
Using a putty knife, apply the compound to the hole in the bathtub. Make sure to spread it evenly and smoothly to create a seamless repair. Use firm pressure to push the compound into the hole, ensuring that it adheres to the surrounding surface.
Smooth out any excess compound using the putty knife, being careful not to leave any ridges or bumps.
Allow the compound to dry completely before proceeding with any further repairs or refinishing.
Smooth and Shape the Patch
Now that you’ve applied the patching compound and allowed it to dry, it’s time to fill the damaged area and finish the patch job.
Start by using a putty knife to smooth and level the compound, making sure it’s flush with the surrounding surface.
Once the compound is filled and leveled, use fine-grit sandpaper to carefully sand down any rough edges or imperfections, creating a seamless finish.
Filling the Damaged Area
To fix the hole in your bathtub, you’ll need to start by filling the damaged area with a waterproof filler. This will ensure that the hole is sealed and water will not leak through. Here are the steps to properly fill the damaged area:
-
Clean the damaged area thoroughly: Use a mild detergent and water to clean the surface around the hole. Make sure to remove any dirt, grime, or loose debris.
-
Prepare the filler: Mix the waterproof filler according to the manufacturer’s instructions. It’s important to use a filler specifically designed for bathtub repairs to ensure a strong and durable patch.
-
Apply the filler: Use a putty knife or a spatula to apply the filler to the hole. Make sure to spread it evenly and smoothly across the damaged area. Press down firmly to ensure good adhesion.
-
Smooth and shape the patch: After applying the filler, use a damp cloth or sponge to smooth out any rough edges and shape the patch to match the surrounding surface. Allow the filler to dry completely before moving on to the next step.
Finishing the Patch Job
Once the waterproof filler has dried, you can sand it down to create a smooth and even surface. Smoothing techniques are essential to achieve a flawless finish on your bathtub repair job. To help you understand the various alternative repair methods available, here is a table showcasing three different options:
| Repair Method | Description | Pros |
|---|---|---|
| Epoxy Resin | A strong and durable option that bonds well to the surface. | Long-lasting, waterproof, and resistant to chemicals. |
| Acrylic Patch | Easy to apply and dries quickly. | Affordable, versatile, and can be painted over. |
| Fiberglass | Provides added structural support to the damaged area. | Sturdy, resistant to cracking, and can be sanded and painted. |
Let the Patch Cure
After applying the patch, leave it to cure for at least 24 hours. The curing process is crucial to ensure a strong and durable repair. During this time, the patch will harden and bond with the surrounding surface, creating a seamless finish.
To make the most of the curing time frame, follow these steps:
- Avoid any contact with the patched area to prevent disruption of the curing process.
- Maintain a consistent temperature and humidity level in the room to facilitate proper curing.
- Keep the area well-ventilated to allow for adequate airflow, which aids in the curing process.
- Monitor the patch regularly to ensure it is curing properly and make any necessary adjustments.
Sand and Finish the Patch
Sandpaper can be used to smooth the patch before applying the finishing coat. When it comes to refinishing techniques for fixing a hole in a bathtub, proper sanding techniques are crucial for achieving a seamless result.
Start by selecting the appropriate grit sandpaper based on the severity of the patch and the surrounding surface. Begin with a coarse grit, such as 80 or 120, to remove any excess patch material and create a smooth, level surface. Then, gradually work your way up to a finer grit, such as 220 or 320, to further refine the patch and ensure a seamless blend with the rest of the bathtub.
Use light, even pressure and smooth, consistent strokes to avoid creating any unevenness. Once the patch is sanded to your satisfaction, it is ready for the next step: sealing and protecting the patch.
Seal and Protect the Patch
To seal and protect the patch, you should apply a clear coat of bathtub enamel using a brush or roller. This step is crucial in ensuring the longevity of your bathtub repair.
Here are some sealing techniques and long-term maintenance tips to follow:
-
Clean the surface: Before applying the clear coat, make sure the patched area is clean and free from any dirt or debris. Use a mild detergent and a soft cloth to gently clean the surface.
-
Apply the enamel: Using a brush or roller, carefully apply a thin and even layer of clear bathtub enamel over the patched area. Make sure to cover the entire patch and blend it seamlessly with the surrounding surface.
-
Allow it to dry: Let the enamel dry completely according to the manufacturer’s instructions. This usually takes a few hours or overnight.
-
Regular maintenance: To ensure the longevity of the repair, avoid using abrasive cleaners or scrubbing the patched area too vigorously. Instead, use gentle cleaning products and a soft cloth to clean the bathtub regularly.
Frequently Asked Questions
How Long Does the Patching Compound Take to Dry Before It Can Be Sanded and Finished?
To achieve optimal results when repairing a bathtub hole, it is essential to allow the patching compound sufficient drying time before sanding and finishing. The duration can vary depending on the application technique used.
Can I Use Any Type of Patching Compound, or Is There a Specific One That Works Best for Bathtub Repairs?
When fixing a hole in your bathtub, it’s important to use the right type of patching compound. Each compound has its own purpose and properties, so choose one specifically designed for bathtub repairs. Apply it carefully and follow proper application techniques for the best results.
Is It Necessary to Remove All the Old Sealant Around the Hole Before Applying the Patching Compound?
Yes, it is necessary to remove all the old sealant around the hole before applying the patching compound. This ensures proper adhesion and prevents any interference with the drying time of the compound.
How Long Should I Wait After Sealing and Protecting the Patch Before Using the Bathtub Again?
After sealing and protecting the patch, you should wait at least 24 hours before using the bathtub again. This ensures that the patch has fully cured and is not susceptible to water damage.
Are There Any Specific Safety Precautions I Should Take When Working With the Patching Compound and Other Materials?
When working with chemicals to patch a hole in your bathtub, it’s important to take specific safety precautions. Ensure proper ventilation in the area to minimize exposure to fumes and follow all instructions for handling and storing the patching compound.
Conclusion
So there you have it, a step-by-step guide on how to fix a hole in your bathtub.
By following these instructions, you’ll be able to restore your bathtub to its former glory and enjoy a relaxing soak once again.
Remember to assess the damage, gather the necessary materials, and prepare the surface before applying the patching compound.
Smooth and shape the patch, let it cure, and then sand and finish it for a seamless finish.
Finally, seal and protect the patch to ensure its longevity.
Happy repairing!