As someone who has faced the daunting task of removing a bathtub without causing damage to the surrounding walls, I know just how important it is to approach the process with care and precision.
In this article, I will guide you through the steps to safely and efficiently remove your bathtub while avoiding any unnecessary destruction. By following these instructions and utilizing the proper tools, you’ll be able to tackle this project with confidence and achieve impressive results.
So, let’s dive in and learn how to remove a bathtub without destroying your walls.
Key Takeaways
- Conduct a thorough inspection of the bathtub installation for any visible signs of damage or wear.
- Gather the necessary tools and materials for the bathtub removal.
- Disconnect the plumbing and drainage system properly before removing the bathtub.
- Use caution and proper techniques when detaching the bathtub from the surrounding walls to avoid causing harm.

GIOTOHUN Cat Water Fountain Filter: 12 Cat Fountain Filter Replacement - 12 Pet Fountains Filters Replacement - 6 Filters & 6 Sponges - Suitable for ATMZIQXR GIOTOHUN KOOGMOON UMOCUOY IHOUONE HOOISE
- Compatible with GIOTOHUN Stainless Steel Fountain: Fits GIOTOHUN 2.2L cat water dispenser
- Set of 12 Filters: Includes 6 carbon and 6 sponge filters
- Long-lasting Filters: Suitable for 3-6 months of use
As an affiliate, we earn on qualifying purchases.
Assessing the Bathtub Installation
Before you can remove the bathtub, you’ll need to assess how it was installed. Start by conducting a thorough bathtub installation inspection. Check for any visible signs of damage or wear, such as cracks or leaks.
Additionally, evaluate the condition of the surrounding walls to determine if they are in good shape and can withstand the removal process. Look for any signs of water damage, mold, or weak spots. It’s crucial to ensure that the walls are sturdy enough to support the weight of the bathtub and any potential renovations that may follow.
Once you have evaluated the bathtub installation and determined the condition of the walls, you can move on to gathering the necessary tools and materials.
Gathering the Necessary Tools and Materials
To get started, you’ll need a few essential tools and materials for this bathtub removal project. Here are the items you’ll need:
-
Safety goggles and gloves: It’s important to take proper safety precautions when removing a bathtub. Protect your eyes and hands by wearing goggles and gloves.
-
Pry bar and hammer: These tools will help you remove any caulking or adhesive holding the bathtub in place. Use the pry bar to gently pry the bathtub away from the walls.
-
Drop cloths or tarps: Protecting the flooring is crucial during this project. Lay down drop cloths or tarps to prevent any damage or debris from falling onto the floor.
Disconnecting the Plumbing and Drainage System
First, make sure you have turned off the water supply and disconnected the plumbing and drainage system. This step is crucial in preventing leaks and ensuring a smooth removal process.
Begin by shutting off the main valve to stop the water flow. Next, use a wrench to disconnect the water supply lines from the faucet and the drain pipe from the bathtub. Be careful not to damage any pipes or fittings during this process.
Once the plumbing connections are disconnected, it’s time to tackle the drainage system. Remove the drain stopper and unscrew the drain flange to disconnect it from the bathtub. Take note of the parts and their positions for easier reconnection later.
With the plumbing and drainage system disconnected, you can move forward with removing the bathtub without causing any damage.
Loosening and Removing the Bathtub Fixtures
When it comes to loosening and removing bathtub fixtures, proper tool selection is crucial. Using the right tools will make the job easier and more efficient.
Additionally, it is important to take precautions to prevent any damage to the walls during this process. By following these guidelines, you can successfully remove bathtub fixtures without causing any unnecessary harm.
Proper Tool Selection
You’ll need the right tools for the job when removing a bathtub without destroying the walls. Here are three essential tools to have on hand for this task:
-
Adjustable Wrench: A versatile tool that allows you to easily tighten or loosen nuts and bolts. Use it to disconnect the water supply lines and drain pipe from the bathtub fixtures.
-
Pry Bar: This sturdy tool is perfect for prying off the bathtub surround without damaging the walls. Start at one corner and gently work your way around, using the pry bar to separate the surround from the wall.
-
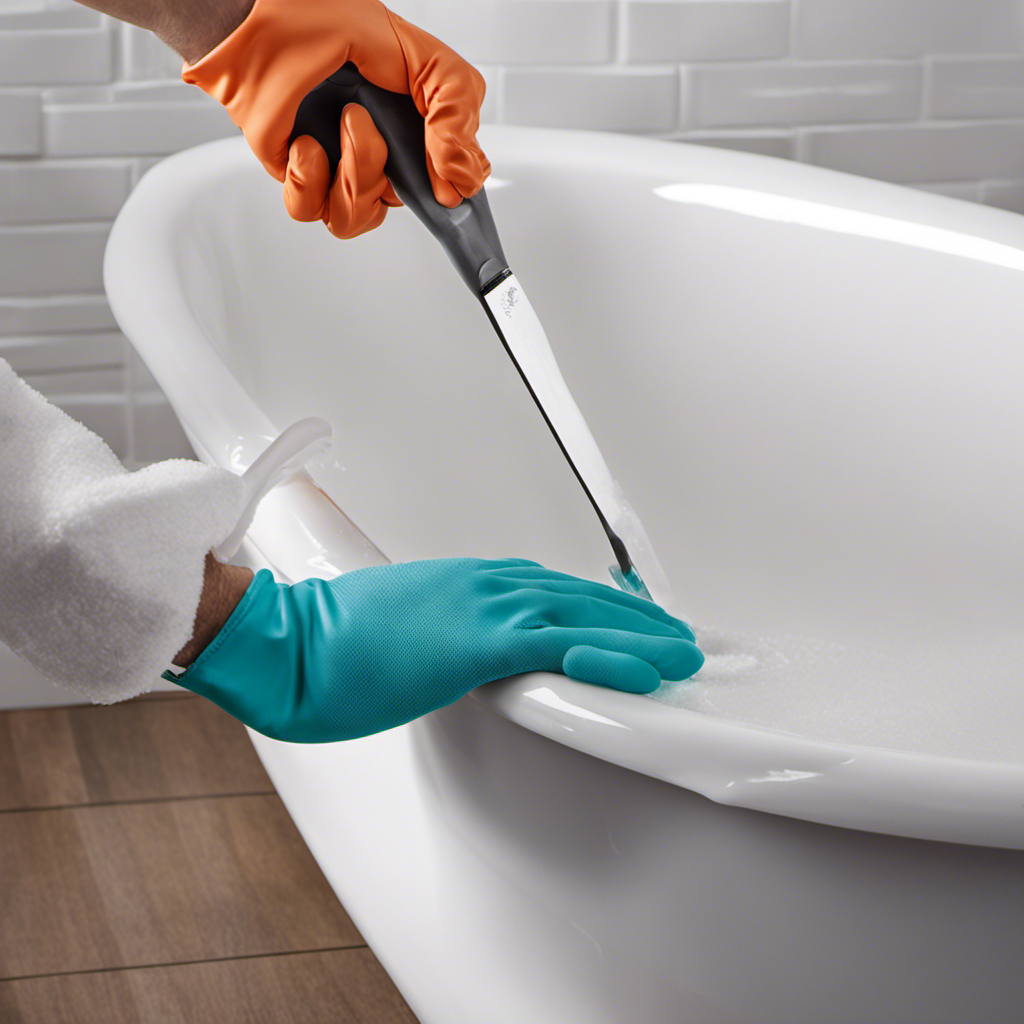
Utility Knife: Use a sharp utility knife to cut through any caulking or adhesive holding the bathtub in place. This will make it easier to remove the bathtub without causing unnecessary damage to the wall surfaces.
By using these tools correctly, you can prevent water damage and protect your wall surfaces while removing the bathtub.
Now let’s move on to the next section, where we’ll discuss preventing wall damage during this process.
Preventing Wall Damage
To avoid causing harm to the walls, it’s important to use caution and take preventative measures when removing the bathtub.
When removing a bathtub, one must be careful to avoid structural damage to the walls. One of the most effective ways to protect the walls is by using a drop cloth or plastic sheeting to cover the surrounding area. This will prevent any debris or tools from scratching or damaging the paint or tile.
Additionally, it’s crucial to use the right tools and techniques to remove the bathtub without damaging the walls. A pry bar or crowbar can be used to gently pry the bathtub away from the walls, ensuring that the force is evenly distributed and minimizing the risk of causing any structural damage.
Remember to work slowly and carefully, taking breaks if needed, to ensure a successful and damage-free bathtub removal.
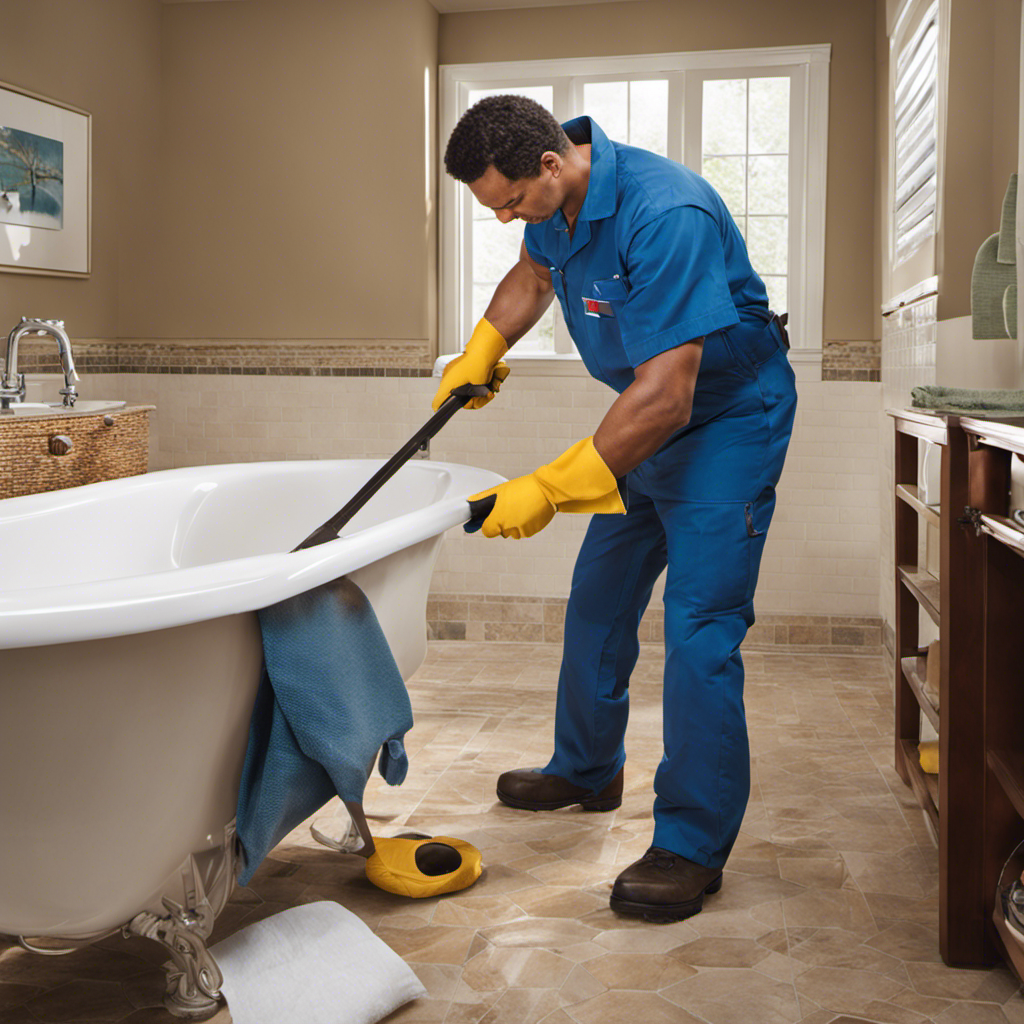
Detaching the Bathtub From the Surrounding Walls
Once you’ve disconnected the plumbing, start by removing any caulk or adhesive around the edges of the bathtub. This will allow for easier detachment from the surrounding walls.
Here are the steps I follow to detach the bathtub without damaging the walls:
-
Preparing the workspace: Before starting the removal process, it’s important to protect the floor by laying down drop cloths or cardboard to prevent any scratches or damage.
-
Removing the fixtures: Carefully unscrew and remove any fixtures attached to the bathtub, such as faucets and showerheads. This will make it easier to detach the bathtub from the walls.
-
Loosening the connection: Using a pry bar or a utility knife, gently separate the bathtub from the surrounding walls. Be cautious not to apply too much force, as it can cause damage to the walls.
Removing the Bathtub Safely and Efficiently
If you follow these steps, it’s important not to rush the process of separating the bathtub from the walls so that you can ensure a safe and efficient removal.
Before you begin removing the bathtub, it’s essential to prepare the workspace and protect the floor. Start by clearing any items or obstacles around the bathtub area to create a clutter-free workspace.
Next, cover the floor with a drop cloth or plastic sheeting to shield it from any potential damage or debris. This will also make the cleanup process much easier later on. Additionally, consider using protective materials such as cardboard or foam to cover any delicate surfaces or corners that may come in contact with the bathtub during the removal.
Conclusion
In conclusion, removing a bathtub without damaging the walls is a meticulous process that requires careful planning and the right tools. By following the steps outlined in this article, you can successfully remove your bathtub while preserving the integrity of your walls.
Remember the old adage, ‘Patience is a virtue,’ as you embark on this task, as it may take time and effort to complete. With patience and precision, you can achieve a safe and efficient bathtub removal without destroying your walls.