I’ve been dealing with a leaky bathtub spout for weeks now, and it’s been driving me crazy. Every time I turn on the water, it’s like a miniature waterfall cascading from the spout.
But I’ve finally had enough and decided to take matters into my own hands. In this article, I’ll show you step by step how to fix that annoying leak and regain control over your water flow.
Trust me, it’s easier than you think!
Key Takeaways
- Inspect the bathtub spout for visible cracks or loose connections.
- Choose a replacement spout that matches the style and finish of your bathroom fixtures.
- Apply plumber’s tape to the threads of the new spout before installation to prevent future leaks.
- Regularly inspect the spout for wear or damage and replace as needed.

DANCO (88703) Tub Spout with Diverter, Chrome Finish, Metal, 1-Pack
Tub Spout Replacement: Replace your old, leaky tub spout with a stylish metal diverter spout in a classic…
As an affiliate, we earn on qualifying purchases.
As an affiliate, we earn on qualifying purchases.
Identifying the Source of the Leak
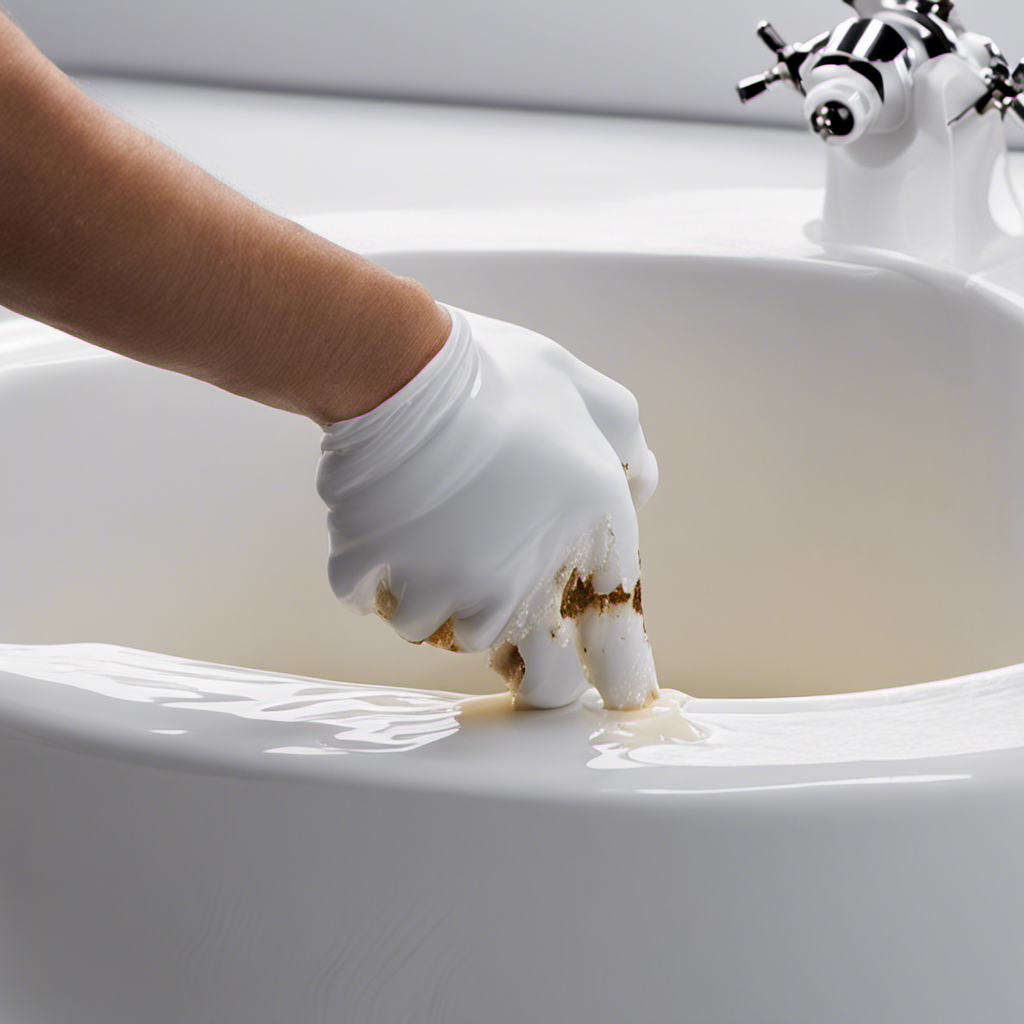
To identify the source of the leak, you’ll need to inspect the bathtub spout for any visible cracks or loose connections.
Leaky bathtub spouts can be caused by several common factors. One possible cause is a cracked spout, which can occur due to wear and tear over time. Another common cause is a loose connection between the spout and the pipe, which can lead to water leakage.
Troubleshooting tips for identifying the source of the leak include turning off the water supply and examining the spout closely for any signs of damage. Look for visible cracks, gaps, or loose parts. Additionally, check the surrounding area for any water stains or wet spots, as this can indicate a leaky spout.

Enhon 2 Set Tub Spout Diverter Repair Kit, Includes 2 x Diverter Valve Stems, 2 x Cup Seals and 2 x Gates, Bathroom Shower Bathtub Leaky Faucet Repair Replacement Parts (Chrome,Classic)
Universal Design: the tub spout diverter repair kit is designed for repairing most standard tub spouts, and features…
As an affiliate, we earn on qualifying purchases.
As an affiliate, we earn on qualifying purchases.
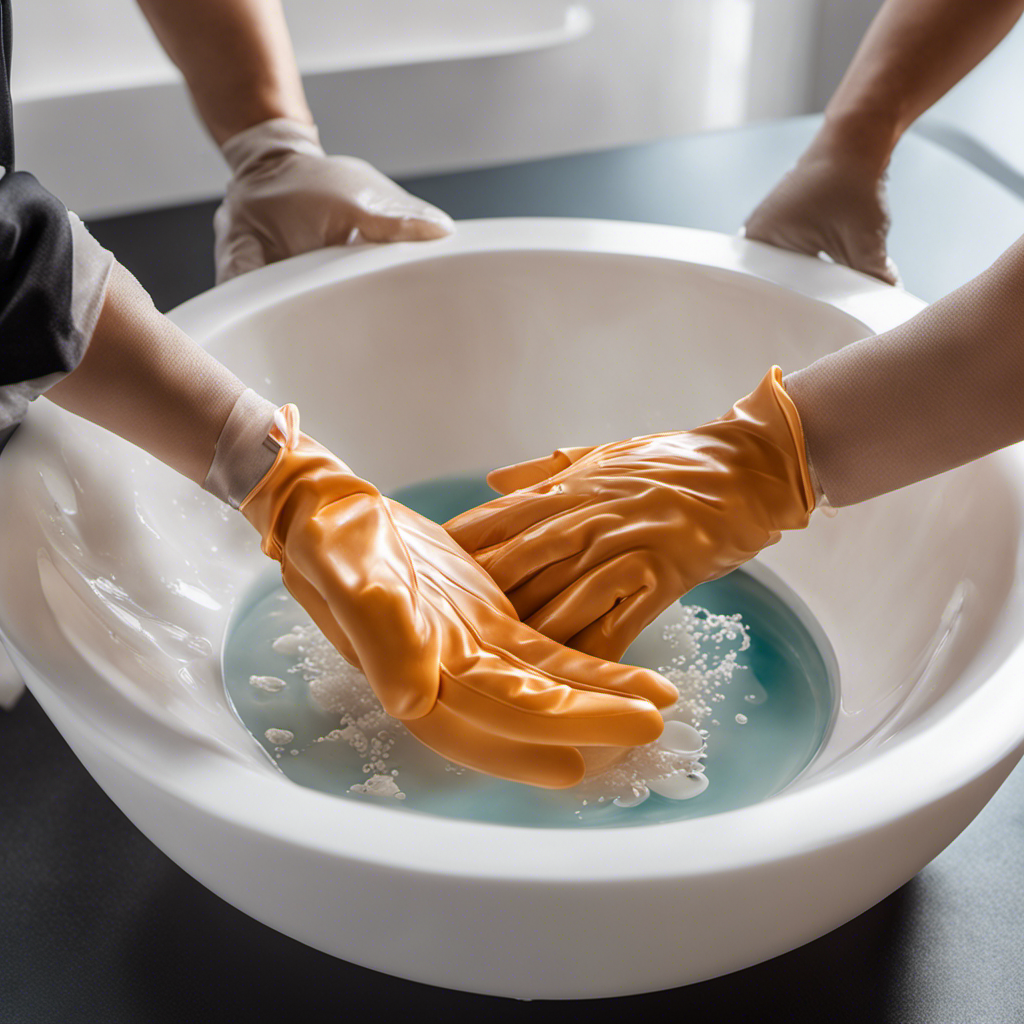
Gathering the Necessary Tools and Materials
Gathering the necessary tools and materials can make fixing a leaky bathtub spout easier. When choosing the right bathtub spout replacement, it’s important to consider the type and size of your existing spout. Look for a replacement that matches the style and finish of your bathroom fixtures. To prevent future leaks, apply plumber’s tape to the threads of the new spout before installation. This will create a tight seal and prevent water from seeping through.
Additionally, regularly inspect the spout for any signs of wear or damage and replace it as needed. By taking these precautions, you can save yourself from the hassle and expense of dealing with a leaky spout in the future.
Now, let’s move on to disassembling the bathtub spout.
DANCO (88703) Tub Spout with Diverter, Chrome Finish, Metal, 1-Pack
Tub Spout Replacement: Replace your old, leaky tub spout with a stylish metal diverter spout in a classic…
As an affiliate, we earn on qualifying purchases.
As an affiliate, we earn on qualifying purchases.
Disassembling the Bathtub Spout
When removing the bathtub spout, it’s important to be gentle to avoid causing any damage. Properly maintaining bathtub spouts is crucial to prevent leaks.
There are common causes of bathtub spout leaks that you should be aware of. One possible cause is a worn-out O-ring or washer, which can result in water seeping through the spout. Another cause could be a loose connection between the spout and the pipe, allowing water to escape. In some cases, the spout itself may be cracked or damaged, causing leaks.
To disassemble the spout, locate the set screw or a retaining clip and gently loosen it using a screwdriver or pliers. Once loosened, the spout can be pulled off the pipe to access the internal components for inspection and repair.

D-NYX 1, 4 or 5 Rolls 1/2 Inch(W) X 520 Inches(L) Teflon Plumbers Tape, Duct Sealant Tape for Shower Head, Plumbing Thread Tap, Water Pipe Sealing Plumbers PTFE Thread Seal (1 Pack)
SIZE: Teflon tape roll has a width of 1/2 inch and a length of 520 inches, which can…
As an affiliate, we earn on qualifying purchases.
As an affiliate, we earn on qualifying purchases.
Repairing or Replacing the Faulty Components
One option is to inspect the O-ring or washer for wear and tear, as this could be the cause of the water leaking from your bathtub’s spout.
Start by turning off the water supply to the bathtub.
Next, unscrew the spout from the wall using a wrench.
Once removed, examine the O-ring or washer for any signs of damage such as cracks or tears.
If you notice any issues, replace the faulty component with a new one.
You can find replacement parts at your local hardware store or online.
When installing the new O-ring or washer, make sure it fits snugly and securely.
Tighten the spout back onto the wall, turn on the water supply, and check if the leak has been fixed.
This simple fix is one of the common bathtub issues and can save you from unnecessary expenses.
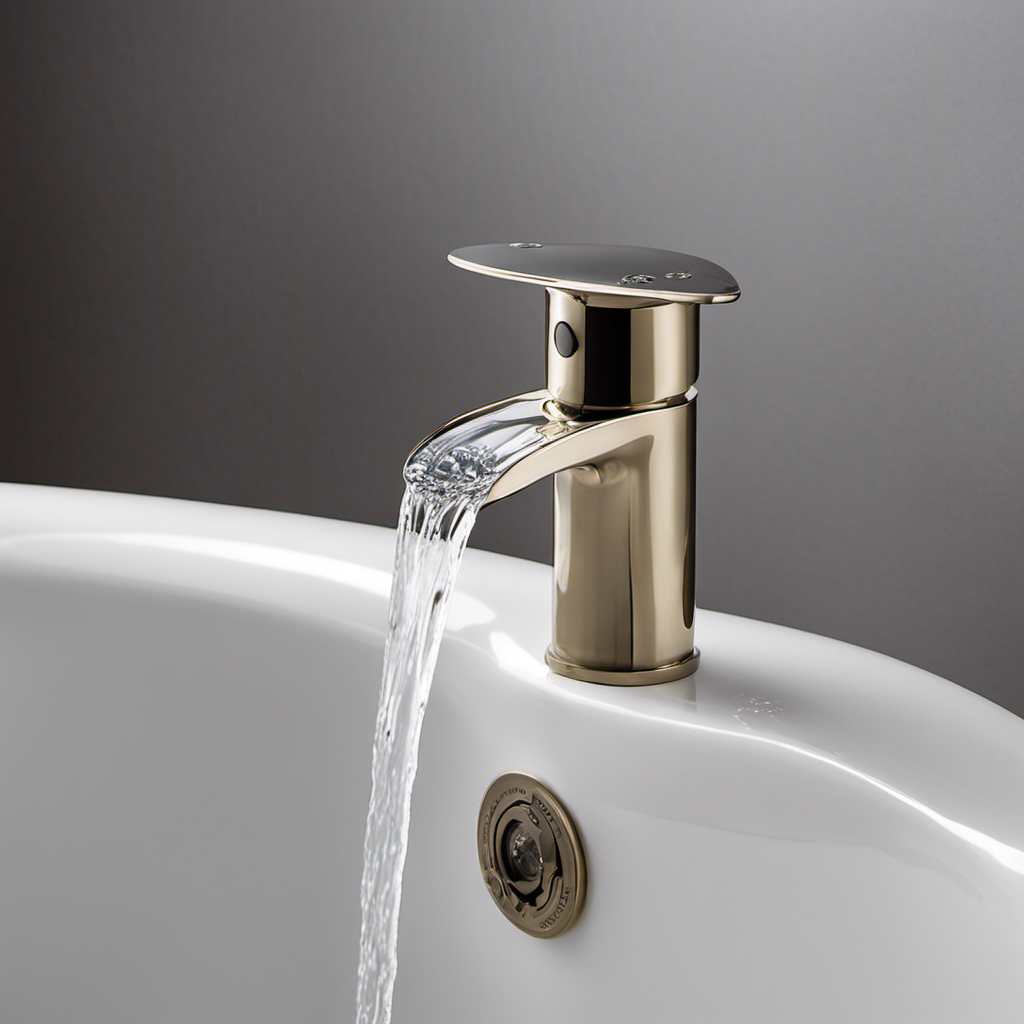
Reassembling and Testing the Fixed Bathtub Spout
After reassembling the newly fixed components, you can turn on the water supply to test if the leak has been successfully resolved.
Here are some tips for testing the repaired bathtub spout and maintaining a leak-free bathtub:
- Turn on the water supply gradually to avoid any sudden pressure that could cause further damage.
- Check for any leaks or drips around the spout and the connections.
- Run the water for a few minutes to ensure that the repair holds up under normal usage.
- Listen for any unusual sounds, such as rattling or vibrating, which could indicate a loose connection.
- Observe the water flow to make sure it is steady and consistent.
- If you notice any leaks or issues during the testing process, you may need to disassemble and reassemble the components again, or seek professional help.
To maintain a leak-free bathtub spout, regularly inspect and clean the spout and its connections, and promptly address any issues to prevent further damage.
Conclusion
In conclusion, fixing a leaky bathtub spout is a relatively simple task that can save you time and money. By identifying the source of the leak, gathering the necessary tools and materials, and carefully disassembling and repairing or replacing the faulty components, you can easily solve this problem.
Remember to reassemble the spout correctly and test it afterwards to ensure it is fixed. So don’t hesitate to tackle this DIY project and enjoy a leak-free bathtub experience!