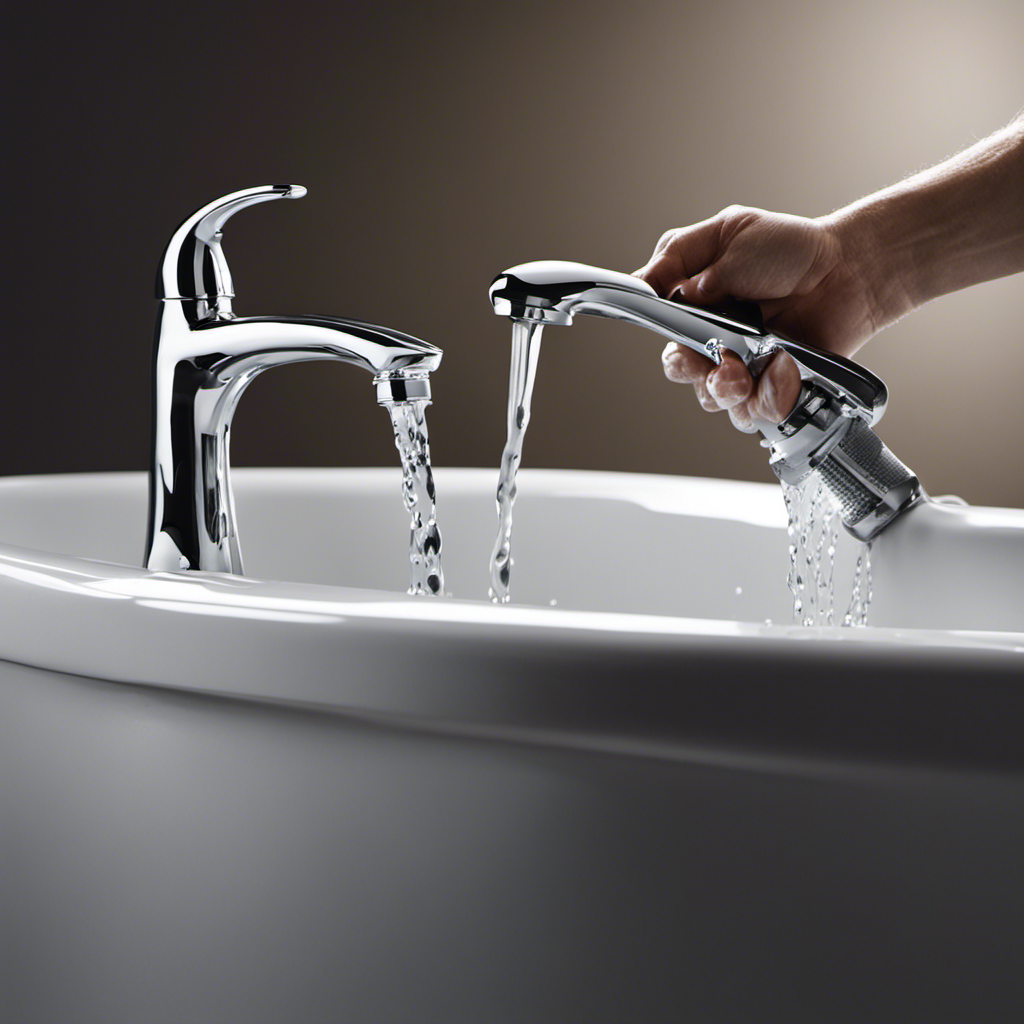
I’ve always been the DIY type, eager to tackle household problems head-on. So when I discovered a leaky faucet in my bathtub, I knew I had to fix it myself. It was like a relentless drip, a constant reminder of wasted water and money.
But armed with the right tools and a step-by-step guide, I was able to successfully repair the faucet and put an end to the annoying drip. In this article, I’ll share with you the knowledge and techniques I acquired, so you too can fix that leaky faucet and reclaim control of your water bill.
Key Takeaways
- Leaky faucets are often caused by worn-out washers, damaged O-rings, or corroded valve seats.
- Regular maintenance, such as replacing worn-out parts and lubricating moving components, can prevent leaky faucets.
- Having the necessary tools and supplies, such as a wrench, pliers, and a bucket, is essential for a successful DIY repair.
- Shutting off the water supply is the first step in fixing a leaky faucet and can be done by locating the shut-off valve and turning it clockwise.

RP4993 Faucet repair kit Faucet stem assembly Replacement Kit for Delta two handle faucet repair kit Includes Seats and Springs 8 Pack
RP4993 Replacement Kit for Delta two handle faucet repair kit, Includes 8 pieces Seats and 8 pieces Springs.
As an affiliate, we earn on qualifying purchases.
As an affiliate, we earn on qualifying purchases.
Understanding the Leaky Faucet Problem
Understanding the leaky faucet problem can help you determine the best solution. Leaky faucets are a common household issue, often caused by worn-out washers, damaged O-rings, or corroded valve seats. These issues can result in water seeping through the faucet even when it is turned off, wasting water and potentially causing damage to your fixtures.
To prevent a leaky faucet, regular maintenance is key. This includes replacing worn-out parts, lubricating moving components, and avoiding excessive force when turning the handles. Additionally, it is important to address any leaks promptly to prevent further damage.
By understanding the common causes of leaky faucets and taking preventive measures, you can save water, money, and the hassle of a full-blown plumbing issue.
Now, let’s move on to the next step: gathering the necessary tools and supplies.

360 Pcs O Ring Assortment Kit,Rubber Washer Orings, Black 24 Sizes Pressure Washer O Ring Kit for Faucet, Hose, Automotive, Air Gas Plumbing Sealing Repair O Rings
Premium Material: These assorted o rings are made of outstanding rubber material with good air tightness and high…
As an affiliate, we earn on qualifying purchases.
As an affiliate, we earn on qualifying purchases.
Gathering the Necessary Tools and Supplies
To gather everything you’ll need, start by checking if you have a wrench, pliers, and a bucket. These tools are essential for installing a new faucet and fixing a leaky bathtub. Having the right tools will make the process much easier and ensure a successful repair.
A wrench is necessary for loosening and tightening the nuts and bolts, while pliers will come in handy for gripping and turning smaller parts. The bucket is useful for catching any water that may spill during the process.
Although it is possible to fix a leaky faucet on your own, it is important to know your limitations. If you do not feel confident or have limited plumbing experience, it is best to seek professional help to avoid causing further damage.

RIDGID 57003 EZ Change Plumbing Wrench Faucet Installation and Removal Tool
EZ CHANGE WRENCH: Multifunctional plumbing tool is ideal for under-sink faucet installation and removal and compatible with common…
As an affiliate, we earn on qualifying purchases.
As an affiliate, we earn on qualifying purchases.
Shutting Off the Water Supply
First, locate the shut-off valve for the water supply to your home. This valve is typically located near your water meter or where the main water line enters your house. It is important to know its location in case of emergencies or when you need to perform repairs.
Here are some steps to help you locate and use the shut-off valve:
- Look for the shut-off valve near your water meter or where the main water line enters your home.
- Turn the valve clockwise to shut off the water supply.
- Use a wrench or pliers if the valve is difficult to turn.
- Test if the water is completely shut off by running a faucet.
- To turn the water back on, simply turn the valve counterclockwise.
XUFOPLY 56PCS Air Conditioning Leak Detection and Repair Tools,Air Conditioning Compressor Leak Detector Tester Adaptor Tool Kit
【Efficiency】Segmental leak detection of automotive air conditioning systems.Easy to use.
As an affiliate, we earn on qualifying purchases.
As an affiliate, we earn on qualifying purchases.
Disassembling the Faucet
Check if the faucet handle has a small cap on the top that can be unscrewed to access the screw holding the handle in place. Once you have located the screw, use a screwdriver to remove it and then gently pull the handle off.
Underneath the handle, you will find the cartridge, which is responsible for controlling the flow of water. To remove the cartridge, you may need to use pliers or a cartridge removal tool. Once the cartridge is out, inspect it for any signs of damage or wear. If necessary, replace the gaskets and clean any debris that may be causing the leak. This step is crucial to ensure a proper seal and prevent future leaks.
Now that the faucet is disassembled, we can move on to inspecting and repairing the faucet components.
Inspecting and Repairing the Faucet Components
As we continue to inspect and repair the faucet components, it’s important to pay attention to two key points.
First, identifying worn-out washers. Worn-out washers are a common cause of leaks in faucets and can easily be identified by their deteriorated or flattened appearance.
Second, tightening loose connections. Tightening loose connections is another important step in preventing leaks, as loose connections can allow water to seep out.
Identifying Worn-Out Washers
You can easily identify worn-out washers by inspecting the faucet for signs of cracks or tears. When the washers become worn out, they can no longer create a watertight seal, resulting in a leaky faucet. Replacing worn-out washers is a simple and cost-effective solution to fix the problem.
Here are some common causes of worn-out washers:
- Age and regular use: Over time, the constant turning on and off of the faucet can cause the washers to wear down.
- Hard water: If your water supply has high mineral content, the minerals can build up on the washers, causing them to deteriorate faster.
- Incorrect installation: Poor installation techniques can cause the washers to become misaligned or damaged.
Tightening Loose Connections
Tightening loose connections is a quick and simple way to prevent any potential water leaks. It is important to regularly check and maintain the connections in your plumbing system to ensure their tightness. Loose connections can lead to leaks, which can cause significant damage to your home and result in costly repairs.
By regularly tightening these connections, you can prevent future leaks and maintain the integrity of your plumbing system. One key area to focus on is the connections between pipes and fittings. Using a wrench or pliers, tighten these connections until they are snug.
Additionally, check the connections on faucets, showerheads, and other fixtures, ensuring they are properly tightened. Regular maintenance and tightening of loose connections are crucial in preventing water leaks and keeping your plumbing system in good working order.
Reassembling the Faucet
To start reassembling the faucet, grab the wrench and tighten the connections.
Here are some reassembling tips and common mistakes to avoid:
- Make sure all parts are clean and free from debris before putting them back together.
- Double-check that the rubber washers are in place and properly seated.
- Align the parts correctly to ensure a proper fit and prevent leaks.
- Tighten the connections firmly, but be careful not to overtighten and cause damage.
- Use thread seal tape on any threaded connections to provide an extra layer of protection against leaks.
By following these reassembling tips and avoiding common mistakes, you can ensure that your faucet is properly put back together.
Now, let’s move on to testing and checking for leaks to complete the repair process.
Testing and Checking for Leaks
Now it’s time to check for any leaks by turning on the water and observing the connections. Common causes of bathtub faucet leaks can include worn-out washers, damaged O-rings, or loose connections.
To properly test and diagnose a leaky bathtub faucet, follow these steps:
-
Turn off the water supply: Before testing for leaks, it’s important to shut off the water supply to avoid any potential accidents or further damage.
-
Turn on the water: Slowly turn on the water supply to the bathtub faucet and observe the connections. Look for any signs of dripping or water leakage.
-
Check the connections: Carefully inspect the connections between the faucet, handles, and spout. Pay attention to any visible cracks, loose screws, or damaged components.
Conclusion
In conclusion, fixing a leaky faucet bathtub is not as daunting as it may seem. By following the steps outlined in this article, you can easily tackle the problem and save yourself from the constant drip-drip-drip.
Remember, a leaky faucet is like a nagging voice that never stops, but with a little know-how and the right tools, you can silence it once and for all.
So don’t delay, grab your wrench and get ready to bid adieu to those pesky leaks!