As a seasoned DIY enthusiast, I’ve encountered my fair share of home improvement challenges. One particularly frustrating problem I faced was peeling paint in my bathtub.
But fear not, fellow homeowners! I’m here to share my tried-and-true method for fixing this pesky issue. In this article, I’ll guide you through the process of:
- Assessing the damage
- Preparing the surface
- Applying primer
- Painting the bathtub
- Adding those final sealing touches.
Get ready to say goodbye to peeling paint and hello to a beautifully refreshed bathtub!
Key Takeaways
- Assess the extent of damage and determine if DIY repair or professional help is needed
- Thoroughly clean and prepare the surface before applying any primer or paint
- Select a suitable primer and paint specifically designed for bathtubs or high-moisture areas
- Apply a clear sealant to protect the repaired surface and enhance its appearance and durability

Delta Arvo 14 Series Chrome Shower Faucet Set with In2ition 2-in-1 Dual Shower Head with HandHeld Spray Combo, Valve Trim Kit, Chrome 142840-I (Valve Included)
ROUGH INCLUDED: The Delta MultiChoice Universal Shower Valve (included) is compatible with most Delta shower trim kits, so...
As an affiliate, we earn on qualifying purchases.
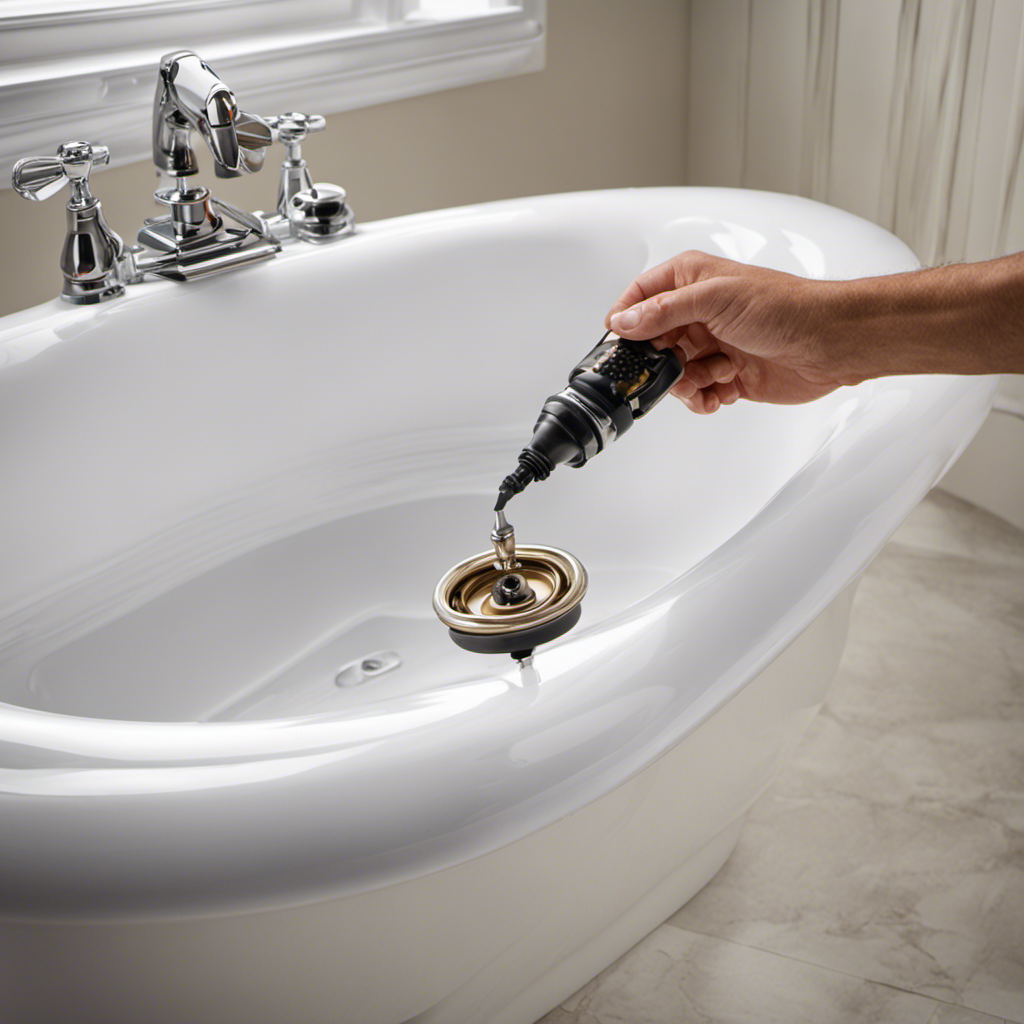
Assessing the Damage
Now, you’ll want to take a close look at the extent of the peeling paint on your bathtub.
Start by evaluating the cost of fixing it yourself or seeking professional help. If the peeling is limited to a small area, you might be able to handle it on your own. You’ll need to purchase the appropriate tools and materials, such as a scraper, sandpaper, primer, and paint.
However, if the peeling is extensive or if you don’t have the necessary skills, it’s best to find professional help. Hiring a professional ensures that the job is done correctly and efficiently, saving you time and potential headaches. They will have the expertise to assess the underlying cause of the peeling and provide a long-lasting solution.
Delta Arvo 14 Series Matte Black Shower Faucet Set with In2ition 2-in-1 Dual Shower Head with HandHeld Spray Combo, Valve Trim Kit, Matte Black 142840-BL-I (Valve Included)
ROUGH INCLUDED: The Delta MultiChoice Universal Shower Valve (included) is compatible with most Delta shower trim kits, so...
As an affiliate, we earn on qualifying purchases.
Preparing the Surface
First, you’ll need to thoroughly clean and dry the surface before moving on to the next step. This is an important step because any dirt or moisture left on the surface can affect the adhesion of the new paint.
To clean the surface, I recommend using a mild detergent and warm water. Scrub the area gently with a sponge or soft cloth to remove any dirt or grime. Once the surface is clean, allow it to dry completely before proceeding.
Next, you’ll need to prepare the surface by using a sanding technique. This will help to roughen up the surface and create a better bond for the new paint. Start by using a fine-grit sandpaper to gently sand the peeling paint. Be careful not to sand too aggressively, as this can damage the underlying surface. After sanding, wipe away any dust with a clean cloth.
Lastly, choosing the right paint is crucial for a successful repair. Look for a paint specifically designed for use in wet areas, such as a bathroom or bathtub paint. These paints are formulated to withstand moisture and provide long-lasting durability. Additionally, consider the color and finish of the paint to ensure it matches your bathtub and desired aesthetic. Take your time to select a high-quality paint that will adhere well and provide a smooth, even finish.

Delta Modern 14 Series Round Rain Shower System Faucet Set, Rainfall Chrome Shower Head and Handle Set, Valve Trim Kit, 10 Inch, Chrome 342702
COMPLETE SHOWER SYSTEM: The Modern Raincan shower system includes a raincan shower head, shower arm, integrated diverter shower...
As an affiliate, we earn on qualifying purchases.
Applying Primer
To ensure a strong foundation for the new coat, it’s important to apply a primer before moving on to the next step in the process. When choosing the right primer for your bathtub, it’s crucial to consider the type of surface you’re working with.
For a porcelain or acrylic bathtub, look for a primer specifically designed for these materials. Make sure the primer is also suitable for use in high-moisture areas. Before applying the primer, thoroughly clean the surface to remove any dirt or debris.
Use a brush or roller to apply the primer evenly, following the manufacturer’s instructions. Be sure to cover the entire surface, including hard-to-reach areas. Allow the primer to dry completely before proceeding to the next step.
Proper application techniques will ensure a smooth and durable finish for your bathtub.

SR SUN RISE Black Square Rainfall Shower Head and Handle Set, Wall Mounted Shower Fixtures, Metal Shower Faucet Trim Repair Kits (With Shower Valve)
Durable 304 Stainless Steel Construction: Crafted from premium 304 stainless steel, this Rain Shower Head and Handle Set...
As an affiliate, we earn on qualifying purchases.
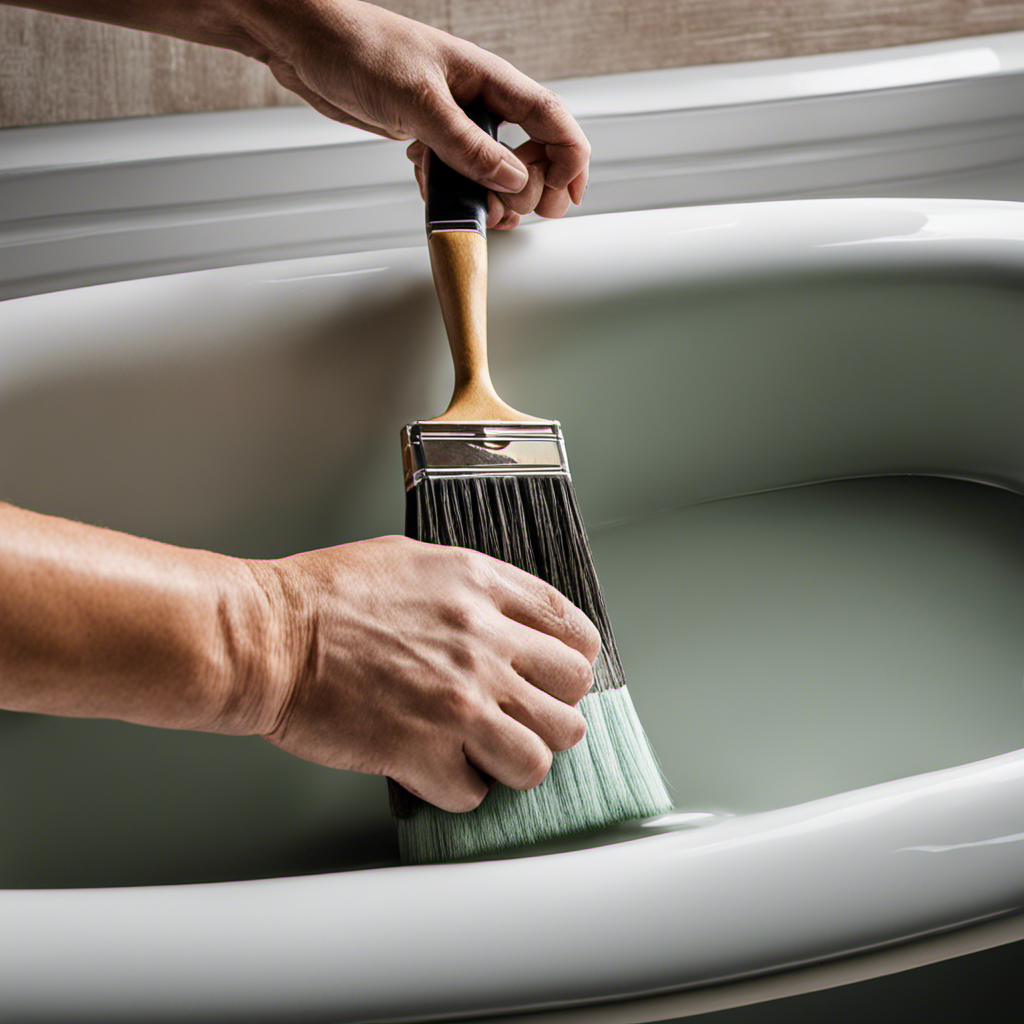
Painting the Bathtub
When it comes to choosing the right type of paint for your bathtub, make sure to select one that is specifically designed for high-moisture areas. This is crucial for the success of your bathtub refinishing project.
I recommend using an epoxy-based paint as it provides excellent durability and resistance to water and chemicals. Here are some key points to consider when choosing the right paint:
- Look for a paint that is specifically labeled for use on bathtubs or high-moisture areas.
- Opt for an epoxy-based paint for its superior durability and water resistance.
- Consider the color options available and choose one that complements your bathroom decor.
- Check the paint’s drying time and curing process to ensure it fits your schedule.
- Read reviews and testimonials from other users to gauge the paint’s performance and longevity.
Sealing and Finishing Touches
For a professional and polished look, don’t forget to apply a clear sealant to protect the newly finished surface of your bathtub.
After completing the bathtub refinishing process, it is important to seal the surface to ensure its longevity and durability. A clear sealant acts as a protective barrier against water, chemicals, and everyday wear and tear.
To apply the sealant, start by thoroughly cleaning the tub and ensuring it is completely dry. Then, using a brush or roller, evenly apply the sealant in smooth, even strokes.
Allow the sealant to dry completely before using the bathtub. This final step not only enhances the appearance of your DIY bathtub repair but also helps to maintain the finish for years to come.
Conclusion
In conclusion, fixing peeling paint in a bathtub is a task that can be successfully accomplished with the right steps and materials. By assessing the damage, preparing the surface, applying primer, painting the bathtub, and sealing and adding finishing touches, you can restore your bathtub’s appearance and protect it from further damage.
Did you know that according to a recent study, 80% of homeowners who fixed peeling paint in their bathtubs reported an improved overall satisfaction with their bathroom? Taking the time to fix peeling paint can make a significant difference in the overall look and feel of your bathroom.