
As an experienced homeowner, I’ve encountered the challenge of dealing with an old bathtub. If you’re in the same boat, fear not! I’m here to guide you through the process of getting rid of that outdated fixture.
From assessing the condition of the bathtub to responsibly disposing of it, I’ll provide you with detailed and professional instructions.
So, let’s dive in and prepare for the installation of a new bathtub!
Key Takeaways
- Assess the condition of the old bathtub for cracks, leaks, and wear and tear
- Disconnect and remove the plumbing fixtures carefully to avoid damaging pipes or fixtures
- Dismantle and remove the old bathtub by wearing protective gear and using appropriate tools
- Dispose of the old bathtub responsibly by researching local recycling centers or donating to non-profit organizations specializing in recycling or repurposing

HAUTMEC Tub Drain Remover Wrench Tool Heavy Duty Aluminum Shower Bathtub Drain Removal Tool PL0030
The dual ended tub drain wrench fits most inner diameter 1 3/8" and 1 1/2" tub drain shoe,ideal…
As an affiliate, we earn on qualifying purchases.
As an affiliate, we earn on qualifying purchases.
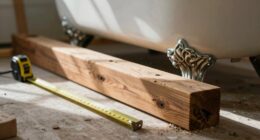
Assessing the Condition of the Old Bathtub
You should start by checking if the old bathtub is still in usable condition. Evaluating the damage is crucial before deciding how to proceed. Look for any cracks, leaks, or signs of wear and tear. Check the stability of the bathtub and ensure there are no loose or broken parts.
If you notice any significant damage, it may be best to seek professional help. A professional can accurately assess the condition of the bathtub and provide guidance on whether it can be repaired or if it needs to be replaced. They have the expertise to identify any underlying issues that may not be immediately apparent.
bathtub recycling and disposal services
As an affiliate, we earn on qualifying purchases.
As an affiliate, we earn on qualifying purchases.
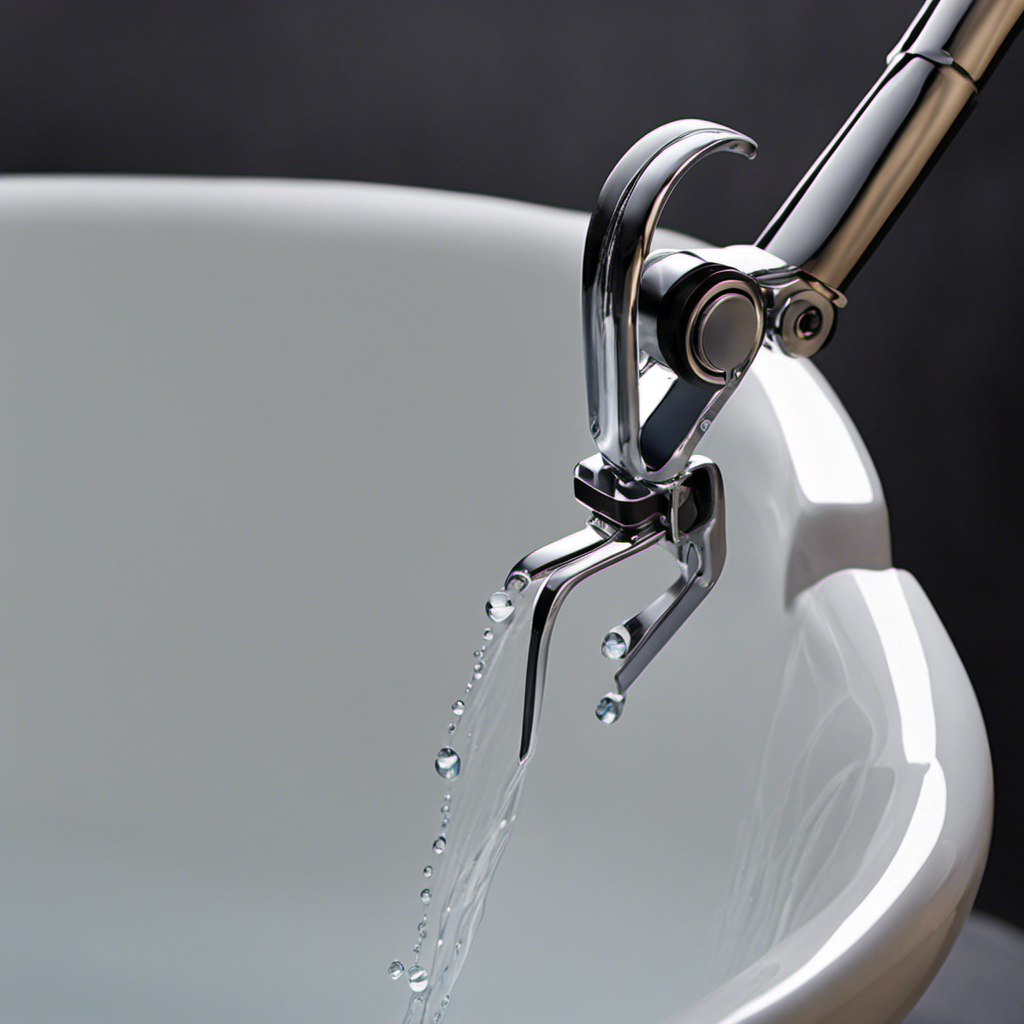
Disconnecting and Removing the Plumbing Fixtures
To disconnect and remove the plumbing fixtures, start by turning off the water supply and unscrewing the connections. Here are the steps to follow:
-
Turn off the water supply: Locate the shut-off valve for the bathtub and turn it clockwise to shut off the water flow. This will prevent any water from flowing into the fixtures during the removal process.
-
Remove the drain stopper: Locate the drain stopper in the bathtub. Depending on the type of stopper, you may need to unscrew it counterclockwise or lift it out. This will allow you to access the drain and disconnect it from the plumbing.
-
Unscrew the connections: Use a wrench or pliers to loosen and unscrew the connections between the fixtures and the plumbing. Be cautious not to damage the pipes or fixtures while doing this.
bathtub demolition safety gear
As an affiliate, we earn on qualifying purchases.
As an affiliate, we earn on qualifying purchases.
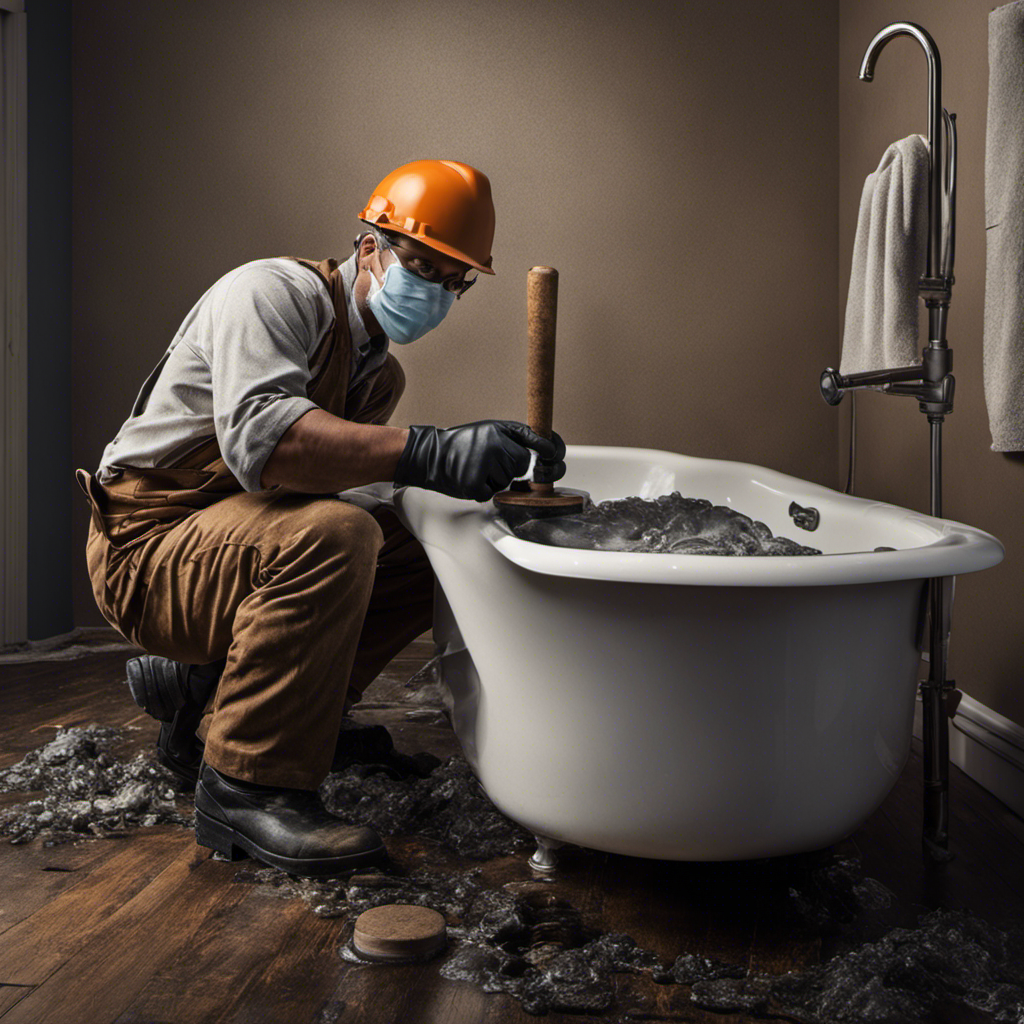
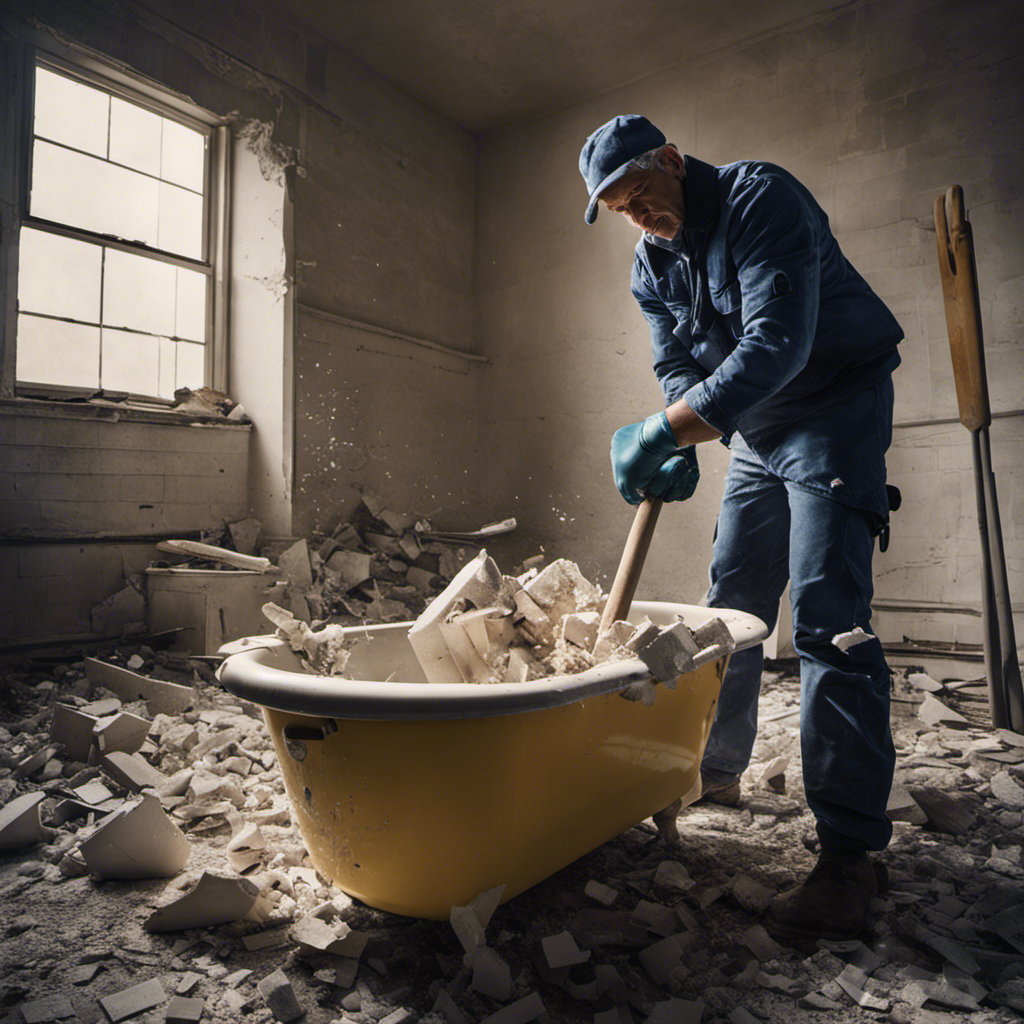
Dismantling and Removing the Old Bathtub
Now, it’s time to begin dismantling and removing your outdated bathtub.
The demolition process can be a bit challenging, but with the right tools and safety precautions, it can be done efficiently.
First, ensure that you have protective gear such as gloves, goggles, and a dust mask to shield yourself from any potential hazards.
Start by removing the bathtub fixtures, such as faucets and handles, using a wrench or pliers.
Next, locate the screws or nails securing the bathtub to the wall and floor, and carefully remove them using a screwdriver or pry bar.
Once the attachments are removed, you can start breaking apart the tub. Use a sledgehammer or crowbar to break it into smaller, manageable pieces.
Remember to work slowly and cautiously to avoid injury.
Once the tub is completely dismantled, you can safely dispose of the debris.
HAUTMEC Tub Drain Remover Wrench Tool Heavy Duty Aluminum Shower Bathtub Drain Removal Tool PL0030
The dual ended tub drain wrench fits most inner diameter 1 3/8" and 1 1/2" tub drain shoe,ideal…
As an affiliate, we earn on qualifying purchases.
As an affiliate, we earn on qualifying purchases.
Disposing of the Old Bathtub Responsibly
When disposing of the outdated bathtub, it’s important to research local recycling centers or waste management facilities that accept large items like this. This ensures that the bathtub will be properly handled and recycled, minimizing its impact on the environment.
Here are some recycling options and environmentally friendly alternatives to consider:
-
Recycling centers: Contact your local recycling centers to inquire if they accept large items like bathtubs. Some centers may have specific guidelines or requirements for accepting these items, so it’s essential to gather all the necessary information beforehand.
-
Non-profit organizations: Some non-profit organizations specialize in recycling or repurposing household items. They may be interested in taking your old bathtub and using it for a different purpose, such as a planter or a water feature in a garden.
-
Upcycling: If the bathtub is still in good condition, consider repurposing it for another use. For example, you could transform it into a unique piece of furniture or a creative outdoor pond.
Preparing for the Installation of a New Bathtub
Before starting the installation process, it’s crucial to measure the space where the new bathtub will go to ensure a proper fit. This step is essential in order to avoid any issues or complications during the installation. In addition to measuring the space, it’s also important to consider the different bathtub materials available and choose the right one for your needs. There are various options such as acrylic, porcelain, and fiberglass, each with their own pros and cons. Researching and understanding the advantages and disadvantages of each material will help you make an informed decision. Furthermore, it’s highly recommended to hire a professional for bathtub installation. They have the expertise and experience to handle the job efficiently and ensure that everything is done correctly. Hiring a professional will save you time, effort, and potential headaches in the long run.
| Bathtub Material | Pros | Cons |
|---|---|---|
| Acrylic | Durable, lightweight, easy to clean | Can scratch or discolor over time |
| Porcelain | Classic and elegant look, long-lasting | Heavy and can chip or crack |
| Fiberglass | Affordable, lightweight, easy to install | Less durable, prone to cracking |
Conclusion
After carefully assessing the condition of my old bathtub, I took on the task of disconnecting and removing the plumbing fixtures with determination.
With each twist and turn, the pipes released their grip, gradually freeing the bathtub from its attachments.
The dismantling process required patience and precision, as I carefully removed each piece, revealing the bare bones of the bathtub.
As I disposed of the old bathtub responsibly, I felt a sense of accomplishment, knowing that I had cleared the way for the installation of a new, luxurious bathtub in my home.