I’ve always wanted to give my old bathtub a fresh, new look, but I didn’t know where to start. That’s when I discovered the amazing world of bathtub painting.
In this step-by-step guide, I’ll show you how to transform your worn-out bathtub into a stunning focal point of your bathroom. From assessing the condition of the tub to applying the perfect paint, I’ll walk you through each stage of the process.
Get ready to revitalize your bathtub and create a space you’ll love spending time in.
Key Takeaways
- Inspect the bathtub for cracks, chips, or peeling paint
- Clean the bathtub using mild detergent and warm water, and sand the surface lightly with fine-grit sandpaper
- Choose the right paint for the job, considering color options and using enamel or epoxy paint for a glossy and durable finish
- Apply the paint in thin, even coats using a high-quality brush, allowing each coat to dry completely before applying the next one

Tub Repair Kit White, Bathtub Repair Kit for Enamel, Fiberglass, Acrylic
- Instantly Restores Glossy White Finish: Covers chips, cracks, and scratches seamlessly
- Strong, Durable Coverage: Resists scratches, rust, and high temperatures
- Waterproof, Stain-Resistant Finish: Prevents yellowing and stains over time
As an affiliate, we earn on qualifying purchases.
As an affiliate, we earn on qualifying purchases.
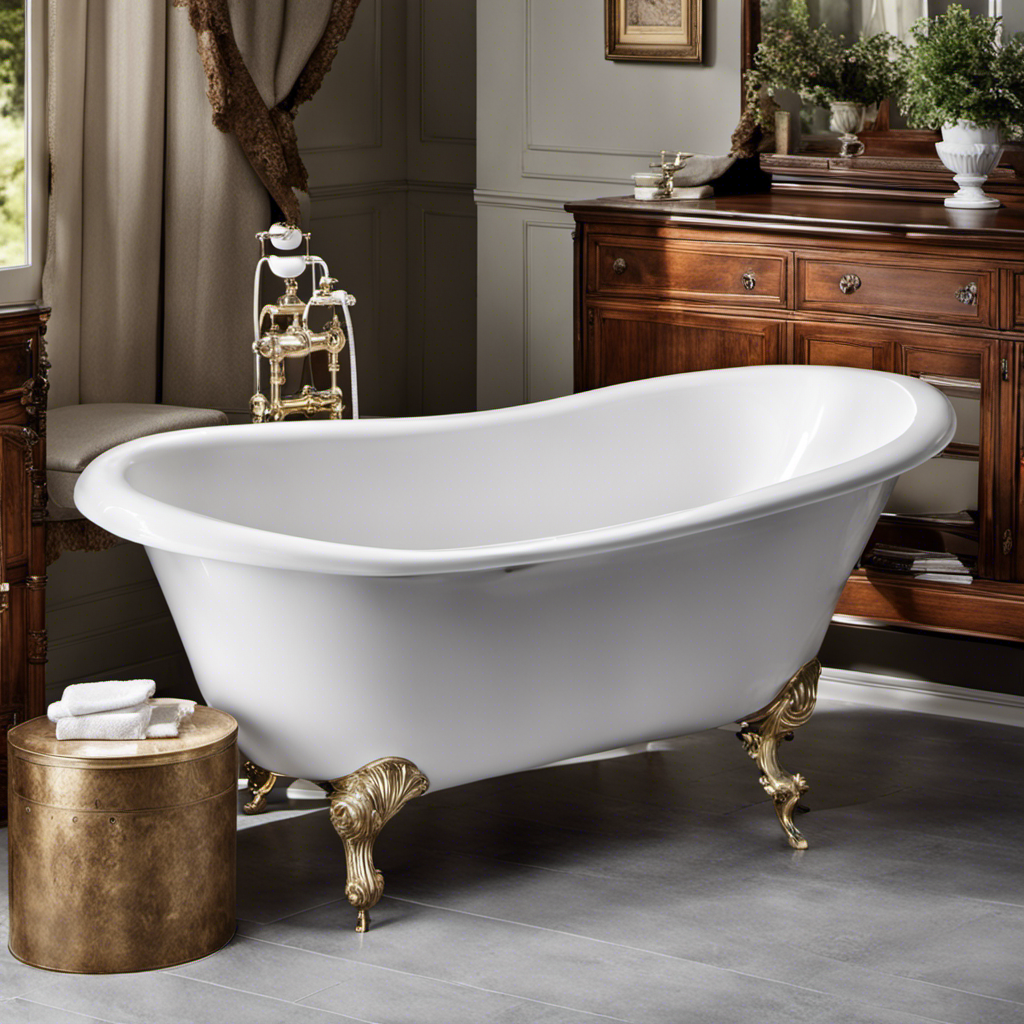
Assessing the Condition of the Bathtub
Before you start painting, it’s important to assess the condition of the bathtub. Evaluating the damage and identifying repair needs will ensure that you have a smooth and successful painting process.
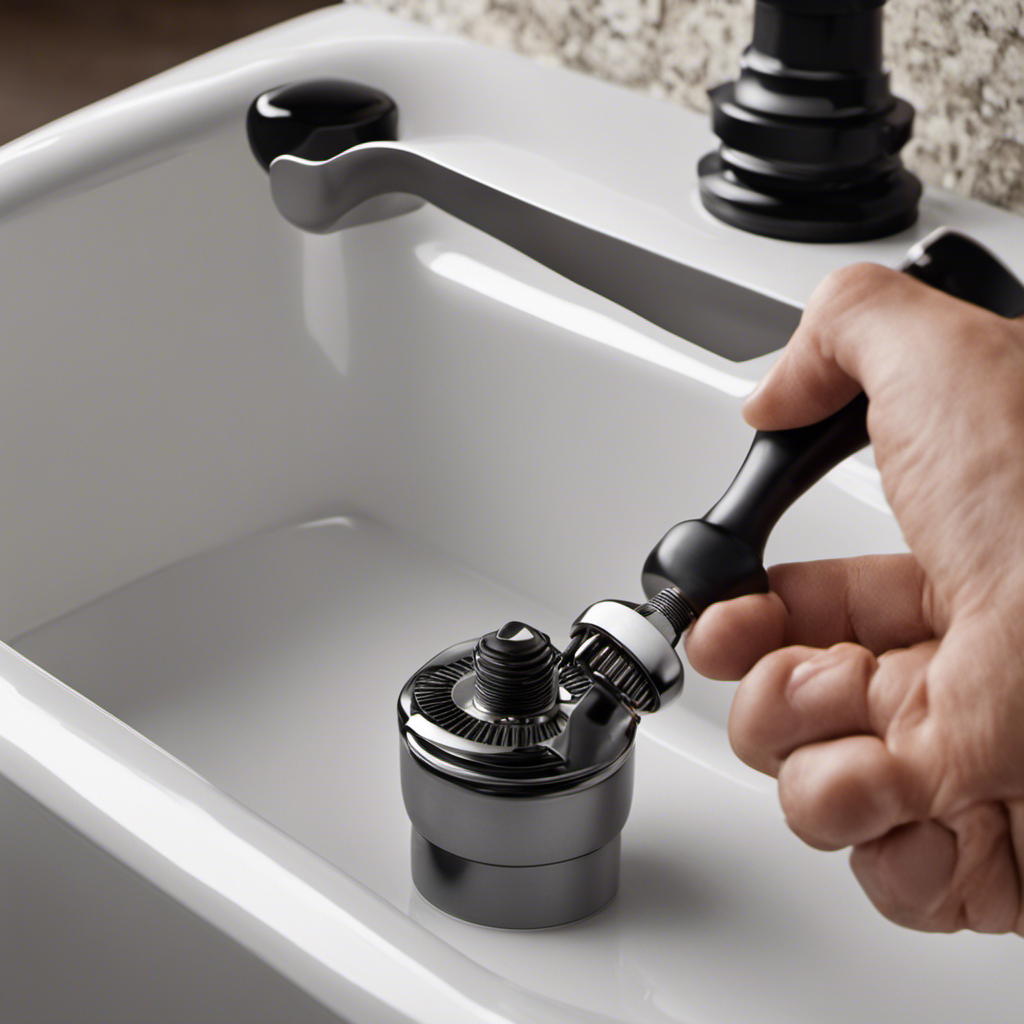
Begin by inspecting the bathtub for any cracks, chips, or peeling paint. Look closely at the surface to determine if there are any areas that need to be repaired before painting.
If you find any damage, such as small cracks or chips, you can use a bathtub repair kit to fix them. For larger or more extensive damage, it may be necessary to hire a professional to make the repairs.
Once you have evaluated the condition of the bathtub and made any necessary repairs, you can move on to preparing the bathtub for painting.
Preparing the Bathtub for Painting
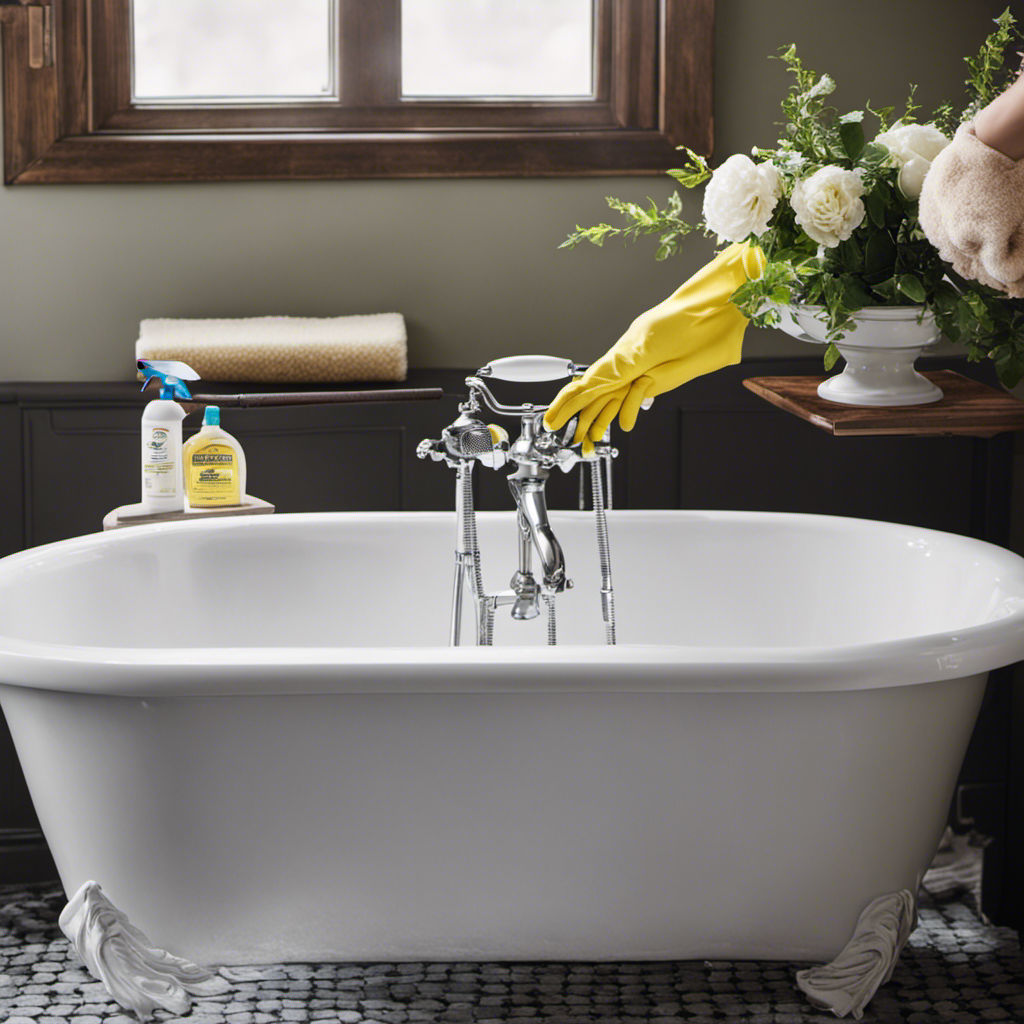
To get started, you’ll need to thoroughly clean and sand the surface of the bathtub before painting. Cleaning the bathtub is crucial to remove any dirt, grime, or soap scum that may prevent the paint from adhering properly.
Here’s a step-by-step guide to prepare the bathtub for painting:
-
Clean the bathtub: Use a mild detergent and warm water to scrub the entire surface of the bathtub. Rinse well to remove any residue, and allow it to dry completely.
-
Sand the surface: Use a fine-grit sandpaper to lightly sand the bathtub. This will create a rough surface for the paint to adhere to. Be sure to sand in a circular motion to avoid leaving any visible scratches.
-
Remove dust: After sanding, wipe down the surface with a damp cloth to remove any dust particles. This will ensure a smooth and even paint application.
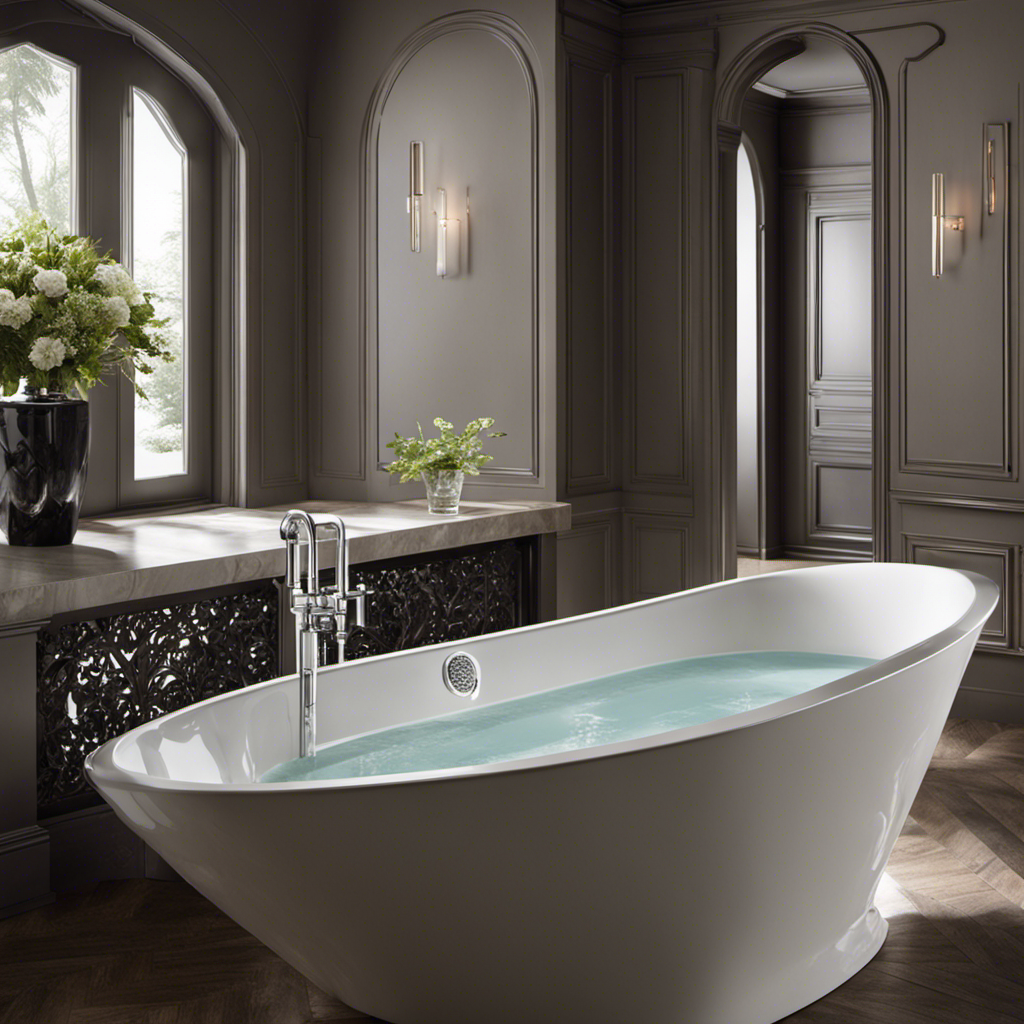
Choosing the Right Paint for the Job
When selecting the right paint for your project, consider the color options available and the type of finish you desire.
Choosing paint colors can be a fun but daunting task. Start by considering the overall color scheme of your bathroom and how you want the bathtub to fit into that scheme. Remember that lighter colors can make a small bathroom feel more spacious, while darker colors can add a touch of elegance.
Next, think about the type of finish you desire. For a glossy and more durable finish, opt for an enamel or epoxy paint. These paints are specifically formulated to withstand water and moisture.
Avoid common mistakes in bathtub painting, such as using regular wall paint or not properly prepping the tub surface, to ensure a long-lasting and beautiful result.
Applying the Paint to the Bathtub
Once you’ve prepped the surface, it’s time to start applying the new paint. Here are three steps to follow when applying paint to your bathtub:
-
Begin by using a high-quality brush specifically designed for painting surfaces like bathtubs. This will ensure smooth application and even coverage.
-
Apply the paint in thin, even coats, using long, smooth brush strokes. Start from one end of the bathtub and work your way towards the other end. Make sure to overlap each stroke slightly to avoid any gaps or streaks.
-
Allow each coat to dry completely before applying the next one. The drying time will vary depending on the type of paint you are using, so make sure to read the instructions on the paint can. It’s important to be patient and not rush the drying process to achieve a durable and professional-looking finish.
Proper Care and Maintenance After Painting
After you’ve finished painting, it’s essential to regularly clean and maintain the newly painted surface to ensure its longevity and appearance. Proper care and maintenance of painted bathtubs will not only prolong their lifespan but also keep them looking fresh and beautiful. Here are some steps to follow for cleaning and upkeep:
-
Clean regularly: Use a mild, non-abrasive cleaner and a soft cloth or sponge to gently clean the painted surface. Avoid harsh chemicals or abrasive scrubbers that can damage the paint.
-
Avoid sharp objects: Be careful not to use sharp objects or abrasive materials that can scratch or chip the paint. This includes avoiding using metal scrubbers or abrasive cleaners.
-
Apply a protective coating: Consider applying a clear, water-resistant sealant or wax to protect the painted surface from water damage and stains. This will help maintain the long-term durability of the bathtub.
| Cleaning Tips | Frequency | Additional Notes |
|---|---|---|
| Use mild, non-abrasive cleaner | Weekly | Avoid harsh chemicals |
| Avoid sharp objects | Always | Prevent scratches or chips |
| Apply protective coating | Every few months | Protect against water damage and stains |
Conclusion
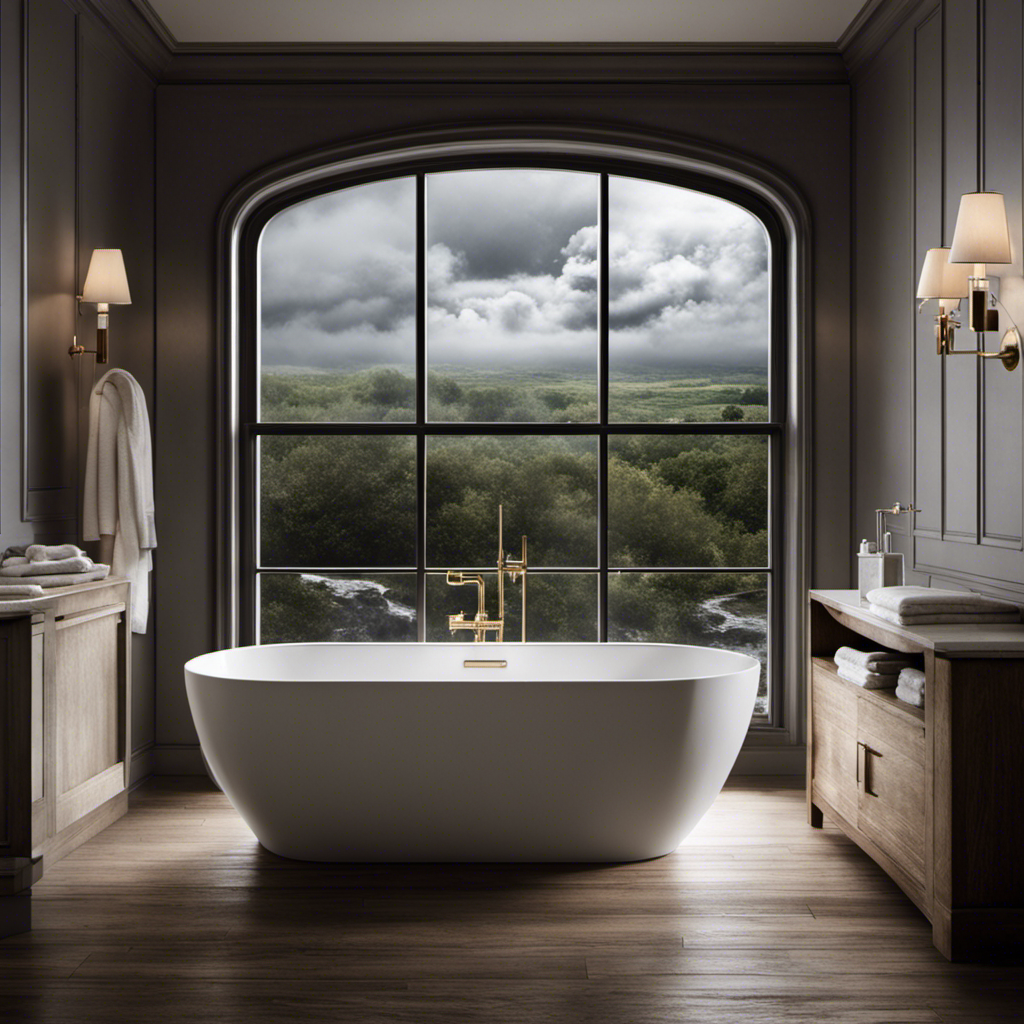
In conclusion, transforming your old bathtub into a stunning masterpiece is a labor of love that is well worth the effort.
By assessing the condition, preparing it meticulously, choosing the perfect paint, and applying it with care, you can bring new life to your bathroom.
Just like an artist delicately brushes strokes onto a canvas, you have the power to create a captivating oasis in your own home.
So grab your paintbrush and let your creativity flow as you embark on this magical journey of bathtub restoration.