Are you ready to dive into the world of bathtub drain hookups? Look no further! This article will guide you through the process step by step, ensuring a smooth and successful installation.
With just a few tools and materials, you’ll be able to remove the old drain and install a shiny new one. As you connect the drain pipe, you’ll feel like a true plumbing pro.
So, without further ado, let’s get started and turn your bathroom into a watertight oasis!
Key Takeaways
- Use the appropriate tools and materials, such as pliers, screwdriver, and a drain assembly kit, for hooking up a bathtub drain.
- Remove the old drain by loosening the screws on the drain cover, troubleshooting any issues, and aligning the new drain properly to prevent leaks.
- Install the new drain by ensuring compatibility and a secure fit, measuring the diameter of the drain hole, applying plumber’s putty for a watertight seal, and checking for leaks after filling the bathtub with water.
- Connect the drain pipe by aligning it with the drain outlet, using appropriate connectors and fittings, tightening all connections securely, and avoiding mismatched or incorrect fittings to achieve a secure and leak-free connection.

VANFOXLE Shower Faucet Set Matte Black Shower System,Push Button Diverter Shower Faucet with 2 in 1 Handheld,Ceiling Mount 10 Inch Shower Head with 6 Inch Wall Mount Shower Head
Push Button Diverter: Vanfoxle has developed an improved version of water control —— Replacing the traditional square-shaped controller...
As an affiliate, we earn on qualifying purchases.
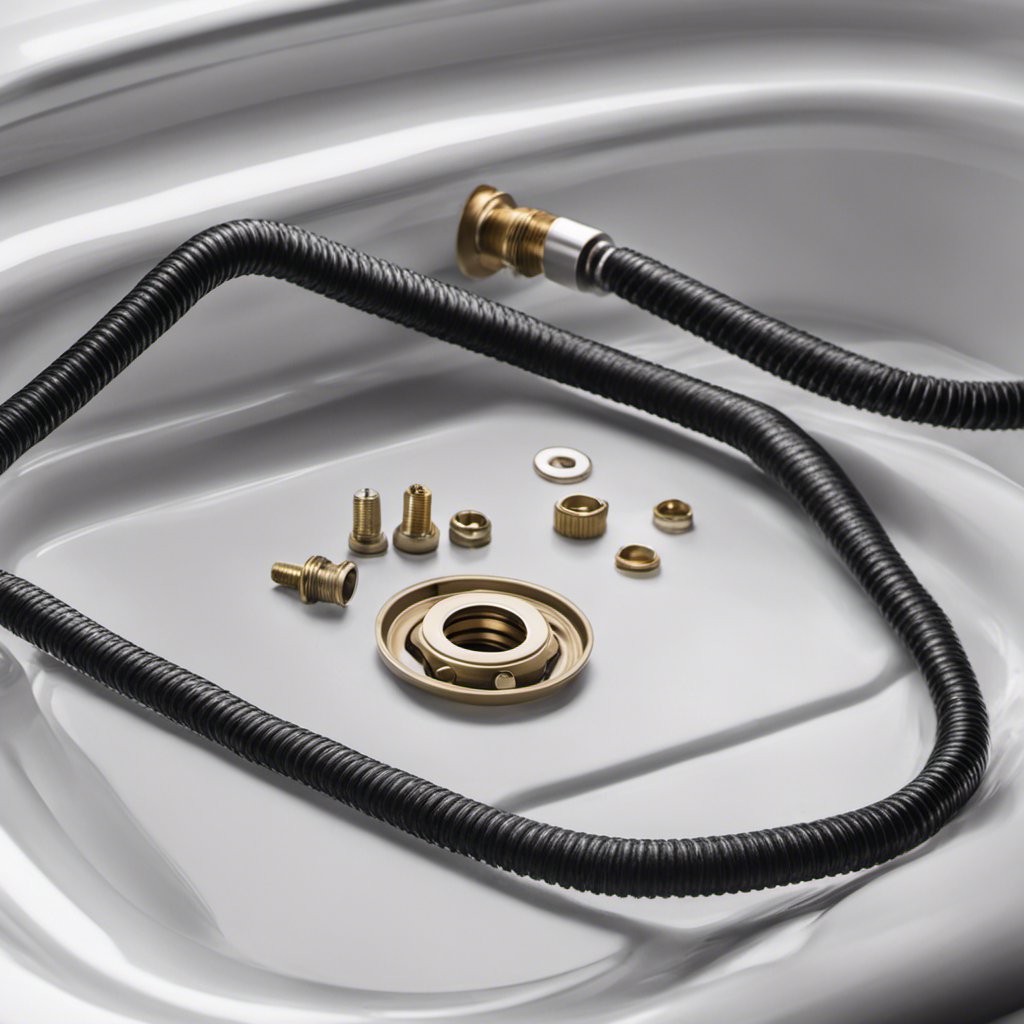
Tools and Materials Needed
To hook up the bathtub drain, you’ll need a pair of pliers, a screwdriver, and a drain assembly kit.
Before you begin, it’s important to understand the different types of bathtub drains available. The most common types include trip lever drains, toe-touch drains, and lift-and-turn drains. Each type has its own installation process, so make sure to choose the appropriate drain for your bathtub.
When hooking up the drain, there are a few common mistakes to avoid. Firstly, ensure that you properly align the drain with the overflow hole to prevent any leaks. Secondly, make sure to tighten all connections securely to avoid any future issues. Lastly, double-check that you have connected the drain pipe to the main plumbing system properly.

Gabrylly Shower System, Wall Mounted Shower Faucets Sets Complete for Bathroom with High Pressure 10" Rain Shower head and 3-Setting Handheld Shower Head Set, 2 Way Shower Valve Kit, Brushed Nickel
【Pressure Balance Shower Valve】Constructed of solid brass materials, The Shower Fixtures with a rough-in valve will be no...
As an affiliate, we earn on qualifying purchases.
Removing the Old Drain
Start by removing the old drain using a wrench. To begin, locate the drain cover and use the wrench to loosen the screws that secure it in place. Once the screws are loose, carefully lift the drain cover off and set it aside. If you’re replacing the drain cover, now is the perfect time to select a new one that suits your style and preferences.
Troubleshooting common drain issues can be done while removing the old drain. Look for any signs of clogs or blockages, such as hair or debris, and remove them using a wire hanger or drain snake. Additionally, check the drain pipe for any cracks or leaks that may require repair or replacement.

Baetuy Shower Faucet Set Brushed Nickel Shower System, Ceiling Mount 10 Inch Shower Head With Wall Mount 6 Inch Shower Head and 2 in 1 Handheld Spray, Push Button Diverter Shower Valve Trim Kit
Durable All-metal Construction: SUS304 stainless steel rain shower head and tilt shower head, explosion-proof and rust-proof, long-lasting. Solid...
As an affiliate, we earn on qualifying purchases.
Installing the New Drain
Once the old drain is successfully removed, you can now focus on installing the new drain. Before you begin, it’s important to be aware of some common mistakes and have troubleshooting tips at hand.
Firstly, ensure that the new drain is compatible with your bathtub and fits securely. Measure the diameter of the drain hole and choose a drain assembly that matches it precisely.
Apply plumber’s putty to the underside of the drain flange to create a watertight seal. Place the drain flange into the drain hole and tighten it with a drain wrench. Be careful not to overtighten, as this can cause damage.
Check for any leaks by filling the bathtub with water and inspecting the drain area.
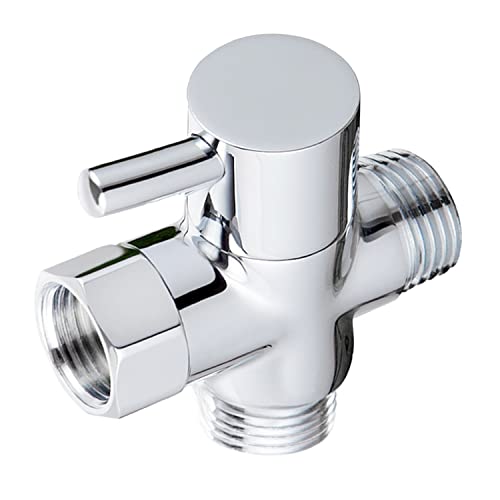
Sneatup Solid Brass 3-way G1/2 Shower Diverter Chrome Plating
Thread---One G1/2 Female Inlet. Two G1/2 Male Outlets. Easy to install.
As an affiliate, we earn on qualifying purchases.
Connecting the Drain Pipe
Now that you’ve successfully installed the new drain, it’s time to connect the drain pipe.
When connecting the drain pipe, there are a few common mistakes you should avoid to ensure a watertight connection.
First, make sure to properly align the drain pipe with the drain outlet. Misalignment can cause leaks and other issues down the line.
Secondly, use the appropriate connectors and fittings for your specific drain pipe material. Using mismatched or incorrect fittings can result in leaks and compromised functionality.
Additionally, be sure to tighten all connections securely, but be careful not to overtighten, as this can damage the pipe or fittings.
Following these tips will help you achieve a secure and leak-free connection for your bathtub drain.
Now, let’s move on to testing and finishing touches.
Testing and Finishing Touches
To make sure everything is working properly, you should test the water flow and check for any leaks. This will ensure that your bathtub drain is connected correctly and functioning as intended. Here are some testing methods and troubleshooting tips to help you with this final step:
-
Fill the bathtub with water and let it drain to test the water flow. Make sure the water flows smoothly without any blockages or slow draining.
-
Inspect the drain connections for any signs of leaks. Look for water dripping or pooling around the drain pipe.
-
If you notice any leaks, tighten the connections or replace any faulty parts.
-
Use a plunger or a drain snake to clear any clogs if the water is not draining properly.
-
Finally, check the overflow drain for proper functioning. Pour water into the overflow drain and make sure it drains correctly.
Frequently Asked Questions
How Do I Know if My Bathtub Drain Needs to Be Replaced?
If your bathtub drain is giving you trouble, there are signs to look out for. Slow draining, foul odors, and water backup are common issues. Troubleshoot by checking for clogs or leaks before considering a replacement.
Can I Use the Same Drain for Different Types of Bathtubs?
To avoid compatibility issues, it’s important to use the correct drain for each type of bathtub. Using the same drain for different types can lead to leaks and other problems. Be sure to choose the right drain for your specific bathtub.
Is It Necessary to Hire a Professional Plumber to Install a New Bathtub Drain?
To install a new bathtub drain, you don’t necessarily need to hire a professional plumber. There are cost-effective alternatives available, such as DIY bathtub drain installation, which can save you money.
What Should I Do if the New Drain Doesn’t Fit Properly?
If the new drain doesn’t fit properly, don’t panic. There are alternative solutions you can try before calling a professional. Troubleshooting tips include adjusting the drain height, using different adapters, or replacing the drain entirely if necessary.
Are There Any Additional Steps or Precautions to Take if I Have a Bathtub With a Built-In Overflow Drain?
When installing a bathtub with a built-in overflow drain, there are some additional steps and precautions to consider. Make sure to properly connect the overflow drain to the plumbing system and test for any leaks before completing the installation.
Conclusion
Now that you’ve successfully installed your new bathtub drain, let’s take a moment to appreciate your accomplishment.
Did you know that the average person spends around 43 minutes in the bathroom each day? That’s over 260 hours a year!
By learning how to hook up your bathtub drain, you’ve not only saved time and money but also gained the satisfaction of completing a technical task with precision.
So go ahead, enjoy your newly installed drain and indulge in those relaxing baths without any worries.