Have you ever wanted to upgrade your bathroom with a sleek and modern acrylic bathtub? Well, look no further!
In this step-by-step guide, I’ll show you exactly how to install an acrylic bathtub in your own home. From preparing the bathroom to sealing and finishing the installation, I’ll provide detailed instructions to ensure a successful project.
Get ready to transform your bathroom and enjoy the luxury of a brand new acrylic bathtub. Let’s get started!
Key Takeaways
- Clear out clutter and measure available space before installation
- Properly disconnect and remove the old bathtub
- Apply plumber’s putty and connect the drain and overflow
- Ensure the acrylic bathtub is level and properly sealed for a successful installation
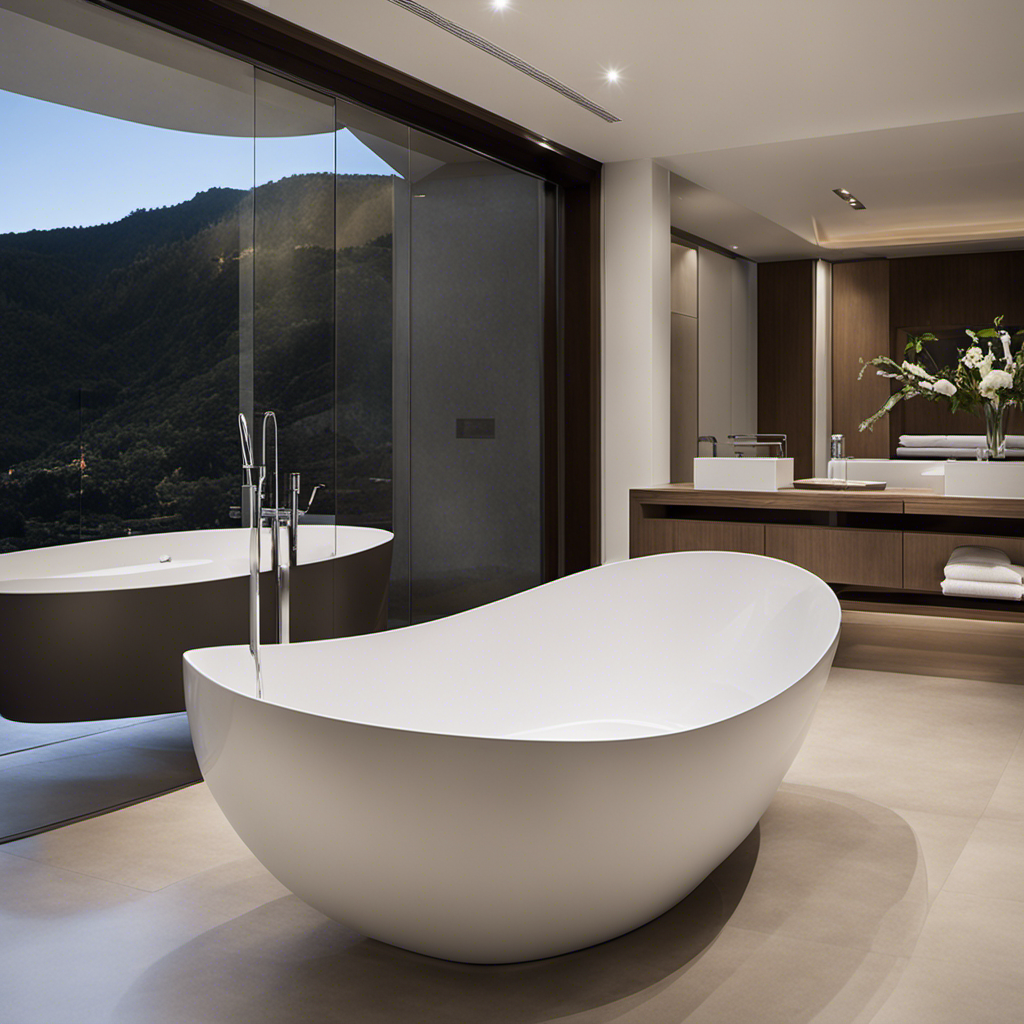
Preparing the Bathroom
Before starting the installation, make sure you’ve cleared out all the clutter from the bathroom. This will give you enough space to work comfortably and ensure a smooth installation process.
When choosing the right size of the acrylic bathtub, measure the available space in your bathroom and consider the dimensions of the tub. You want to make sure it fits properly without obstructing any doors or fixtures.
Additionally, ensuring proper ventilation is crucial to prevent moisture buildup and potential mold growth. Make sure your bathroom has a functioning exhaust fan or window to allow for proper airflow. This will help maintain a dry and healthy environment.
Taking these steps will set the foundation for a successful acrylic bathtub installation.
Removing the Old Bathtub
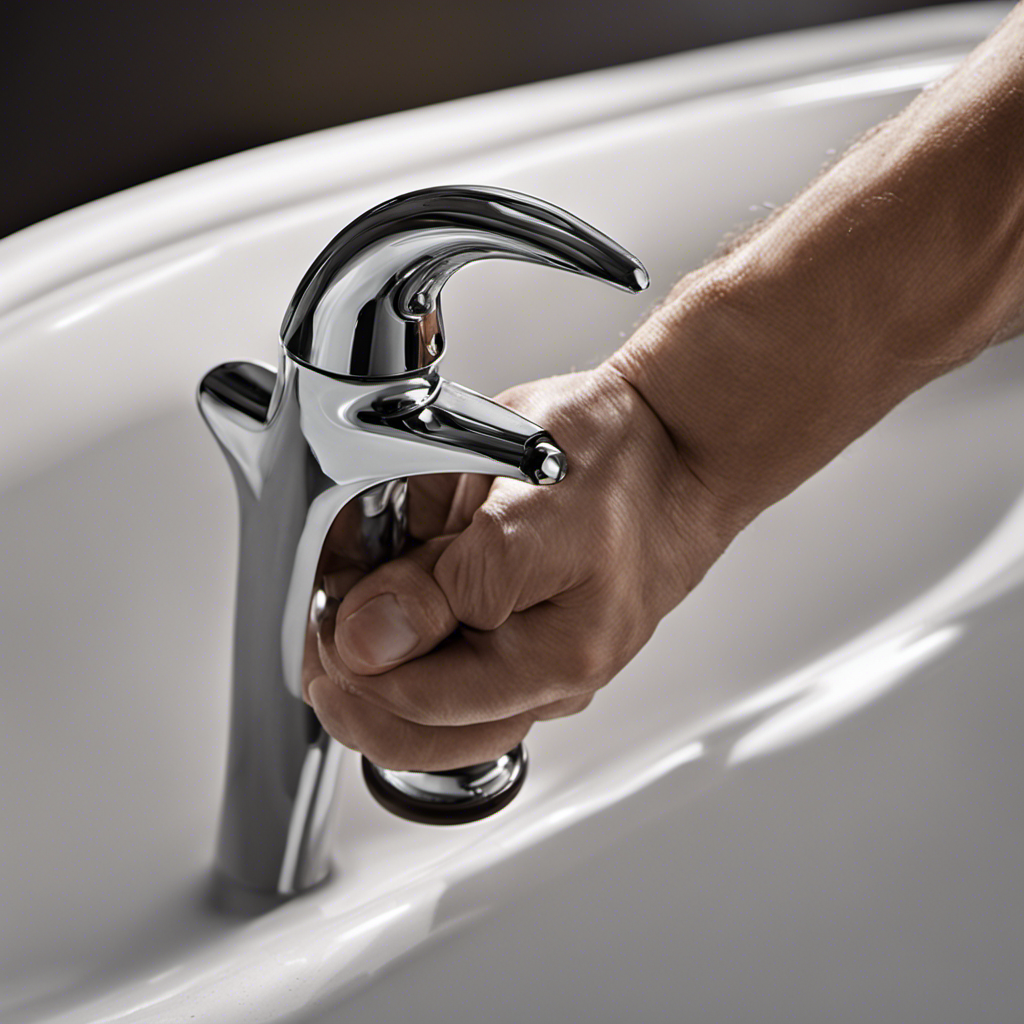
To start removing the old bathtub, you’ll need to disconnect the plumbing and unscrew the drain. This step is crucial in preparing for a bathtub replacement. Here is a step-by-step guide to help you through the process:
-
Turn off the water supply: Locate the shut-off valves for both hot and cold water supply lines and turn them off.
-
Disconnect the plumbing: Use a wrench to disconnect the water supply lines from the faucet. Remember to place a bucket underneath to catch any water that may drip.
-
Unscrew the drain: Remove the drain cover and use a drain wrench to unscrew the drain assembly. This will allow you to detach the bathtub from the plumbing.
-
Prepare for removal: Before attempting to lift the bathtub, ensure that it is disconnected from any remaining fixtures or walls.
Installing the Drain and Overflow
Once the plumbing is disconnected and the old drain is unscrewed, you can proceed with installing the new drain and overflow. To ensure proper maintenance and longevity of your acrylic bathtub, it is crucial to choose the right drain and overflow materials.
Here are the steps to install the drain and overflow:
- Start by applying a layer of plumber’s putty around the drain flange to create a watertight seal.
- Insert the drain flange into the drain hole, making sure it sits flush with the bathtub surface.
- From underneath the bathtub, screw the drain flange tightly into place using a drain wrench.
- Attach the overflow assembly to the side of the bathtub, aligning it with the pre-drilled holes.
- Secure the overflow assembly using screws or brackets provided.
- Connect the overflow pipe to the drain pipe using a PVC coupling or compression fitting.
- Test the drain and overflow by filling the bathtub with water and checking for any leaks.
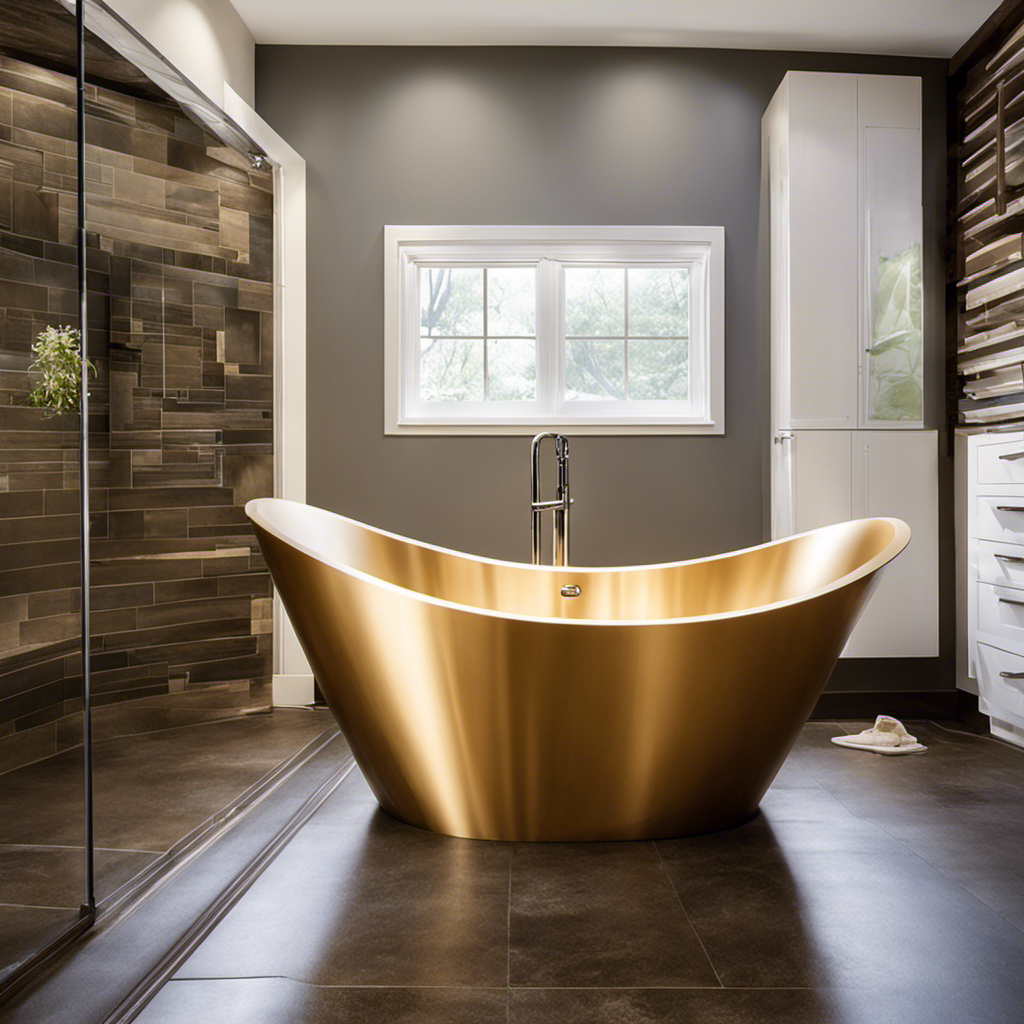
Placing and Leveling the Acrylic Bathtub
Now, you’ll need to ensure that the acrylic bathtub is properly placed and leveled in your bathroom. Follow these steps to ensure a successful installation:
-
Measure the space: Before choosing an acrylic bathtub, measure the available space in your bathroom. Consider the length, width, and height to ensure a proper fit.
-
Choose the right size: Select an acrylic bathtub that fits the measurements of your bathroom. Make sure there is enough space for comfortable use and easy maintenance.
-
Prepare the area: Clear the bathroom of any obstacles and ensure the floor is clean and level. This will provide a stable foundation for the bathtub.
-
Position the bathtub: Carefully place the acrylic bathtub into the designated spot, making sure it is centered and aligned with the drain and water supply lines.
-
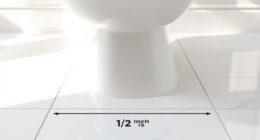
Level the bathtub: Use a carpenter’s level to check if the bathtub is level in all directions. If it isn’t, adjust the position by adding shims or adjusting the feet until it is perfectly level.
-
Secure the bathtub: Once the bathtub is level, secure it in place using the manufacturer’s recommended method, such as screws or adhesive.
-
Test for stability: Gently press on different areas of the bathtub to ensure it is stable and doesn’t move.
Sealing and Finishing the Installation
After properly placing and leveling the bathtub, the next step is sealing and finishing the installation. To ensure a secure and watertight connection, here are the steps to follow:
-
Cleaning the Bathtub:
- Start by removing any dirt, dust, or debris from the surface of the bathtub.
- Use a mild detergent and warm water to clean the bathtub thoroughly.
- Rinse off the soap residue and dry the surface completely.
-
Applying Caulk:
- Choose a high-quality silicone caulk that is specifically designed for bathroom use.
- Cut the tip of the caulk tube at a 45-degree angle.
- Apply a thin and even bead of caulk along the edges of the bathtub, where it meets the walls or the floor.
- Smooth the caulk using a caulk smoothing tool or your finger.
-
Finishing Touches:
- Allow the caulk to cure according to the manufacturer’s instructions.
- Wipe away any excess caulk with a damp cloth.
- Inspect the caulked areas for any gaps or imperfections and reapply if necessary.
Conclusion
In conclusion, installing an acrylic bathtub can be a rewarding and satisfying project.
With careful preparation and step-by-step execution, you can transform your bathroom into a luxurious oasis.
Remember, Rome wasn’t built in a day, and neither is a perfect bathroom. So take your time, follow the instructions, and before you know it, you’ll be soaking in your new tub, enjoying the fruits of your labor.
After all, as they say, ‘The devil is in the details,’ and a well-installed acrylic bathtub is definitely in the details.

With an impeccable eye for detail and a passion for bathroom-related, Ava leads our editorial team gracefully and precisely.
Under her guidance, Best Modern Toilet has flourished as the go-to resource for modern bathroom enthusiasts. In her free time, you might find Ava exploring antique shops and looking for vintage bathroom fixtures to add to her collection.