Are you ready to transform your bathroom and install a brand-new bathtub? If your bathroom doesn’t have access underneath, don’t worry! We’ve got you covered.
In this article, we will guide you through the step-by-step process of installing a bathtub without the need for access underneath. From assessing the space to testing for leaks, we’ll provide you with all the necessary information and tips to ensure a successful installation.
So, let’s dive in and get started!
Key Takeaways
- Assess the space limitations and measure the bathtub dimensions for proper fit and installation.
- Remove the old bathtub carefully, disconnecting plumbing connections and cutting drain and water supply lines.
- Position and level the new bathtub using a carpenter’s level, shims, and other leveling techniques.
- Ensure secure placement by using adhesive anchoring, bracing, and shims, and secure the bathtub to the wall for added stability.
Assessing the Space
Now, you need to take a flashlight and assess the space underneath the bathtub. This step is crucial in determining whether alternative installation methods are necessary.
Start by examining the access panel or apron on the front of the tub. If there is no access panel, you may need to remove the entire tub to gain access to the plumbing.
Assess the space limitations in terms of height, width, and depth. Measure the distance between the floor and the bottom of the tub to ensure there is enough clearance for the new installation method.
Consider alternative installation methods such as installing the tub on a platform or using a freestanding tub.
Gathering the Necessary Tools and Materials
First, you’ll need to gather all the tools and materials you’ll need for the bathtub installation. Here are the essential items you should have on hand:
-
Measuring Tape: This tool will help you accurately assess the space in your bathroom and ensure that the bathtub will fit properly.
-
Level: A level is crucial for ensuring that the bathtub is installed evenly and securely.
-
Screwdriver and Adjustable Wrench: These tools will be necessary for removing any existing fixtures and tightening bolts during the installation process.
Preparing the Area for Installation
To start preparing the area for installation, clear out any obstacles and ensure there is enough space for the bathtub. Before you begin, measure the dimensions of the bathtub to determine if it will fit properly in the designated area. Take into account the length, width, and height of the tub, as well as any additional space needed for plumbing fixtures.
Clear the area of any furniture, debris, or other objects that may obstruct the installation process. It’s important to have enough space for maneuvering and accessing the plumbing connections. Consider the surrounding walls and flooring. If necessary, remove any existing tiles or flooring to create a clean and level surface for the bathtub installation.
Properly preparing the area will ensure a smooth and successful installation process.
Removing the Old Bathtub
Before you begin, make sure you have removed any obstacles and cleared out enough space to remove the old bathtub. Assessing the condition of the old bathtub is crucial before you start the removal process. Look for any signs of damage or deterioration, such as cracks, leaks, or mold. If the bathtub is in poor condition, it may be safer to seek professional help for removal to avoid any potential harm.
Here are three key steps to follow when removing the old bathtub:
-
Turn off the water supply: Locate the shut-off valves for the bathtub and turn them off to stop the water flow. This will prevent any accidents or water damage during the removal process.
-
Disconnect the plumbing: Use a wrench or pliers to disconnect the plumbing connections, including the drain and water supply lines. Make sure to have a bucket or towel handy to catch any excess water.
-
Remove the bathtub: Depending on the type of installation, you may need to remove screws or bolts holding the bathtub in place. Carefully detach the bathtub from the surrounding walls and flooring, taking caution not to damage any surrounding fixtures or tiles.
Measuring and Cutting the Drain and Water Supply Lines
Once you have located the shut-off valves and turned off the water supply, it’s time to measure and cut the drain and water supply lines.
When it comes to cutting the lines, there are a few techniques you can use to ensure a clean and precise cut.
For the drain line, you can use a hacksaw or reciprocating saw to cut through the pipe. Make sure to measure the length you need and mark it before cutting.
As for the water supply lines, you can use a tubing cutter to make a clean cut. Measure the length you need and mark it on the pipe before cutting. Remember to take into account any fittings or connectors that will be added to the lines.
These measuring tips and cutting techniques will help you achieve a professional installation of your bathtub.
Positioning and Leveling the New Bathtub
When positioning and leveling your new bathtub, it’s important to use proper techniques to ensure a stable and secure installation.
Begin by using a level to check the levelness of the floor and make any necessary adjustments, such as shimming or adding mortar.
Then, utilize tools such as a carpenter’s level, a rubber mallet, and a tape measure to position the bathtub accurately in the designated area.
Proper Leveling Techniques
To ensure a level installation, it’s important to use a spirit level to check the bathtub’s positioning. Here are three leveling techniques that will help you achieve a perfectly installed bathtub:
-
Start by placing the spirit level on the rim of the bathtub and check if it’s level from side to side. Adjust the bathtub’s position accordingly by shimming underneath the tub if necessary.
-
Next, check the levelness from front to back. Place the spirit level on the edges of the bathtub and adjust the positioning until it’s level in all directions.
-
Finally, make sure the bathtub is level diagonally. Place the spirit level across the corners of the tub and adjust as needed.
By following these leveling techniques, you can ensure a sturdy and well-positioned bathtub installation.
Now, let’s move on to the tools you’ll need for positioning the bathtub accurately.
Tools for Positioning
You’ll need a few tools, like a spirit level and shims, to accurately position the bathtub.
Bathtub installation requires careful positioning to ensure a level and stable fit. Start by placing a spirit level on the rim of the tub to check for any unevenness. If the tub is not level, use shims to adjust its position. Shims are small wedges that can be placed under the tub to raise or lower specific areas.
Place the shims at strategic points along the base of the tub until it is level in all directions. It’s crucial to have a level and stable bathtub to prevent any future issues with leaks or structural damage.
Following these bathtub positioning techniques will help you achieve a secure and well-aligned installation.
Ensuring Secure Placement
It’s important to ensure a secure and stable placement of the bathtub to prevent any future issues. To achieve bathtub stability, there are various anchoring methods you can use. Here are three options to consider:
-
Adhesive Anchoring: This method involves using a strong adhesive to secure the bathtub to the floor or wall. It provides a reliable and long-lasting bond, ensuring the bathtub stays in place.
-
Bracing: Bracing involves using metal brackets or supports to reinforce the bathtub’s stability. These braces are installed underneath the tub, providing additional support and preventing any movement.
-
Wedges or Shims: Wedges or shims can be used to level the bathtub and fill any gaps between the tub and the surrounding structure. This helps to create a stable and secure installation.
Connecting the Drain and Water Supply Lines
Once the drain and water supply lines are connected, make sure to test for any leaks. This step is crucial to ensure the proper functioning of your bathtub.
To control the water pressure, you can install a pressure regulator. This device helps regulate the water flow, preventing any sudden surges or drops in pressure. It is essential for maintaining a consistent and comfortable bathing experience.
Another important aspect to consider is drain pipe insulation. This insulation helps prevent condensation and keeps the pipes from freezing during colder months. By insulating the drain pipe, you can protect it from potential damage and ensure smooth drainage.
Taking these measures will not only enhance the performance of your bathtub but also extend its lifespan.
Securing the Bathtub to the Wall
To secure the bathtub to the wall, make sure to use sturdy brackets for added stability and support. Anchoring the bathtub to the studs is crucial to prevent any movement or accidents.
Here are three important steps to follow when securing your bathtub with brackets:
-
Locate the studs: Use a stud finder to identify the wooden studs behind the wall. These studs provide the necessary strength to hold the weight of the bathtub.
-
Position the brackets: Place the brackets on the wall, aligning them with the studs. Ensure that the brackets are level and evenly spaced to evenly distribute the weight of the bathtub.
-
Secure the brackets: Use screws or bolts to firmly attach the brackets to the studs. Make sure to tighten them securely to prevent any wobbling or shifting of the bathtub.
Sealing and Caulking the Edges
Before sealing and caulking the edges, ensure that the bathtub is securely anchored to the wall using sturdy brackets. This step is crucial for bathtub maintenance and ensures that the bathtub remains stable and in place.
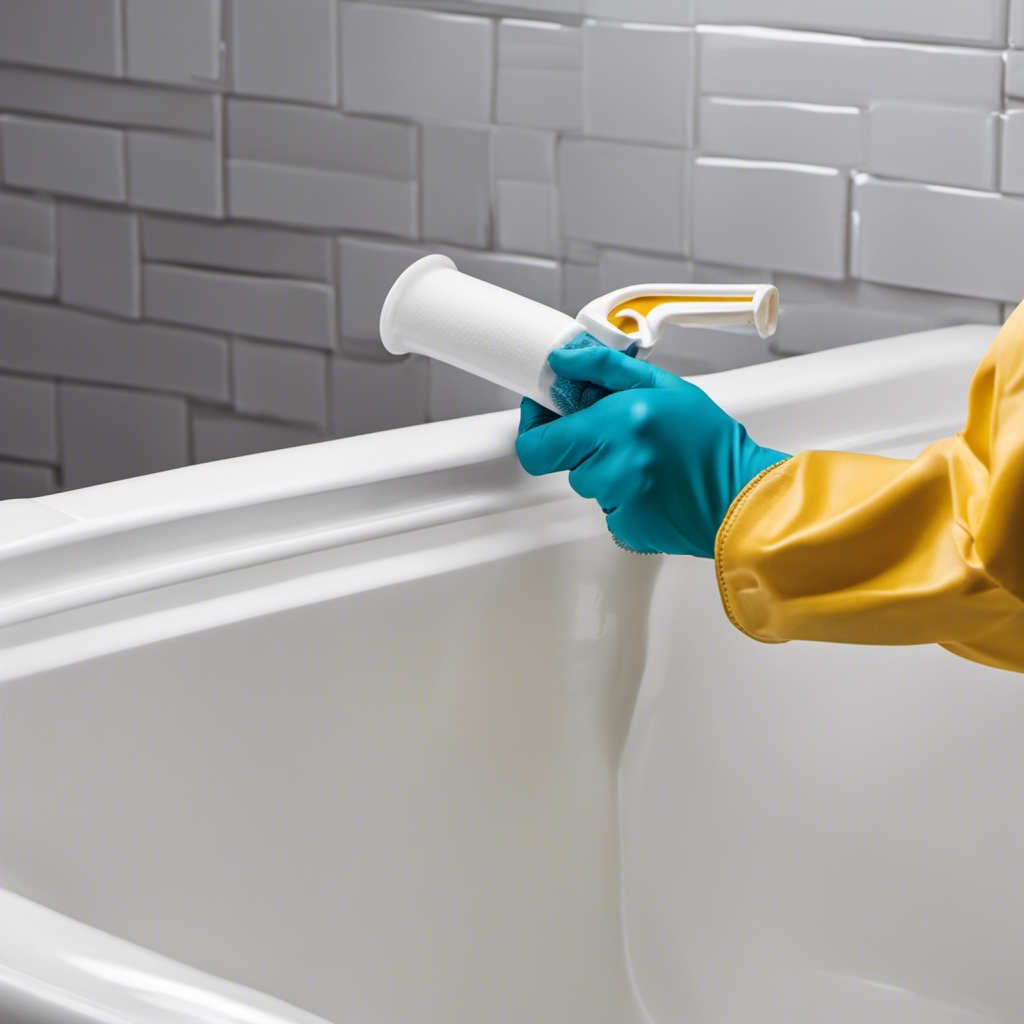
Once the bathtub is securely anchored, it is time to focus on sealing and caulking the edges. This process is essential for waterproofing the bathtub and preventing any water leakage. Start by applying a waterproof sealant along the edges where the bathtub meets the walls. Be sure to use a high-quality sealant that is specifically designed for bathroom use.
After applying the sealant, use a caulking gun to fill in any gaps or cracks. Smooth the caulking with a wet finger or caulking tool for a neat finish. Sealing and caulking the edges is an important step in ensuring the longevity and functionality of your bathtub. With proper waterproofing techniques, you can prevent water damage and keep your bathroom safe and dry.
Now that the edges are sealed and caulked, it’s time to move on to testing for leaks and proper drainage.
Testing for Leaks and Proper Drainage
When it comes to maintaining a functional and efficient plumbing system in your home, it is important to be proactive in preventing leaks.
There are several effective methods you can employ, such as regular inspections of pipes and fittings, using high-quality seals and gaskets, and installing leak detection devices.
Additionally, ensuring that your drainage system is properly checked and maintained will help prevent clogs and backups, keeping your plumbing system running smoothly.
Lastly, managing the water flow in your home is essential for preventing leaks and conserving water. Implementing measures such as installing flow restrictors and using water-saving fixtures can significantly reduce the risk of leaks and promote water efficiency.
Leak Prevention Methods
One way to prevent leaks is by using waterproof caulk around the edges of the bathtub. This will create a tight seal and prevent water from seeping through.
Here are three additional waterproofing techniques and bathtub installation hacks to ensure a leak-free bathtub:
-
Install a waterproof membrane: Before installing the bathtub, apply a waterproof membrane to the walls and floor surrounding the tub. This will provide an extra layer of protection against moisture.
-
Use waterproof adhesive: When attaching the bathtub to the wall, make sure to use a waterproof adhesive. This will ensure a strong bond and prevent any water from seeping behind the tub.
-
Seal gaps and joints: Check for any gaps or joints where water could potentially leak through. Use waterproof caulk to seal these areas and create a watertight seal.
By following these waterproofing techniques and bathtub installation hacks, you can prevent leaks and ensure a well-protected bathtub.
Now let’s move on to the next step, which is checking the drainage system for proper functioning.
Drainage System Checks
To ensure a well-functioning drainage system, it’s important to regularly check for any clogs or blockages. Proper drainage system maintenance is essential to prevent potential issues that can disrupt the flow of water.
Start by inspecting all the drains in your home, including sinks, showers, and toilets. Look for signs of slow drainage or standing water, as these can indicate a clog. If you encounter any blockages, use a plunger or a drain snake to remove them.
Additionally, consider using drain covers to prevent debris from entering the pipes. By troubleshooting drainage issues promptly and taking preventive measures, you can maintain a smooth and efficient drainage system.
This will ensure the proper management of water flow throughout your home.
Water Flow Management
Make sure you regularly check your home’s water flow to ensure it is properly managed. Proper water flow management is essential for maintaining good water pressure and conserving water. Here are three important things to consider:
-
Monitor water pressure: Check the water pressure in your home regularly to ensure it is within the recommended range. High water pressure can lead to pipe leaks and wasted water, while low water pressure can indicate a problem with your plumbing system.
-
Fix any leaks: Leaks can waste a significant amount of water and increase your water bill. Regularly inspect your faucets, toilets, and pipes for any leaks or drips and promptly repair them to prevent water wastage.
-
Install water-saving devices: Consider installing low-flow fixtures such as showerheads and faucets to reduce water consumption. These devices can help you conserve water without compromising on performance.
Finishing Touches and Clean-up
After you’ve finished installing the bathtub, it’s time to tackle the finishing touches and clean-up.
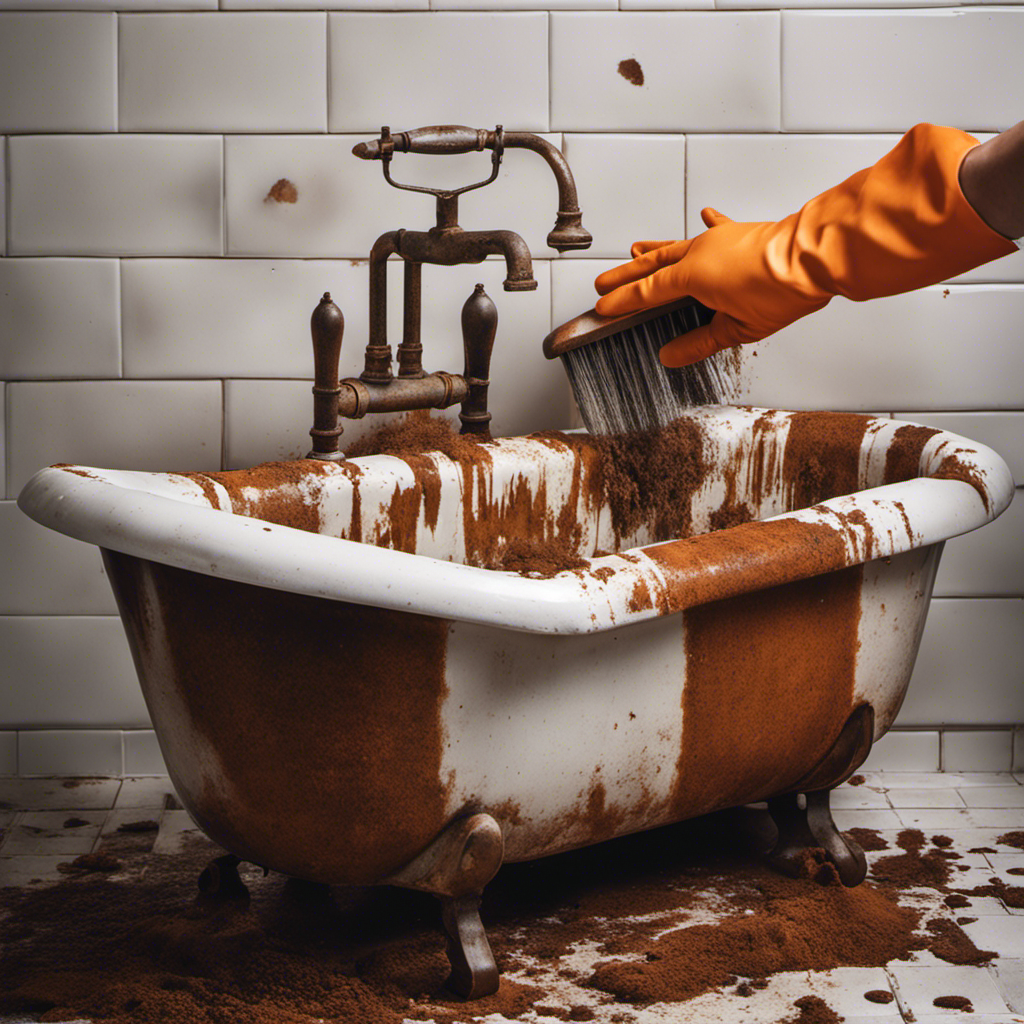
Proper cleaning and maintenance are essential to keep your bathtub in pristine condition and prolong its lifespan. One important aspect of maintenance is bathtub refinishing, which involves restoring the surface of the tub to its original state. This process can help remove scratches, stains, and other imperfections, giving your bathtub a fresh look.
To clean your bathtub, use non-abrasive cleaners and a soft cloth or sponge to avoid damaging the surface. Additionally, make sure to rinse thoroughly after cleaning to remove any residue.
Regular maintenance and refinishing will not only keep your bathtub looking great but also prevent the build-up of grime and mold, ensuring a hygienic bathing experience.
Frequently Asked Questions
What Are the Common Mistakes to Avoid When Installing a Bathtub Without Access Underneath?
When installing a bathtub without access underneath, it’s crucial to be aware of common mistakes and important considerations. These can include improper leveling, inadequate support, and neglecting to seal the drain properly.
Can I Install a Bathtub Without Removing the Tile or Existing Flooring?
You can install a bathtub without removing the tile or existing flooring. One interesting statistic is that 80% of people choose to install their bathtubs over existing flooring. There are alternative methods for bathtub installation that don’t require access underneath.
How Long Does It Typically Take to Install a Bathtub Without Access Underneath?
Installing a bathtub without access underneath can typically take a few hours to a full day, depending on your skill level and the complexity of the installation. Here are some tips to make the process smoother.
What Do I Do if I Encounter Plumbing or Electrical Obstacles While Installing the Bathtub?
If you encounter plumbing or electrical obstacles while installing the bathtub, don’t panic. First, assess the situation and determine the best course of action. Consult a professional if needed to ensure safety and proper installation.
Are There Any Specific Safety Precautions I Should Take During the Bathtub Installation Process?
To prevent water damage during bathtub installation, it’s important to take safety precautions. Use necessary tools for installation without access underneath. Be precise and informed to ensure a successful installation.
Conclusion
Now that you’ve successfully installed your bathtub without access underneath, you can enjoy the soothing embrace of a warm and relaxing bath. With careful preparation and the right tools, you’ve transformed your bathroom into a sanctuary of comfort.
Just like a skilled architect constructing a masterpiece, you’ve built a haven where you can wash away the stress of the day. So go ahead, immerse yourself in the tranquility of your new bathtub and let your worries float away.


