When it comes to upgrading your bathroom, installing a drop-in bathtub can be a game-changer. Trust me, I’ve been there.
The process may seem daunting, but fear not! In this step-by-step guide, I’ll show you how to transform your bathroom with a beautiful new bathtub.
From choosing the right bathtub to connecting the plumbing, I’ll walk you through each stage, ensuring a seamless installation.
So, let’s roll up our sleeves and get started on this exciting project!
Key Takeaways
- Consider different bathtub materials such as acrylic, fiberglass, cast iron, and porcelain-enameled steel.
- Measure your bathroom space to determine the maximum size of the bathtub that will fit comfortably.
- Prepare the installation area by clearing the space, ensuring the subfloor is level, and applying a waterproof membrane or sealant.
- Install the drain and overflow assembly, making sure to check for leaks before proceeding.
drop-in bathtub installation kit
As an affiliate, we earn on qualifying purchases.
As an affiliate, we earn on qualifying purchases.
Choosing the Right Bathtub
When choosing the right bathtub, it’s important to consider the size and style that will fit your bathroom.
First, let’s talk about bathtub materials. There are different options available, such as acrylic, fiberglass, cast iron, and porcelain-enameled steel. Each material has its own pros and cons, so it’s essential to research and choose the one that suits your needs and preferences.
Next, let’s discuss bathtub size. Measure your bathroom space carefully to determine the maximum size of the bathtub that will fit comfortably. Consider the length, width, and depth of the tub, as well as any additional space required for installation.
Keep in mind that a larger bathtub may provide a more luxurious bathing experience, but it may also require more water and take up more space in your bathroom.
bathtub drain and overflow assembly
As an affiliate, we earn on qualifying purchases.
As an affiliate, we earn on qualifying purchases.
Preparing the Installation Area
First, you’ll need to clear the area where you plan to put the new bathtub. This involves removing any existing fixtures, such as the old bathtub or shower. Once the area is clear, it’s important to ensure that the subfloor is level and properly prepared. This can be done by using a level and shims to adjust any unevenness.
Additionally, waterproofing the area is essential to prevent any water damage. This can be achieved by applying a waterproof membrane or sealant to the subfloor and surrounding walls. By taking these steps, you’ll create a solid and waterproof foundation for your new drop-in bathtub.
Now that the area is cleared and prepared, we can move on to installing the drain and overflow assembly.
acrylic bathtub with drain kit
As an affiliate, we earn on qualifying purchases.
As an affiliate, we earn on qualifying purchases.
Installing the Drain and Overflow Assembly
To begin, you’ll want to ensure that the drain and overflow assembly is properly aligned with the pre-existing plumbing. This step is crucial to prevent any leaks or issues in the future.
Here is a step-by-step guide on how to install the drain and overflow assembly for your drop-in bathtub:
- Start by placing a rubber gasket onto the drain body and insert it into the drain hole of the tub.
- From underneath the tub, attach the drain tailpiece to the drain body using a slip nut and washer.
- Connect the overflow assembly to the overflow hole on the tub, making sure it is aligned properly.
- Secure the overflow assembly by tightening the screws or bolts provided.
- Finally, check for any leaks by filling the tub with water and observing if there are any drips or water escaping.
Troubleshooting common issues:
- If there are leaks, ensure that all connections are tight and properly sealed.
- If the drain is slow, clean any debris or hair clogs from the drain and overflow assembly.
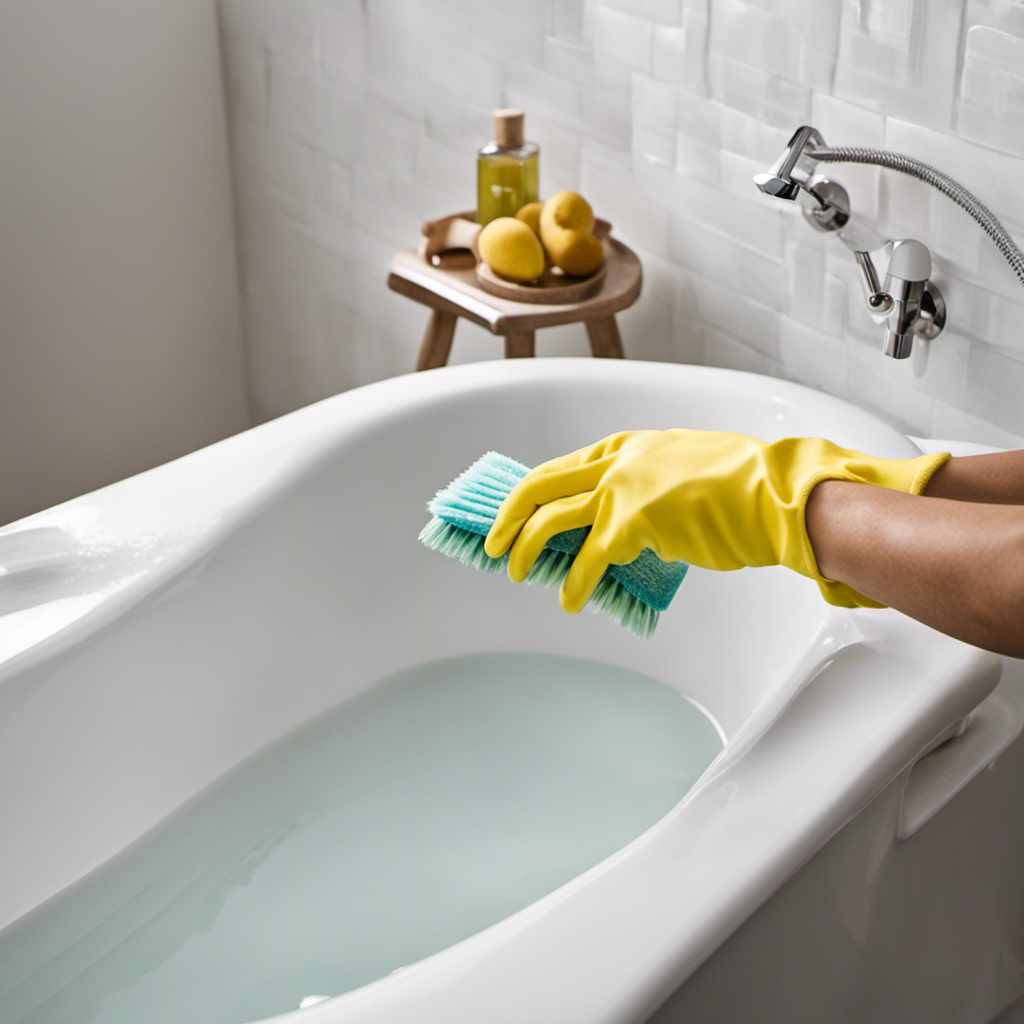
Maintaining the drain and overflow assembly:
- Regularly clean the drain and overflow assembly to prevent clogs.
- Check for any signs of wear or damage and replace any faulty parts.
With the drain and overflow assembly properly installed and maintained, you can now move on to positioning and securing the bathtub.
fiberglass bathtub waterproof sealant
As an affiliate, we earn on qualifying purchases.
As an affiliate, we earn on qualifying purchases.
Positioning and Securing the Bathtub
Now that the drain and overflow assembly is properly installed, you’ll want to ensure that the bathtub is positioned correctly and securely. To do this, follow these steps:
-
Start by checking if the floor is level. Use a level to determine if any adjustments need to be made.
-
Once the floor is level, place the bathtub in its designated spot. Make sure it is aligned with the walls and any surrounding fixtures.
-
Use shims to level the bathtub. Slide them under the edges of the tub until it sits evenly. Check the level again to ensure accuracy.
-
Once the bathtub is level, it’s time to secure it in place. Apply a generous amount of adhesive or silicone sealant between the tub and the floor. This will prevent any movement or shifting.
-
Finally, anchor the bathtub to the wall studs using screws or brackets. This will provide additional stability.
Connecting the Plumbing and Testing for Leaks
Once you have positioned and secured the bathtub, it’s time to connect the plumbing and check for any leaks.
Start by connecting the drain assembly to the bathtub’s drain outlet. Use a wrench to tighten the connections securely.
Next, connect the hot and cold water supply lines to the corresponding valves on the bathtub. Make sure to use plumber’s tape on the threaded connections to prevent leaks.
Once all the connections are made, it’s time to test the water flow. Turn on the water supply and check for any leaks or drips.
If you notice any leaks, try tightening the connections or applying more plumber’s tape. If the issue persists, you may need to consult a professional plumber to troubleshoot the problem.
Testing water flow and troubleshooting common plumbing issues is crucial to ensure a properly functioning bathtub.
Conclusion
Well, congratulations! You’ve successfully installed your drop-in bathtub. I hope you enjoyed every moment of this delightful experience.
Now, you can sit back, relax, and enjoy the luxurious baths that await you. Just imagine yourself sinking into the warm, soothing water, surrounded by the exquisite beauty of your newly installed bathtub. You can almost hear the angels singing as you indulge in your well-deserved moments of bliss.
So go ahead, my friend, and bask in the glory of your bathtub installation triumph.