I’m here to show you how to install an alcove bathtub, step-by-step.
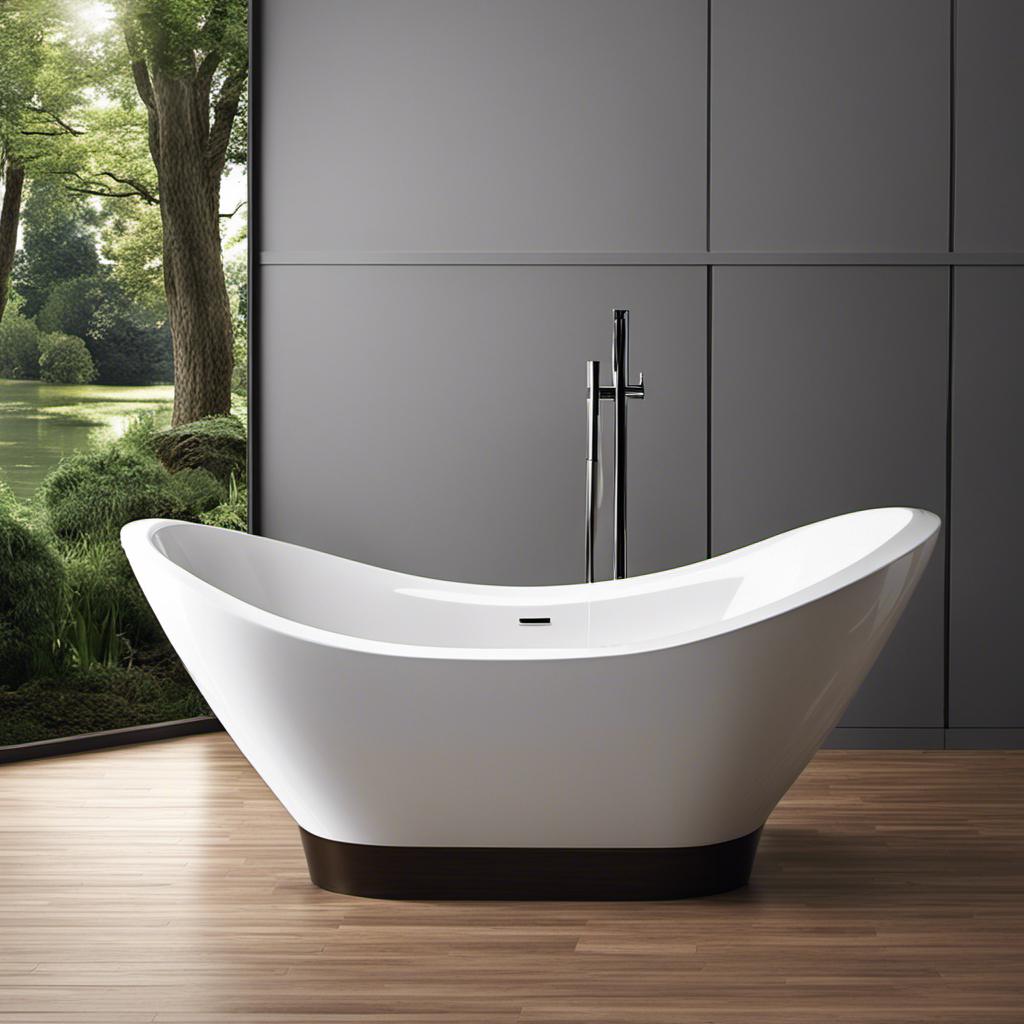
Picture transforming your bathroom into a tranquil oasis, where you can soak away the stresses of the day.
With the right tools and materials, you’ll be able to tackle this project with confidence.
We’ll cover everything from preparing the alcove area to sealing and waterproofing the bathtub.
Let’s dive in and make your dream bathroom a reality.
Key Takeaways
- Properly measure the alcove area and account for any obstructions before installing the alcove bathtub.
- Disconnect plumbing connections and remove old fixtures carefully to avoid damage or accidents.
- Ensure proper plumbing and drainage connections are made before installing the alcove bathtub.
- Use high-quality waterproofing materials and proper sealing techniques to prevent water leakage and protect against mold and mildew growth.

Bluevua Official RO100ROPOT 4-Pack Replacement Filter Set, Pack of 1 PP Filter and 1 CTO Filter and 1 RO Filter and 1 PCF Filter
- Complete Filter Set: Includes PP, CTO, RO, and PCF filters
- Easy to Replace: No tools or water shut-off needed
- Long-Lasting Filters: Filters last up to 2 years
As an affiliate, we earn on qualifying purchases.
Necessary Tools and Materials
To install an alcove bathtub, you’ll need a set of necessary tools and materials.
First, gather your tools: a tape measure, level, adjustable wrench, screwdriver, utility knife, and caulking gun.
For materials, you’ll need the alcove bathtub, waterproofing membrane, cement backer board, construction adhesive, screws, silicone caulk, and a drain assembly.
Before starting the installation process, it is important to ensure that the area is properly waterproofed. Apply a waterproofing membrane to the walls and floor of the alcove area, following the manufacturer’s instructions. This will help prevent any water damage to the surrounding walls.
Once the waterproofing is done, you can move on to preparing the alcove area for the installation of the bathtub.
Preparing the Alcove Area
First, I need to measure the alcove area to ensure that the new bathtub will fit properly. I will measure the length, width, and height of the alcove, taking into account any obstructions such as pipes or electrical outlets.
Once I have the measurements, I can begin removing the old fixtures, such as the old bathtub and showerhead. I will turn off the water supply and disconnect any plumbing connections before carefully removing the fixtures.
Measuring the Alcove
Now, you’re going to need to measure the width and height of the alcove for your new bathtub. To ensure measuring accuracy and proper fit, follow these steps:
- Start by using a tape measure to measure the width of the alcove from wall to wall. Measure at the top, middle, and bottom to account for any variations.
- Next, measure the height of the alcove from the floor to the top of the wall. Again, measure at multiple points to ensure accuracy.
Take note of any obstructions or protrusions in the alcove, such as pipes or electrical outlets. These will need to be considered when selecting a bathtub.
Double-check your measurements to ensure accuracy. If there are any discrepancies, remeasure to be certain.
Record the alcove dimensions, taking note of the smallest measurements. This will help you choose a bathtub that fits perfectly.
Removing Old Fixtures
When removing the old fixtures, make sure to turn off the water supply and disconnect any plumbing connections. This step is crucial to ensure a smooth and hassle-free bathtub removal process. Start by locating the water shut-off valve and turning it clockwise until it’s fully closed. This will prevent any water from flowing into the fixtures while you work. Next, disconnect the plumbing connections using a wrench or pliers, depending on the type of fixtures you have. Once the water supply is turned off and the plumbing connections are disconnected, you can proceed to remove the bathtub. It’s important to follow these steps carefully to avoid any potential damage or accidents during the process.
| Tools Needed | Safety Precautions |
|---|---|
| Wrench | Wear protective goggles |
| Pliers | Use gloves to protect hands |
| Screwdriver | Ensure proper ventilation |
Now that the old fixtures have been removed, it’s time to shift our focus to ensuring proper drainage.
Ensuring Proper Drainage
To ensure proper drainage, it’s important to check for any clogs or blockages in the plumbing pipes. Here’s a step-by-step guide to help you ensure proper drainage for your alcove bathtub:
-
Check the drainage slope: Make sure that the floor under the bathtub has a slight slope towards the drain. This will allow the water to flow easily and prevent any standing water.
-
Inspect the plumbing pipes: Look for any clogs or blockages in the pipes leading to the drain. Use a plumber’s snake or a drain cleaner to remove any debris that may be causing the blockage.
-
Install a waterproofing membrane: Apply a waterproofing membrane to the walls and floor around the alcove bathtub. This will prevent any water from seeping into the walls and causing damage.
-
Test the drainage: Fill the bathtub with water and let it drain. Check for any leaks or slow drainage. If you notice any issues, address them before proceeding with the installation.
-
Regular maintenance: Once the alcove bathtub is installed, make sure to regularly clean the drain and check for any clogs to ensure continued proper drainage.
Plumbing and Drainage
First, make sure you’ve properly connected the plumbing and drainage system before installing the alcove bathtub. This step is crucial to ensure that the water flows smoothly and there are no leaks.
To start, gather all the necessary plumbing materials such as pipes, connectors, and a drain assembly. Measure and mark the locations where the pipes will be installed, ensuring they align with the bathtub’s drain and faucet openings. Use a pipe cutter to cut the necessary lengths of pipe, and attach them using the appropriate connectors. Secure all connections tightly to prevent any leaks.
Once the plumbing installation is complete, proceed with choosing the right bathtub that suits your preferences and fits well in your bathroom space. Take accurate measurements and select a bathtub that matches your desired style and functionality.
Installing the Bathtub
Once you’ve properly connected the plumbing and drainage system, it’s important to choose a bathtub that fits well in your bathroom space. To ensure a successful bathtub installation, here are some tips to consider:
-
Measure the alcove area: Take accurate measurements of the alcove where the bathtub will be installed. Consider the length, width, and height to find a bathtub that fits perfectly.
-
Select the right material: Choose a bathtub made from durable materials like acrylic or fiberglass. These materials are easy to clean and maintain.
-
Consider the style: Decide on the style of the alcove bathtub that matches your bathroom’s overall design. Options include traditional, modern, or contemporary styles.
-
Look for additional features: Consider features like built-in shelves, armrests, or whirlpool jets to enhance your bathing experience.
-
Check installation requirements: Ensure that the chosen alcove bathtub meets all the installation requirements, including proper support and access for plumbing connections.
Sealing and Waterproofing
When it comes to sealing and waterproofing, it’s important to use the best materials to ensure long-lasting results. In this discussion, I will share the top waterproofing materials that are highly recommended for their effectiveness.
Additionally, I will discuss sealing techniques that can help prolong the lifespan of your seals, as well as common sealing mistakes to avoid.
Best Waterproofing Materials
For best results, it’s important to use high-quality waterproofing materials when installing an alcove bathtub. Proper waterproofing techniques not only protect your bathroom from water damage but also extend the longevity of your bathtub. Here are some benefits of waterproofing and the best materials to achieve them:
- Prevents water leakage and seepage into the walls and floors
- Protects against mold and mildew growth
- Increases the lifespan of your alcove bathtub
- Provides a clean and finished look to your bathroom
- Enhances the overall value of your home
To ensure effective waterproofing, use materials like waterproof membranes, sealants, and grouts. These products create a barrier that prevents water from penetrating the walls and floor. Apply the waterproofing materials according to the manufacturer’s instructions, paying special attention to corners, joints, and seams. This will create a watertight seal that safeguards your bathroom and alcove bathtub from water damage.
Now let’s move on to the next section where we’ll discuss sealing techniques for longevity.
Sealing Techniques for Longevity
To increase the lifespan of your bathroom, it’s essential to properly seal all corners, joints, and seams using recommended techniques. Waterproofing techniques play a crucial role in preventing water damage and mold growth, ensuring the longevity of your bathroom.
Here are the steps to achieve a proper seal:
-
Clean the surface: Remove any dirt, dust, or debris from the corners, joints, and seams using a mild detergent and water solution. Allow it to dry completely before proceeding.
-
Apply a waterproofing membrane: Use a waterproofing membrane specifically designed for bathrooms. Cut it to size and apply it to the corners, joints, and seams, making sure to overlap the membrane on all sides.
-
Seal with silicone caulk: Apply a bead of silicone caulk along the edges of the corners, joints, and seams. Smooth it out with a caulk tool or your finger to ensure a tight seal.
-
Let it cure: Allow the silicone caulk to cure according to the manufacturer’s instructions before exposing it to water.
By following these waterproofing techniques and achieving a proper seal, you can ensure the longevity of your bathroom and prevent costly water damage.
Now, let’s discuss some common sealing mistakes to avoid.
Common Sealing Mistakes
Make sure you don’t forget to inspect the corners, joints, and seams for any cracks or gaps, as this is a common sealing mistake. Properly sealing your alcove bathtub is crucial to prevent water damage and ensure its longevity.
Here are some common sealing mistakes to avoid:
- Not cleaning the surface properly before applying sealant.
- Using the wrong type of sealant for the material of your bathtub.
- Applying too much or too little sealant.
- Neglecting to apply sealant to all areas, including the corners and edges.
- Not allowing the sealant to cure properly before using the bathtub.
To avoid these mistakes, it is important to choose the right sealant for your alcove bathtub. Consider factors such as the material of your bathtub, the level of water exposure, and any specific instructions from the manufacturer. Additionally, follow the instructions provided with the sealant and allow enough time for it to fully cure before using the bathtub.
Finishing Touches and Clean-up
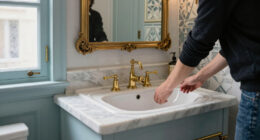
Once you’ve finished installing the alcove bathtub, don’t forget to wipe down the surrounding area and remove any excess caulk or debris. This step is crucial to ensure a clean and polished finish.
Start by gathering your cleaning products, such as a mild soap or bathroom cleaner, a sponge, and a clean cloth.
Begin by wiping down the surfaces around the bathtub, including the walls and floor. Pay special attention to any areas where caulk or debris may have accumulated. Use the sponge and cleaning solution to scrub away any dirt or grime.
Once you’re satisfied with the cleanliness, rinse the area thoroughly with water and dry it with a clean cloth.
This final step in bathtub maintenance will leave your newly installed alcove bathtub looking pristine and ready for use.
Conclusion
In conclusion, installing an alcove bathtub is a detailed process that requires careful preparation and attention to detail. By following the step-by-step instructions and using the necessary tools and materials, you can successfully complete this project.
Remember to take your time and ensure proper plumbing and drainage, as well as sealing and waterproofing, to prevent any future issues.
With a little effort and patience, you’ll soon be enjoying a relaxing soak in your new alcove bathtub, making all your stress melt away like bubbles in a hot bath.