As an experienced DIY enthusiast, I’ve tackled various home improvement projects, but nothing quite compares to the satisfaction of installing a bathtub.
In this step-by-step guide, I’ll walk you through the precise process of transforming your bathroom into a haven of relaxation. From preparing the space and removing the old tub to installing the shiny new centerpiece, we’ll leave no stone unturned.
So grab your tools and let’s dive into this bathtub installation adventure!
Key Takeaways
- The required tools for bathtub installation include an adjustable wrench, screwdriver, level, caulk gun, and pipe wrench.
- Preparing for bathtub installation involves measuring the dimensions of the new bathtub, protecting the floor, clearing the area, checking plumbing and electrical connections, and creating a clear workspace.
- Removing the old bathtub requires clearing the workspace, disposing of the old bathtub properly, turning off the water supply, disconnecting pipes and fixtures, addressing any plumbing issues, and successfully removing the old bathtub.
- Installing the new bathtub involves positioning it properly, connecting drain and overflow pipes securely, installing the faucet and handles according to instructions, securing the bathtub to wall studs, and considering factors that affect the cost of installation.
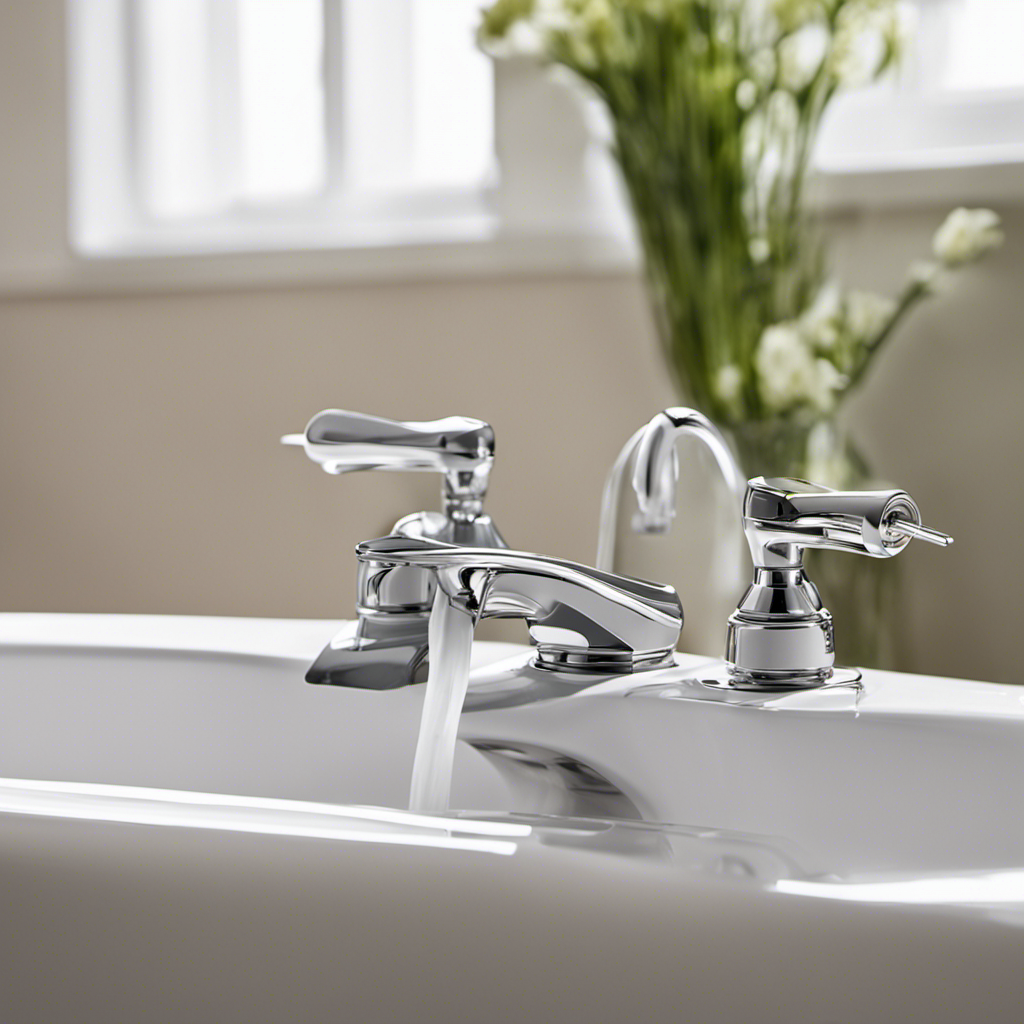
Required Tools and Materials
To start installing your bathtub, you’ll need a few tools and materials. The bathtub installation process can be made easier with the right equipment. Here’s a list of essential items you’ll need:
- Adjustable wrench: This tool will help you tighten and loosen the fittings during installation.
- Screwdriver: A Phillips head screwdriver will come in handy for removing and securing screws.
- Level: Ensuring your bathtub is level is crucial for proper installation.
- Caulk gun: You’ll need this to apply caulk around the edges of the bathtub.
- Pipe wrench: This tool is necessary for tightening or loosening pipes.
In terms of materials, you’ll require a new bathtub, plumbing fittings, drainage system, and a waterproof membrane. The cost of bathtub installation may vary depending on the type of bathtub you choose and any additional plumbing work required.
Now that we have our tools and materials ready, let’s move on to preparing the bathroom for installation.
Preparing the Bathroom for Installation
Start by clearing out any clutter and removing any obstacles from your bathroom before beginning the installation process. This will ensure a smooth and efficient installation of your new bathtub.
Here are four important steps to follow when preparing your bathroom for installation:
-
Measure the dimensions of your bathtub: Accurate bathtub measurements are crucial for a proper fit. Measure the length, width, and height of your new bathtub to ensure it will fit in the designated space.
-
Protect the floor: Before starting the installation, lay down protective materials such as drop cloths or cardboard to prevent damage to the floor. This will help protect it from scratches, spills, and debris during the installation process.
-
Clear the area: Remove any furniture, accessories, or personal items from the bathroom to create a clear and open workspace. This will make it easier to maneuver and install the bathtub without any obstructions.
-
Check for plumbing and electrical connections: Ensure that the plumbing and electrical connections in the bathroom are properly located and functioning. If any adjustments or repairs are needed, it’s best to address them before installing the bathtub.
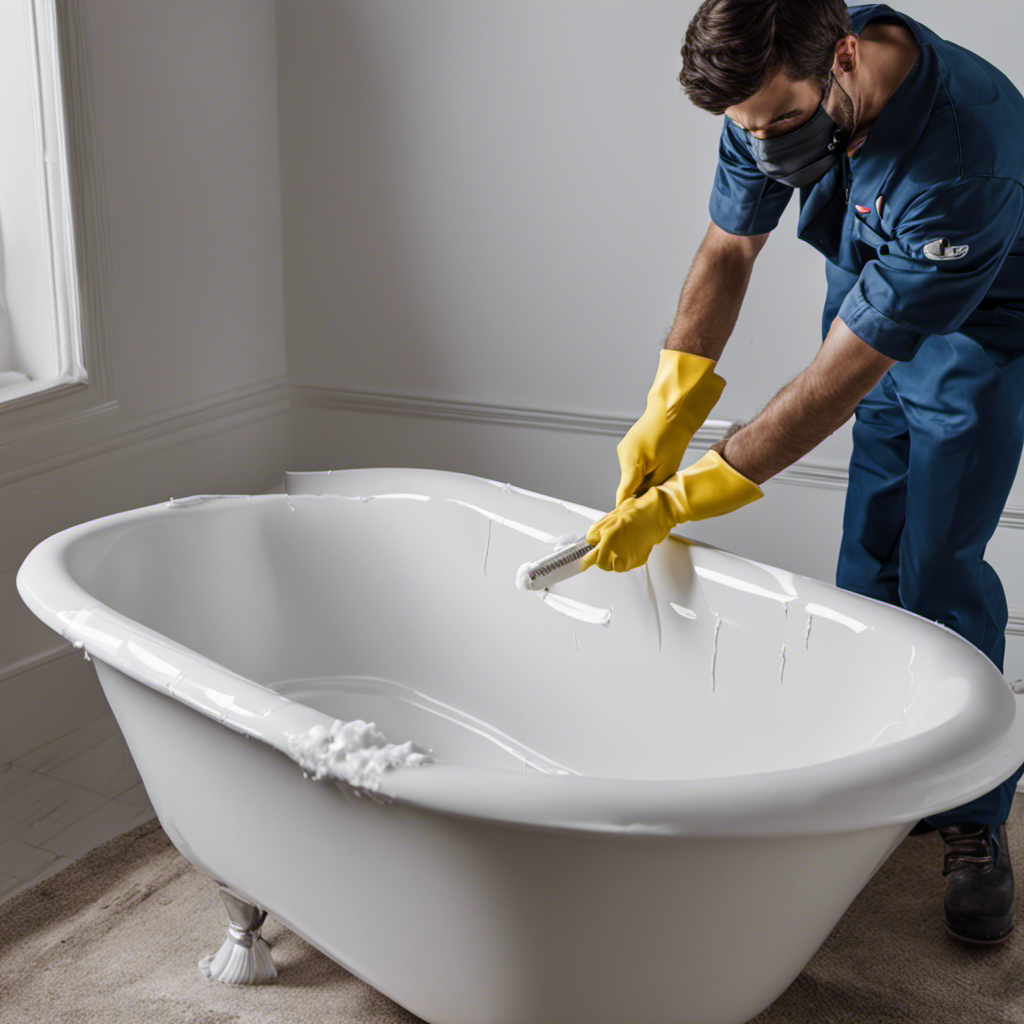
Removing the Old Bathtub
Clear out any items surrounding the old bathtub, making sure to create a clear workspace for removing it.
Before tackling the removal process, it is important to consider two key aspects: disposing of the old bathtub properly and dealing with any potential plumbing issues that may arise during the removal.
When it comes to disposal, check with your local waste management authorities to find out the specific guidelines for disposing of large items like bathtubs. Some areas may require you to schedule a special pickup or drop-off at a designated facility.
As for plumbing, turn off the water supply and disconnect any pipes or fixtures connected to the bathtub. Be prepared to address any leaks or unexpected problems that may arise during this process.
With the old bathtub successfully removed, it’s time to move on to the exciting task of installing the new bathtub.
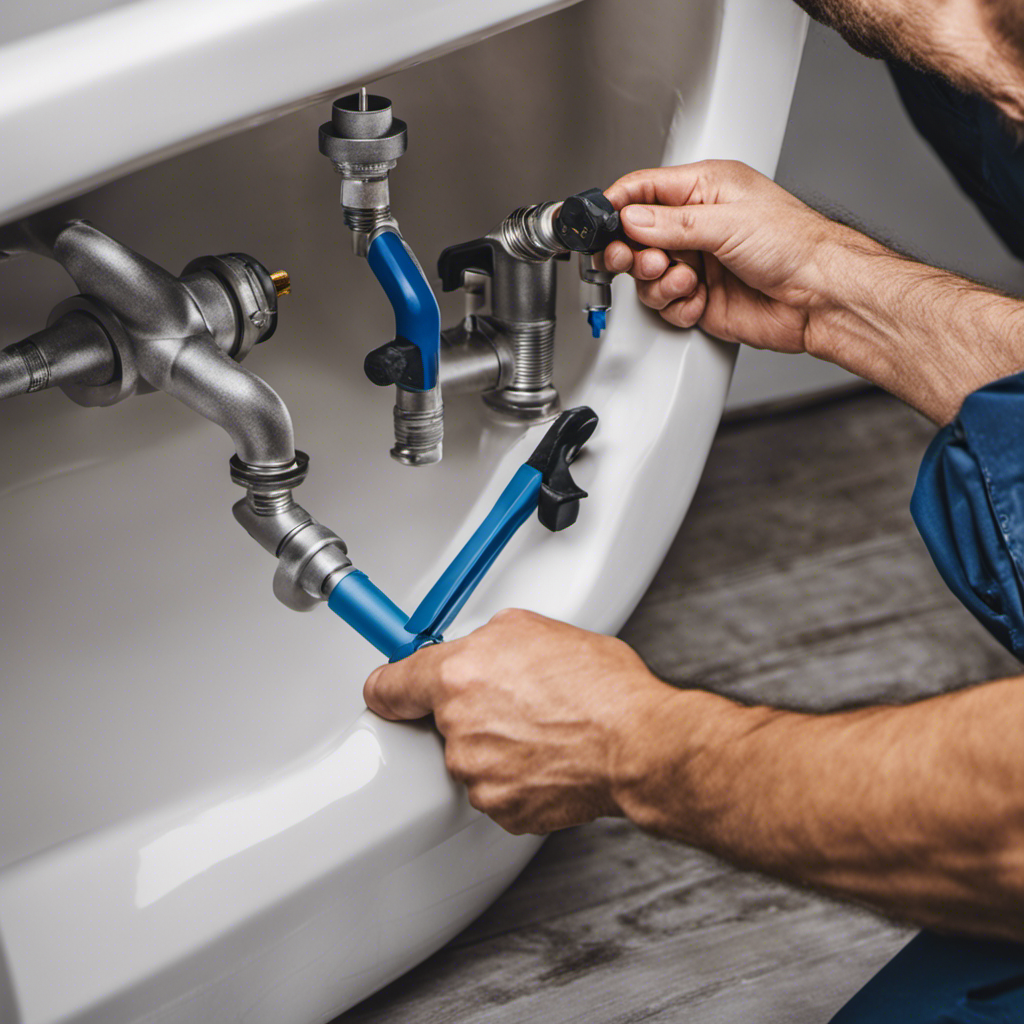
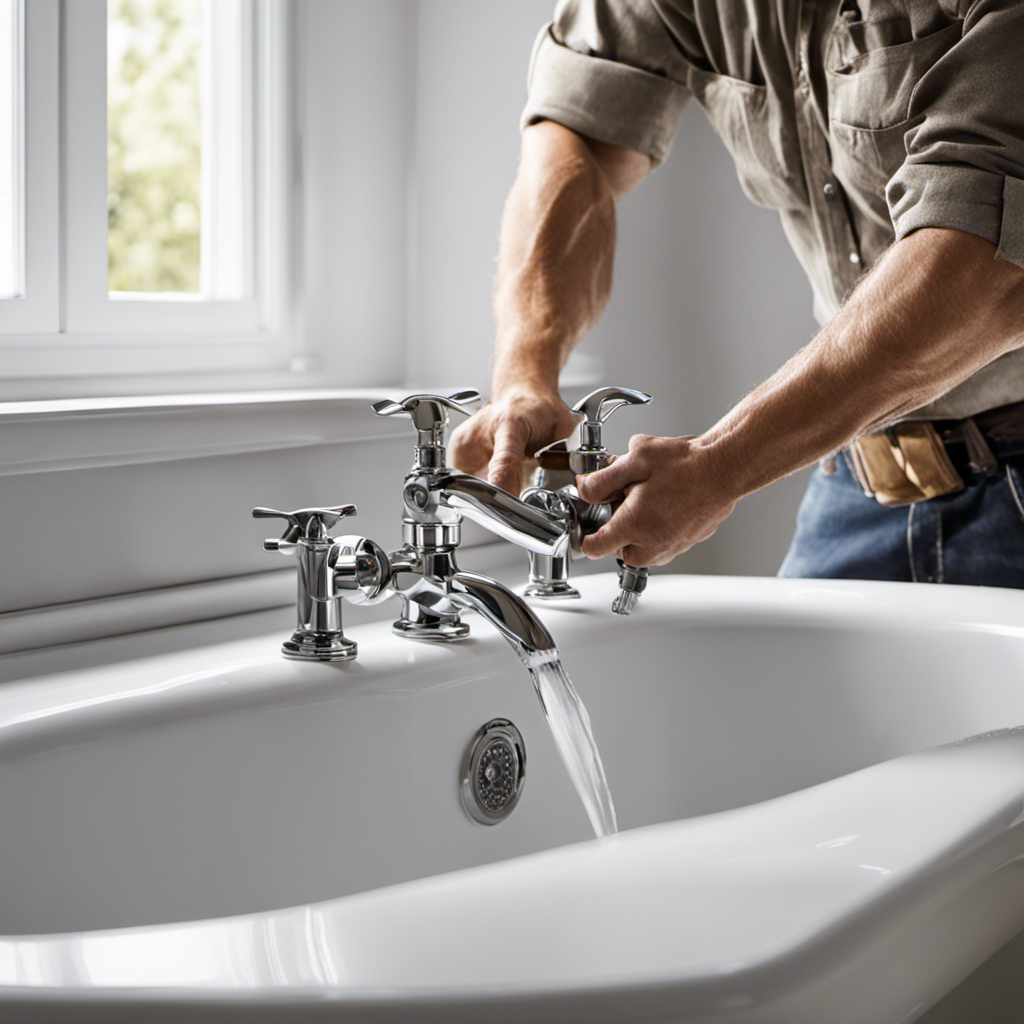
Installing the New Bathtub
Once you’ve successfully removed the old bathtub, it’s time to begin installing the new one. Before you start, make sure you have all the necessary tools and materials, including a level, screwdriver, plumber’s putty, and a wrench.
Follow these steps to ensure a smooth bathtub installation:
-
Position the new bathtub in the desired location, making sure it fits properly and aligns with the drain and water supply lines.
-
Connect the drain and overflow pipes securely, using plumber’s putty to create a watertight seal.
-
Install the faucet and handles according to the manufacturer’s instructions, ensuring proper alignment and tight connections.
-
Secure the bathtub to the wall studs using screws or brackets to prevent movement.
Remember, the cost of bathtub installation can vary depending on factors such as the type of bathtub, any additional plumbing work required, and labor costs. It’s always helpful to consult a professional or do thorough research before starting the project.
Once the new bathtub is installed, it’s time to move on to the finishing touches and cleanup.
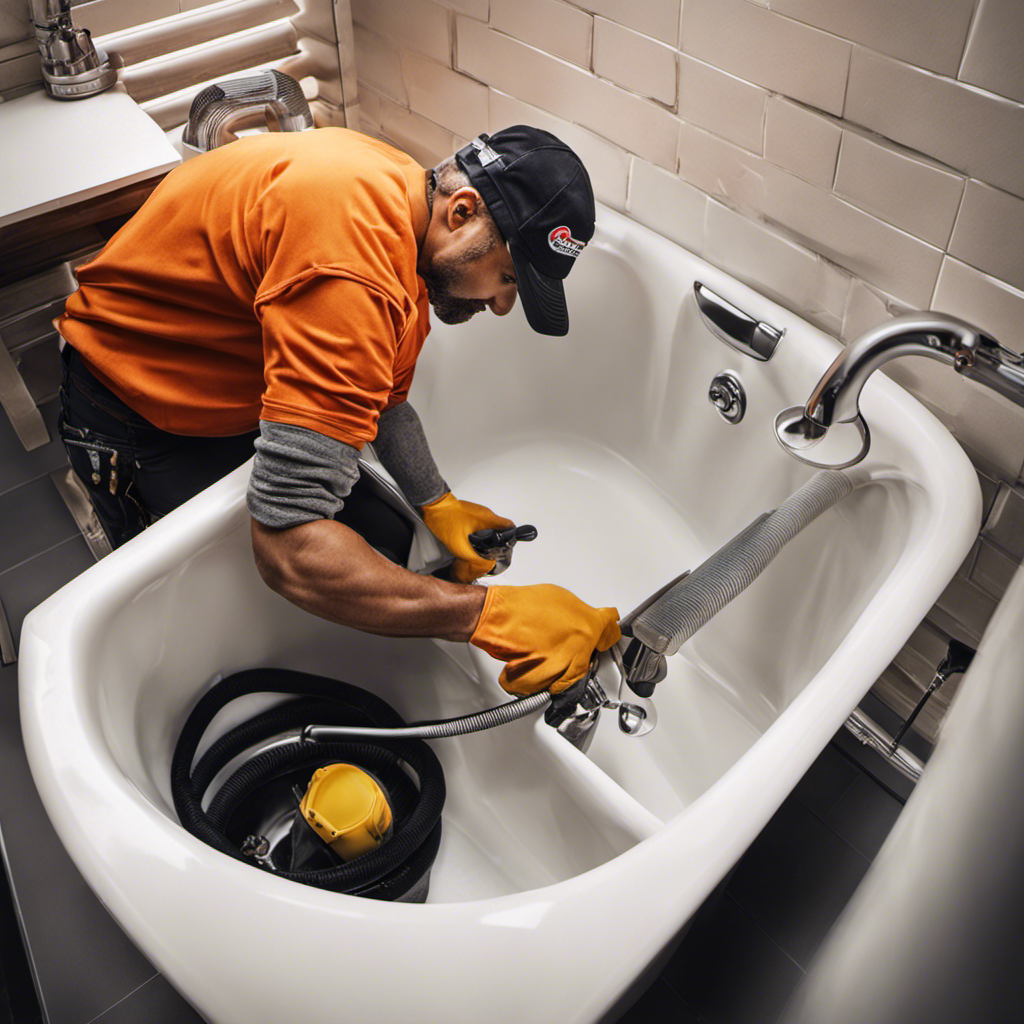
Finishing Touches and Cleanup
After you’ve finished installing the new bathtub, it’s important to clean up any debris and add the final touches to complete the project.
Start by removing any excess caulk or adhesive using a putty knife.
Next, use a mild detergent and warm water to clean the bathtub thoroughly. Be sure to rinse it well to remove any residue. For stubborn stains or hard water deposits, you can use a non-abrasive cleaner specifically designed for bathtubs.
Once the bathtub is clean, it’s time to seal the caulk. Apply a silicone caulk around the edges of the bathtub to prevent water from seeping in. Use a caulk gun for precise application and smooth it out with a caulk tool or your finger.
Allow the caulk to dry completely before using the bathtub.
Frequently Asked Questions
How Do I Determine the Right Size of Bathtub for My Bathroom?
To determine the right size of bathtub for your bathroom, measure the available space and consider factors such as the layout of the room, plumbing requirements, and your personal preferences. Consider consulting a professional for accurate measurements and advice.
Can I Install a Bathtub Without Professional Help?
Yes, I can install a bathtub without professional help. DIY bathtub installation requires careful planning, precise measurements, and following step-by-step instructions. It may be challenging, but with the right tools and patience, it can be done successfully.
How Long Does It Typically Take to Install a New Bathtub?
Typically, bathtub installation takes around 4-6 hours. Factors like the complexity of the installation, plumbing adjustments, and tile work can affect the time. The cost varies depending on materials, labor, and location.
Are There Any Special Considerations for Installing a Bathtub in a Second-Floor Bathroom?
When installing a bathtub in a second-floor bathroom, special considerations include structural reinforcement and plumbing considerations. It is important to ensure that the floor can support the weight of the bathtub and that the plumbing is properly connected.
What Are Some Common Mistakes to Avoid During Bathtub Installation?
Common problems during bathtub installation include improper leveling, inadequate waterproofing, and incorrect plumbing connections. Common challenges include dealing with limited space, aligning the drain properly, and ensuring proper ventilation for moisture control.
Conclusion
In conclusion, installing a bathtub requires careful planning, precise measurements, and attention to detail.
It is like fitting together the intricate pieces of a puzzle, ensuring every component aligns perfectly.
By following the step-by-step instructions and using the right tools, you can transform your bathroom into a sanctuary of relaxation and luxury.
Remember, patience is key during this process, as even the smallest mistake can have a significant impact.
So take your time, follow the instructions diligently, and soon you will have a beautiful bathtub ready to enjoy.

Mateo’s flair for writing is matched only by his keen eye for design. As an interior designer turned writer, Mateo brings a unique perspective. He blends aesthetics with functionality in every piece he pens, providing readers with beautifully crafted content that’s also supremely useful.
Mateo loves exploring the latest bathroom tech trends and is our expert on smart toilets. When he’s not writing or designing, Mateo can be found sketching ideas for his next big project at local coffee shops.