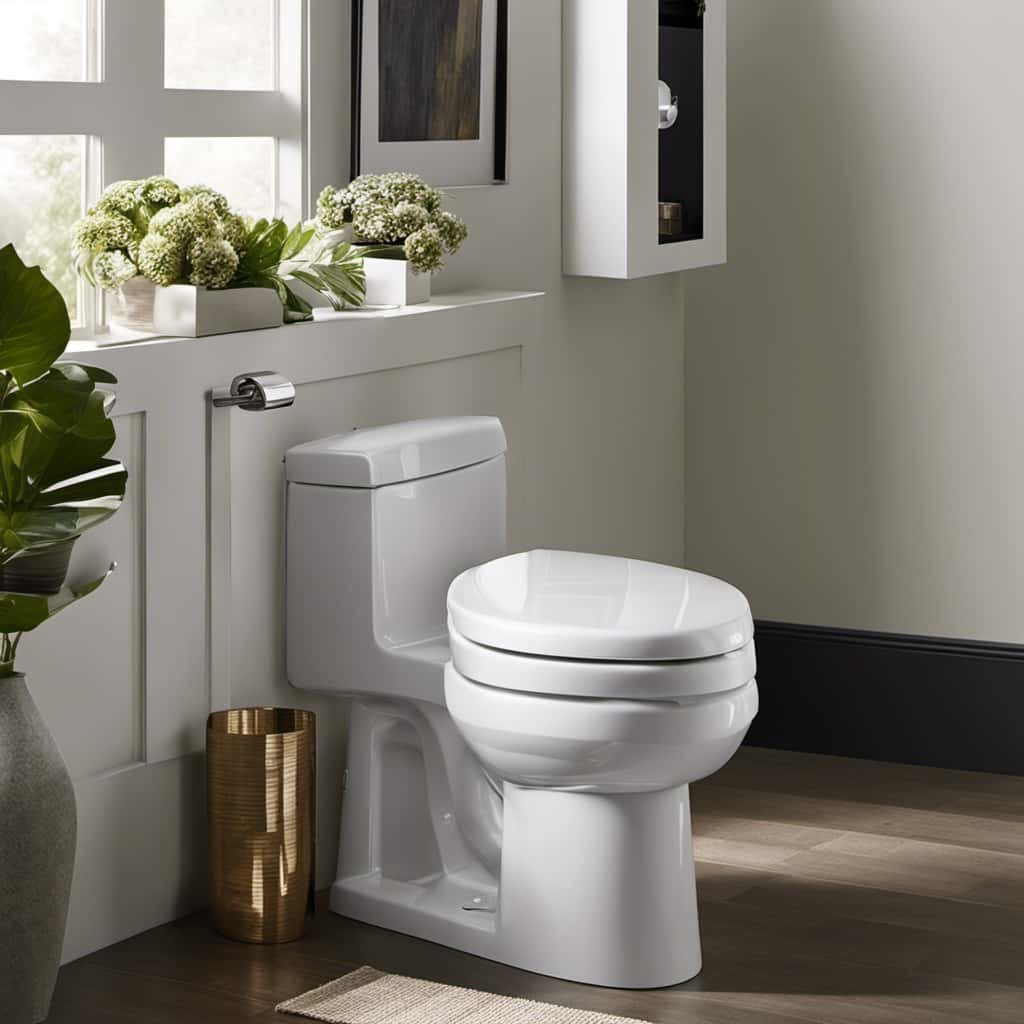
To install a bathtub, start by gathering all tools and materials, then prepare the installation area by clearing debris and ensuring level flooring. Remove the old tub carefully, turn off the plumbing, and remove any fixtures. Next, install the drain and overflow assembly, ensuring tight seals. Position and secure the new tub, connect plumbing and ventilation, and seal all edges. Finally, test for leaks and drainage. Following these steps step-by-step will guide you through a successful installation.
Key Takeaways
- Turn off water supply, remove existing tub, and prepare the installation area by clearing debris and leveling the floor.
- Install drain, overflow, and sealing components, ensuring all connections are watertight and properly aligned.
- Position the new bathtub, level it, and secure it with mounting brackets to prevent wobbling or leaks.
- Connect plumbing, including drain pipe and venting, and install ventilation ducting to ensure proper drainage and airflow.
- Perform final checks for leaks, test drainage and overflow functions, and verify all fittings are secure for a safe, durable installation.

Artiwell 1-1/2" Black Tubular Bath Drain Kit with Tip-Toe Bath Drain Stopper, Touch-Toe Tub Drain, Tip Toe Bathtub Drain Waste and Overflow with Plug and Bathtub Overflow Drain Cover, Matte Black
BATH TUB DRAIN KIT: This bath drain kit includes everything necessary for installation, including 1-1/2” plastic tubular, bath…
As an affiliate, we earn on qualifying purchases.
As an affiliate, we earn on qualifying purchases.
Gather Necessary Tools and Materials
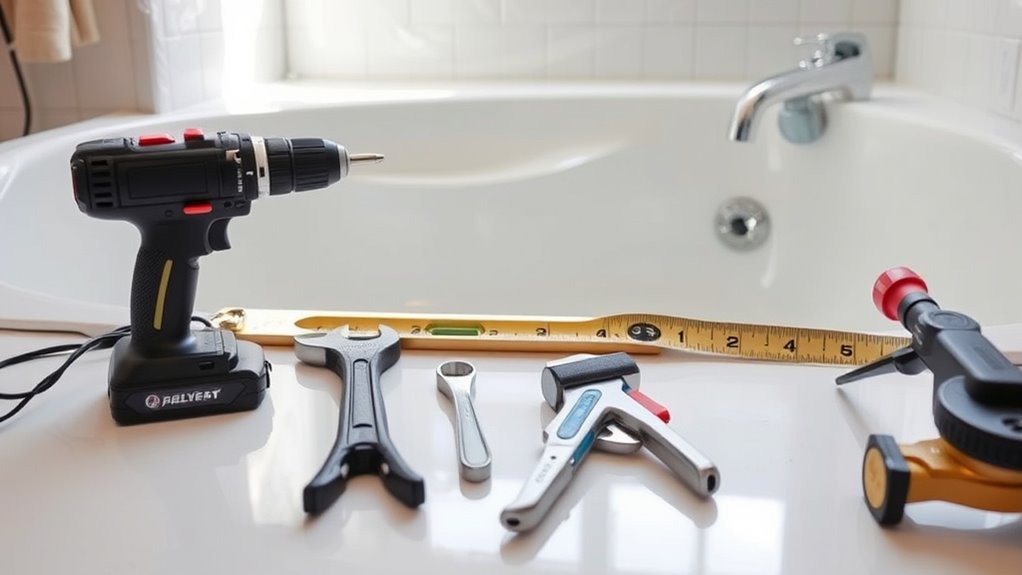
Before you begin installing your bathtub, it’s essential to gather all the necessary tools and materials. Start by selecting quality materials suited for your specific tub and space. Proper material selection ensures durability and easier installation. Make a checklist that includes essential tools like a drill, level, wrench, and screwdrivers. Don’t forget safety gear—gloves, goggles, and mask—to prioritize tool safety throughout the process. Using the right tools prevents accidents and damage to your tub or surrounding walls. Double-check that all items are in good condition before starting. Having everything on hand keeps the project running smoothly and prevents unnecessary delays. Taking time to gather and verify your tools and materials sets a strong foundation for a successful bathtub installation. Additionally, understanding the importance of contrast ratio can help you choose the right projector for your home cinema setup. To ensure your installation goes smoothly, consider inspecting your plumbing connections beforehand to avoid leaks or issues later.

Tub Drain Linkage Assembly with Trip Lever and Strainer Done Cove, Fit for Trip Lever Bath Tub Waste and Overflow Drain by Artiwell
TUB DRAIN ASSEMBLY LINKAGE: Designed to repair and replace a worn-out Trip-lever drain assembly linkage that operates the…
As an affiliate, we earn on qualifying purchases.
As an affiliate, we earn on qualifying purchases.
Prepare the Installation Area
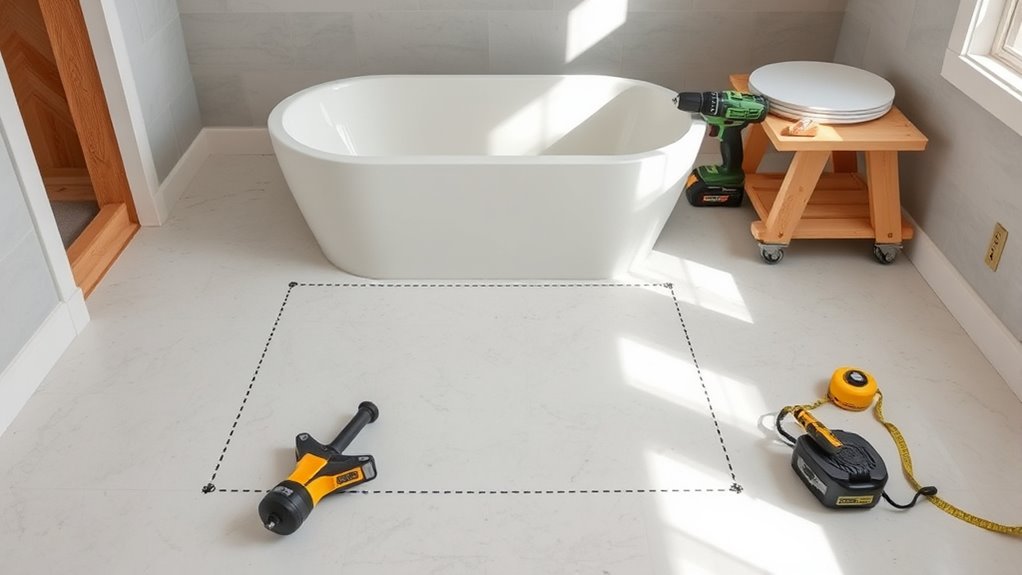
Have you cleared the installation area to guarantee a smooth bathtub setup? Preparing the space is essential before installation. First, ensure the floor is clean, dry, and level to support the bathtub materials securely. Next, check that the plumbing connections are accessible and in good condition for easy hookup. Finally, gather your installation tools, such as a level, wrench, and sealant, to quickly address any adjustments needed. Properly preparing the area minimizes surprises and streamlines the process. Make sure the space is free of debris and obstructions to prevent delays. Additionally, assessing digital literacy among those involved can help ensure proper handling of plumbing and electrical components. It’s also important to consider proper safety precautions to prevent accidents during installation. Being aware of regulatory codes related to plumbing and electrical work can help avoid legal issues and ensure safety. Incorporating water safety measures can also be beneficial when working around water sources. Understanding relationship dynamics and potential issues like trust concerns can help in planning the project and communicating effectively with anyone assisting. With these steps, you’re setting a solid foundation for a successful bathtub installation. Preparing the area carefully saves time and ensures safety throughout the project.

LOZLIN Granite Marble Countertop Seam Leveling Tool – Adjustable Vacuum Suction Clamp Set for Stone Slab Installation & Repair, Pro Gap Adjustment Kit Yellow Rubber
PRECISE DIMENSIONS: Overall size 6.69 x 4.65 x 3.15 inches with 0.74-inch top adjustment knob and 0.31-inch base…
As an affiliate, we earn on qualifying purchases.
As an affiliate, we earn on qualifying purchases.
Remove the Old Bathtub (If Applicable)

Before removing the old bathtub, you need to turn off the plumbing to prevent leaks. Next, take out any mounting fixtures securing the tub in place. Once these steps are complete, you’ll be ready to carefully lift and remove the old tub. Consider inspecting the area for any existing damage that may need repair before installing a new bathtub. Recognizing the signs of wear and tear can help ensure a safe and effective replacement process. Additionally, assessing the floor condition can prevent future issues during the installation. It’s also important to be aware of potential health risks associated with mold or asbestos in older installations. If you’re planning a DIY project, proper planning and safety precautions are essential.
Turn Off Plumbing
To safely remove your old bathtub, you need to turn off the water supply and drain any remaining water. This is essential for plumbing safety and preventing water damage. First, locate your main water shutoff valve or the individual shutoff valves for the bathtub. Next, turn these valves clockwise to shut off the water flow. Finally, open the faucet to drain any residual water in the pipes. Recognizing angel number patterns can help you stay aware of divine guidance during your renovation process. Here are the steps to follow: 1. Find the main or local water shutoff valves. 2. Turn the valves clockwise to shut off water. 3. Open the faucet to drain residual water. Additionally, inspecting the area for potential leaks or damages before proceeding can prevent future issues and ensure a smooth removal process. It’s also helpful to familiarize yourself with plumbing systems to better understand how your plumbing is set up, which can make the removal process safer and more efficient. Taking these steps ensures your plumbing safety and makes removing the old bathtub safer and easier, especially if you are unfamiliar with plumbing systems. Remember to inspect the area for any potential leaks or damages before proceeding with removal.
Remove Mounting Fixtures
Once you’ve turned off the water supply, it’s time to remove the mounting fixtures that secure the old bathtub in place. These fixtures include screws, bolts, or clips holding the tub to the wall or floor. Carefully inspect the area around the tub to identify all mounting points. Use a screwdriver or wrench to loosen and remove the mounting fixtures. During fixture removal, be gentle to avoid damaging surrounding surfaces or tiles. Keep the fixtures in a safe place if you plan to reuse them or dispose of them properly. Removing the mounting fixtures is a *vital* step to free the old bathtub from its position, making it easier to lift out and prepare the space for the new installation. Additionally, understanding the regional flavors and traditions associated with your local culinary scene can help you appreciate the area’s cultural background. Remember that some support hours may vary depending on your region, so planning ahead can help ensure a smooth removal process.
Fixmend Caulk Tape, 3 Roll Self Adhesive Caulk Strip Waterproof, Caulking Sealant Tape for Kitchen, Countertop, Bathroom, Sink, Shower, Bathtub, Toilet Edge Protector with Sealing Tool (1.5" x 10.5Ft)
Material – The caulk strip is made of high-quality PVC material, waterproof, with better adhesion.
As an affiliate, we earn on qualifying purchases.
As an affiliate, we earn on qualifying purchases.
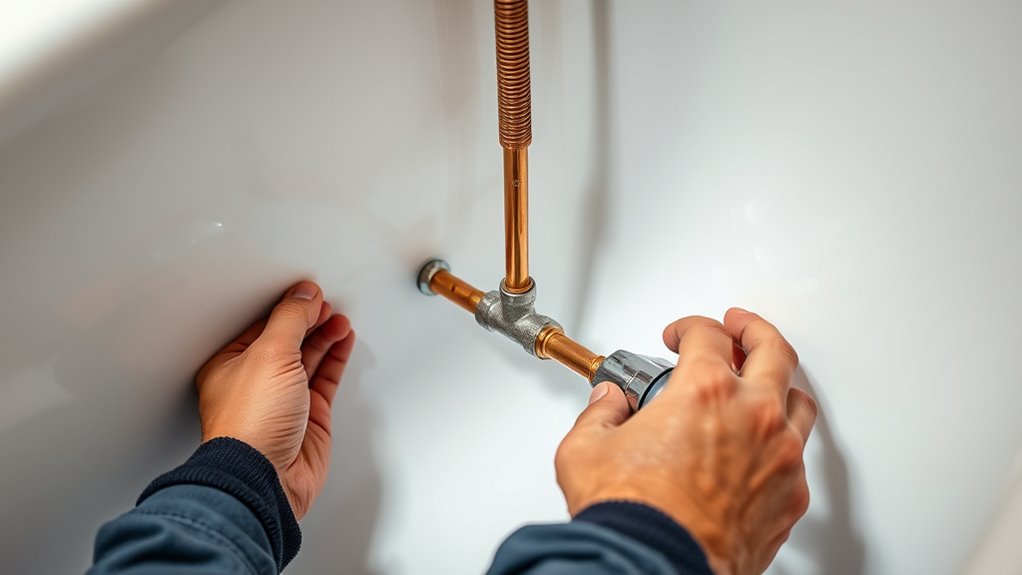
Install the Drain and Overflow Assembly
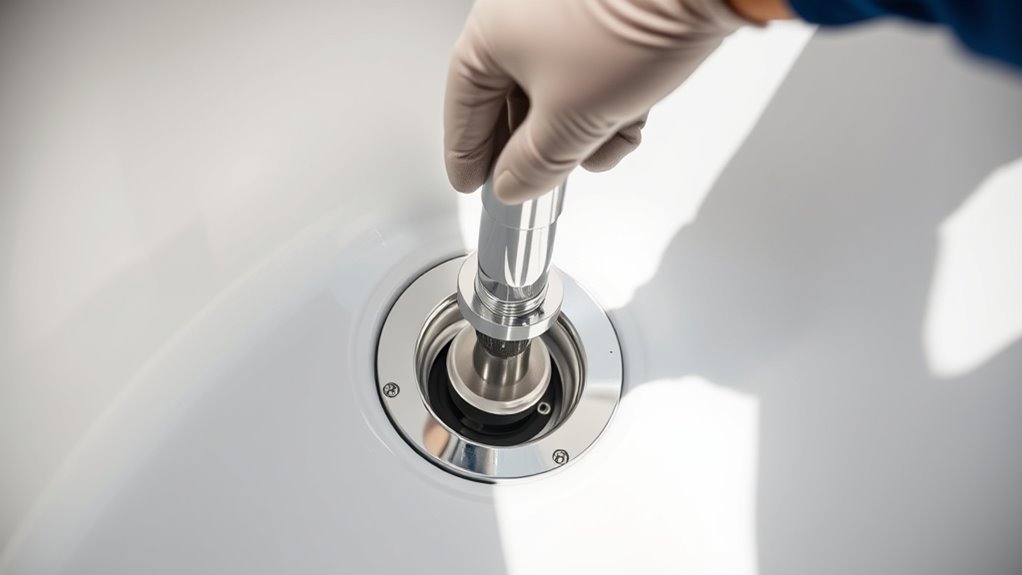
You’ll start by preparing the drain components to guarantee everything fits correctly. Next, attach the overflow pipe securely to prevent leaks. Properly positioning the water efficiency features can help optimize performance and conserve resources. Incorporating indoor air quality considerations during installation can further enhance the overall living environment. Finally, seal all connections thoroughly to keep the assembly watertight. Incorporating self-reflection during installation can help identify potential issues early and ensure a smoother setup process.
Prepare Drain Components
Have you gathered all the drain components needed for your bathtub installation? Before you start, lay out your parts for the drain assembly and overflow installation. Make certain you have:
- The drain flange and gasket
- The overflow cover and pipe
- The drain stopper and linkage
Next, inspect each part for damage or debris. Check that the drain assembly fits correctly into the tub’s drain opening. During overflow installation, confirm the overflow pipe aligns properly with the drain assembly. Keep all parts clean and dry to ensure a tight seal. This preparation helps prevent leaks and makes installation smoother. Once everything is ready, you’ll be set to connect the drain assembly and overflow components securely, ensuring proper drainage and a professional finish.
Attach Overflow Pipe
Ready to attach the overflow pipe? Start with the overflow drain sealing to guarantee a watertight fit. Insert the overflow pipe into the overflow opening on the bathtub, aligning it properly. During overflow pipe installation, make sure the gasket or sealant is in place to prevent leaks. Secure the overflow pipe to the drain assembly using the provided fittings, tightening them firmly but without over-tightening, which could damage components. Check that the pipe extends downward into the drain outlet correctly. Once attached, double-check your connections for stability. Proper overflow drain sealing is vital to avoid water leaks later. With the overflow pipe securely in place, you’re ready to move on to sealing connections properly, ensuring your bathtub’s drainage system is leak-free and functional.
Seal Connections Properly
To guarantee your bathtub doesn’t leak, it’s essential to seal all connections properly when installing the drain and overflow assembly. Proper sealing prevents water damage and ensures a secure fit. Use the right sealing materials, such as plumber’s putty or silicone caulk. When applying caulking techniques, ensure a smooth, even bead around joints. Here are key steps:
- Apply sealing materials generously around the drain and overflow connections, making sure to cover all gaps.
- Use a caulking gun to evenly distribute the caulk, avoiding air bubbles or gaps.
- Wipe away excess caulk with a damp cloth for a clean finish.
Taking these steps guarantees a watertight seal, prolongs the life of your bathtub, and prevents leaks.
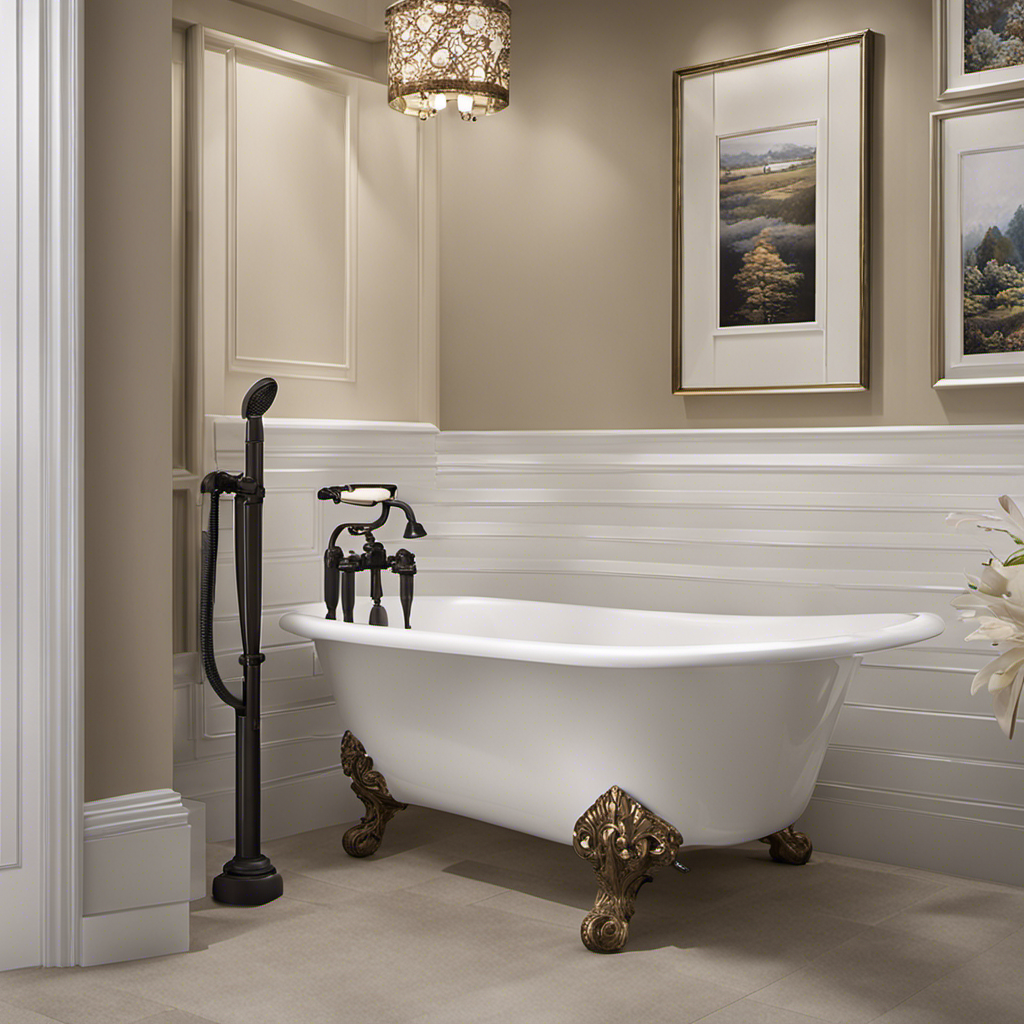
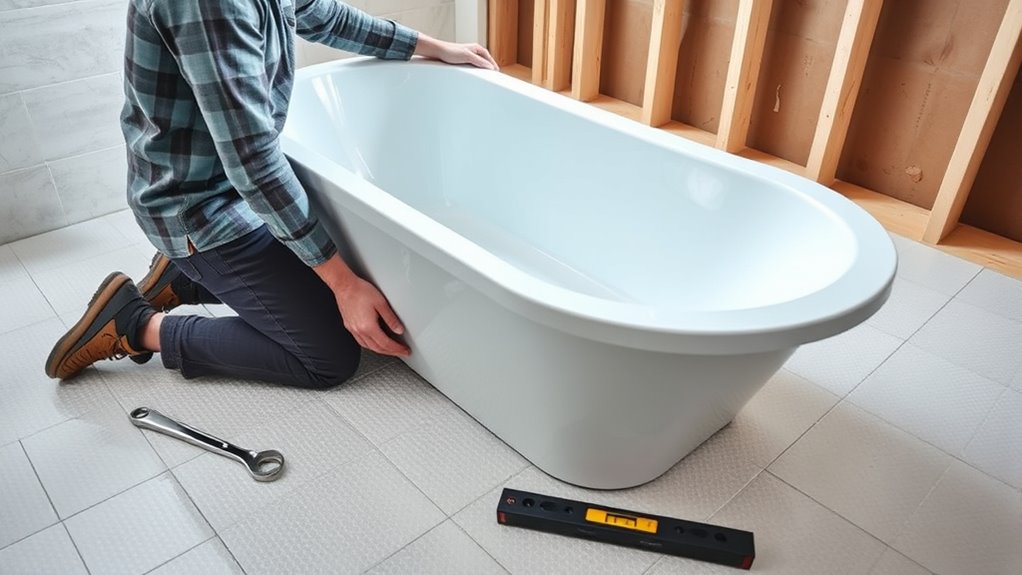
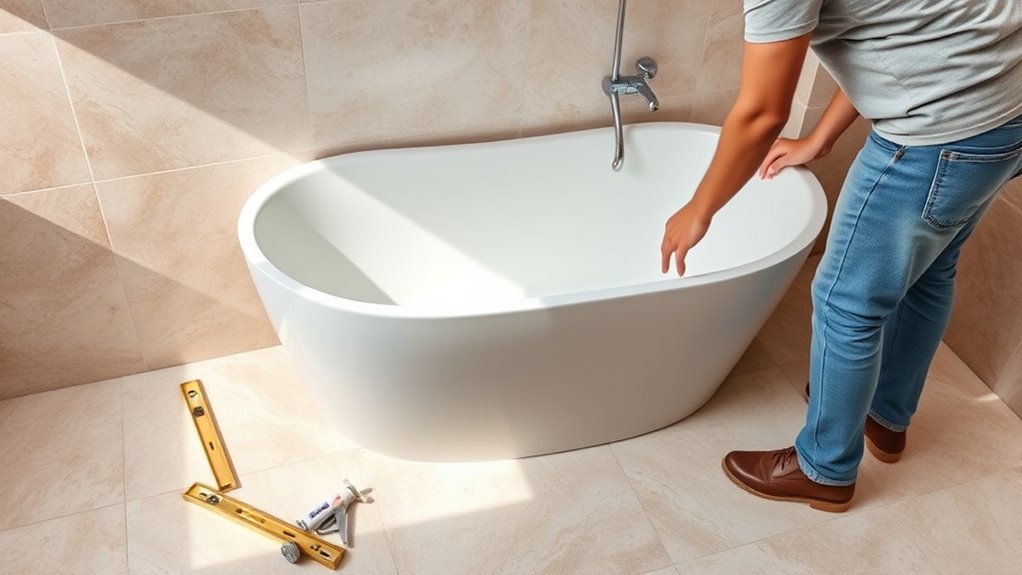
Position and Secure the Bathtub in Place

Before securing the bathtub, make sure it’s properly positioned in the designated space, aligning it with existing plumbing and framing. Use leveling techniques to ensure the tub sits flat and stable, preventing future leaks or wobbling. Once positioned, attach mounting brackets to secure the bathtub to the wall or framing. These brackets provide support and stability, so double-check their placement before tightening. Apply a level to confirm the tub is perfectly horizontal. Adjust as needed to avoid sloping or unevenness. Once you’re confident with the positioning, tighten all brackets firmly to hold the tub securely in place. Proper mounting and leveling are essential for a safe, long-lasting installation, so take your time to get it right before moving on to the next steps.
Connect the Plumbing and Ventilation
Connecting the plumbing and ventilation is a crucial step to guarantee your bathtub functions properly and safely. Properly linking the plumbing venting ensures drainage works smoothly, preventing leaks and backups. Additionally, ventilation ducting helps reduce moisture buildup and mold growth in your bathroom. To do this:
Ensuring proper plumbing and ventilation connections prevents leaks, mold growth, and drainage issues for a safe, durable bathtub.
- Attach the drain pipe from the bathtub to the main plumbing line, ensuring secure fittings and proper slope.
- Connect the plumbing venting to the vent stack, allowing air to flow freely and balance pressure.
- Install ventilation ducting to direct moist air outside, preventing humidity issues and promoting good airflow.
Double-check all connections for leaks and secure fittings tightly. This setup ensures efficient drainage and proper ventilation, extending the life of your bathtub and maintaining a healthy bathroom environment.
Seal the Edges and Waterproof the Area

Have you made certain that the edges of your bathtub are properly sealed? Applying high-quality caulk is essential for effective waterproofing. Use caulk application to seal all joint gaps between the tub and walls, preventing water infiltration. Proper waterproofing techniques ensure long-term durability and prevent mold growth. When sealing, smooth the caulk with a caulk tool or your finger for a clean finish. Remember, a well-sealed edge protects your bathroom’s structure and keeps moisture out.
| Step | Purpose |
|---|---|
| Clean the area | Ensures proper adhesion |
| Apply caulk | Creates a waterproof barrier |
| Smooth the caulk | Prevents gaps and cracks |
| Allow to cure | Sets the seal for lasting protection |
Test for Leaks and Proper Drainage
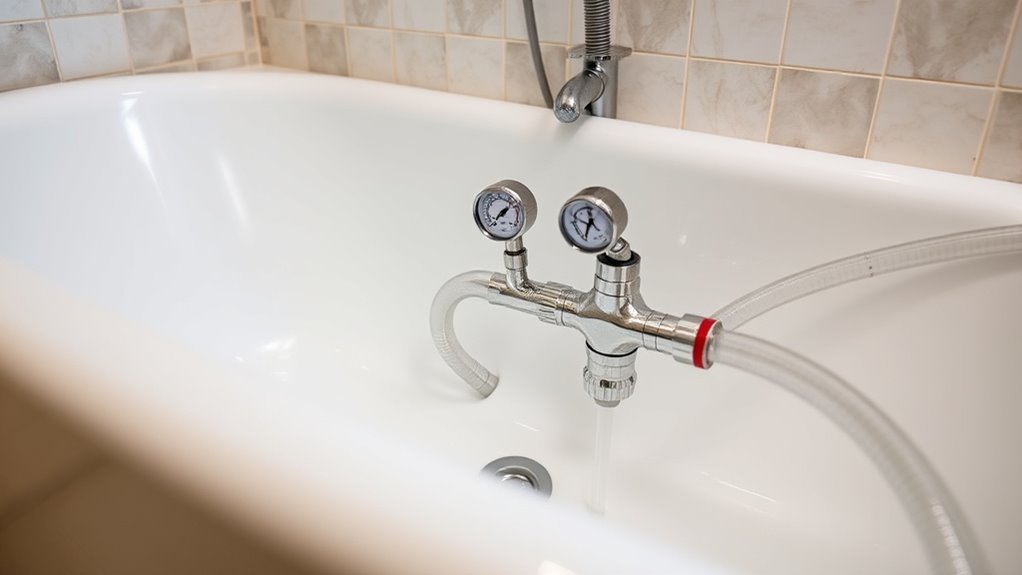
Once you’ve sealed the edges of your bathtub, it’s essential to test for leaks and proper drainage to make sure everything functions correctly. Different bathtub materials, like acrylic or cast iron, can affect how you check for leaks, so keep that in mind. To do this:
- Fill the tub with water, but don’t overfill; monitor water pressure to avoid stress on joints.
- Observe all seams and edges for any signs of leaking or water seeping through.
- Drain the tub slowly, checking that water flows smoothly without pooling or backing up.
This process guarantees your drain is working properly and your bathtub isn’t leaking, preventing future issues and confirming your installation is solid.
Finish Surrounding Walls and Flooring
After confirming your bathtub doesn’t leak and drains properly, it’s time to finish the surrounding walls and flooring. Begin with wall finishing by installing tile or waterproof panels to protect against moisture. Proper tile installation ensures durability and a professional look. For flooring, choose water-resistant materials like ceramic tile or vinyl. Prepare the surface thoroughly before installation for a smooth finish. Use spacers and level tools to ensure even tiles and avoid uneven gaps. Below is a simple guide:
| Step | Task |
|---|---|
| 1 | Prepare wall and floor surface |
| 2 | Install tiles or panels |
| 3 | Grout and seal |
This process creates a clean, waterproof environment, completing your bathtub project.
Frequently Asked Questions
How Do I Choose the Right Bathtub Size for My Bathroom?
When choosing the right bathtub size, consider your bathroom space and personal needs. Measure your area carefully to make certain a comfortable fit. Think about bathtub material and style options, like acrylic or cast iron, which influence size and weight. Opt for a style that complements your bathroom’s design while leaving enough room for movement. You want a bathtub that fits perfectly, offering both comfort and practicality without overwhelming your space.
What Safety Precautions Should I Take During Installation?
During installation, you should prioritize safety by wearing protective gear like gloves and goggles to prevent injuries. Always guarantee electrical safety by turning off power in the work area and avoiding contact with live wires. Keep your workspace clear of clutter to prevent trips and falls. Use proper tools and follow manufacturer instructions carefully. Taking these precautions helps protect you from accidents and ensures a smoother, safer installation process.
Can I Install a Bathtub Without Professional Help?
You can install a bathtub without professional help if you’re comfortable with DIY plumbing projects and have basic handyman skills. Just guarantee you research thoroughly, follow safety precautions, and understand the plumbing and drainage systems involved. Keep in mind, proper installation makes bathtub maintenance easier later on, so don’t rush. If you’re unsure about any step, consider consulting a professional to avoid costly mistakes and ensure your bathtub functions safely and effectively.
How Long Does the Entire Bathtub Installation Process Typically Take?
Timing expectations tell you the total installation timeline can take anywhere from one to three days, depending on your skill level and project complexity. You’ll want to set aside sufficient time for preparation, precise plumbing, and proper sealing. Expect to be patient as you work through each step, making sure everything fits perfectly. A smooth, successful installation often requires careful planning, so don’t rush—your bathroom will thank you!
What Are Common Mistakes to Avoid During Installation?
During installation, you should watch out for common pitfalls that lead to installation errors. Avoid rushing the process, as it can cause leaks or unstable fittings. Make certain all plumbing connections are secure and properly aligned, and don’t forget to level the tub before securing it. Double-check measurements and follow manufacturer instructions carefully. By staying attentive to these details, you prevent costly mistakes and ensure a safe, durable installation.
Conclusion
Now that your bathtub is installed, imagine stepping into a serene oasis amidst a bustling home. The cold, hard edges have transformed into smooth, inviting curves, like a gentle embrace. As water flows seamlessly down the drain, you feel the satisfaction of turning a messy project into a calming retreat. With every detail perfected, your bathroom becomes a sanctuary—proof that patience and effort can turn chaos into comfort, one step at a time.