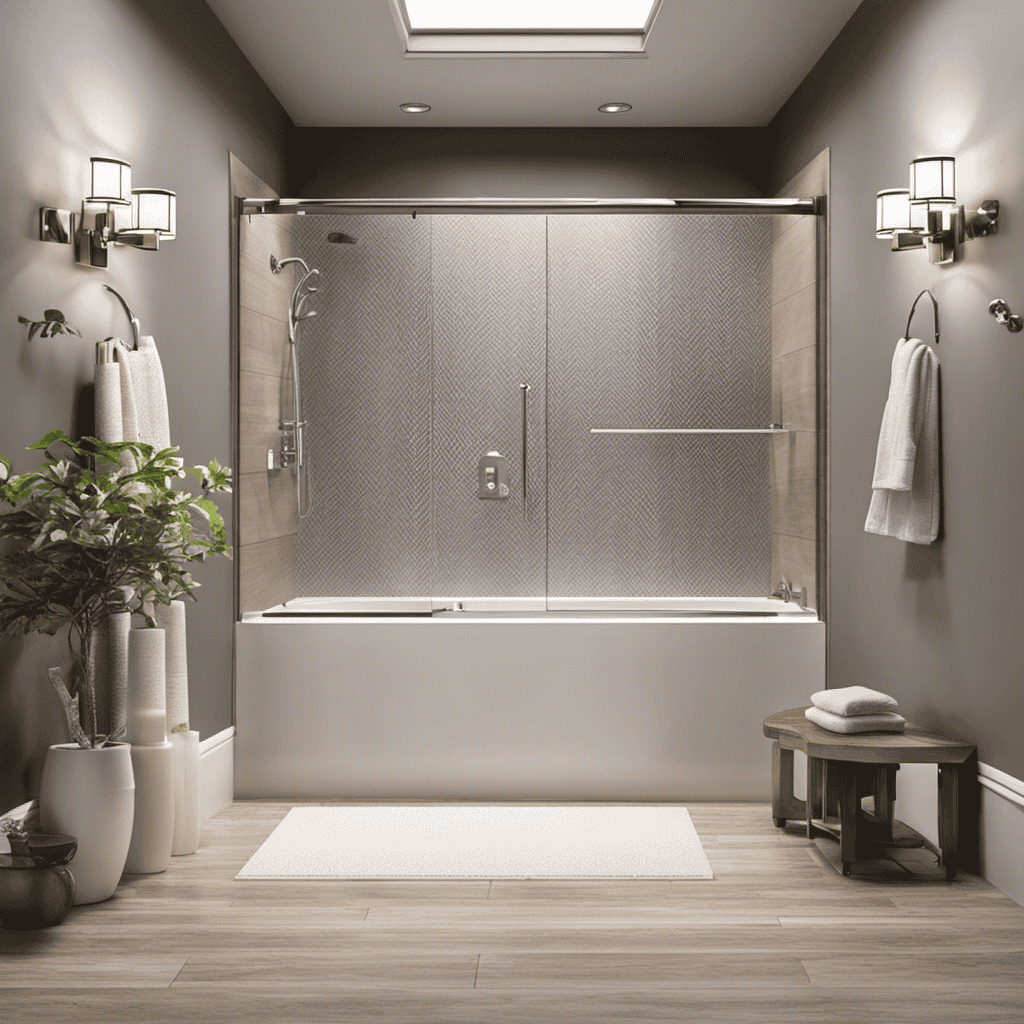

I’ve always wanted to upgrade my bathroom with a sleek bathtub door. It’s amazing how this simple addition can transform the look and functionality of the entire space.
In this article, I’ll guide you through the step-by-step process of installing a bathtub door. We’ll start by gathering the necessary tools and materials, then move on to preparing the bathtub area.
From there, we’ll measure and mark the placement of the door before finally installing the frame and hinges.
Let’s get started!
Key Takeaways
- Installing a bathtub door can prevent water splashing onto the bathroom floor and enhance safety by keeping the bathroom dry.
- It adds elegance to the bathroom decor and provides privacy.
- Installing a bathtub door makes cleaning and maintaining the bathtub easier.
- Proper preparation, measuring, and installation are essential for a successful bathtub door installation.

Smart Toilet with Bidet Built In, Heated Seat, Warm Water Wash & Dryer, Tankless Bidet Toilet with Foot Sensor & Night Light, Auto Open/Close Lid & Flush, Wireless Remote, 1.26GPF Water-Saving Design
🛠️ Easy Installation & Reliable Support: This smart toilet with bidet built in includes all accessories, flange kit,...
As an affiliate, we earn on qualifying purchases.
Tools and Materials Needed for Installing a Bathtub Door
To install a bathtub door, you’ll need a measuring tape, screwdriver, drill, and silicone adhesive.
There are different types of bathtub doors available, such as sliding doors, pivot doors, and hinged doors. Sliding doors are popular as they save space and are easy to operate. Pivot doors provide a wider opening and a sleek look, while hinged doors offer a traditional style and easy access for cleaning.
Installing a bathtub door has many benefits. It helps to prevent water from splashing onto the bathroom floor, keeping it dry and safe. It also adds a touch of elegance to the bathroom decor. Additionally, a bathtub door can provide privacy and make it easier to clean and maintain the bathtub.

WITMYA Smart Toilet with Bidet Built In, One Piece Bidet Toilet with Auto Dual Flush, Foam Shield, Modern Elongated Tankless Toilet with Foot Sensor, Heated Bidet Seat, Warm Water & Dryer,LED Display
【Efficient Flush & Energy-Saving Design】There smart toilets feature a highly efficient 1.28 GPF water-saving dual flush system with...
As an affiliate, we earn on qualifying purchases.
Preparing the Bathtub Area for Installation
First, make sure you’ve thoroughly cleaned the area where you want to put the new door. This is important to ensure a proper installation and to prevent any issues in the future.
Begin by removing any old bathtub fixtures, such as faucets and showerheads. Use a wrench to loosen and disconnect them from the water supply.
Next, focus on waterproofing the bathtub area. Apply a waterproofing membrane or a liquid waterproofing product to the walls and floor surrounding the bathtub. This will create a barrier that prevents water from seeping into the surrounding areas and causing damage.
Once the area is clean and waterproofed, you can move on to measuring and marking the placement of the bathtub door.

LOUPUSUO Smart Toilet with Warm Water Sprayer and Dryer, One Piece Bidet Toilet with Auto Dual Flush Foot Sensor Operation,Heated Seat Smart with Built In Fahrenheit LED Display
Powerful Flushing System: Designed with low water consumption (1.26 gallons per flush), this system ensures efficient and thorough...
As an affiliate, we earn on qualifying purchases.
Measuring and Marking the Placement of the Bathtub Door
Once you’ve finished waterproofing the area, it’s time to measure and mark where the new bathtub door will be placed. Here are some measuring techniques to ensure accurate placement:
-
Measure the width of the bathtub opening at the top, middle, and bottom. Take the smallest measurement as your reference.
-
Measure the height of the opening from the top of the bathtub rim to the desired height of the door.
-
Use a level to ensure the bathtub walls are plumb and mark the reference points on the walls.
-
Double-check your measurements before proceeding with the installation.
When it comes to alternative door options, there are a few to consider. Sliding doors are a popular choice, as they save space and provide easy access. Pivot doors, on the other hand, offer a wider opening and are great for larger bathrooms. Finally, if you’re looking for a minimalist look, a frameless door can provide a sleek and modern appearance. Select the option that best suits your needs and preferences.

Loniko Smart Toilet with Bidet Built In, Heated Seat & Dual Auto Flush, Foot Sensor, Tankless Modern Elongated Electric Toilet with Warm Water Wash, Air Dryer, LED Display & 1000g MaP Flush, 1.28 GPF
🧻 [Powerful & Water-Saving Dual Flush System] This one piece smart toilet with bidet built in uses an...
As an affiliate, we earn on qualifying purchases.
Installing the Frame and Hinges of the Bathtub Door
After waterproofing the area, it’s time to start by attaching the frame and hinges of the new bathtub door.
To install the door properly, it is important to avoid common installation mistakes. Begin by positioning the frame in the designated area, ensuring it is level and plumb. Secure the frame to the wall studs using screws or anchors, depending on the wall material.
Next, attach the hinges to the frame, making sure they are aligned correctly. Double-check that the hinges are securely fastened to prevent any future issues. It is crucial to follow the manufacturer’s instructions for hinge placement and installation.
By avoiding common mistakes such as improper alignment or loose hinges, you can ensure a sturdy and functional bathtub door.
Now, let’s move on to adjusting and securing the bathtub door for proper functionality.
Adjusting and Securing the Bathtub Door for Proper Functionality
To ensure proper functionality, adjust and secure your new bathtub door by aligning the hinges and tightening any loose screws or fasteners. Follow these steps for a successful installation:
-
Check for proper alignment: Ensure that the hinges are properly aligned with the door frame and the bathtub. Use a level to make sure the door is plumb and adjust as needed.
-
Tighten screws and fasteners: Check all screws and fasteners on the door and frame. Use a screwdriver or wrench to tighten any loose ones. This will help prevent any movement or instability.
-
Test the door’s movement: Open and close the door several times to make sure it operates smoothly and without any binding or sticking. Adjust the hinges if necessary.
-
Conduct a final inspection: Once everything is adjusted and tightened, check for any gaps or leaks around the door. Make sure the door seals properly to prevent water leakage.
By following these steps, you can ensure that your bathtub door is adjusted and secured properly, allowing for smooth operation and preventing any common troubleshooting issues.
For maintenance and cleaning tips, refer to the manufacturer’s instructions.
Conclusion
In conclusion, installing a bathtub door is a relatively simple process that can greatly enhance the functionality and aesthetics of your bathroom. By following the step-by-step instructions provided in this article, you will be able to successfully install a bathtub door without any major complications.
Remember, ‘measure twice, cut once’ is an adage that perfectly illustrates the importance of careful planning and accurate measurements during the installation process.
So, grab your tools and get ready to transform your bathroom into a more convenient and stylish space.