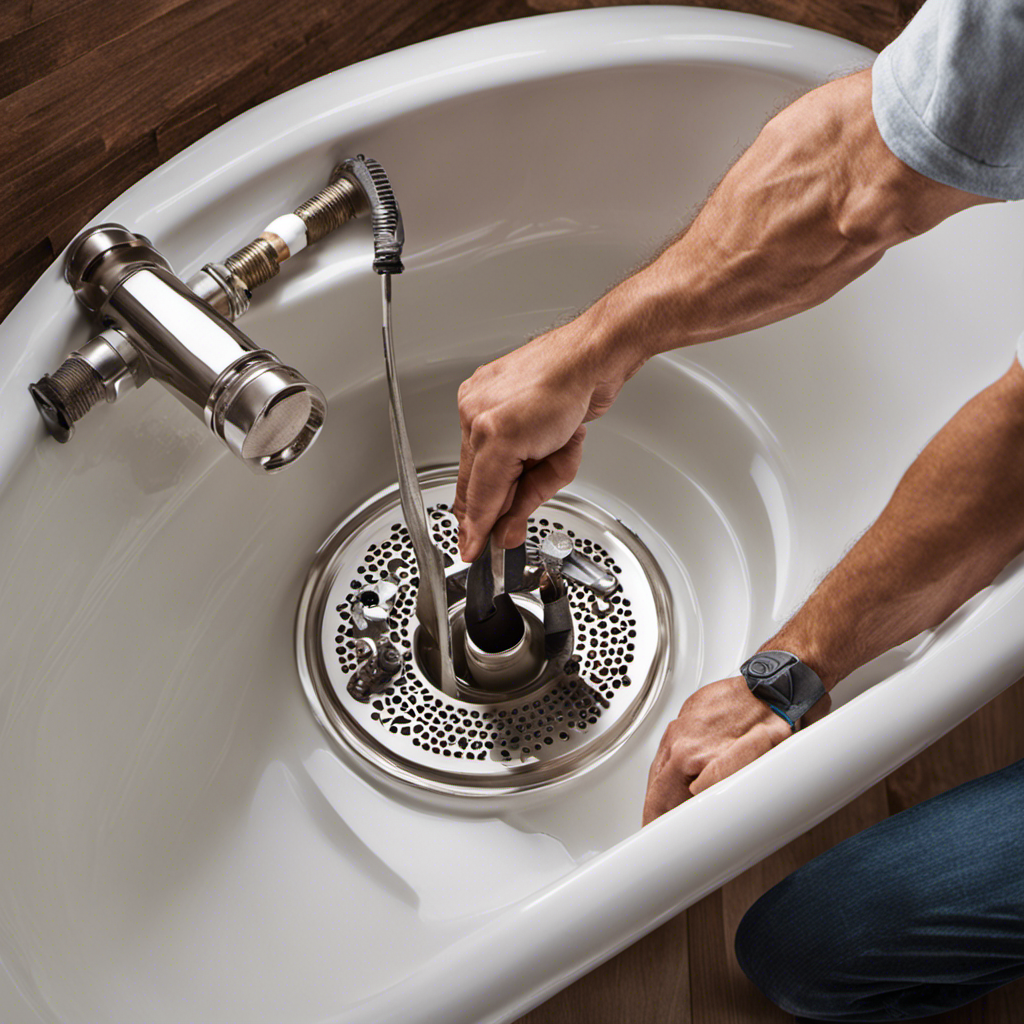
As I dive into the world of bathtub installation, I can’t help but envision the satisfaction of a smoothly functioning drain.
In this guide, I will walk you through the precise steps to install a bathtub drain with ease.
Armed with the necessary tools and materials, we will carefully prepare the bathtub, remove the old drain, and measure and cut the new drainpipe.
Together, we will connect the drain to the plumbing system, test for leaks, and seal and finish the installation for a flawless result.
Key Takeaways
- Proper preparation is essential for a successful bathtub drain installation, including accurate measurements, creating a level base, and applying a moisture barrier and mortar for stability.
- Removing the old drain can be challenging, but using the right tools and techniques such as pliers, penetrating oil, and drain keys can help.
- Measuring and cutting the new drainpipe correctly is crucial for a secure connection, and troubleshooting common issues like leaks or clogs is important.
- Connecting the drain to the plumbing system and finishing the installation involves tightening connections, testing for leaks, sealing with plumber’s tape and silicone caulk, and applying finishing touches for a flawless result.
Tools and Materials Needed
To install the bathtub drain, you’ll need a few tools and materials.
For bathtub drain installation or replacement, you’ll need a drain wrench, pliers, a putty knife, a screwdriver, plumber’s tape, and a new drain assembly.
The drain wrench is essential for removing the old drain and installing the new one. Pliers come in handy for tightening or loosening connections. A putty knife helps to remove any old putty or caulk around the drain area. The screwdriver is useful for removing screws or other fasteners. Plumber’s tape ensures a watertight seal.
With these tools and materials ready, you’re now prepared to move on to the next step of preparing the bathtub for installation.
Preparing the Bathtub for Installation
Before you start preparing the bathtub for installation, make sure you have all the necessary tools and materials. Proper preparation is crucial for a successful installation. One important aspect of preparation is accurate measurements. To ensure a precise fit, use measuring techniques such as a tape measure and level to determine the exact dimensions of the space where the bathtub will be installed. Once you have the measurements, you can proceed to cutting tools. Depending on the material of the bathtub, you may need different cutting tools such as a jigsaw or reciprocating saw. These tools will allow you to make precise cuts for plumbing connections or to fit the bathtub into the designated space. Remember, attention to detail during preparation will make the installation process smoother and more efficient.
| Measuring Techniques | Cutting Tools |
|---|---|
| Tape measure | Jigsaw |
| Level | Reciprocating saw |
Removing the Old Drain
When it comes to removing an old drain, there are a few key points to keep in mind.
First, you’ll need the right tools for the job, such as a drain wrench and pliers.
Second, there are common challenges you may encounter, such as rusted or stuck parts, which may require extra effort and patience.
Lastly, it’s important to properly dispose of the old drain, as it may contain harmful substances.
Tools Needed for Removal
You’ll need a pair of pliers to remove the bathtub drain. Pliers are an essential tool for this task, as they allow you to grip and turn the drain easily. I recommend using a pair of adjustable pliers, as they can be adjusted to fit different sizes of drains.
In addition to pliers, you may also need a screwdriver, depending on the type of drain you have. A step-by-step guide for removing the bathtub drain would typically involve first removing the drain cover, then using the pliers to loosen and unscrew the drain from the drainpipe.
Common Challenges When Removing
One of the most common challenges I have faced when removing a bathtub drain is that it may be stuck or difficult to loosen. In order to troubleshoot this issue, there are a few tips that can help.
Firstly, using a penetrating oil such as WD-40 can help loosen any rust or debris that may be causing the drain to stick. Apply the oil generously and let it sit for a few minutes before attempting to loosen the drain again.
Another tip is to use a drain key or pliers specifically designed for removing drains. These tools provide a better grip and leverage, making it easier to turn and loosen the drain.
Proper Disposal of Old Drain
To properly dispose of an old drain, it’s important to check local regulations and guidelines. There are various disposal methods available, each with its own environmental impact.
One option is to recycle the drain, if it is made of a recyclable material such as metal or plastic. Many recycling centers accept these materials and will ensure they are properly processed.
Another option is to dispose of the drain at a designated waste facility. These facilities are equipped to handle different types of waste, including drains, and will dispose of them safely.
It is crucial to avoid simply throwing the drain in the trash, as this can contribute to landfill waste and harm the environment.
Measuring and Cutting the New Drainpipe
When it comes to installing a new drainpipe, there are two key points to consider: proper drainpipe length and essential cutting techniques.
The length of the drainpipe is crucial in ensuring a proper fit and preventing leaks.
Additionally, mastering cutting techniques is essential for achieving clean and precise cuts that will ensure a secure connection.
In this discussion, I will provide detailed instructions on how to measure and cut the new drainpipe, covering the necessary steps and techniques for a successful installation.
Proper Drainpipe Length
Make sure you measure the drainpipe length accurately to ensure proper installation.
The length of the drainpipe is crucial for a successful bathtub drain installation.
It is important to choose the right material for your drainpipe as well.
There are several options available, including PVC, ABS, and cast iron.
Each material has its own advantages and considerations, so it is important to choose wisely.
Troubleshooting drainpipe installation can be frustrating, but with proper measurements and the right material, you can avoid common issues such as leaks or clogs.
Once you have determined the correct length for your drainpipe, you can move on to the next step: essential cutting techniques.
Essential Cutting Techniques
Ensure you have the right tools for the job and follow these essential cutting techniques for a successful drainpipe installation.
When it comes to cutting drainpipes, having the correct cutting tools is crucial. A hacksaw or reciprocating saw with a fine-toothed blade is ideal for cutting through plastic or PVC drainpipes.
Start by marking the desired length on the pipe using a pencil or marker. Then, firmly hold the pipe in place and carefully make a straight cut along the marked line. Take your time and let the saw do the work, applying steady pressure.
Remember to wear safety goggles and gloves to protect yourself from any potential hazards. Double-check the accuracy of your cut before proceeding with the installation.
Following these cutting techniques will ensure a clean and precise cut for your drainpipe installation.
Attaching the Drainpipe to the Bathtub
First, you’ll need to connect the drainpipe to the bathtub. To attach the drainpipe securely, start by placing the rubber gasket over the drain hole at the bottom of the bathtub.
Then, carefully thread the drainpipe into the gasket until it is snug. Make sure to tighten the drainpipe with a wrench to ensure a secure connection.
If you encounter any issues during the installation, troubleshooting the drainpipe installation is crucial. Check for any leaks or loose connections by running water through the drain and inspecting for any signs of water escaping.
If you notice any leaks, try tightening the connections or replacing any damaged parts. Remember, a properly attached drainpipe is essential for the efficient drainage of your bathtub.
Installing the Drain Flange
To properly attach the drain flange, you’ll need to carefully align it with the drain hole. Here’s a step-by-step guide to help you install the drain flange correctly:
-
Measure the flange size: Before purchasing a drain flange, measure the diameter of your drain hole. Flanges come in various sizes, so it’s crucial to choose the right one that fits your bathtub.
-
Choose the appropriate flange type: There are different types of drain flanges available, including push-and-pull, lift-and-turn, and trip lever. Select the one that suits your preference and bathtub design.
-
Apply plumber’s putty: Roll a small amount of plumber’s putty into a snake-like shape and place it around the underside of the flange. This will create a watertight seal once the flange is installed.
-
Align and tighten: Carefully align the flange with the drain hole and press it down firmly. Insert the screws provided and tighten them evenly to secure the flange in place.
Connecting the Drain to the Plumbing System
Now that the drain flange is securely in place, it’s time to connect the drain to the plumbing system. This step involves connecting various drain parts to ensure proper functionality and prevent any leaks or issues.
To connect the drain, follow these steps:
-
Attach the drainpipe to the drain flange by screwing it into place. Make sure it is tightened securely to prevent any leaks.
-
Connect the P-trap to the drainpipe. The P-trap is a U-shaped pipe that traps water and prevents sewer gases from entering your bathroom.
-
Lastly, connect the P-trap to the main drain line using a slip nut and washer. Tighten the slip nut to ensure a watertight seal.
By following these steps, you will successfully connect the drain to the plumbing system. However, if you encounter any issues or leaks during the installation, troubleshooting the drain installation may be necessary. Refer to the table below for common troubleshooting tips and solutions.
| Problem | Possible Cause | Solution |
|---|---|---|
| Leak at drain flange | Improper sealing or loose connection | Apply plumber’s putty or tighten connections |
| Water backup in bathtub | Clog in drain line | Use a plunger or drain snake to clear the clog |
| Foul odor from drain | Dry P-trap or sewer gas leak | Pour water into the drain to fill the P-trap or inspect for leaks |
Remember to test the drain for any leaks before using the bathtub. If problems persist, it may be best to consult a professional plumber for assistance.
Testing the Drain for Leaks
Once you have completed the connection of the drain to the plumbing system, it’s important to test for any leaks. Here are some testing methods and troubleshooting tips to ensure a leak-free bathtub drain installation:
-
Fill the bathtub with water: Start by filling the tub with a sufficient amount of water. This will create pressure on the drain system, allowing you to identify any leaks.
-
Inspect the drain connections: Carefully examine all the connections, including the trap, overflow, and waste pipe. Look for any signs of water leakage or loose fittings.
-
Use a flashlight: Shine a flashlight around the drain area to check for any water seepage. Pay close attention to the joints, gaskets, and seals.
-
Conduct a dye test: Add a few drops of food coloring to the water in the tub. If you notice any colored water seeping out from the drain or surrounding areas, it indicates a leak.
Sealing and Finishing the Drain Installation
After sealing and finishing the installation, it’s important to check for any remaining leaks. Proper sealing techniques ensure that no water leaks through the drain and causes damage.
To begin, I carefully apply a bead of plumber’s putty around the drain flange before tightening it into place. This creates a watertight seal between the drain and the bathtub.
Next, I connect the drain pipe using PVC cement, making sure to secure each joint tightly.
Once the sealing is complete, I apply the finishing touches by cleaning up any excess putty or cement and ensuring that all connections are secure. This meticulous attention to detail guarantees a leak-free installation.
With the sealing and finishing complete, it’s time to move on to the final tips and considerations for a successful bathtub drain installation.
Final Tips and Considerations
To ensure a successful installation, make sure you carefully consider all the final tips and recommendations. Here are some important final touches and maintenance tips to keep in mind:
-
Double-check the tightness of all connections: Before finishing up, make sure all the connections are securely tightened. This will prevent any leaks or future issues.
-
Apply a waterproof sealant: To ensure a watertight seal, apply a waterproof sealant around the edges of the drain. This will help prevent any water leakage.
-
Clean and clear the drain: Before using your bathtub, remove any debris or blockages from the drain. This will help prevent clogs and ensure proper drainage.
-
Regular maintenance: To keep your bathtub drain functioning properly, it’s important to regularly clean it and check for any signs of damage. This will help prolong the lifespan of your drain and prevent any major issues.
Frequently Asked Questions
How Do I Choose the Right Bathtub Drain for My Specific Bathtub Model?
When choosing a bathtub drain for your specific model, it’s important to consider compatibility. Look for drains that are designed to fit your bathtub’s specifications. Additionally, follow installation tips to ensure a proper and secure installation.
Can I Install a New Bathtub Drain Without Removing the Bathtub Itself?
Yes, you can install a new bathtub drain without removing the bathtub itself. I’ve done it before using alternative methods. However, there may be potential challenges to consider, such as access and compatibility with your specific bathtub model.
What Should I Do if the New Drainpipe Is Too Long for My Bathtub?
If the new drainpipe is too long for my bathtub, adjusting the length is necessary. There are alternative solutions such as cutting the pipe or using an extension kit. Precise measurements and proper tools are crucial for a successful installation.
Is It Necessary to Use Plumber’s Putty When Installing the Drain Flange?
Using plumber’s putty when installing the drain flange is necessary as it provides a reliable seal and prevents leaks. While alternative methods exist, the benefits of using plumber’s putty outweigh the risks.
How Can I Ensure That the Drain Is Properly Sealed and Won’t Cause Any Leaks in the Future?
To ensure proper drainage and troubleshoot leaks in the future, it is important to carefully seal the drain. This can be done by using plumber’s putty or silicone caulk around the flange before installation.
Conclusion
In conclusion, installing a bathtub drain is a manageable task that can be completed with the right tools and materials. By following the steps outlined in this article, you can successfully replace your old drain and ensure a leak-free installation. Remember to measure and cut the new drainpipe accurately, connect it to the bathtub and the plumbing system securely, and test for any leaks before sealing and finishing the installation. With proper care and attention to detail, you can enjoy a fully functional bathtub drain for years to come.
For example, let’s consider a case study where Sarah, a homeowner, wanted to upgrade her bathroom by installing a new bathtub drain. Following the steps mentioned in this article, she was able to remove the old drain, measure and cut the new drainpipe precisely, and connect it to the plumbing system flawlessly. Sarah tested the drain for leaks and, with no signs of any, sealed and finished the installation. Now Sarah can enjoy long, relaxing baths without worrying about any drainage issues.


