Are you tired of dealing with a leaky bathtub stopper?
Well, I’ve got good news for you! In this article, I’m going to show you step-by-step how to install a new bathtub stopper.
With just a few tools and materials, you’ll be able to replace that old stopper and enjoy a properly functioning drain in no time.
So, let’s get started and say goodbye to those annoying bathtub leaks once and for all!
Key Takeaways
- Regular maintenance is important to ensure proper functionality of bathtub stoppers.
- Common problems with bathtub stoppers include loose stoppers, improper sealing, and clogs.
- Removing the old bathtub stopper involves unscrewing the cap, pulling up to remove the stopper, and inspecting for damage or buildup.
- Installing and adjusting the new bathtub stopper includes measuring the drain diameter, choosing the right stopper type, applying plumber’s putty for a watertight seal, and testing for proper sealing.
Required Tools and Materials
You’ll need a few tools and materials to install the bathtub stopper. First, gather a pair of pliers, a screwdriver, and an adjustable wrench. Additionally, make sure you have a new bathtub stopper, plumber’s putty, and Teflon tape.
Proper maintenance of bathtub stoppers is important to ensure their longevity and functionality. Regular cleaning and removal of any debris or hair buildup will prevent clogs and keep the stopper working properly. If the stopper is leaking, it may need to be replaced or repaired.
Common problems with bathtub stoppers include a loose stopper or one that doesn’t seal properly. Tightening the stopper’s screw or adjusting the linkage can often solve these issues. If the stopper is damaged, replacing it with a new one is usually the best solution.
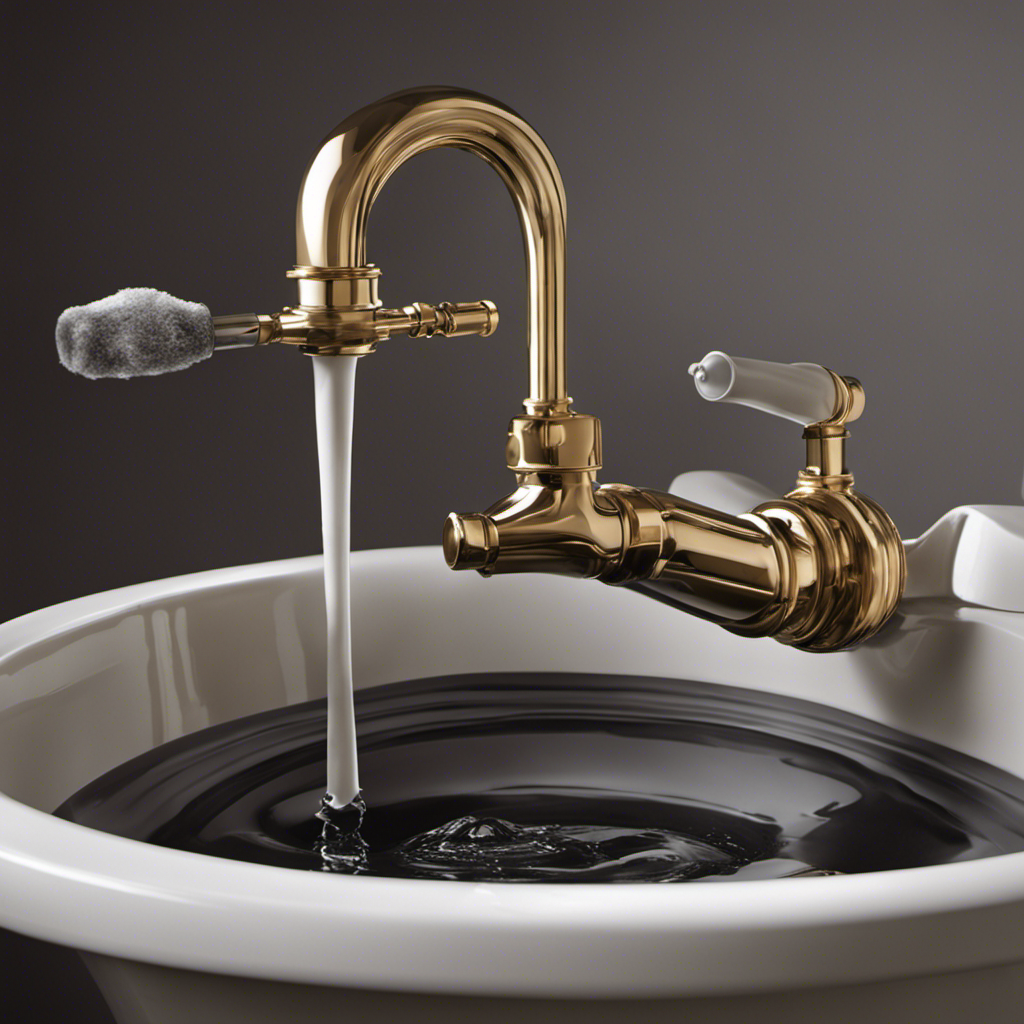
Removing the Old Bathtub Stopper
To remove the old bathtub stopper, simply unscrew the cap counterclockwise. This is usually located in the center of the stopper. Once the cap is removed, you can see the mechanism that holds the stopper in place.
Here are some steps to guide you through the process:
- Pull up on the stopper to remove it from the drain.
- Inspect the stopper for any damage or buildup that may be causing common stopper problems, such as clogs or leaks.
- Clean the stopper using a brush and mild soap to remove any debris or grime.
- If the stopper is damaged beyond repair, consider replacing it with a new one.
Now that you have successfully removed the old bathtub stopper, let’s move on to the next section on installing the new stopper.
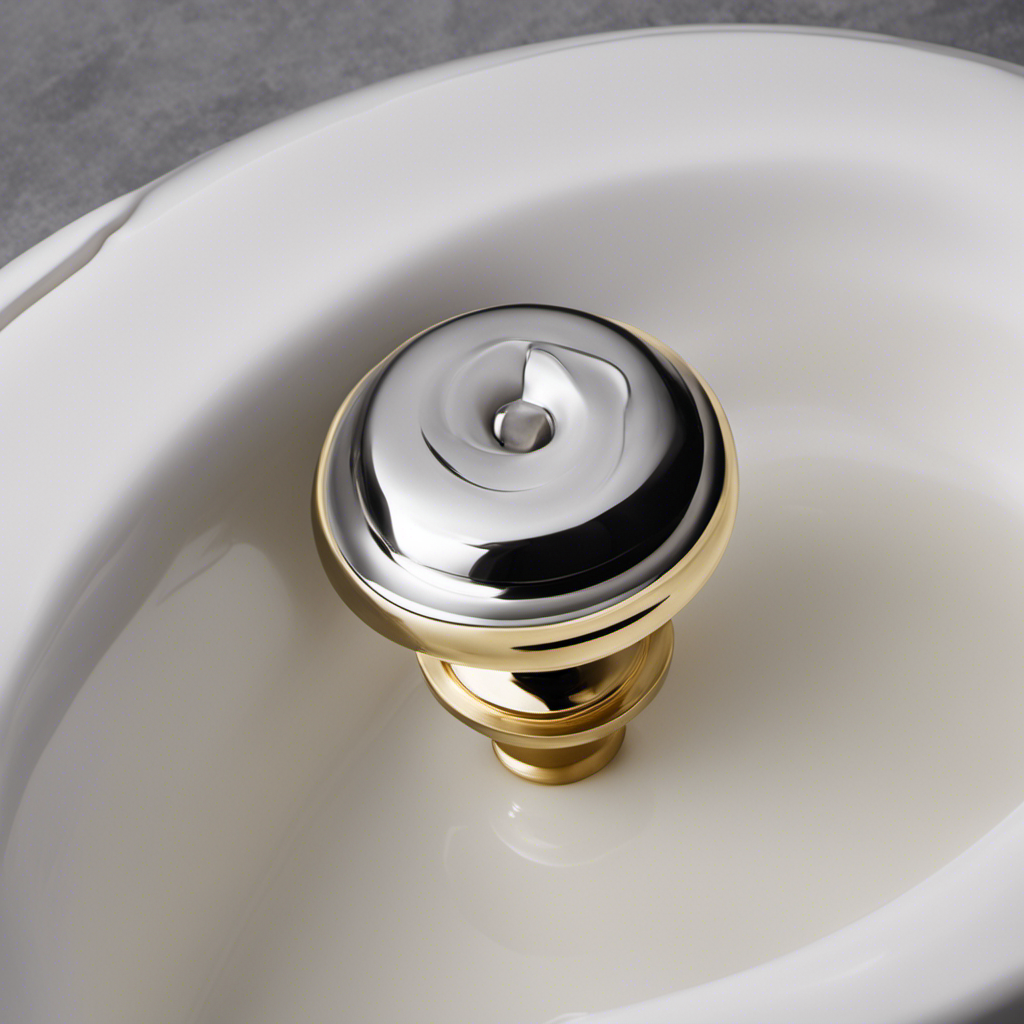
Installing the New Bathtub Stopper
Once you’ve removed the old bathtub stopper, it’s time to move on to installing the new one. Here are some step-by-step instructions to help you successfully install your new bathtub stopper.
-
Measure the drain: Before purchasing a new stopper, measure the diameter of your drain to ensure a proper fit.
-
Choose the right stopper: Consider your needs and preferences when selecting a stopper. There are various types available, such as pop-up stoppers, push-pull stoppers, and toe-touch stoppers.
-
Apply plumber’s putty: Roll a small amount of plumber’s putty into a rope-like shape and apply it around the drain opening. This will create a watertight seal.
-
Insert the stopper: Place the stopper into the drain and push it down firmly. Make sure it sits flush with the bathtub surface.
-
Test the stopper: Fill the tub with a small amount of water and check if the stopper seals properly. Adjust if necessary.
Common mistakes to avoid when installing a bathtub stopper include not measuring the drain correctly and not applying enough plumber’s putty.
Adjusting the Stopper for Proper Drainage
Make sure the stopper is properly adjusted to ensure proper drainage of the bathtub. Adjusting the stopper is an important step in maintaining an efficient drainage system. Here are some common mistakes to avoid when adjusting the stopper for proper drainage:
-
Not checking for debris: Before adjusting the stopper, make sure to remove any hair or debris that may be blocking the drain. This will prevent clogs and ensure smooth water flow.
-
Incorrect positioning: Ensure that the stopper is placed correctly in the drain. Improper positioning can lead to water leakage and poor drainage.
When it comes to the types of bathtub stoppers, there are a few options to consider. Each type has its own pros and cons for drainage:
-
Pop-up stoppers: These are common in modern bathtubs and are easy to use. They provide good drainage, but can sometimes get clogged with hair.
-
Toe-touch stoppers: These are operated by pressing down with your foot. They offer good drainage and are easy to clean.
Testing and Troubleshooting the Bathtub Stopper
Check if the stopper is functioning properly by testing its ability to hold water in the bathtub. This is an important step to troubleshoot common problems with bathtub stoppers.
Here’s how to fix a stuck bathtub stopper:
- Fill the bathtub with water.
- Pull up on the stopper to close the drain.
- Wait for a few minutes to see if the stopper holds the water.
- If the water starts to drain, the stopper might be faulty.
- Remove the stopper by twisting it counterclockwise or unscrewing it.
- Clean the stopper and the drain hole.
- Apply lubricant to the stopper if it’s sticking.
- Reinstall the stopper by twisting it clockwise or screwing it back in.
- Test the stopper again to ensure it holds the water properly.
Conclusion
In conclusion, installing a bathtub stopper is a fairly simple process that can be done with just a few tools and materials. By following the step-by-step instructions provided in this article, you will be able to remove the old stopper, install the new one, adjust it for proper drainage, and test it for any troubleshooting.
Remember, having a functional bathtub stopper is crucial for ensuring a relaxing and enjoyable bath experience. For example, imagine coming home after a long day and looking forward to a soothing bath, only to find that your bathtub stopper is broken. By following the steps outlined in this article, you can easily replace the stopper and enjoy your bath without any worries.

Mateo’s flair for writing is matched only by his keen eye for design. As an interior designer turned writer, Mateo brings a unique perspective. He blends aesthetics with functionality in every piece he pens, providing readers with beautifully crafted content that’s also supremely useful.
Mateo loves exploring the latest bathroom tech trends and is our expert on smart toilets. When he’s not writing or designing, Mateo can be found sketching ideas for his next big project at local coffee shops.