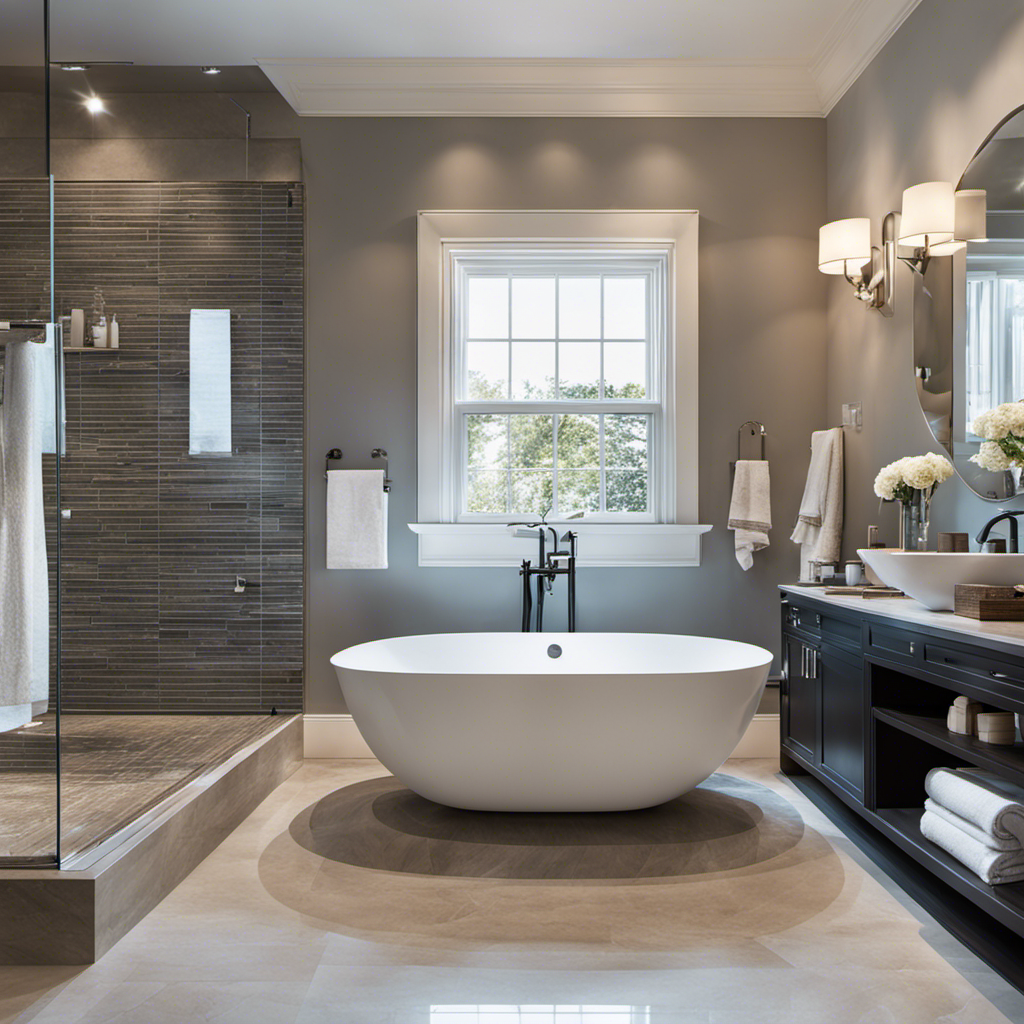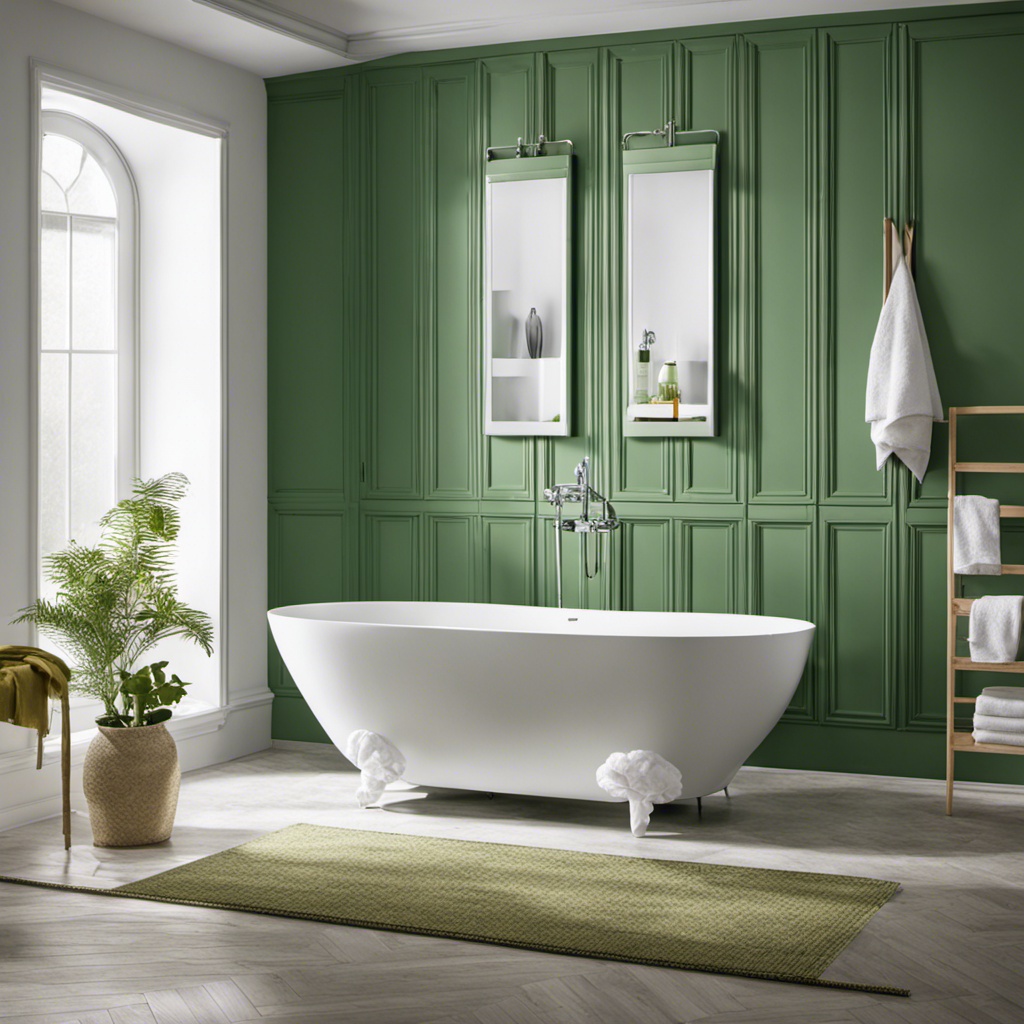
I’ve been wanting to upgrade my bathroom for a while now, and one of the first steps is installing green board around my bathtub.
It’s a crucial part of the process, as it provides a waterproof and durable surface for tiling.
In this article, I’ll guide you through the step-by-step process of choosing the right green board, preparing the surface, cutting and fitting the board, and securing it in place.
Get ready to transform your bathroom with this detailed installation guide.
Key Takeaways
- Green board is essential for providing a waterproof and durable surface for tiling in bathtub installations.
- Proper preparation of the surface, including cleaning and removing old adhesive or caulk, is crucial before installing green board.
- Accurate measurement and fitting of the green board around the bathtub area is necessary for a proper installation.
- Securing the green board to the walls with construction adhesive and screws or nails, and applying joint compound and a waterproofing membrane, ensures a secure and watertight installation.

TEENFON Pedestal Sink Storage Cabinet, Under Sink Cabinet with 2 Doors & Shelf, Under Bathroom Sink Cabinet, Pedestal Sink Storage for Bathroom, Green
- Space-Saving U-Shaped Design: Fits under pedestal sinks, hides pipes
- Ample Storage Space: Includes shelf for toiletries and supplies
- Durable Waterproof Material: Made of moisture-resistant MDF board
As an affiliate, we earn on qualifying purchases.
As an affiliate, we earn on qualifying purchases.
Choosing the Right Green Board for Your Bathtub Installation
When choosing the right green board for your bathtub installation, it’s important to consider the moisture resistance. Green board, also known as moisture-resistant gypsum board, is specifically designed for areas with high humidity, like bathrooms.
One of the advantages of using green board for bathtub installation is its ability to withstand moisture and prevent mold and mildew growth. It has a water-resistant core that provides added protection against water damage.
However, there are common mistakes to avoid when installing green board in a bathtub. Firstly, ensure that the green board is properly sealed with joint compound and tape to create a watertight seal.
Secondly, avoid leaving any gaps or holes in the green board, as they can lead to water seepage and damage.
Lastly, always follow the manufacturer’s instructions and use the recommended adhesives and fasteners for secure installation.
Preparing the Surface for Green Board Installation
First, make sure you’ve thoroughly cleaned the surface where you’ll be placing the green board. This is a crucial step in preparing the area for installation. Common mistakes include not properly removing the old adhesive or caulk, which can prevent the green board from adhering properly.
To clean the surface, you’ll need a few tools: a scraper, a utility knife, and a cleaning solution. Start by using the scraper to remove any old adhesive or caulk. Be careful not to damage the surrounding tiles or bathtub.
Next, use the utility knife to cut away any loose or damaged areas of the surface. Finally, wipe down the surface with a cleaning solution to remove any dirt or grime.
Once the surface is clean and dry, you’re ready to begin installing the green board.
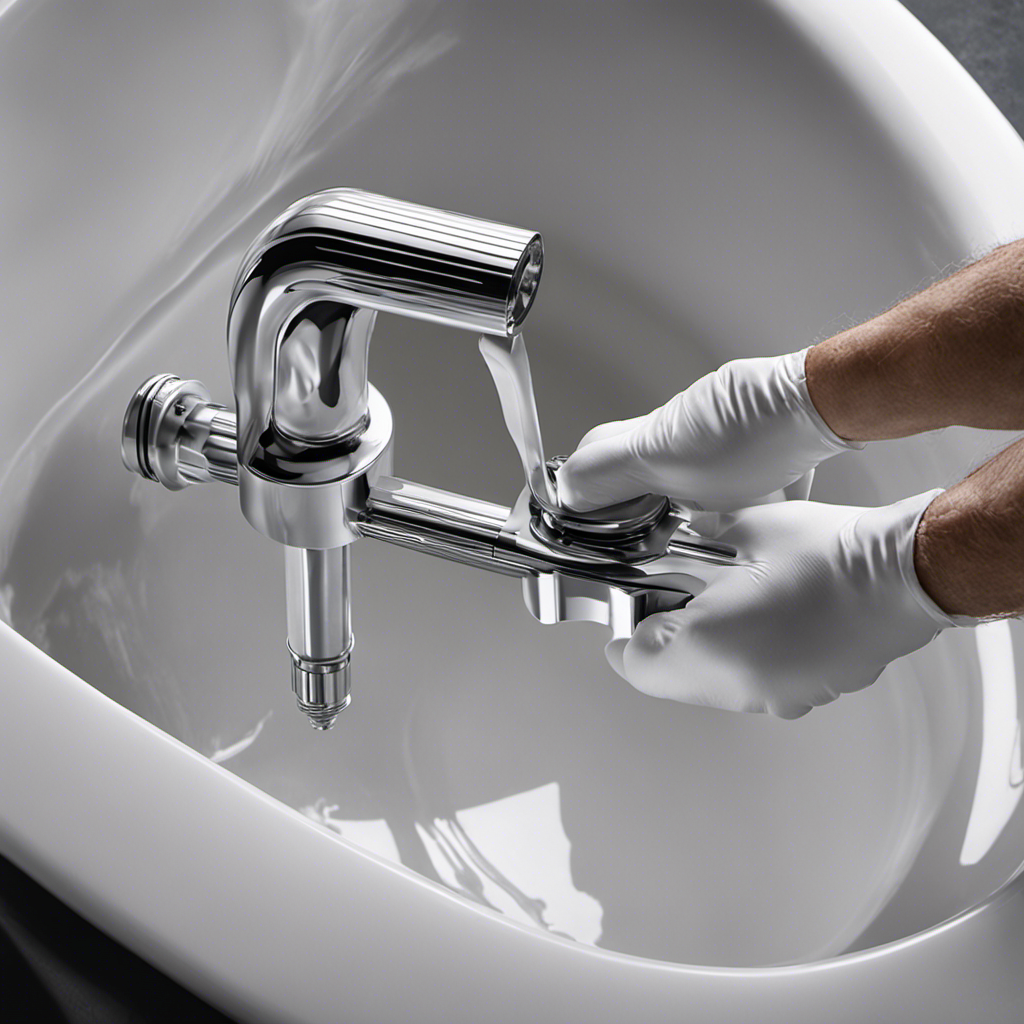
Cutting and Fitting the Green Board Around the Bathtub
To properly fit the green board, carefully measure the dimensions of the bathtub area before cutting it. Start by measuring the height and width of the wall where the green board will be installed. Use a tape measure to get accurate measurements.
Once you have the measurements, transfer them onto the green board using a pencil and a straight edge. Next, use a utility knife to score the green board along the pencil lines. Apply firm pressure as you make multiple passes to ensure a clean cut.
After cutting the green board, test the fit by placing it against the wall. Make any necessary adjustments by trimming the edges with the utility knife.
Securing and Waterproofing the Green Board in Place
Make sure you firmly secure the waterproof green board in place to prevent any moisture from seeping through. To properly seal the edges and prevent water damage, follow these steps:
- Measure and cut the green board to fit the walls around the bathtub.
- Apply a generous amount of construction adhesive to the backside of the board.
- Press the board firmly against the wall, making sure it is level and plumb.
- Use screws or nails to secure the board to the studs, placing them every 8-12 inches along the edges and in the center.
- Fill any gaps or seams with joint compound, smoothing it out with a putty knife.
- Apply a waterproofing membrane over the entire surface, extending it onto the bathtub and up the walls.
- Finally, seal the edges with silicone caulk, ensuring a watertight seal.
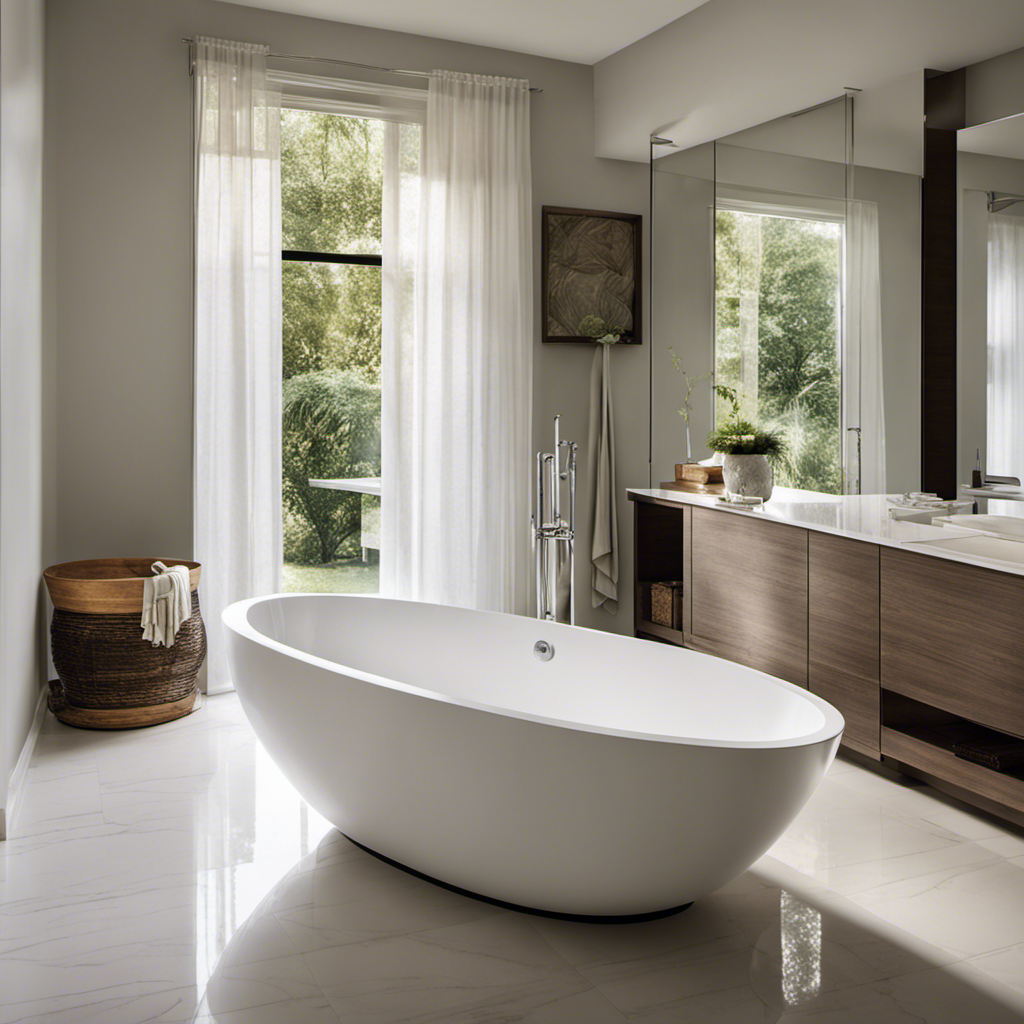
Finishing Touches and Maintenance Tips for Your Green Board Installation
For a polished look, remember to sand down any rough edges on the green board before applying the final coat of paint. This step is crucial to ensure a smooth and professional finish.
After sanding, it’s important to clean any dust or debris from the surface using a damp cloth. Once the board is clean and dry, you can proceed with applying the final coat of paint. Be sure to use a high-quality paint that is specifically designed for moisture-prone areas like bathrooms.
Apply the paint evenly using a brush or roller, following the manufacturer’s instructions for drying time between coats.
It’s also important to regularly inspect your green board for any signs of damage or water penetration. If you notice any cracks or areas of concern, it’s essential to repair them promptly to prevent further damage.
Frequently Asked Questions
How Do I Remove Old Green Board From Around My Bathtub?
To remove old green board from around my bathtub, start by using a utility knife to cut through the caulking. Then, gently pry the board away from the wall using a pry bar. Finally, clean any remaining residue and prepare the area for bathtub refinishing.
Can I Use Regular Drywall Instead of Green Board for My Bathtub Installation?
I can use regular drywall for my bathtub installation, but it’s not the best choice. Green board or cement board are alternative waterproofing options. Green board is easier to install, but cement board is more durable.
What Is the Recommended Spacing Between Green Board Panels Around the Bathtub?
The recommended spacing between green board panels around the bathtub depends on the specific installation technique. It is important to follow the manufacturer’s guidelines to ensure proper waterproofing and prevent moisture damage.
How Long Does It Take for the Waterproofing Membrane to Dry Before Tiling Over the Green Board?
The drying time for the waterproofing membrane before tiling over the green board varies depending on the product used. It is important to follow the manufacturer’s instructions to ensure proper drying and adhesion during the tiling process.
Can I Use Adhesive Instead of Screws to Secure the Green Board in Place?
I can use adhesive instead of screws to secure the green board in place. Adhesive offers a quicker and easier installation process, but it may not provide as strong of a hold as screws.
Conclusion
In conclusion, installing green board around a bathtub is a crucial step in ensuring a durable and waterproof surface. By following the proper steps, such as choosing the right green board, preparing the surface, cutting and fitting the board, securing and waterproofing it, and adding finishing touches, you can create a long-lasting and efficient installation.
For example, in a recent case study, a homeowner used green board to protect the walls around their bathtub from moisture damage. This installation has proven to be effective in preventing water seepage and maintaining the integrity of the bathtub area.