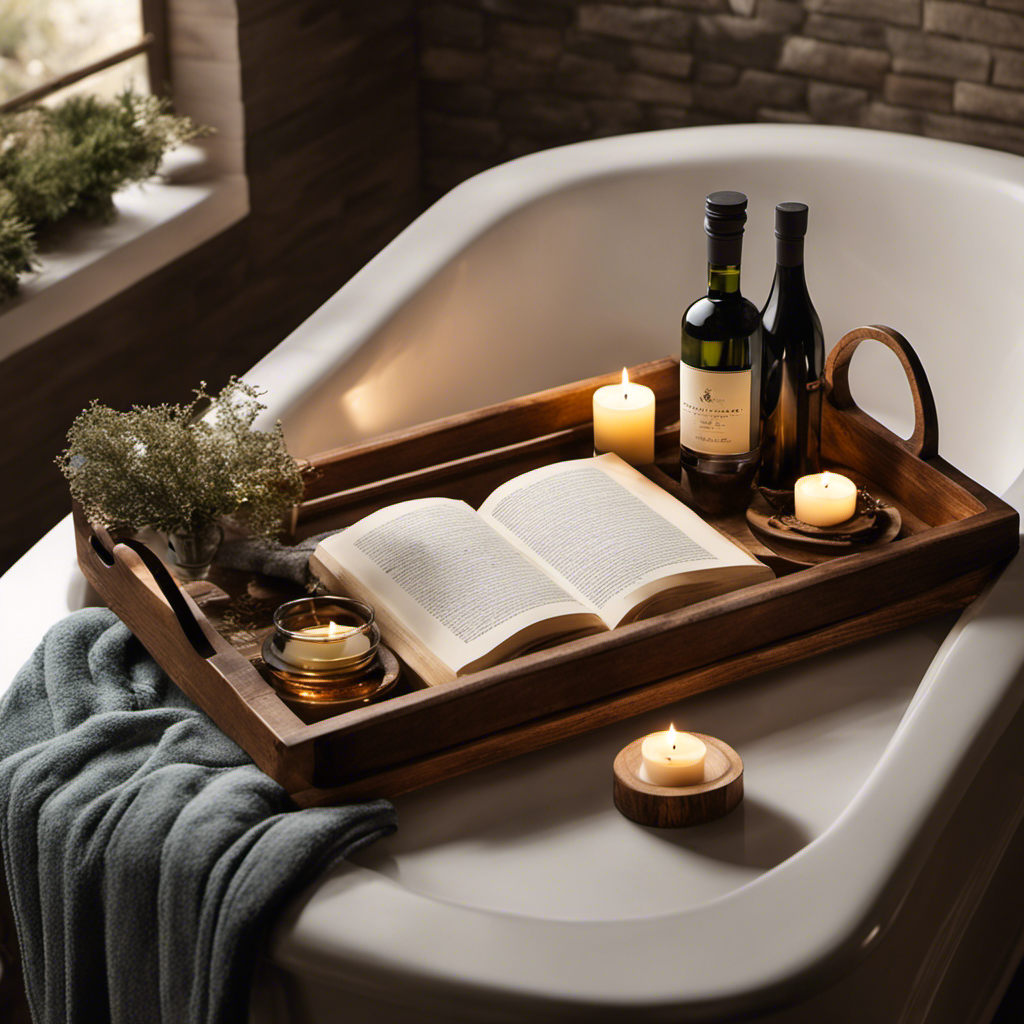
I love taking long, relaxing baths, but I always struggled to find a convenient place to keep my book, phone, and a glass of wine. That’s when I decided to make my own bathtub tray.
In this article, I will guide you through the process of creating a practical and stylish tray that will elevate your bath time experience.
So, let’s gather our materials, measure and cut the wood, assemble the tray, and add those finishing touches for the perfect bath companion.
Key Takeaways
- Choose a paint color that complements your bathroom decor.
- Measure and cut the wood accurately for a proper fit.
- Assemble the tray with wood glue and clamps for a strong bond.
- Sand the wood and apply a stain for a smooth and desired finish.

Artmalle Luxury Bathtub Caddy Tray for Tub – Foldable Bamboo Bath Table Tray with Book and Wine Glass Holder, Expandable Bathroom Accessories for Spa or Reading Lite Style
- Comfortable Bath Time Design: Diversified compartments for easy access
- Durable Bamboo Construction: Sturdy, safe, and long-lasting material
- Multifunctional Features: Includes book, wine glass holders, and more
As an affiliate, we earn on qualifying purchases.
As an affiliate, we earn on qualifying purchases.
Gather Materials
Now that you’ve decided to make a bathtub tray, you’ll need to gather the materials.
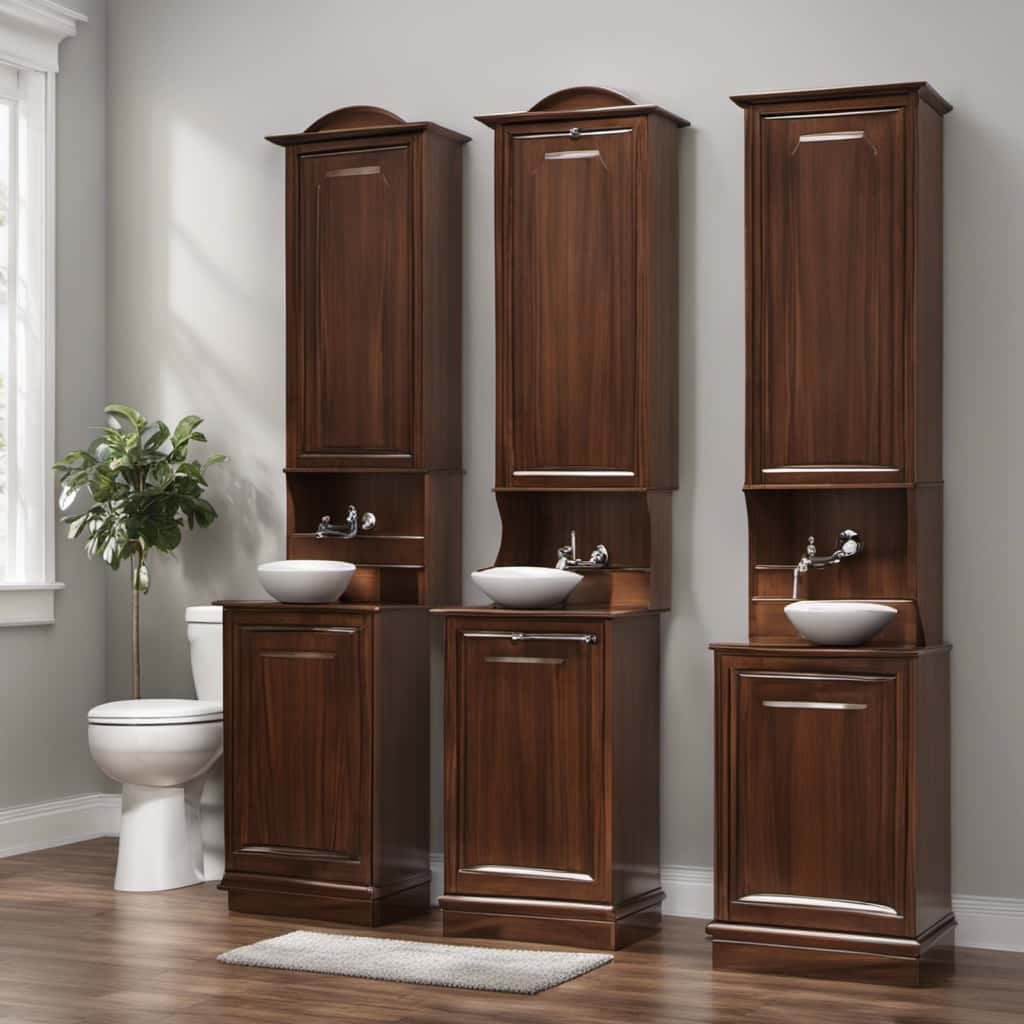
The first step is to choose the right paint color for your tray. Consider the overall aesthetic of your bathroom and select a color that complements the existing decor. Neutral tones like white or gray are versatile and can easily match any style.
Once you have the paint color sorted, it’s time to think about adding decorative elements to your tray. One tip is to use stencils to create intricate designs or patterns on the surface of the tray. Another idea is to attach small hooks or clips to hold accessories like loofahs or bath bombs.
Adding a few decorative elements will not only enhance the tray’s appearance but also make it more functional and convenient to use.
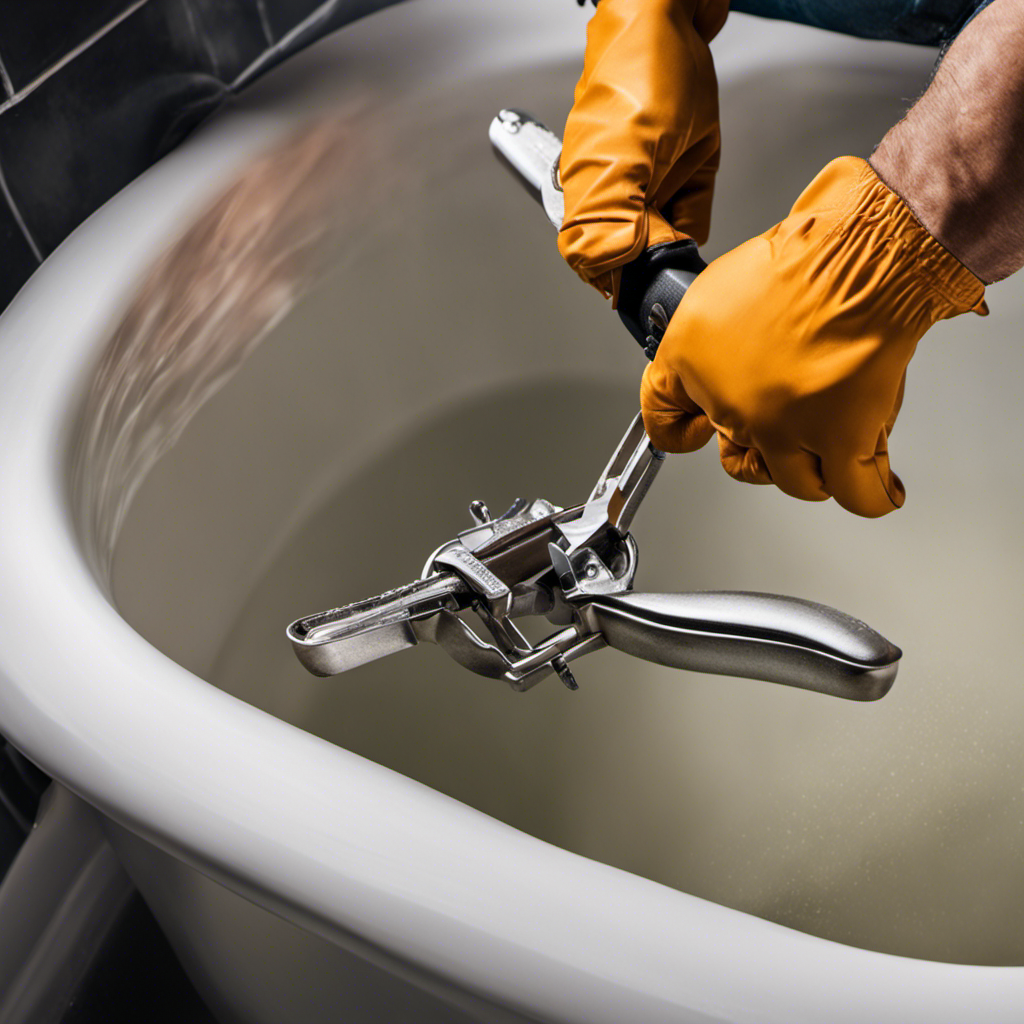
Measure and Cut Wood
First, you’ll want to measure and cut the wood to the desired length for your new bathtub tray. Woodworking techniques are essential for this step, as accuracy is key to ensure a proper fit.
To begin, gather the necessary tools: a measuring tape, a pencil, and a circular saw or handsaw. Measure the width of your bathtub, then subtract a few inches to allow for a snug fit. Next, measure the length you’d like the tray to be, ensuring it doesn’t interfere with the edges of the tub.
Once you have your measurements, mark them on the wood with a pencil. Use the saw to carefully cut along the marked lines.
With the wood cut to size, you’re now ready to assemble the tray.
Assemble the Tray
Once you’ve measured and cut the wood, it’s time to assemble the tray. Here’s a step-by-step guide on how to do it:
-
Start by laying out the pieces of wood on a flat surface. Make sure they are aligned properly and the edges are flush.
-
Use wood glue to attach the pieces together. Apply a thin, even layer of glue on the edges of the wood and press them firmly together. Wipe off any excess glue with a damp cloth.
-
Secure the pieces with clamps until the glue dries. This will ensure a strong bond between the wood pieces.
Now that you have assembled the tray, it’s time to add your personal touch. You can choose to paint the tray using different techniques such as spray painting, stenciling, or even hand-painting intricate designs. Consider the style and color scheme of your bathroom to create a cohesive look.
Additionally, you can experiment with different designs for the tray, such as adding handles, compartments, or even a built-in wine glass holder. Let your creativity flow and have fun customizing your bathtub tray.
Sand and Stain the Tray
To get a smooth and polished finish, you’ll need to sand the wood before applying the stain. Sanding helps to remove any imperfections or roughness on the surface of the tray, allowing the stain to penetrate evenly and create a beautiful finish.
When sanding, it’s important to use the right sandpaper techniques. Start with a rougher grit sandpaper, such as 80 or 100, to remove any rough patches or splinters. Then, gradually move to a finer grit, like 220 or 320, to smooth out the surface. This will ensure a professional-looking result.
Once the sanding is complete, it’s time to choose the right stain for your tray. Consider the type of wood you’re working with and the desired color. Stains come in a variety of shades, from light to dark, and can enhance the natural beauty of the wood. Test the stain on a small, inconspicuous area before applying it to the entire tray to ensure you’re happy with the color.
Apply the stain evenly, following the manufacturer’s instructions, and allow it to dry completely before moving on to the next step.
Add Finishing Touches
Now that you’ve completed the sanding and staining process, it’s time to add the finishing touches to your tray. Here are three important steps to consider:
-
Choosing decorative accents: To personalize your tray, consider adding decorative accents such as handles, knobs, or even a monogram. These accents can enhance the overall look of your tray and make it more aesthetically pleasing.
-
Waterproofing the tray: Since your tray will be used in the bathroom, it’s important to protect it from water damage. Apply a waterproof sealant or varnish to the surface of the tray, paying extra attention to the edges and corners. This will create a protective barrier and ensure the longevity of your tray.
-
Adding a non-slip surface: To prevent items from sliding around on the tray, consider adding a non-slip surface. You can use adhesive rubber pads or even a non-slip liner to keep your items secure and in place.
With these finishing touches, your bathtub tray will be ready to use and enjoy.
Conclusion
In conclusion, making your own bathtub tray is a fun and practical project that anyone can do. By following the steps outlined in this article, you can create a beautiful and functional tray to enhance your bath time experience.
So, why not gather your materials, measure and cut the wood, assemble the tray, sand and stain it, and add those finishing touches? With a little bit of effort, you’ll have a customized bathtub tray that will make your relaxing soak even more enjoyable.
So go ahead, dive into this DIY project and make your bathing experience even better.