
Are you tired of dealing with leaks and water damage in your bathtub? Want to learn how to seal it like a pro? Look no further!
In this step-by-step guide, we’ll show you exactly how to seal your bathtub using the right sealant, preparing the surface, and applying it with precision.
Say goodbye to those pesky leaks and hello to a waterproof and long-lasting bathtub. Let’s dive in and get started!
Key Takeaways
- Consider factors like durability and waterproofing capabilities when choosing a sealant.
- Thoroughly clean the surface of the bathtub before starting the sealing process.
- Apply the sealant in a smooth, continuous motion, avoiding applying too much or too quickly.
- Use a damp cloth or caulk smoothing tool to smooth and level the sealant before allowing it to cure.

KitchenAid Artisan Series 5 Quart Tilt Head Stand Mixer with Pouring Shield KSM150PS, Milkshake
- Durable Metal Construction: Built to last with 59 touchpoints
- 5 Quart Stainless Steel Bowl: Handles small or large batches, dishwasher safe
- Tilt-Head Design: Easy ingredient addition and bowl access
As an affiliate, we earn on qualifying purchases.
Choosing the Right Sealant
When choosing the right sealant for your bathtub, it’s important to consider factors like durability and waterproofing capabilities.
There are a variety of sealing products available in the market, each with its own unique features and benefits.
To ensure a long-lasting and effective seal, it is recommended to consult with a professional for assistance. They can guide you in selecting the most suitable sealant based on your specific needs and requirements.
Professional assistance is especially crucial if you have a complex or extensive bathtub sealing project. They have the expertise and experience to recommend the right type of sealant that will provide optimal results.
Preparing the Bathtub Surface
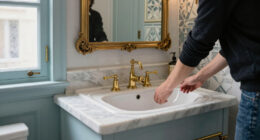
Before you begin, make sure you’ve thoroughly cleaned the surface of the bathtub. Proper preparation is crucial for a successful bathtub seal.
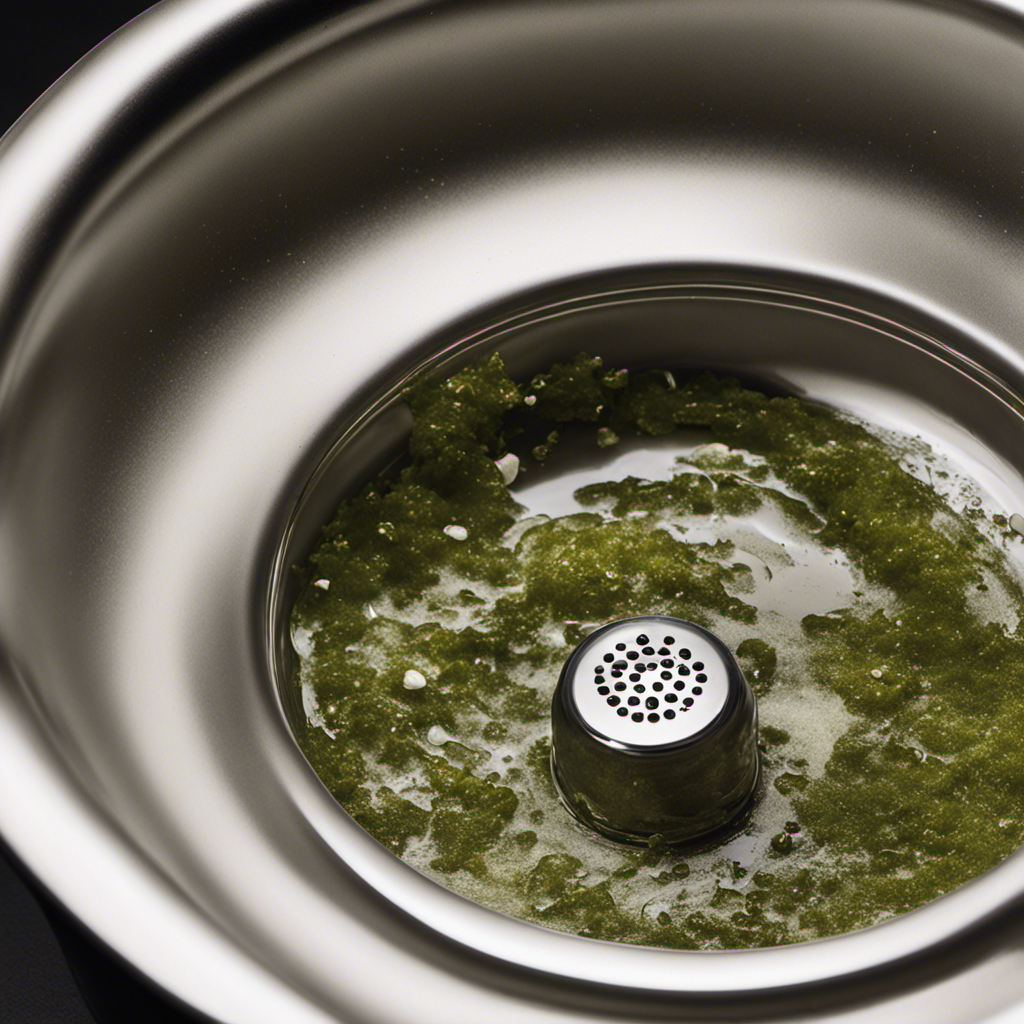
Start by removing any dirt, grime, or soap scum using a non-abrasive cleaner and a soft cloth or sponge. Pay close attention to the areas around the drain and the edges of the bathtub, as these are common spots for buildup.
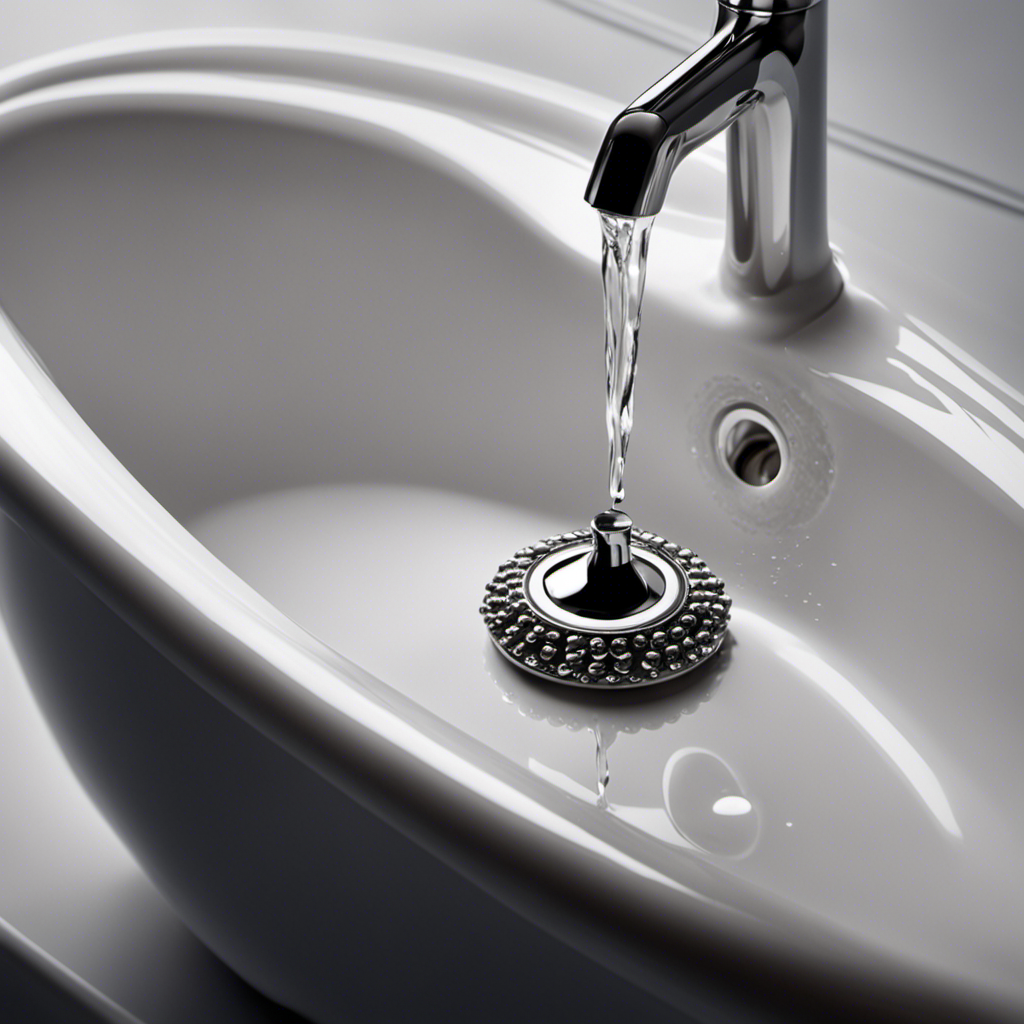
Rinse the surface thoroughly with warm water to remove any residue.
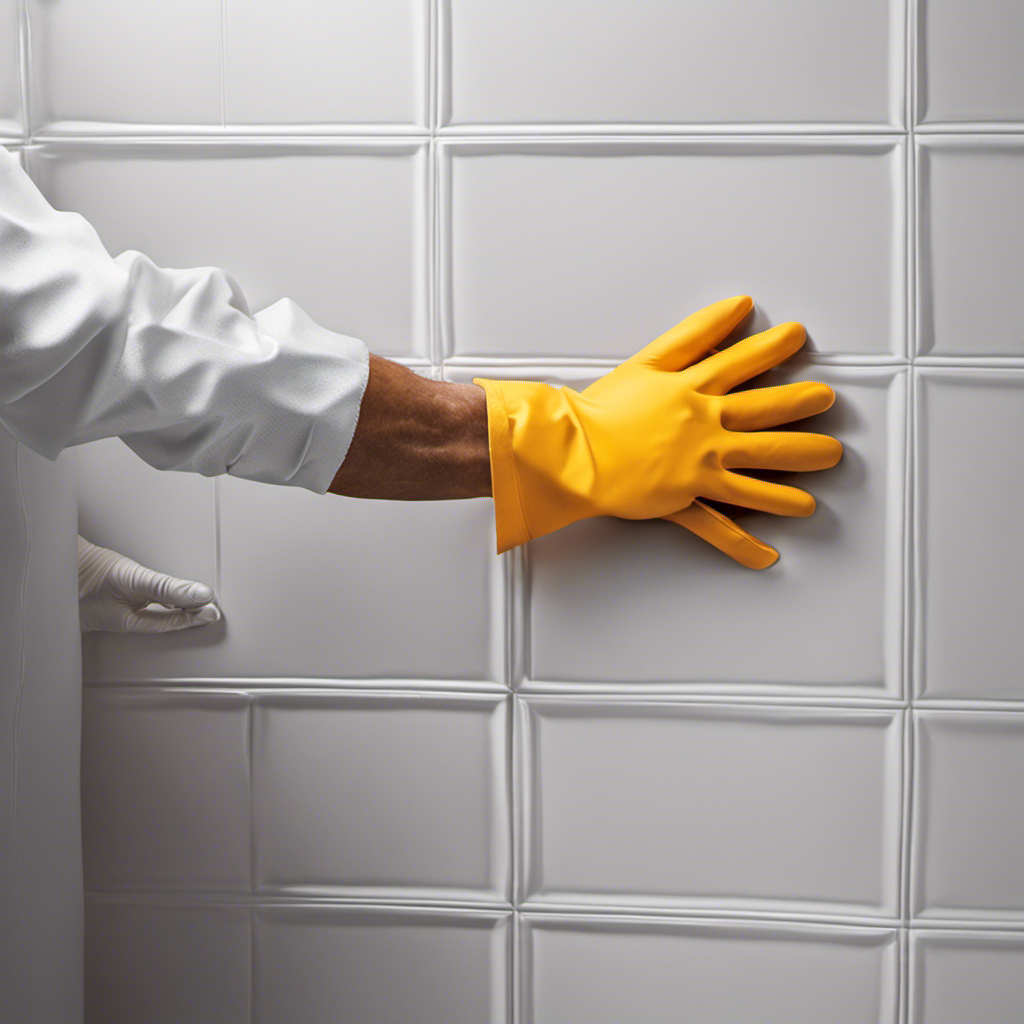
Next, use a mild abrasive cleaner or a fine-grit sandpaper to gently roughen the surface. This will create a better bond between the sealant and the bathtub. Wipe away any dust or debris before proceeding to the sealing step.
Following these steps will ensure a clean and well-prepared surface for sealing your bathtub.
Applying the Sealant
To apply the sealant properly, you’ll need to squeeze a small amount onto a caulking gun and hold it at a 45-degree angle. When applying the sealant, start from one end of the bathtub and move in a smooth, continuous motion. This will ensure an even distribution of the sealant.
Be sure to apply enough pressure to fill any gaps or cracks in the surface. Avoid applying too much sealant as it can create a messy appearance and take longer to dry. Also, be careful not to apply the sealant too quickly, as this can cause air bubbles to form.
Take your time and work in small sections, making sure to smooth out any excess sealant with a damp cloth. By following these tips and avoiding common mistakes, you’ll achieve a professional-looking seal on your bathtub.
Smoothing and Leveling the Sealant
As you smooth and level the sealant, be sure to use a damp cloth to remove any excess and create a clean finish. This step is crucial to achieving a smooth and professional-looking result. To begin, load the caulking gun with the sealant of your choice, ensuring that the nozzle is securely attached. Start at one end of the bathtub and apply a steady bead of sealant along the joint, using even pressure on the caulking gun. As you move along, use your finger or a caulk smoothing tool to smooth and level the sealant. The table below provides a comparison of different caulk smoothing tools that you can use:
| Tool | Material | Pros |
|---|---|---|
| Silicone Spatula | Silicone | Flexible and durable |
| Caulk Finishing Tool | Plastic | Easy to handle |
| Damp Cloth | Cloth | Removes excess sealant |
Once you’ve achieved a smooth finish, allow the sealant to cure according to the manufacturer’s instructions.
Allowing the Sealant to Cure
Once you’ve achieved a smooth finish, let the sealant cure according to the manufacturer’s instructions. Proper curing is essential for ensuring the longevity and effectiveness of the sealant.
The drying time can vary depending on the specific product used, but typically it takes around 24 to 48 hours for the sealant to fully cure. During this time, it is crucial to maintain proper ventilation in the bathroom to aid in the curing process. Open windows or use fans to promote air circulation and prevent the accumulation of moisture.
Avoid using the bathtub or shower during the curing period to prevent any damage or disruption to the sealant. Following these guidelines will help you achieve a durable and watertight seal in your bathtub.
Checking for Leaks or Gaps
To effectively seal your bathtub and prevent water damage, it’s crucial to first identify any potential areas of concern. Look for signs of water damage, such as discoloration, peeling paint, or mold growth.
Once you have identified these areas, you can then proceed with implementing effective sealing techniques to ensure a watertight seal.
Identifying Potential Water Damage
You can easily identify potential water damage by checking for soft spots or discoloration on the walls surrounding the bathtub. These signs indicate that there may be leaks or gaps in the bathtub sealant, which can lead to water seeping through and causing damage to the walls.
To detect leaks, inspect the walls carefully, feeling for any areas that are spongy or mushy when touched. Additionally, look for any areas where the paint or wallpaper is discolored or peeling.
If you notice any of these signs, it is important to address them promptly to prevent future damage. By sealing any leaks or gaps in the bathtub, you can ensure that water stays contained within the tub and doesn’t cause further harm to the surrounding walls.
Effective Sealing Techniques
Now that you’ve identified potential water damage in your bathtub, it’s crucial to learn effective sealing techniques to prevent further issues.
Proper bathtub maintenance is essential for preventing water damage and ensuring the longevity of your bathroom fixtures. Here are four key steps you can take to seal your bathtub effectively:
-
Clean the surface: Thoroughly clean the area around the bathtub, removing any dirt, grime, or old sealant. Use a mild detergent and a scrub brush to ensure a clean surface for proper adhesion.
-
Apply silicone sealant: Using a caulk gun, apply a bead of silicone sealant along the joints where the bathtub meets the walls and floor. Smooth the sealant with a damp cloth or your finger to create a tight, waterproof seal.
-
Let it cure: Allow the silicone sealant to cure for at least 24 hours before using the bathtub. This ensures that the sealant fully sets and provides maximum water resistance.
-
Regular maintenance: Regularly inspect the sealant for any signs of wear or damage. If necessary, reapply silicone sealant to maintain a watertight seal and prevent water damage.
Maintaining and Reapplying the Sealant
First, make sure to thoroughly clean the area before reapplying the sealant to ensure a proper bond. Begin by removing any old sealant using a scraper or a putty knife. Clean the surface with a mixture of warm water and mild detergent, removing any dirt, grime, or soap residue. Rinse the area thoroughly and allow it to dry completely.
Next, apply a new bead of silicone or acrylic caulk along the joint, making sure to fill any gaps or cracks. Use a caulk gun for precise application. Smooth the sealant with a wet finger or a caulk smoothing tool, ensuring a neat and even finish.
Avoid these common mistakes: applying too much sealant, not allowing enough drying time, and not smoothing the sealant properly.
Frequently Asked Questions
Can I Use Any Type of Sealant for My Bathtub or Are There Specific Ones Recommended?
You should use specific types of sealants for your bathtub. There are recommended options available for sealing bathtubs. It’s important to follow best practices to ensure a proper and long-lasting seal.
Do I Need to Remove the Old Sealant Before Applying a New One?
To ensure a proper seal, it is imperative that you remove the old sealant before applying a new one. This will guarantee a clean surface, allowing the new sealant to adhere effectively and provide long-lasting protection.
How Long Does It Take for the Sealant to Cure Completely?
To achieve the best results, it is important to consider the curing time of the sealant. Different sealants may have varying curing times, so be sure to check the instructions provided by the manufacturer.
What Should I Do if I Notice Any Leaks or Gaps After Applying the Sealant?
If you notice leaks or gaps after applying the sealant, don’t panic. First, identify the source of the problem. Fix the leaks immediately to prevent further damage. Apply additional sealant if necessary to ensure a watertight seal.
How Often Should I Reapply the Sealant to Maintain Its Effectiveness?
To maintain the effectiveness of your bathtub sealant, you should reapply it regularly. The frequency depends on the type of sealant used, so it’s best to refer to the manufacturer’s instructions for specific recommendations.
Conclusion
In conclusion, sealing your bathtub is a crucial step to prevent water damage and maintain the overall integrity of your bathroom. By choosing the right sealant and following the proper steps, you can ensure a tight and durable seal.
Don’t underestimate the power of a well-sealed bathtub, as it can save you from costly repairs and headaches in the future.
So, don’t delay any longer and take the plunge into sealing your bathtub – it’s a game-changer that will make your bathroom feel like a luxurious oasis!