As I stood in front of my collection of American Girl dolls, I couldn’t help but notice something was missing – a bathtub! Determined to give my dolls the ultimate spa experience, I embarked on a mission to create the perfect AG doll bathtub.
In this article, I will guide you through the process of choosing the base, building the frame, adding the details, and finally painting and decorating. Get ready to transform your doll’s world into a luxurious oasis!
Key Takeaways
- Materials needed include a plastic container, craft foam, and a hot glue gun.
- Making your own doll furniture has benefits such as customization and creativity.
- Tips for customizing doll accessories can help personalize the bathtub.
- Choosing a suitable base and adding accessories like a faucet and showerhead is important.
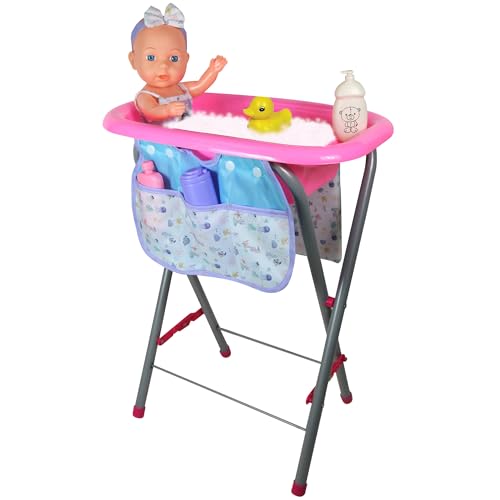
Lissi: 12" Baby Doll Bath Tub Set – Pink-Purple-Sea Design, Care Accessories, Convertible Bathing Station-Table, Swimsuit Outfit & Headband, Kids 2+
COMPLETE BATH TIME PLAYSET: This set includes a 12" baby doll, a removable pink bathtub, a convertible bath…
As an affiliate, we earn on qualifying purchases.
As an affiliate, we earn on qualifying purchases.
Materials Needed
You’ll need a plastic container, some craft foam, and a hot glue gun to make the AG doll bathtub.
Making your own doll furniture has many benefits. Not only is it a fun and creative activity, but it also allows you to customize your doll accessories to fit your style and preferences.
When it comes to customizing doll accessories, there are a few tips to keep in mind. First, choose materials that are safe and durable for your dolls to use. Craft foam is a great option as it is lightweight and easy to work with.
Second, consider adding details and decorations to make your doll furniture unique. You can use paint, stickers, or even fabric to give your bathtub a personal touch.
Lastly, don’t be afraid to experiment and try different techniques. Making your own doll furniture is all about expressing your creativity and having fun. So let your imagination run wild and enjoy the process of creating a one-of-a-kind AG doll bathtub.
ifundom Miniature Dollhouse Bathtub Ornaments 10Pcs Realistic Resin Small Bathtubs for Dollhouse Bathroom Scene Props Micro Landscape Decoration
Lifelike Miniature Bathtub: Crafted with delicate workmanship and a special shape, this doll house bathtub offers a realistic…
As an affiliate, we earn on qualifying purchases.
As an affiliate, we earn on qualifying purchases.
Step 1: Choosing the Base
To start, select a suitable foundation for your DIY project. When choosing the base for your AG doll bathtub, there are a few options to consider:
-
Plastic storage container: A plastic storage container can make a great base for your bathtub. Look for one that is wide and deep enough to comfortably fit your doll.
-
Cardboard box: If you’re on a budget, a cardboard box can work just as well. Make sure to reinforce the sides and bottom with tape to ensure durability.
-
Wooden box: For a more sturdy and long-lasting option, consider using a wooden box. You can easily find one at a craft store or repurpose an old wooden crate.
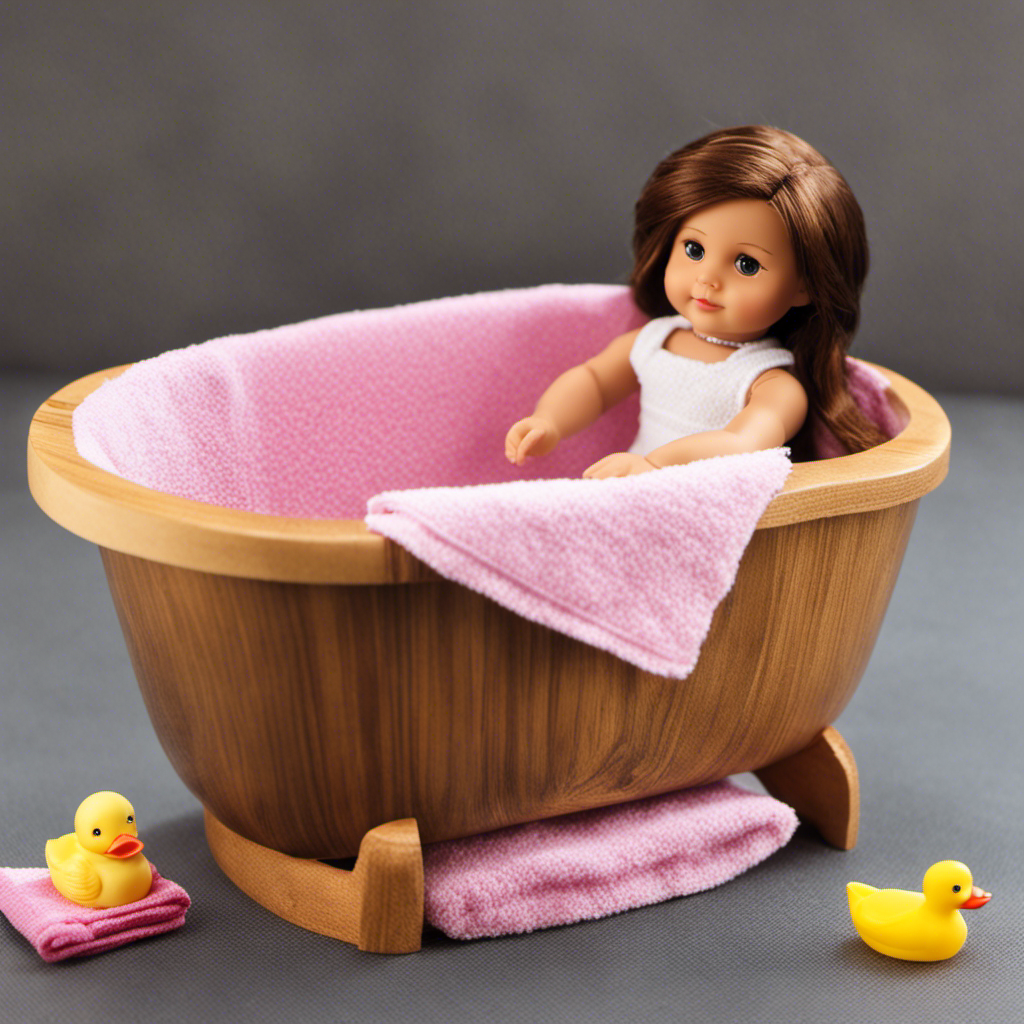
Once you have chosen the right design for your bathtub base, it’s time to add accessories. Consider adding a faucet, showerhead, and even a tiny rubber duck for added realism. Get creative and have fun with it!

LOVEINUSA DIY Wooden Dollhouse Furniture Set, 3D Puzzle Miniature Room Accessories, Natural Wood
Super Value Pack: You will get 34 accessories to assemble various wooden dollhouse furniture such as a lounge…
As an affiliate, we earn on qualifying purchases.
As an affiliate, we earn on qualifying purchases.
Step 2: Building the Bathtub Frame
Once you’ve chosen your desired base, it’s time to start constructing the frame for your DIY bathtub. Building techniques are crucial when it comes to bathtub construction, as you want to ensure a sturdy and durable frame.
Here is a simple step-by-step guide on how to build the bathtub frame:
-
Measure and cut the lumber: Using a measuring tape, measure the length and width of your base. Cut four pieces of lumber accordingly, two for the length and two for the width.
-
Assemble the frame: Lay the cut pieces of lumber on a flat surface, forming a rectangle. Use screws or nails to secure the corners together.
-
Reinforce the frame: To add stability to the frame, attach additional pieces of lumber diagonally across the corners. This will prevent any wobbling or sagging.
Building your own bathtub frame allows you to customize the size and design to fit your needs. With these building techniques, you’ll have a solid foundation for your DIY bathtub.

Klever Kits 400+PCS Fashion Design Crafts for Kids, Art and Crafts, DIY Sewing Kits with 3 Mannequins for Girls Aged 8-12, Birthday Presents, Toys for Kids
Comprehensive Crafting Activities: With over 400 pieces, including 21pcs fabrics, 3 mannequins, and plenty of trims, ribbons, and…
As an affiliate, we earn on qualifying purchases.
As an affiliate, we earn on qualifying purchases.
Step 3: Adding the Details
Adding the finishing touches to your DIY bathtub frame can be done by attaching decorative trim pieces. This step is essential for making the bathtub functional and aesthetically pleasing.
Here are three items you can consider incorporating into your bathtub design:
-
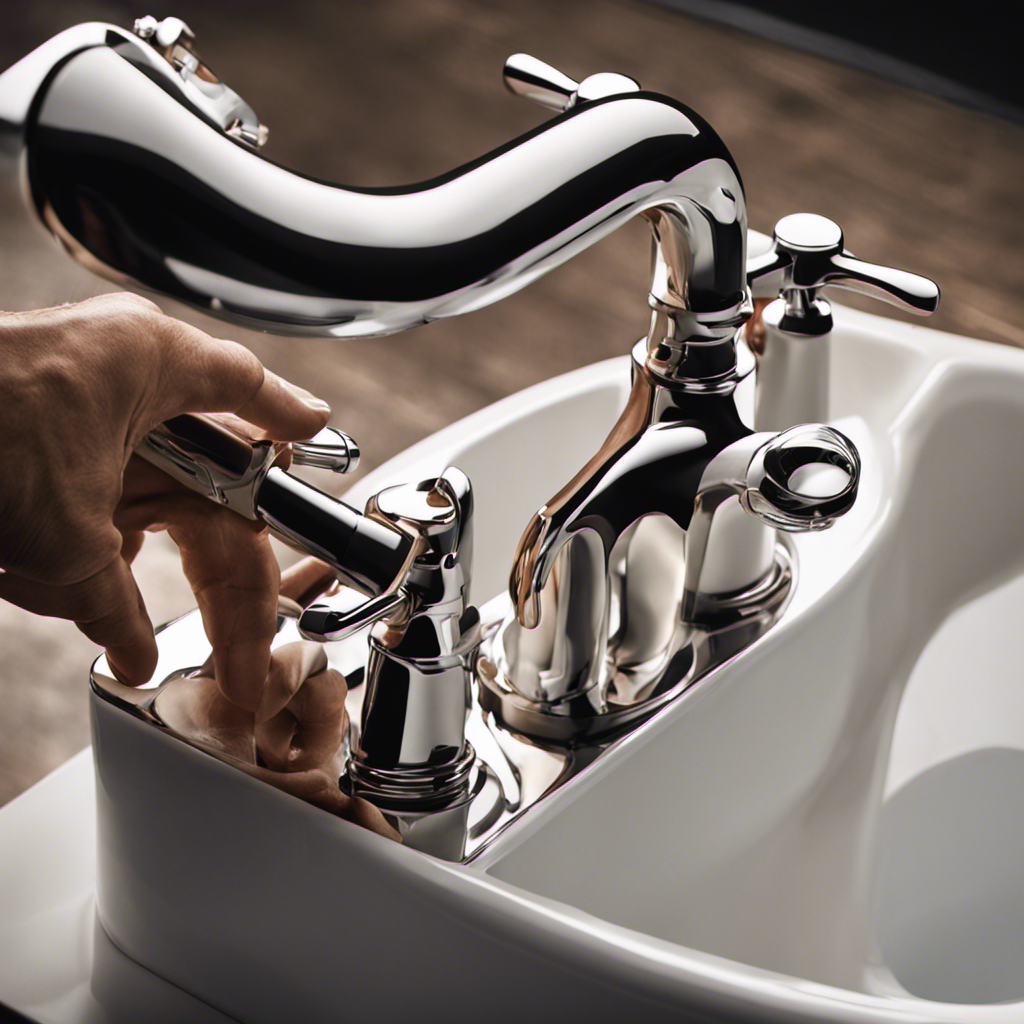
Faucet and Showerhead: Install a miniature faucet and showerhead to give your doll bathtub a realistic touch. This will allow your dolls to enjoy a spa-like experience while bathing.
-
Soap Dish and Towel Rack: Attach a tiny soap dish and towel rack to the side of the bathtub. This will provide convenience and functionality, allowing your dolls to easily access soap and towels while bathing.
-
Storage Shelves: Add small shelves to the surrounding walls of the bathtub. These shelves can be used to store miniature bath products or even small toys for your dolls to play with during bath time.
By incorporating these details, your DIY bathtub will not only look stylish but also provide a functional and enjoyable experience for your dolls.
Now, let’s move on to step 4: painting and decorating, where we will bring our bathtub to life with color and creativity.
Step 4: Painting and Decorating
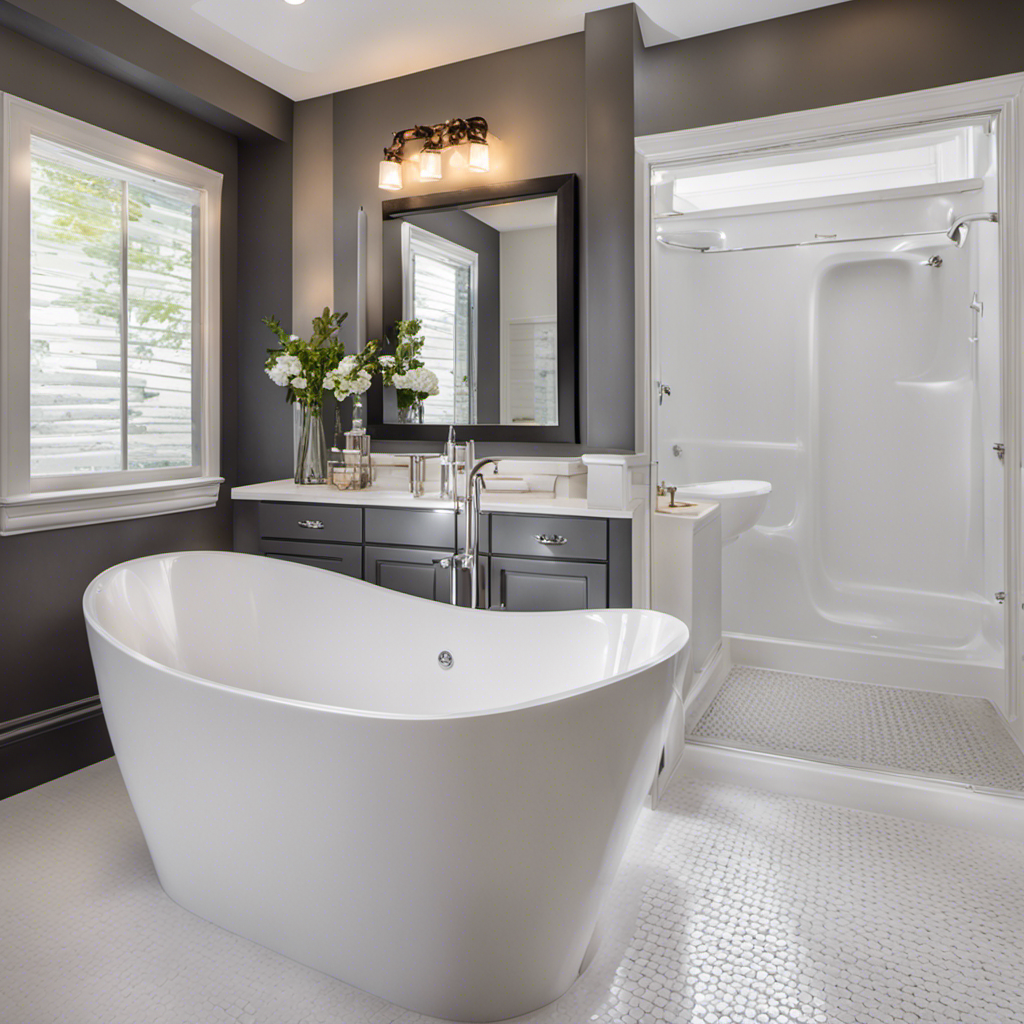
Now it’s time to give our DIY bathtub a vibrant and personalized look by painting and decorating it. With a few simple painting techniques and some creative bathtub designs, we can transform our ordinary bathtub into a unique and eye-catching centerpiece in our bathroom.
First, we need to choose the right paint for our project. Acrylic paints work well on most surfaces and offer a wide range of colors to choose from. Make sure to select paints that are waterproof and durable, as they will be exposed to water and moisture.
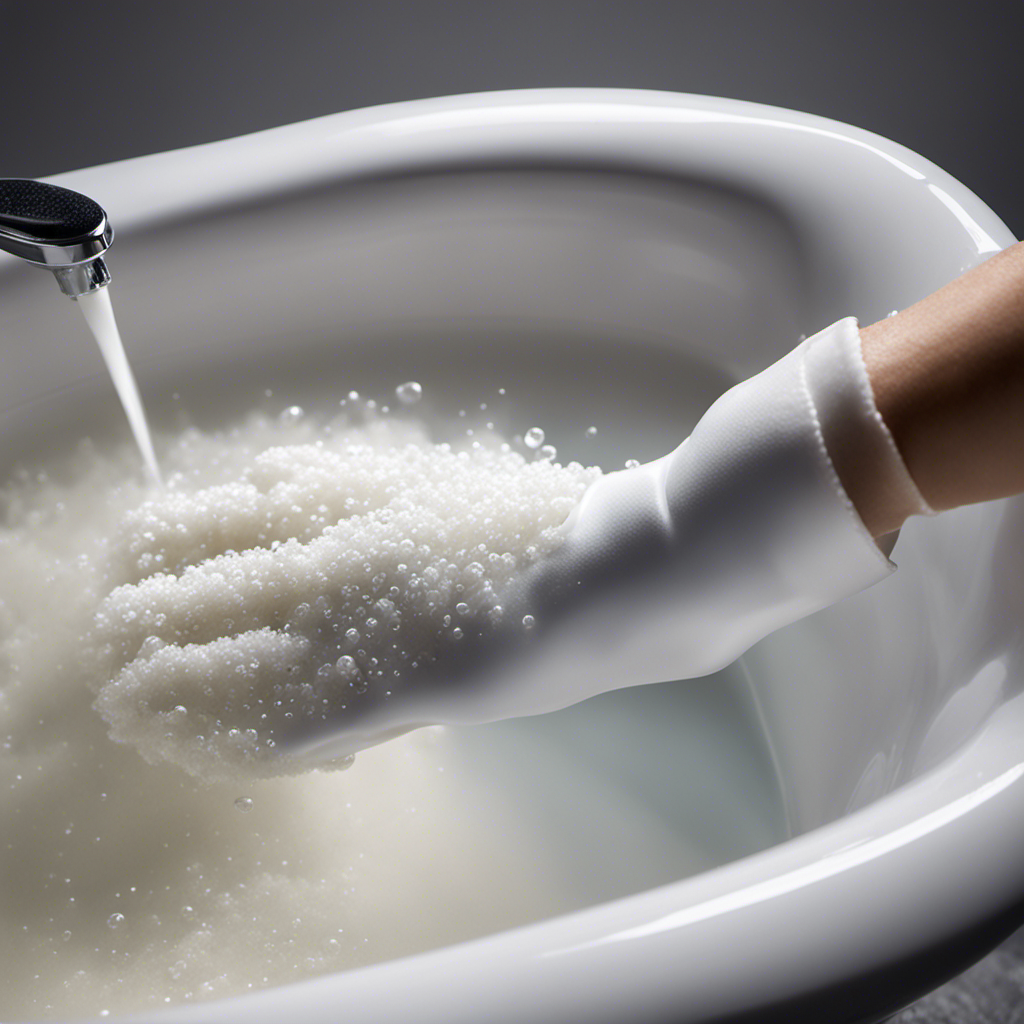
Once we have our paint, we can begin by cleaning the bathtub thoroughly and removing any dirt or debris. Then, we can start applying the base coat of paint using a brush or roller. It’s important to apply thin, even layers and allow each layer to dry before adding the next.
After the base coat is dry, we can let our creativity shine by adding decorative designs or patterns. We can use stencils, tape, or freehand techniques to create unique designs that reflect our personal style. Whether it’s a geometric pattern, floral motifs, or abstract art, the possibilities are endless.
To add some extra flair, we can also consider adding a pop of color to the bathtub’s feet or adding decorative tiles to the sides. These small details can make a big difference in the overall look and feel of our DIY bathtub.
Once the painting and decorating are complete, we should allow the bathtub to dry completely before using it. This will ensure that the paint adheres properly and doesn’t chip or peel.
With a little bit of creativity and some painting techniques, we can transform our DIY bathtub into a one-of-a-kind masterpiece that adds personality and style to our bathroom. So let’s grab our paintbrushes and get started on this exciting project!
Conclusion
In conclusion, making a DIY AG doll bathtub is a fun and creative project that allows you to customize a special play area for your dolls.
By using simple materials like cardboard, glue, and paint, you can create a realistic bathtub that your dolls will love.
Just like how a bathtub provides a relaxing and refreshing experience for us, this handmade doll bathtub will provide hours of imaginative play for your little ones.
So grab your materials and get started on this exciting DIY adventure!