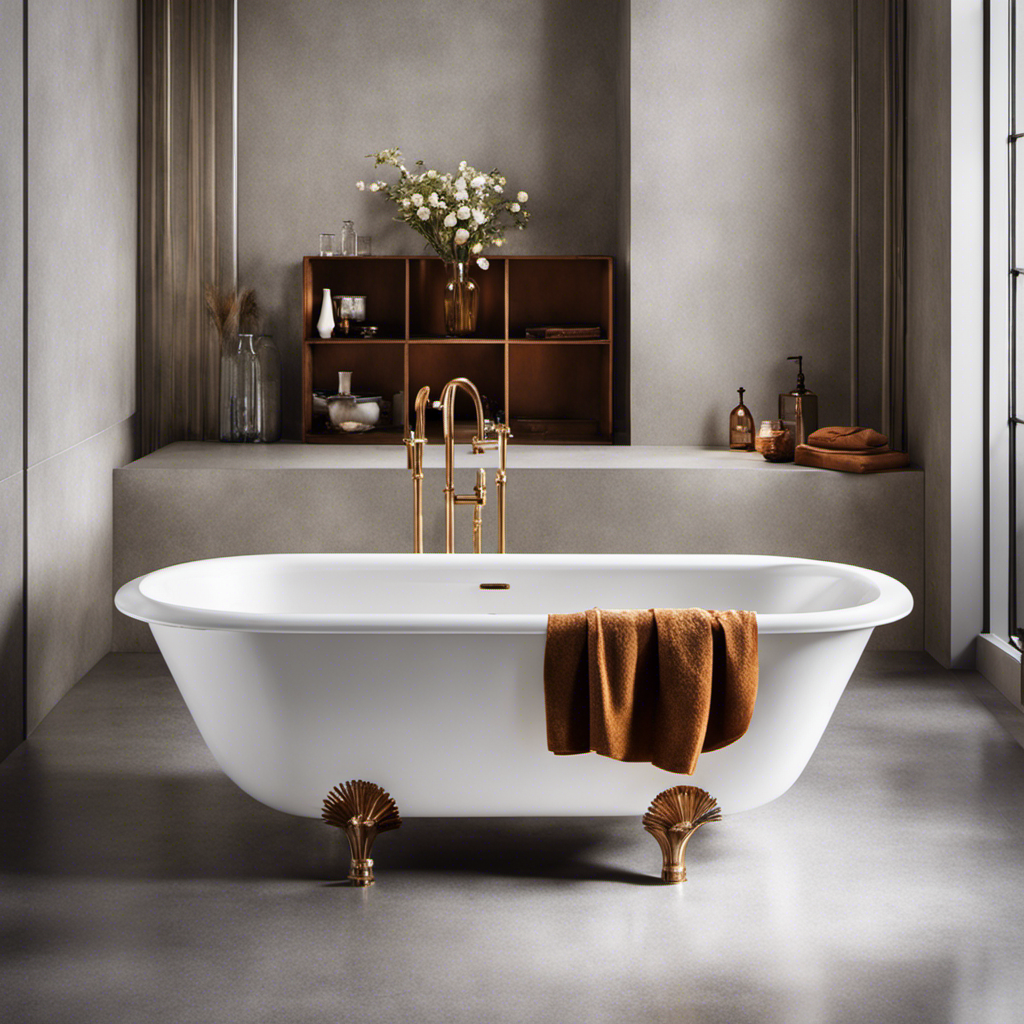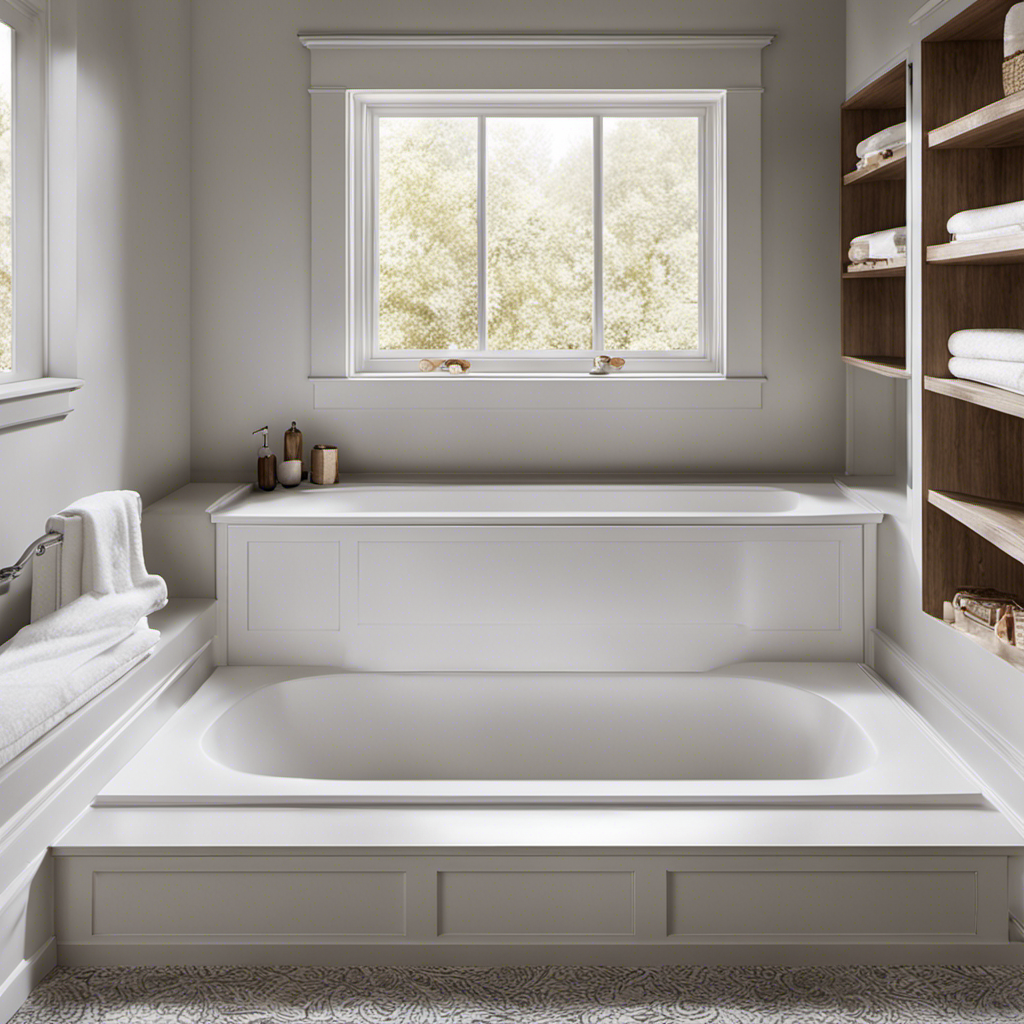
Looking to add a touch of convenience to your bathroom? In this step-by-step guide, I’ll show you how to make an access panel for your bathtub.
No more fumbling around trying to reach pipes or valves hidden behind the walls.
With just a few materials and tools, you’ll have a functional access panel that blends seamlessly with your bathroom decor.
Let’s dive in and make bathing maintenance a breeze!
Key Takeaways
- The materials and tools needed for making an access panel for a bathtub include plywood or drywall, measuring tape, pencil, saw, and screws.
- Proper measuring and marking techniques should be used, including the use of a level for accuracy and aligning markings with the plumbing or ventilation system.
- Cutting the access panel opening requires wearing protective gear, measuring and marking the desired size, scoring along marked lines with a utility knife, and creating a beveled edge around the opening before making controlled cuts through the wall material.
- Installing the access panel frame involves selecting suitable material for the frame, cutting four pieces to match the dimensions, securely attaching one piece to the inside edge of the opening, and repeating the process for the remaining sides while ensuring the frame’s stability and alignment.

Brondell Bidet Toilet Seat Non-Electric Swash Ecoseat, Fits Elongated Toilets, White - Dual Nozzle System, Ambient Water Temperature - Bidet with Easy Installation
CLEAN AND REFRESHING: With Brondell’s Ecoseat 101 Bidet, you’ll experience a soothing, freshwater wash that leaves you feeling...
As an affiliate, we earn on qualifying purchases.
Required Materials and Tools
To make an access panel for your bathtub, you’ll need a few materials and tools. Here is a step-by-step guide on how to create one.
First, gather the necessary materials: a piece of plywood or drywall, measuring tape, pencil, saw, screws, screwdriver, and a power drill. Alternative materials such as plastic or metal can also be used.
Next, measure the desired size of the access panel on the bathtub wall. Mark the dimensions with a pencil.
Now, using a saw, carefully cut along the marked lines. Be sure to wear protective goggles and gloves.
Once the opening is cut, attach the plywood or drywall to the bathtub wall using screws and a screwdriver. Use a power drill to make the screwing process easier and faster.

LUXE Bidet NEO 120 - Single Nozzle, Self-Cleaning, Non-Electric Bidet Attachment for Toilet Seat, Adjustable Water Pressure, Rear Wash (White)
THE ULTIMATE VALUE – With a sleek design and high-quality parts, Our Bidet Attachment will give your bathroom...
As an affiliate, we earn on qualifying purchases.
Measuring and Marking the Access Panel Location
When measuring and marking the location for the access panel, be sure to use a level to ensure accuracy.
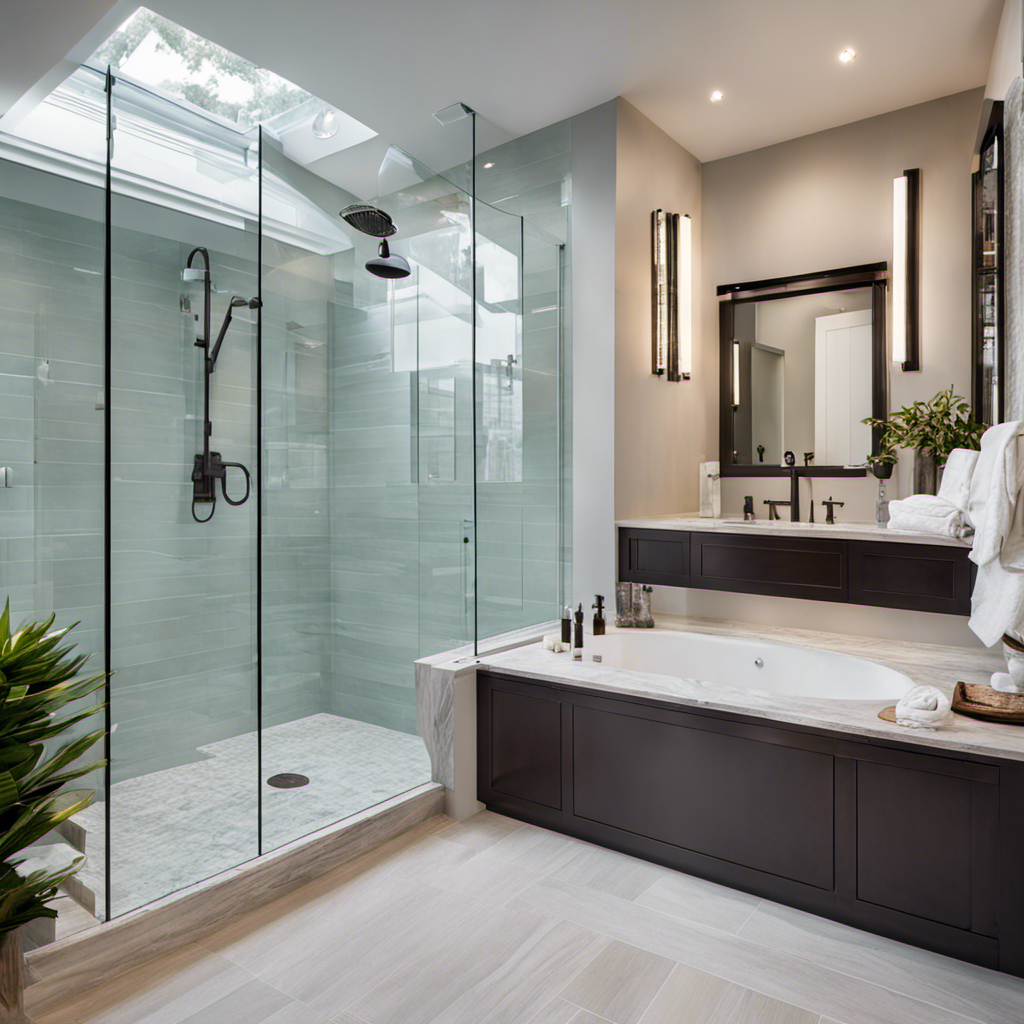
Proper ventilation in a bathroom is of utmost importance to prevent the growth of mold and mildew, as well as to remove odors and maintain fresh air circulation.
Access panels are a great solution when it comes to providing easy access to plumbing, electrical, or ventilation systems hidden behind walls.
There are different types of access panels available in the market, such as hinged panels, removable panels, and snap-in panels. Consider the size and material of the panel that suits your needs.
Measure and mark the location carefully, making sure it aligns with the plumbing or ventilation system you need to access. Use a level to ensure the markings are straight and accurate.

BIGCOW Ultra-Slim Bidet Attachment for Toilet - Dual Nozzle (Frontal & Rear Wash) with Adjustable Cold Water Pressure and Stainless Steel Inlet - Hygienic Solution for Fresh Cleanliness, Silver 1 Pcs
【Dual Spraying Modes】- This toilet bidet offers both rear wash for thorough cleaning and a specially designed frontal...
As an affiliate, we earn on qualifying purchases.
Cutting the Access Panel Opening
Using a utility knife, you can easily cut the access panel opening in the wall. Here’s a step-by-step guide on cutting the access panel:
-
First, ensure your safety by wearing protective gear such as gloves and goggles.
-
Measure and mark the desired size of the access panel using a tape measure and a pencil.
-
Next, use the utility knife to score along the marked lines. Apply firm, even pressure to make a clean cut.
-
Repeat the scoring process multiple times until you have a deep enough groove.
-
Once the groove is deep enough, press the utility knife’s blade at an angle to create a beveled edge around the opening.
-
Now, carefully push the knife into the scored lines to cut through the drywall or other wall material.
-
Take your time and make steady, controlled cuts to avoid any accidents or damage to the surrounding area.
-
Finally, check the edges of the access panel opening to ensure they are smooth and free from any rough edges.
Remember to always prioritize safety and take necessary precautions when using cutting techniques.

SAMODRA Bidet Attachment, Non-Electric Cold Water Bidet Toilet Seat Attachment with Pressure Controls, Retractable Self-Cleaning Dual Nozzles for Frontal & Rear Wash - Black
High Quality Parts: Bidet attachment is constructed with durable ABS material, portable control panel, high-pressure faucet quality valves...
As an affiliate, we earn on qualifying purchases.
Installing the Access Panel Frame
Once you’ve measured and cut the access panel opening, it’s time to install the frame. Proper framing technique for access panels is crucial to ensure a secure and stable installation. Here’s a step-by-step guide to help you get it right.
-
Start by selecting a suitable material for your frame, such as plywood or drywall. Cut four pieces of the material to match the dimensions of your access panel opening.
-
Place one piece of the frame material against the inside edge of the cut opening. Use screws or nails to attach it securely to the surrounding structure.
-
Repeat this process for the remaining three sides, ensuring that each piece is flush with the edge of the opening and properly aligned.
-
Double-check the frame’s stability and make any necessary adjustments before moving on.
When installing the access panel frame, there are some common mistakes to avoid. These include using improper materials, failing to secure the frame tightly, and not checking for proper alignment. By following these steps and avoiding these mistakes, you can ensure a successful installation of your access panel frame.
Finishing and Securing the Access Panel
To finish and secure the access panel, you’ll need to attach the finishing trim and ensure it is securely fastened. Here is a step-by-step guide to help you with this final stage:
-
Measure the dimensions of the access panel and purchase the appropriate finishing trim. There are various design options available, such as metal, wood, or plastic, so choose one that matches the style of your bathroom.
-
Place the finishing trim around the edges of the access panel, making sure it aligns perfectly. Use a pencil to mark the areas where you need to cut the trim to fit the panel.
-
Use a saw or a utility knife to cut the finishing trim to the correct size. Take your time and make precise cuts to ensure a clean finish.
-
Apply adhesive to the back of the trim and press it firmly onto the access panel. Use clamps or tape to hold it in place while the adhesive dries.
-
Once the adhesive has dried, use screws or nails to secure the finishing trim to the access panel. Make sure they are evenly spaced and do not penetrate the panel itself.
Maintenance tips for access panels:
- Regularly inspect the access panel for any signs of damage or wear.
- Clean the panel with a mild detergent and a soft cloth to remove any dirt or grime.
- Avoid using abrasive cleaners or scrub brushes that could scratch the surface.
- If the access panel becomes loose or damaged, repair or replace it as soon as possible to maintain its functionality and aesthetic appeal.
Conclusion
In conclusion, creating an access panel for your bathtub is a straightforward and practical solution. By following the step-by-step process outlined in this article, you can easily measure, cut, install, and secure the access panel frame.
Remember to prioritize safety and accuracy throughout the process, as this will ensure a seamless and functional access panel. With the right materials and tools, you’ll have convenient access to your bathtub’s plumbing and be able to address any maintenance or repair needs efficiently.