Did you know that a bathtub drain is typically located in the center of the tub?
Well, what if you want to move it to a different spot?
In this article, I will guide you through the process of moving a bathtub drain step by step.
With the right tools and materials, you can successfully relocate the drain to your desired location.
So, let’s get started and learn how to move a bathtub drain with ease!
Key Takeaways
- Assess the size and condition of the current bathtub drain before moving it.
- Gather the necessary tools and materials, including a new drain that matches the current diameter and aligns with the drain hole.
- Remove the old bathtub drain using a screwdriver and pliers if necessary.
- Install the new bathtub drain by applying plumber’s putty and screwing it into place, following manufacturer’s instructions.
Assessing the Current Bathtub Drain Location
Before you can begin moving the bathtub drain, it’s important to assess its current location.
This involves measuring the bathtub dimensions and evaluating the plumbing system.
To accurately measure the bathtub dimensions, start by measuring the length, width, and height of the bathtub. This will give you an idea of the size of the drain and help you determine the necessary adjustments.
Additionally, evaluating the plumbing system is crucial to ensure that it can accommodate the new drain location. Check the existing pipes and connections to see if they need to be modified or replaced.
Once you have assessed the current drain location and determined the necessary adjustments, you can move on to gathering the necessary tools and materials to begin the process.
Gathering the Necessary Tools and Materials
After you’ve got all the tools and materials, it’s time to start gathering the necessary items for the project.
When choosing the right drain size, it’s important to consider the size of your bathtub and the existing plumbing system. Measure the diameter of the current drain and select a new drain with the same size to ensure a proper fit.
Additionally, ensuring proper alignment is crucial for a successful installation. Make sure the drain aligns perfectly with the bathtub drain hole to prevent any leaks or drainage issues.
Gather all the necessary items, such as a new drain, plumber’s putty, a drain wrench, and a screwdriver, to have everything ready for the next step of removing the old bathtub drain.
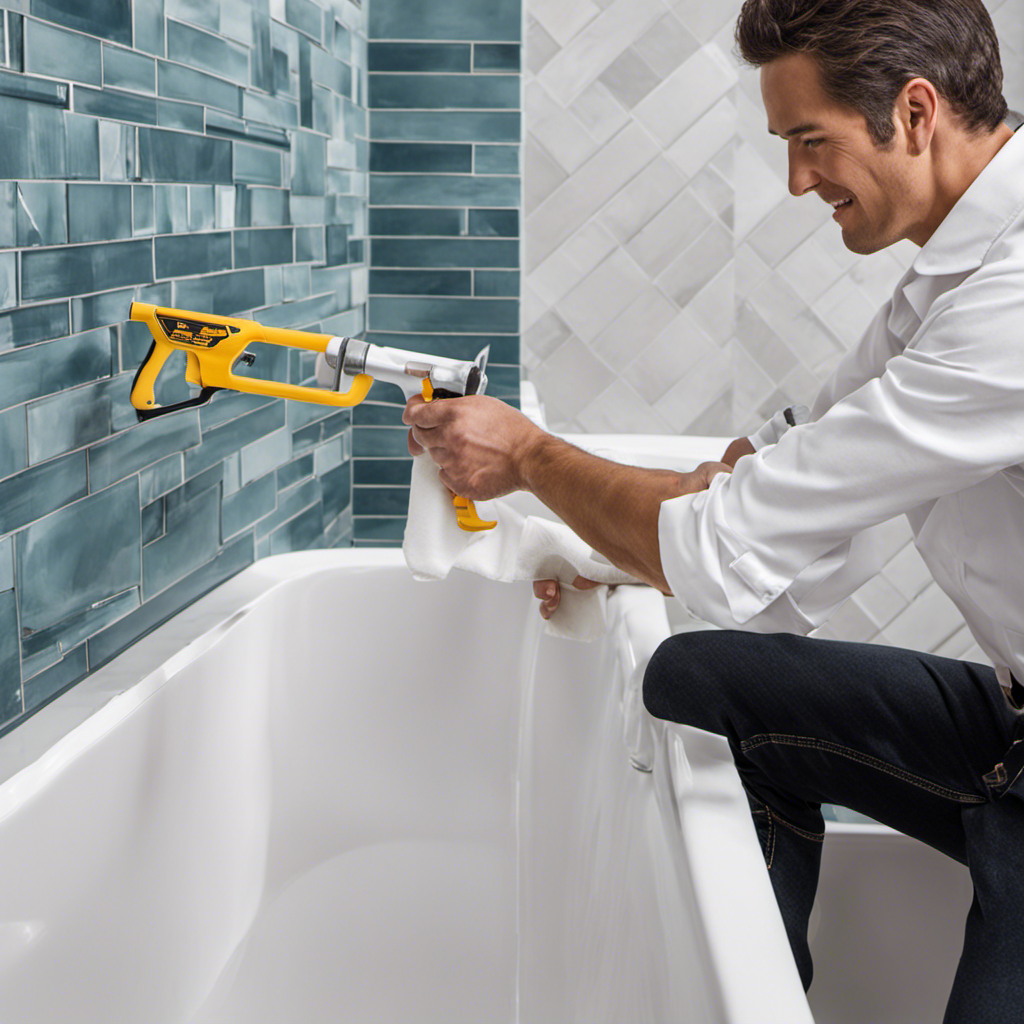
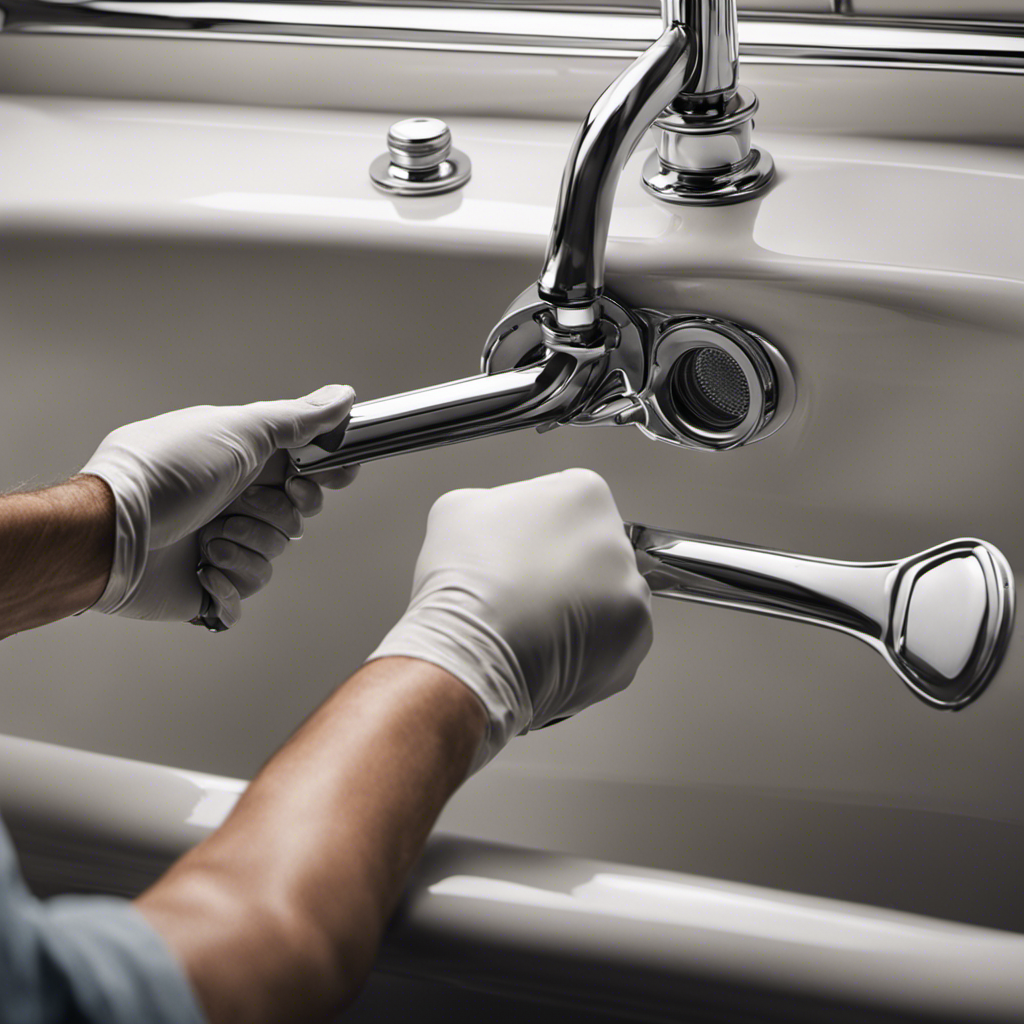
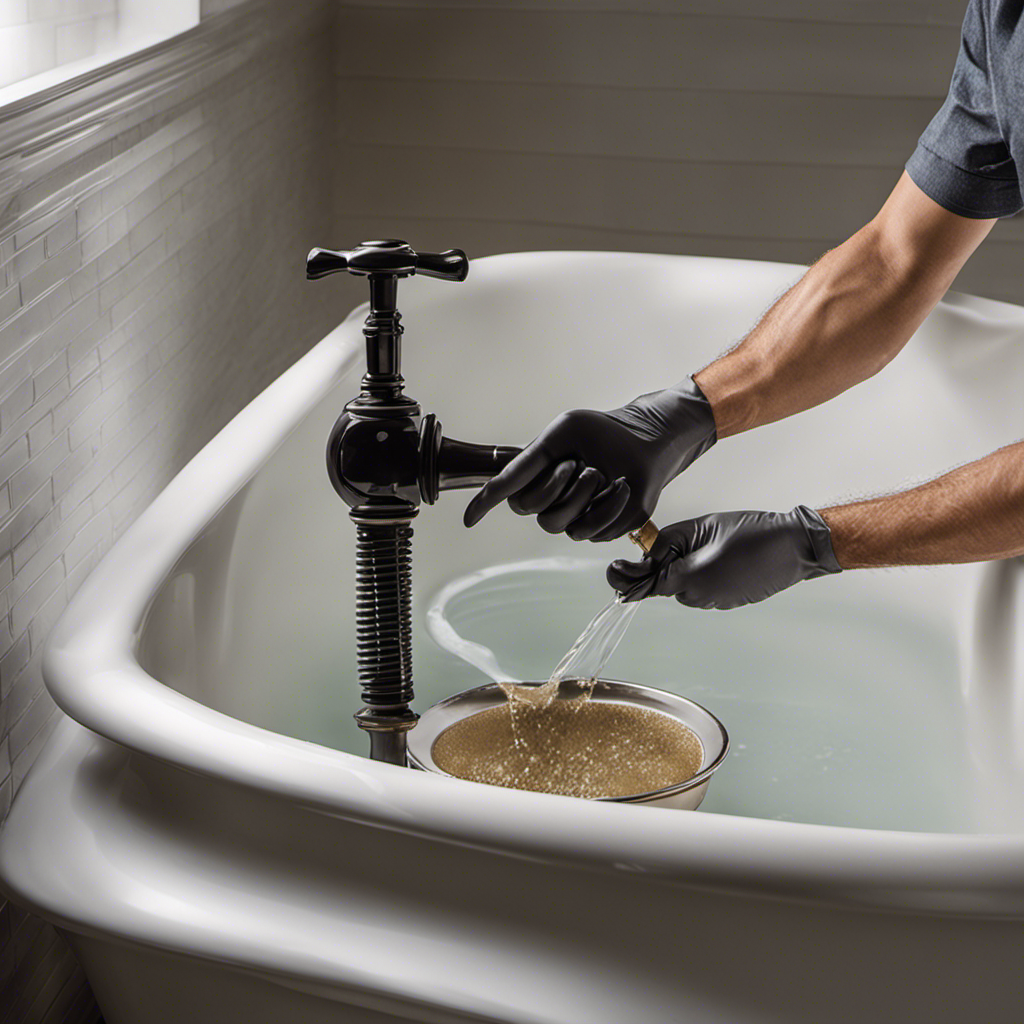
Removing the Old Bathtub Drain
To remove the old bathtub drain, you’ll need to unscrew the drain cover using a screwdriver and lift it out. Before you begin, it’s important to gather all the necessary tools and materials, as mentioned in the previous section. Here is a table that lists the items you’ll need:
| Tools | Materials |
|---|---|
| Screwdriver | New bathtub drain |
| Pliers | Plumber’s putty |
| Adjustable wrench | Pipe tape |
| Bucket | Cleaning solution |
Once you have everything ready, start by locating the drain cover. It is usually found in the center of the bathtub, underneath the faucet. Use a screwdriver to unscrew the cover and carefully lift it out. If the drain is stuck, you may need to use pliers to loosen it. Troubleshooting common bathtub drain issues includes addressing clogs, leaks, and unpleasant odors. With the old drain removed, you’re now ready to move on to the next step: installing the new bathtub drain.
Installing the New Bathtub Drain
Once you’ve gathered all the necessary tools and materials, start by applying plumber’s putty around the edge of the new drain before screwing it into place. This step is crucial to create a watertight seal and prevent any leaks.
When choosing a new bathtub drain, it’s important to consider the different types available, such as pop-up drains or trip lever drains, and select the one that suits your needs.
Common installation mistakes include not using enough plumber’s putty, which can lead to leaks, or overtightening the drain, which can cause damage.
Make sure to follow the manufacturer’s instructions and take your time to ensure a proper installation.
Testing and Finishing the Bathtub Drain Installation
Before you finish the bathtub drain installation, make sure to test it by running water and checking for any leaks. This is a crucial step to ensure that your installation is working properly.
One of the most common mistakes to avoid during bathtub drain installation is not properly sealing and waterproofing the drain. To prevent leaks, make sure to use plumber’s putty or silicone caulk to create a watertight seal between the drain and the bathtub. Additionally, applying a layer of waterproofing membrane around the drain can provide extra protection against leaks.
Another helpful tip is to tighten the drain components securely but not excessively, as overtightening can cause damage.
Conclusion
In conclusion, moving a bathtub drain can be a challenging task, but it is definitely achievable with the right tools and materials. By carefully assessing the current drain location and following the step-by-step process of removing the old drain and installing the new one, you can successfully complete the project.
Once everything is in place, don’t forget to test the drain to ensure it is working properly. So, roll up your sleeves, grab your toolbox, and get ready to transform your bathroom oasis into a functional, efficient space.

Mateo’s flair for writing is matched only by his keen eye for design. As an interior designer turned writer, Mateo brings a unique perspective. He blends aesthetics with functionality in every piece he pens, providing readers with beautifully crafted content that’s also supremely useful.
Mateo loves exploring the latest bathroom tech trends and is our expert on smart toilets. When he’s not writing or designing, Mateo can be found sketching ideas for his next big project at local coffee shops.