I’ve discovered a foolproof way to transform your worn-out metal bathtub into a beautiful, like-new fixture.
In this article, I’ll guide you through the step-by-step process of painting a metal bathtub. We’ll cover everything from preparing the surface to choosing the right paint and applying it with precision.
By the end, you’ll have a stunning bathtub that will breathe new life into your bathroom. So grab your paintbrush and let’s get started!
Key Takeaways
- Thoroughly clean and dry the bathtub surface before painting.
- Choose a paint specifically designed for metal surfaces and consider reputable brands.
- Apply a primer designed for metal surfaces before painting.
- Use multiple thin coats of high-quality paint for a smooth finish and proper adhesion.
Preparing the Bathtub Surface
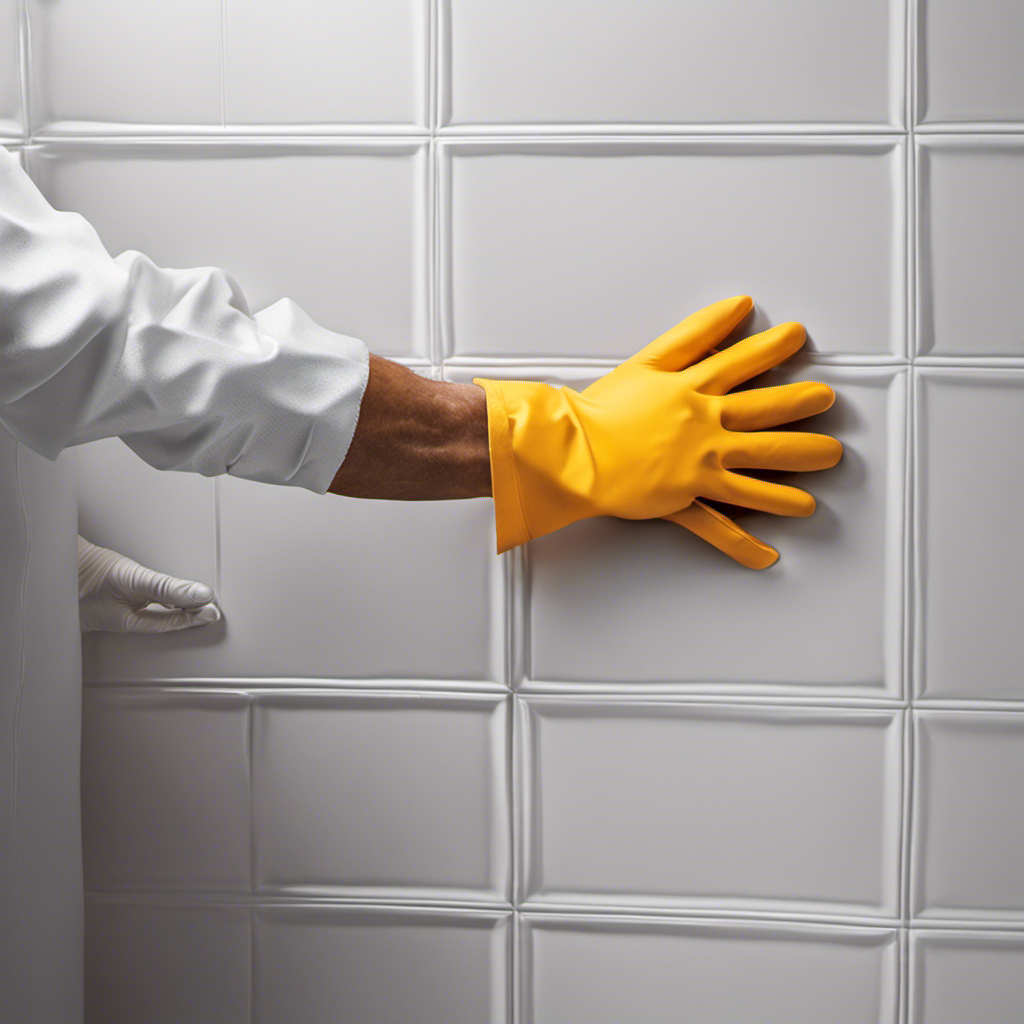
Before you begin painting, make sure you’ve thoroughly cleaned and sanded the bathtub surface. This step is crucial to ensure proper adhesion and a smooth finish.
Start by cleaning the bathtub using a suitable cleaning solution that is safe for metal surfaces. Scrub away any dirt, grime, and soap scum using a soft sponge or cloth. Rinse the bathtub thoroughly and allow it to dry completely.
Next, use a sanding technique to roughen the surface, creating a better bond for the paint. Use a fine-grit sandpaper and sand in a circular motion, focusing on any areas with rust or peeling paint. Wipe away any dust with a damp cloth before moving on to the next step.
Now that the bathtub surface is clean and smooth, it’s time to choose the right paint.
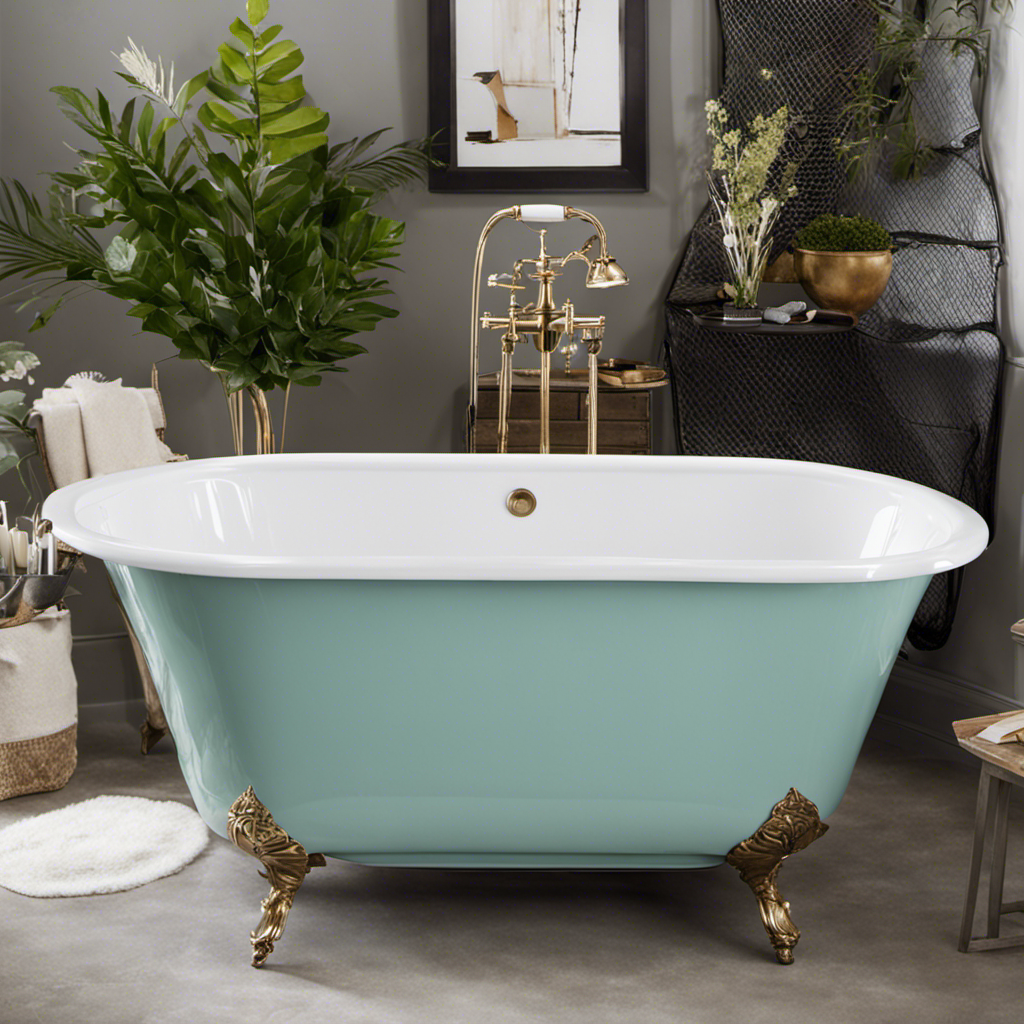
Choosing the Right Paint
When selecting the appropriate paint for your project, make sure you choose a product specifically designed for use on metal surfaces. This is crucial to ensure a long-lasting and durable finish.
There are several factors to consider when choosing the right paint for your metal bathtub:
-
Paint color options: Explore a wide range of colors to personalize your bathtub and create a unique look that suits your style and preferences.
-
Best paint brands: Look for reputable brands known for their quality and durability. Some popular options include Rust-Oleum, Behr, and Sherwin-Williams.
By carefully selecting the paint color and brand, you can achieve a stunning result that not only protects your metal bathtub but also adds a touch of personality to your bathroom.
Once you have chosen the right paint, it’s time to move on to the next step: applying the primer.
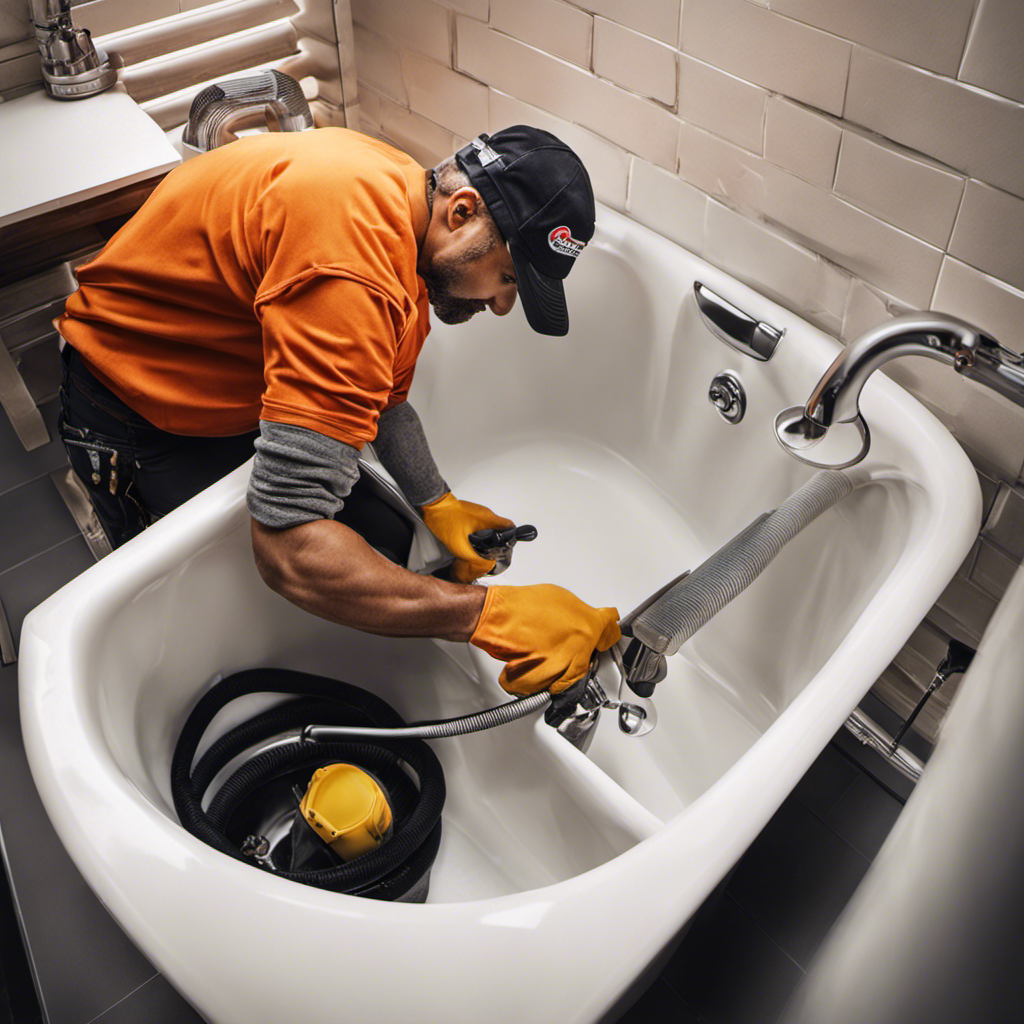
Applying the Primer
To achieve a smooth and even surface, start by applying a primer specifically designed for use on metal surfaces. This step is crucial in preparing the bathtub for painting. It not only helps the paint adhere better but also prevents rust and corrosion.
Before starting, make sure the area is well-ventilated to avoid inhaling fumes. Open windows and use fans to circulate the air.
When applying the primer, use a paintbrush or roller, and work in even strokes, going in one direction. This will help prevent primer drips and streaks on the bathtub surface. Pay attention to corners and edges to ensure complete coverage.
Once the primer is dry, you can proceed to the next step of painting the bathtub, which we will discuss in the following section.
Painting the Bathtub
After applying the primer, it’s important to choose a high-quality paint specifically formulated for use on bathroom fixtures. This will ensure a long-lasting finish that can withstand the moisture and daily use of a bathtub.
When it comes to painting the bathtub, there are a few bathtub refinishing techniques that can help achieve a professional-looking result for your DIY bathtub restoration project:
- Begin by using a high-quality paintbrush or a paint sprayer for a smooth and even application.
- Apply multiple thin coats of paint rather than one thick coat to prevent drips and ensure proper adhesion.
- Allow each coat to dry completely before applying the next to avoid any smudging or lifting of the paint.
Finishing Touches and Maintenance Tips
For a newly painted tub, it’s essential to regularly clean and wipe down the surface to maintain its fresh appearance. Proper maintenance techniques will help prolong the life of the paint and keep your tub looking its best.
When it comes to cleaning products, it’s important to choose those that are safe for painted surfaces. Avoid abrasive cleaners or scrub brushes, as they can damage the paint. Instead, opt for gentle, non-abrasive cleaners specifically designed for painted tubs. These cleaners will effectively remove dirt and grime without harming the paint.
Additionally, consider using a soft cloth or sponge to gently wipe down the tub after each use. This will prevent the build-up of soap scum and keep your newly painted tub looking pristine for years to come.
Conclusion
As I put the finishing touches on my newly painted metal bathtub, I couldn’t help but feel a sense of accomplishment and renewal.
The transformation from a worn-out, dull tub to a vibrant and refreshed centerpiece of my bathroom is nothing short of magical.
As I step back and admire my handiwork, I am reminded that just like this bathtub, we all have the power to reinvent ourselves and find beauty in the simplest of things.
So go ahead, unleash your creativity, and let your bathtub become a symbol of your own personal transformation.

Liam’s journey with us started as a consumer. Having faced challenges while setting up his own modern bathroom, he delved deep into research.
Recognizing his knack for simplifying complex information and his authentic writing style, we were thrilled to welcome him aboard. Liam’s articles often merge practicality with style, ensuring readers find the perfect fit for their homes. Liam is an avid hiker off-duty and often jokes about finding the best “natural toilets” Mother Earth has to offer.