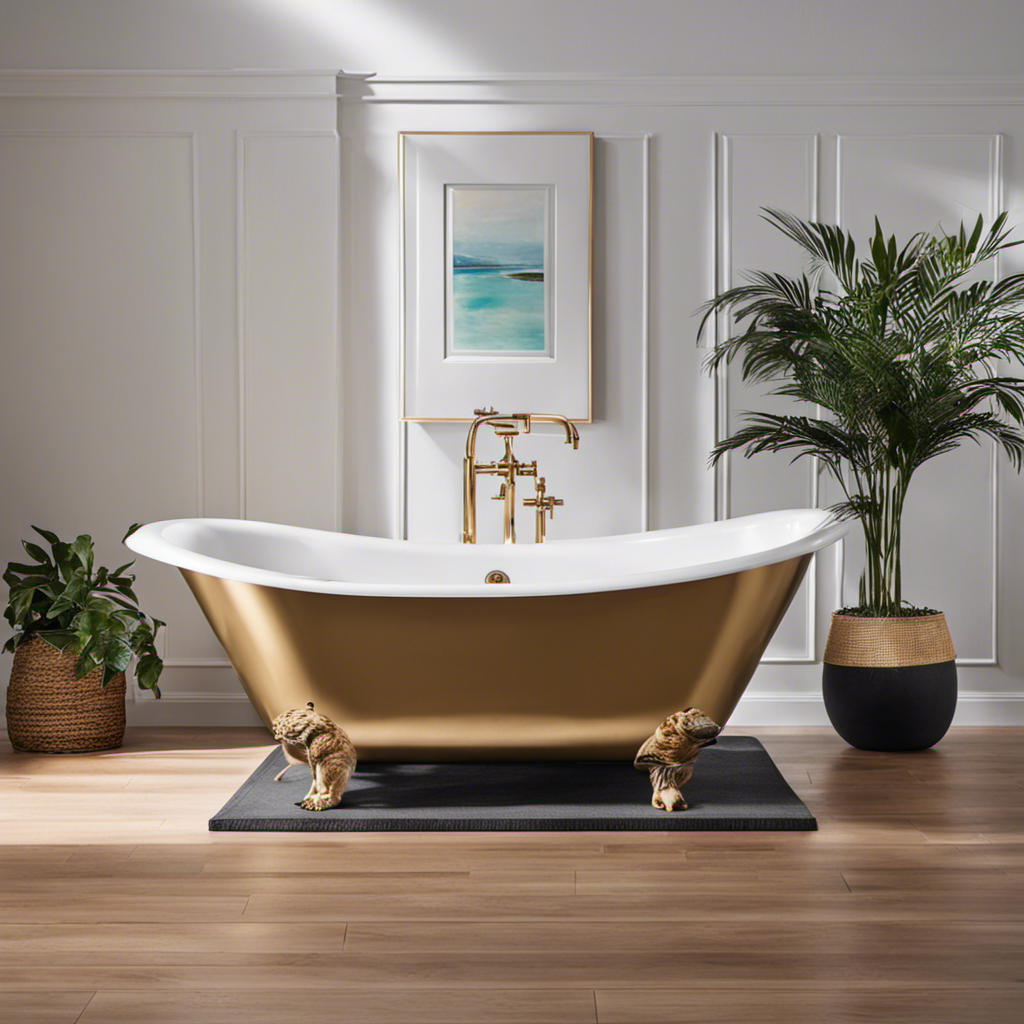
As an avid DIY enthusiast, I’ve always believed that transforming your space can be a truly gratifying experience.
And when it comes to giving your bathroom a fresh, new look, painting your acrylic bathtub can be a game-changer.
In this step-by-step guide, I’ll share my tried and true methods for preparing the surface, choosing the right paint and tools, and achieving a flawless finish.
Get ready to unleash your inner artist and give your bathtub a stunning makeover that will leave you feeling proud and accomplished.
Key Takeaways
- Thoroughly clean and dry the bathtub surface before painting
- Use water-resistant acrylic paint formulated for bathroom fixtures
- Consider using synthetic bristle brushes or a high-quality roller for smooth application
- Apply thin and even coats of paint for a smooth and professional-looking finish

Paint Sprayer Tool 1000W High Power Electric Spray Paint Gun Easy to Clean for Furniture Cabinets House Painting Black
Adjustable flow control:The paint sprayer boasts an adjustable spray width knob,minimizing overspray and maximizing paint utilization;The flow control...
As an affiliate, we earn on qualifying purchases.
Preparing the Bathtub Surface
Before you start painting, make sure you’ve thoroughly cleaned and dried the bathtub surface. Proper surface preparation is crucial to achieve a long-lasting and smooth finish for your acrylic bathtub.
To begin, start by removing any old caulk or silicone using a caulk remover tool. Next, use a non-abrasive cleaner to remove any dirt, soap scum, or oils from the surface. Rinse thoroughly and dry the bathtub completely using a clean cloth.
It’s important to note that using abrasive cleaners or scrub brushes can damage the acrylic surface, so avoid using them. Additionally, avoid using harsh chemicals like bleach or ammonia as they can also cause damage.
Another common mistake to avoid is not sanding the surface before painting. Lightly sanding the bathtub will help the paint adhere better.

Tilswall Paint Sprayer 800W HVLP Spray Paint Gun, Electric Paint Sprayer Gun with 4 Nozzles & 3 Patterns for House Painting Furniture Cabinets Fence Home Walls Shark 800 (Blue, 1300 ml)
【Innovative Side Feed】The Tilswall Shark 800W paint spray gun improves the way you add paint. You can easily...
As an affiliate, we earn on qualifying purchases.
Choosing the Right Paint and Tools
When it comes to picking the appropriate paint and tools for the job, you’ll want to make sure you choose ones that are specifically designed for use on surfaces like your bathtub. Using the right materials will ensure a successful and long-lasting paint job.
Here are some key considerations when choosing the paint and tools for your acrylic bathtub:
-
Types of acrylic paint: Look for acrylic paints that are water-resistant and formulated for use on bathroom fixtures. These paints are designed to withstand moisture, heat, and cleaning agents.
-
Best brushes for acrylic painting: Synthetic bristle brushes are recommended for acrylic painting on bathtubs. They provide a smooth and even application, allowing you to achieve professional-looking results.
-
Quality paint rollers: Opt for a high-quality roller that is suitable for smooth surfaces. This will help you achieve a consistent and even coat of paint on your bathtub.
-
Paint sprayer: Consider using a paint sprayer for larger areas or to achieve a smooth, professional finish. Make sure to follow the manufacturer’s instructions for proper use.
Choosing the right paint and tools is crucial for a successful bathtub painting project. Once you have everything you need, it’s time to move on to the next step: cleaning and sanding the bathtub.

Wagner Spraytech 2443205 Earlex 5700 Stationary HVLP Paint Sprayer for Woodworking and Furniture Refinishing, Fine Finishing with Oil & Water Based Materials, Adjustable Settings
WOODWORKING PAINT SPRAYER: The Earlex 5700 stationary paint sprayer is designed for woodworking enthusiasts wanting to spray a...
As an affiliate, we earn on qualifying purchases.
Cleaning and Sanding the Bathtub
Once you’ve gathered all the necessary supplies, it’s time to start cleaning and sanding your tub. To ensure a smooth and long-lasting finish, it is crucial to properly clean the bathtub surface before painting.
Begin by removing any soap scum, grime, or residue using a mild cleanser and a non-abrasive sponge or cloth. Rinse thoroughly and dry the surface completely.
Next, prepare the tub for sanding by lightly sanding the entire surface with fine-grit sandpaper. This will help the primer adhere better to the bathtub. Be sure to wear a dust mask and protective goggles while sanding to prevent any particles from entering your eyes or lungs.
Once the tub is clean and sanded, you are ready to move on to applying the primer.

InoKraft Paint Sprayer, Bob Vila Awards HVLP Sprayer Includes 3 Patterns & Whole Cleaning kit for House Painting, Furniture, Cabinets, Compatible with Stains and Latex Paints,1200ml(2026)
Quick Proficiency for Newbies: A clear scale for mixing and a 1200ml translucent container for quick checks allow...
As an affiliate, we earn on qualifying purchases.
Applying the Primer
To ensure a smooth finish, you’ll need to apply a primer to the clean and sanded surface of your tub. The primer serves as a bonding agent between the tub and the paint, ensuring better adhesion and durability.
Here are some important tips for applying the primer:
-
Choose the right primer: Look for a primer specifically designed for acrylic surfaces. This will ensure compatibility and better results.
-
Prepare the surface: Clean the tub thoroughly and remove any loose or peeling paint. Sand the surface lightly to create a rough texture for better primer adhesion.
-
Apply the primer evenly: Use a brush or a roller to apply the primer in thin, even coats. Avoid applying it too thick, as it can cause drips and uneven drying.
-
Allow proper drying time: Follow the manufacturer’s instructions for drying time. This is crucial for the primer to fully cure before applying the paint.
Painting the Bathtub
For a smooth and professional finish, make sure you’ve properly prepared the surface before applying the primer. Now that the primer is dry, it’s time to paint your acrylic bathtub.
To achieve a smooth and even paint finish, there are a few techniques you can use. Firstly, start by applying thin and even coats of paint. This will help prevent drips and uneven coverage. Secondly, use a high-quality brush or roller to ensure smooth application. Avoid using cheap brushes that may leave brush marks or streaks. Lastly, consider using a paint sprayer for an even and professional-looking finish.
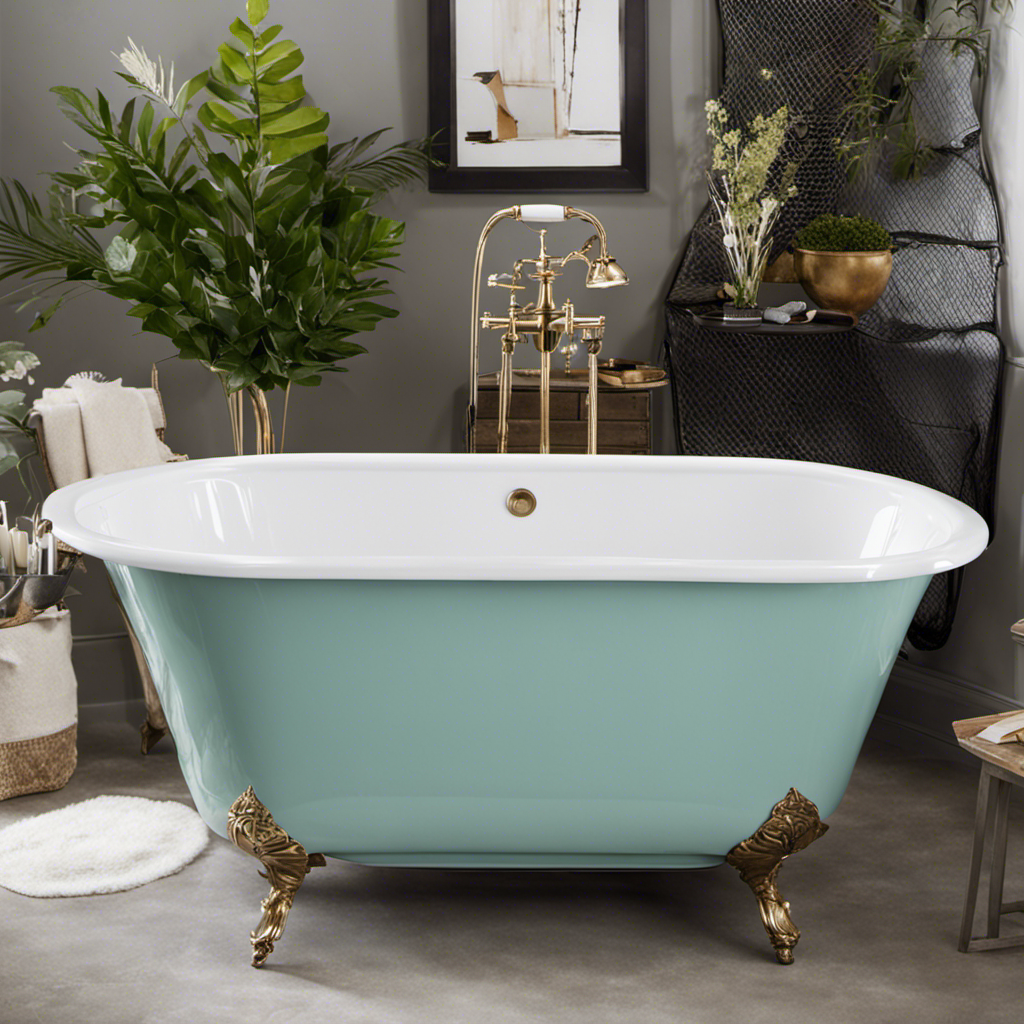
When it comes to selecting the perfect color and finish for your acrylic bathtub, there are a few tips to keep in mind. Firstly, choose a color that complements the overall aesthetic of your bathroom. Consider the existing color scheme and choose a color that will enhance the space.
Secondly, select a finish that is appropriate for a wet environment. Opt for a high-gloss or semi-gloss finish, as these are more resistant to moisture and easier to clean. Lastly, consider using a bathtub paint specifically designed for acrylic surfaces, as this will ensure better adhesion and durability.
Conclusion
After following these steps, I can confidently say that painting an acrylic bathtub is a feasible DIY project. Contrary to popular belief, with the right tools and techniques, you can achieve professional-looking results.
By preparing the surface, choosing the appropriate paint and tools, cleaning and sanding the bathtub, applying the primer, and finally painting it, you can transform your bathroom without breaking the bank.
So, don’t be afraid to tackle this project and enjoy the satisfaction of a beautifully painted acrylic bathtub.