So, you’ve been staring at your worn-out bathtub for far too long, and you’re ready to give it a fresh new look. Well, I’ve got good news for you – painting your bathtub is a fantastic way to revitalize its appearance without breaking the bank.
In this article, I’ll guide you through the step-by-step process of transforming your bathtub with a professional touch. From choosing the right paint to applying it flawlessly, get ready to enjoy a beautifully painted bathtub that will make your bathroom shine.
Key Takeaways
- Consider durability and water-resistance when selecting paint
- Thoroughly clean the bathtub surface before applying paint
- Choose the appropriate paint application method for desired finish and bathtub surface type
- Properly dry and cure the paint for a smooth and long-lasting finish
Choosing the Right Paint
When choosing the right paint for your bathtub, it’s important to consider durability and water-resistance. The paint color may be a personal preference, but it’s crucial to select a paint that can withstand constant exposure to water and cleaning agents.
Before applying any paint, proper surface preparation is key to ensure a smooth and long-lasting finish. Start by thoroughly cleaning the bathtub surface and removing any existing paint or coatings. Repair any cracks or chips using a suitable filler.
Next, sand the surface to create a rough texture that the paint can adhere to. Make sure to choose a high-quality paint specifically designed for bathtubs and tiles. These paints are formulated to withstand moisture and provide excellent adhesion.
Following these steps will help you achieve a beautiful and durable finish for your bathtub.
Preparing the Bathtub Surface
Before you start, make sure you’ve thoroughly cleaned and sanded the surface of your bathtub. This step is crucial for achieving a smooth and durable finish during the bathtub refinishing process.
Here are some important things to keep in mind:
- Clean the surface using a mild detergent and water to remove any dirt, grime, or soap residue.
- Rinse the bathtub thoroughly with clean water and allow it to dry completely before proceeding.
- Sand the surface using a fine-grit sandpaper to create a rough texture that will help the paint adhere better.
- After sanding, wipe away any dust or debris with a damp cloth and ensure the surface is smooth and free from imperfections.
Cleaning and Sanding the Bathtub
To achieve a smooth and durable finish, make sure you thoroughly clean and sand the bathtub surface.
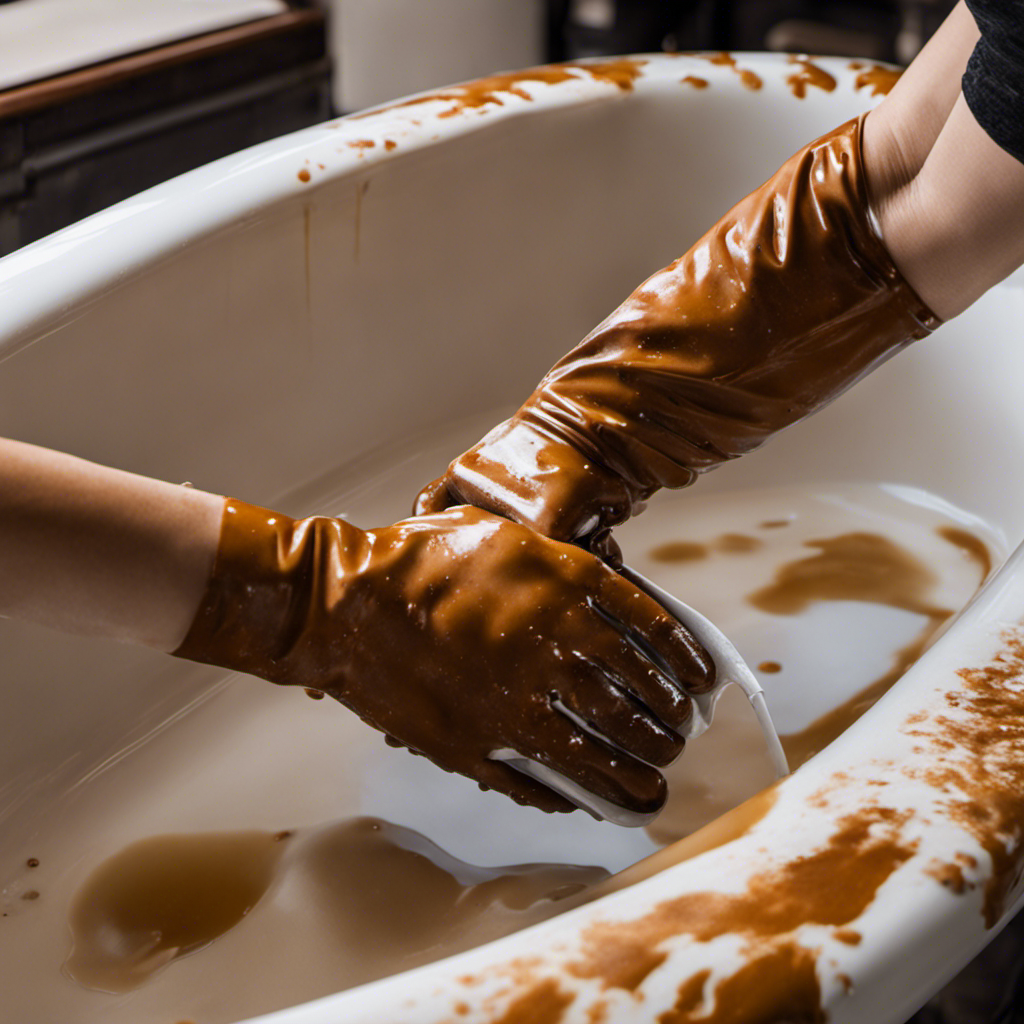
Before starting the painting process, it is essential to remove any dirt, grime, or soap scum that may be present on the surface. Begin by using appropriate cleaning products specifically designed for bathtubs. These products will help break down and remove stubborn stains effectively. Scrub the surface using a soft sponge or brush, paying close attention to the corners and edges. Rinse thoroughly to ensure all cleaning residue is removed.
Once the surface is clean and dry, it’s time to sand. Use sanding techniques suitable for the type of bathtub surface you have. Sanding not only smooths out imperfections but also helps the paint adhere better. Remember to wear appropriate safety gear and follow all precautions while cleaning and sanding.
Applying Primer to the Bathtub
After thoroughly cleaning and sanding the surface, it’s important to apply primer to ensure proper adhesion of the paint. The bathtub primer acts as a bonding agent, creating a strong foundation for the paint to adhere to.
Here are some effective primer application techniques to achieve the best results:
-
Even Coverage: Apply the primer evenly across the entire surface of the bathtub using a high-quality brush or roller.
-
Thin Coats: Apply thin coats of primer rather than one thick coat. This allows for better drying and prevents drips or unevenness.
-
Drying Time: Allow the primer to dry completely before applying the paint. This will ensure proper adhesion and prevent peeling or cracking.
-
Multiple Layers: For optimal adhesion and durability, consider applying multiple layers of primer, allowing each coat to dry thoroughly before adding the next.
Selecting the Paint Application Method
When it comes to painting a bathtub, there are several options for applying the paint. The most common methods are using a brush or roller, a sprayer, or stenciling or hand-painting.
Each method has its pros and cons, and the choice will depend on factors such as the desired finish, the type of bathtub surface, and personal preference.
In this discussion, I will provide detailed instructions on each method, including the specific materials and tools required, safety precautions to be taken, and techniques for achieving a smooth and durable finish.
Brush or Roller
Using a brush or roller is the best way to apply paint to the bathtub. Both methods have their pros and cons, so it’s important to consider your specific needs and preferences. Here are four factors to consider when deciding between a brush and a roller:
-
Precision: A brush allows for more precise application, making it ideal for intricate designs or reaching tight corners.
-
Coverage: A roller covers a larger area quickly, making it efficient for larger surfaces.
-
Texture: A brush creates a smoother finish, while a roller can leave a slight texture, which may or may not be desirable depending on the look you want to achieve.
-
Cleanup: Brushes are easier to clean than rollers, as they require less effort and time.
Consider these factors when deciding which method to use for your bathtub painting project.
Sprayer Pros and Cons
Sprayers offer quick and efficient coverage, but they may require more cleanup time compared to brushes or rollers.
When it comes to painting a bathtub, using a sprayer has its pros and cons. The main advantage is the speed and evenness of the application. A sprayer can cover large areas in a fraction of the time it takes to brush or roll. It also creates a smoother finish, free from brush or roller marks.
However, the cleanup process can be more time-consuming as the sprayer needs to be thoroughly cleaned after each use. Additionally, sprayers can create overspray, which requires careful masking and protection of surrounding areas.
Brushing or rolling, while slower, may be a better option for smaller, more intricate areas. Ultimately, the choice between a sprayer and brush/roller depends on the specific project and personal preference.
Stenciling or Hand-Painting?
Stenciling or hand-painting, both options have their own unique advantages and considerations.
- Stenciling techniques can add intricate designs and patterns to your bathtub, creating a visually stunning focal point.
- Hand painting allows for more creativity and customization, giving you the freedom to express your personal style.
Stenciling can be quicker and easier, especially if you are new to painting or have limited artistic skills.
- Hand painting can provide a more textured and artistic look, adding depth and dimension to your bathtub surface.
When considering which method to use, it is important to assess your skill level, desired outcome, and time commitment.
Stenciling may be more suitable for beginners or those who prefer a precise and uniform design.
Hand painting requires a steady hand and attention to detail, but offers endless possibilities for unique and personalized finishes.
Whichever method you choose, be sure to properly prepare the surface, use suitable paint options, and follow safety precautions to achieve a smooth and durable finish.
Painting the Bathtub
When it comes to painting a bathtub, choosing the right paint is crucial for achieving a long-lasting and attractive finish. In this discussion, I will share my expertise on the best bathtub paint options available and provide tips for achieving an even application.
We will explore different types of bathtub surfaces and the suitable paint options for each, as well as techniques for ensuring a smooth and durable finish.
Best Bathtub Paint
To get the best results for painting your bathtub, you should use a high-quality bathtub paint. Using the right paint will ensure a smooth and durable finish that will last for years to come.
Here are some reasons why the best bathtub paint is essential:
-
Long-lasting: High-quality bathtub paint is designed to withstand the harsh conditions of a bathroom, such as moisture, heat, and cleaning chemicals.
-
Easy to apply: The best bathtub paint is formulated for easy application, ensuring a smooth and even coat without streaks or brush marks.
-
Wide range of colors: You can choose from a variety of bathtub paint colors to match your bathroom décor and create a personalized look.
-
Resistant to chipping and peeling: The best bathtub paint is formulated to resist chipping and peeling, ensuring a long-lasting finish that stays looking fresh and new.
Tips for Even Application
To achieve a professional-looking finish when painting a bathtub, it’s crucial to ensure an even application of paint. Uneven application can result in an unattractive, streaky appearance that will detract from the overall look of your bathtub. Here are some tips to help you achieve an even application.
First, make sure to thoroughly clean the bathtub surface and remove any dirt, grime, or soap scum. This will ensure that the paint adheres properly.
Next, choose a high-quality bathtub paint that is specifically designed for this type of surface. Read the manufacturer’s instructions carefully and follow them precisely.
When applying the paint, use even strokes and avoid applying too much pressure. Start from one end of the bathtub and work your way to the other, ensuring that each stroke overlaps slightly with the previous one.
If you encounter any areas with uneven application, don’t panic. Simply let the paint dry completely and then lightly sand the affected areas. Wipe away any dust and reapply a thin, even coat of paint.
Drying and Curing the Paint
After applying the final coat of paint, it’s important to let it dry and cure properly. This ensures a smooth and durable finish that will last for years to come. Here are some key drying techniques and details about the paint curing process:
-
Allow sufficient drying time: Depending on the type of paint used, it may take anywhere from 24 hours to several days for the paint to fully dry. Patience is key during this crucial step.
-
Optimize ventilation: Ensure good airflow in the room by opening windows or using fans. This helps in expediting the drying process and prevents the buildup of fumes.
-
Avoid premature use: It’s essential to resist the temptation to use the bathtub before the paint is fully cured. Premature use can lead to paint damage and a compromised finish.
-
Follow manufacturer’s instructions: Different paints may have specific curing instructions. Always refer to the paint manufacturer’s guidelines for the best results.
Finishing Touches and Maintenance Tips
For a pristine and well-maintained finish, remember to regularly clean and polish the surface of your newly painted tub. Proper maintenance is essential to prolong the life of your bathtub refinishing.
Start by using a non-abrasive cleaner to remove any dirt or grime. Avoid harsh chemicals that can damage the paint. Gently scrub the surface with a soft sponge or cloth, paying attention to any areas that may be prone to buildup.
Rinse thoroughly and dry with a clean towel. Once the tub is clean, apply a wax or polish specifically designed for painted surfaces. This will help protect the paint and give it a glossy finish. Make sure to follow the manufacturer’s instructions for application.
Frequently Asked Questions
How Long Does the Paint on a Bathtub Usually Last Before It Needs to Be Repainted?
The paint on a bathtub usually lasts around 5-10 years before it needs to be repainted. Proper painting techniques, high-quality bathtub paint brands, and regular maintenance can help extend the lifespan of the paint.
Can I Use Regular Wall Paint Instead of Bathtub Paint?
Yes, you can use regular wall paint on a bathtub, but there are pros and cons. It may be cheaper and easier to find, but it won’t provide the same durability and resistance to water and chemicals as bathtub paint.
Can I Use a Spray Gun to Apply the Primer and Paint on the Bathtub?
Yes, using a spray gun is a great alternative for applying primer and paint on a bathtub. It allows for more even coverage and a smoother finish. However, make sure to follow proper safety precautions and use suitable materials.
Are There Any Special Maintenance Requirements for a Painted Bathtub?
Special maintenance is required for painted bathtubs to ensure their durability. Regular cleaning with non-abrasive cleaners and avoiding harsh chemicals is essential. Additionally, reapplying a protective coating every few years can help maintain the paint’s integrity.
Is It Necessary to Remove All the Hardware and Fixtures on the Bathtub Before Painting It?
Yes, it is necessary to remove all the hardware and fixtures on the bathtub before painting it. This ensures that the paint adheres properly and allows for a smoother finish.
Conclusion
In conclusion, painting a bathtub is a great way to refresh the look of your bathroom and save money on replacing the tub. By following the step-by-step procedures outlined in this article, you can achieve a professional-looking finish that will last for years to come.
Remember to choose the right paint for your bathtub surface, properly prepare and clean the surface, and use the appropriate application method.
With the right materials and techniques, you can transform your bathtub into a beautiful focal point of your bathroom.
Happy painting!


