Are you tired of your worn-out bathtub? Want to transform it into a stunning centerpiece? Look no further!
In this guide, I’ll share my tried-and-true method for painting your bathtub to perfection. Prepare to be amazed as we dive into the world of bathtub restoration.
From selecting the right paint to applying the final brushstroke, I’ll provide you with all the detailed steps you need to know.
Get ready to say goodbye to your old tub and hello to a brand-new look!
Key Takeaways
- Remove all items from the bathtub and clean the surface thoroughly before starting the painting process.
- Choose a high-quality paint that is specifically designed for bathtub refinishing and offers durability and resistance to chipping, peeling, and fading.
- Properly prepare the bathtub surface by sanding it to create a rough texture and applying a bonding primer to ensure good adhesion of the paint.
- Follow the manufacturer’s instructions for drying and curing times to ensure a long-lasting and professional-looking finish.
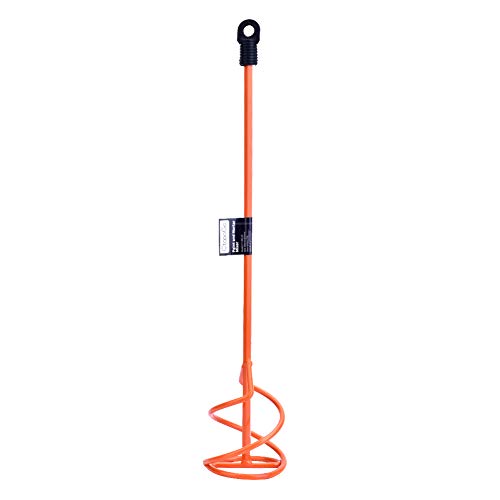
Paint & Mortar Mixer| 16" L,3" Dia Compound,Sealer,Grout,Thinset,Plaster,Mud,Cement Mixer Stirring Paddle -Professional Paint Mixer Attachment-Zinc Plated Steel (Style# 03)
【Measurements】- Length 16" (40cm) top to bottom. No need to worry about not getting to the bottom of...
As an affiliate, we earn on qualifying purchases.
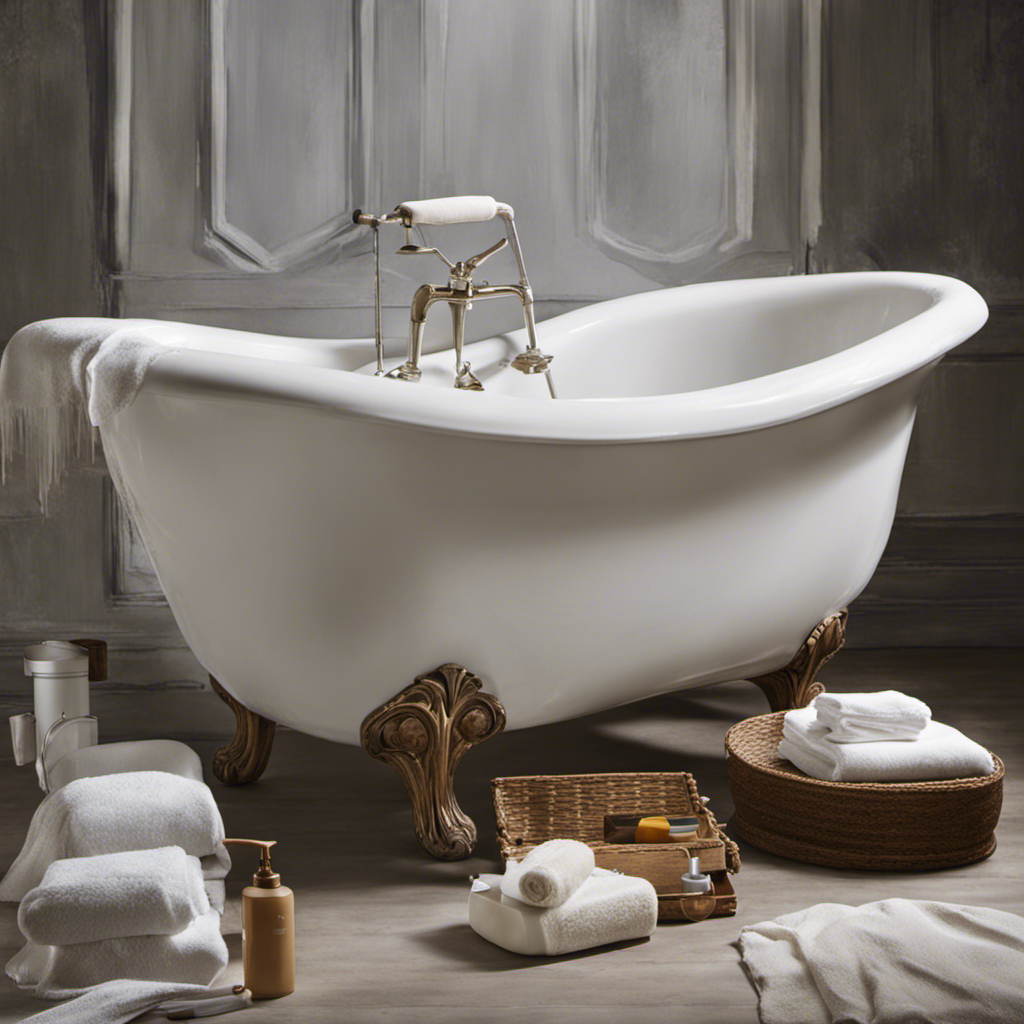
Preparing the Bathtub Surface
To prepare your bathtub surface, you’ll need to clean it thoroughly and sand it down to remove any existing paint or imperfections.
Start by removing any items from the bathtub, such as shower curtains or bath mats. Then, use a mild cleaner and scrub brush to clean the surface, making sure to remove any soap scum or grime.
Next, inspect the bathtub for any cracks or chips. If you find any, you’ll need to repair them using a bathtub surface repair kit.
After that, use sandpaper to gently sand the entire surface, creating a rough texture for the new paint to adhere to.
Finally, remove any old caulk using a caulk removal tool or a razor blade. This will ensure a smooth and clean surface for the new paint.
Now that the bathtub surface is prepped and ready, let’s move on to choosing the right paint and tools for the job.

QEP 61210 16 in. Steel Universal Thinset and Grout Mixing Paddle for Cordless and Corded Drills
For mixing up to 5 lbs. of grout, thinset and other setting materials
As an affiliate, we earn on qualifying purchases.
Choosing the Right Paint and Tools
When choosing the right paint and tools, make sure you consider the durability and compatibility with your bathtub’s surface. It is important to choose a paint that is specifically designed for use on bathtubs and can withstand constant exposure to water and cleaning products.
Here are three important factors to consider when selecting the right paint and tools for your bathtub:
-
Durability: Look for a paint that is designed to resist chipping, peeling, and fading, ensuring that your bathtub will maintain its appearance for years to come.
-
Compatibility: Ensure that the paint you choose is compatible with the material of your bathtub, whether it is enamel, acrylic, or fiberglass. This will ensure proper adhesion and long-lasting results.
-
Choosing the right color: Consider the overall aesthetic of your bathroom and choose a color that complements the existing décor. This will create a cohesive and visually appealing space.
Proper ventilation during painting is essential to ensure a smooth and even application of the paint. Once you have chosen the right paint and tools, the next step is to prepare the bathtub surface by cleaning and sanding it.

Edward Tools Paddle Mixer 27” for 1/2” Power Drill - Industrial Paddle Mixer for Paint, Concrete, Drywall Compound and More - Speed Mixer Concrete Tool is Ideal Mixing Tool for 5 Gallon Bucket
Heavy Duty Mixer Paddle Drill Bit Allows for Quicker and More Consistent Mixing
As an affiliate, we earn on qualifying purchases.
Cleaning and Sanding the Bathtub
First, make sure you thoroughly clean and sand the surface of your bathtub before applying any paint. Cleaning the bathtub is essential to ensure proper adhesion of the paint. Start by removing any dirt, grime, or soap residue using a mild detergent and a sponge or cloth. Rinse the bathtub thoroughly with clean water and allow it to dry completely.
Once the surface is clean, it’s time to sand it. Use a fine-grit sandpaper, such as 220 or 320 grit, and gently sand the entire surface of the bathtub. This will help remove any glossy finish and create a rough surface for the paint to adhere to. Be sure to use light pressure and sand in a circular motion.
After sanding, clean the surface again to remove any dust or debris. Following these cleaning methods and sanding techniques will ensure a smooth and durable paint finish on your bathtub.

Bates- Paint Mixer, 1 to 3 Gallon Buckets, Mud Mixer, Paint Stirrer for Drill, Paint Mixer for Drill, Drill Mixer Attachment, Paint Mixer Drill Attachment, Drill Paint Mixer, Paint Stirrers
Bates paint mixer is made to be strong, durable, and efficient - constructed from metal that won't bend...
As an affiliate, we earn on qualifying purchases.
Applying the Primer
Once the surface is clean and sanded, it’s important to apply a primer before painting. The primer acts as a base coat, ensuring better adhesion and durability of the paint. Here are some tips for achieving a smooth primer application:
-
Choose the right primer: Use a high-quality bonding primer specifically designed for the material of your bathtub, such as porcelain or fiberglass.
-
Prepare the primer: Follow the manufacturer’s instructions for mixing and preparing the primer. Make sure to stir it thoroughly to achieve a consistent texture.
-
Apply in thin, even coats: Use a brush or roller to apply the primer in thin, even coats. Avoid overloading the brush or roller, as this can cause drips and uneven application.
Common mistakes to avoid while applying the primer:
- Applying too thickly: Thick layers of primer can lead to drips, uneven drying, and a rough finish.
- Skipping sanding: Sanding the surface before applying primer helps the primer adhere better and ensures a smoother finish.
- Rushing the drying time: Allow the primer to dry completely according to the manufacturer’s instructions before moving on to the next step. Rushing can compromise the adhesion and durability of the paint.
Painting the Bathtub Surface
To achieve a smooth and even finish, it’s important to apply the paint in thin, even coats. When painting the bathtub surface, it’s crucial to use the right tools and techniques for a professional-looking result. First, ensure that the surface is clean and dry, free from any debris or soap residue. Then, lightly sand the surface to create a rough texture for the paint to adhere to. Next, apply a high-quality epoxy paint specifically designed for bathtub refinishing or resurfacing. This type of paint is durable and resistant to water, chemicals, and stains. Use a brush or roller to apply the paint in long, even strokes, working in small sections at a time. Here is a helpful table to guide you through the process:
| Step | Description | Tools Needed |
|---|---|---|
| 1 | Clean the surface | Mild detergent, sponge |
| 2 | Sand the surface | Sandpaper, sanding block |
| 3 | Apply the paint | Epoxy paint, brush or roller |
| 4 | Allow to dry and cure | Ventilation, drying time as per instructions |
Remember to follow the manufacturer’s instructions for drying and curing times, and avoid using the bathtub for at least 24-48 hours to allow the paint to fully set. By following these steps and using the right materials, you can achieve a beautifully painted bathtub that will last for years to come.
Conclusion
In conclusion, revamping your bathtub can be a rewarding and rejuvenating project. By following the steps outlined in this guide, you can transform your old and worn-out tub into a stunning centerpiece in your bathroom.
Remember to properly prepare the surface, choose the right paint and tools, and thoroughly clean and sand the bathtub before applying the primer and paint.
With patience and precision, you can achieve a beautifully painted bathtub that will make a lasting impression on anyone who steps foot in your bathroom.
So go ahead, grab your brush and let your creativity flow!