Are you ready to tackle the task of plumbing a bathtub? Get ready, because in this article, we’re going to show you how to do it step by step.
From preparing the bathtub area to connecting the water supply lines, we’ve got you covered.
With the right tools and materials, you’ll be able to confidently secure the tub to the floor and install a beautiful tile surround.
Don’t worry if you encounter any issues along the way – we’ll troubleshoot them together.
Let’s dive in and make your bathtub dreams a reality!
Key Takeaways
- Measure and mark the area where the bathtub will be installed
- Proper drain alignment is crucial for efficient water flow
- Connect hot and cold water supply lines to corresponding fittings on the bathtub
- Reinforce the floor beneath the bathtub for stability

DEWALT Level, Cross Line Laser, Green (DW088CG)
The level tool has a green beam laser for enhanced visibility and range
As an affiliate, we earn on qualifying purchases.
Tools and Materials Needed
You’ll need a wrench, pliers, and a pipe cutter to properly plumb a bathtub. When it comes to tools selection, it’s important to choose the right ones for the job.
A good quality wrench will allow you to tighten and loosen fittings without causing any damage. Pliers are essential for gripping and holding pipes in place while you work. A pipe cutter is necessary for cutting and shaping the pipes to fit properly.
When it comes to plumbing techniques, precision is key. Make sure to measure and mark the pipes accurately before cutting. Use the correct fittings and connectors to ensure a tight and leak-free connection.
Take your time and follow the proper steps to ensure a successful plumbing job.

BOSCH GLL50-20G 50 Ft Green-Beam Self-Leveling Cross-Line Laser, Includes Integrated Magnetic Mount, 2 AA Batteries, & Soft Pouch
POWER FLEXIBILITY: The laser works with two AA batteries (included) or Bosch's 3.7V Lithium-Ion 1.0 Ah battery (sold...
As an affiliate, we earn on qualifying purchases.
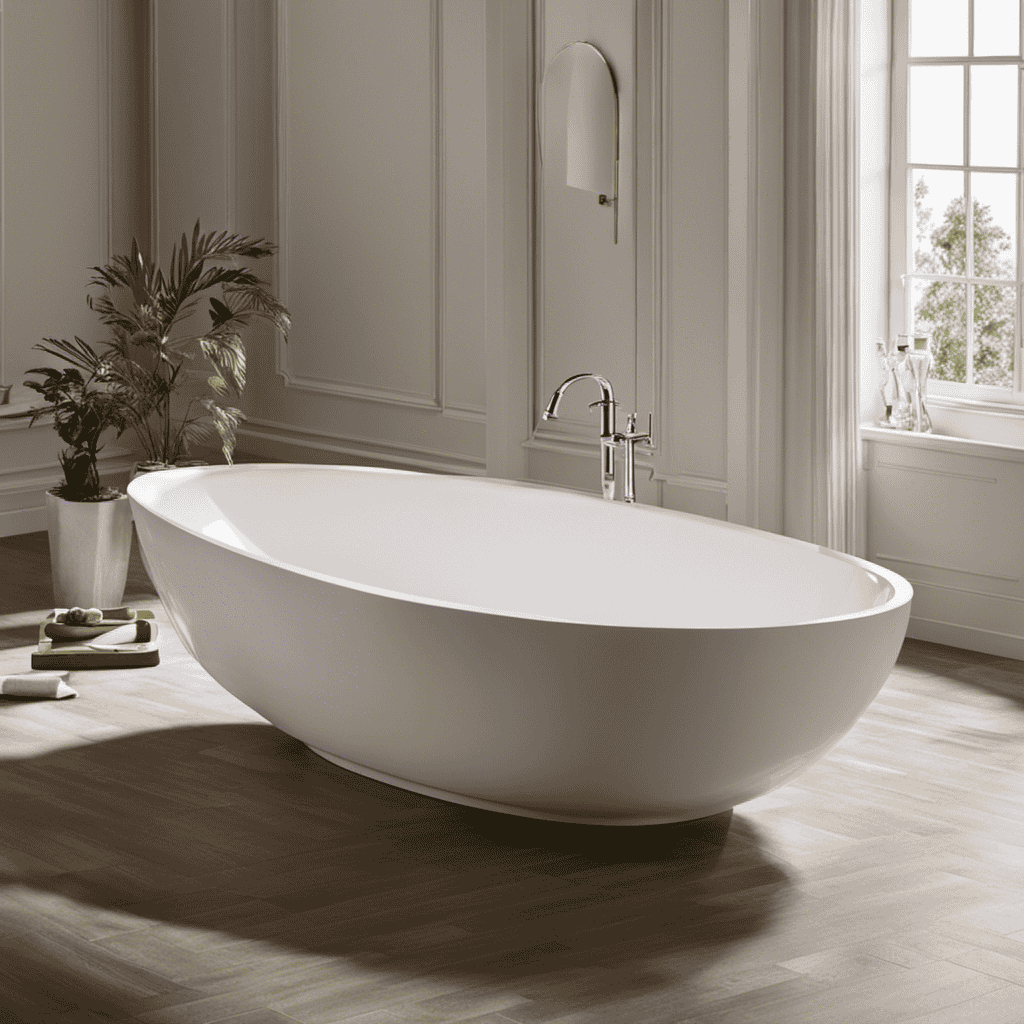
Preparing the Bathtub Area
First, make sure to properly measure and mark the area where the bathtub will be installed. This step is crucial to ensure that the bathtub fits perfectly in the designated space. Use a measuring tape to measure the length, width, and height of the area. Mark the measurements on the floor using a pencil or masking tape. This will serve as a guide during the installation process.
| Measurement | Length (inches) | Width (inches) | Height (inches) |
|---|---|---|---|
| Area | 60 | 30 | 20 |
Once the area is marked, it’s time to prepare the surface. Ensure that the floor is level and free from any debris. If there are any uneven spots, use a leveling compound to even out the surface. Additionally, check the walls for any signs of damage or moisture. Repair any cracks or leaks before proceeding with the installation.

Klein Tools 93CPLG Compact Self-Leveling Laser Level, Bright Green Cross Line 360-Degree Laser Planes, Class 2 ≤ 1mW, Rechargeable, Magnetic Mount
GREEN LASER LINES: Laser Level features three clear and easily discernible bright green 360-Degree laser planes that shine...
As an affiliate, we earn on qualifying purchases.
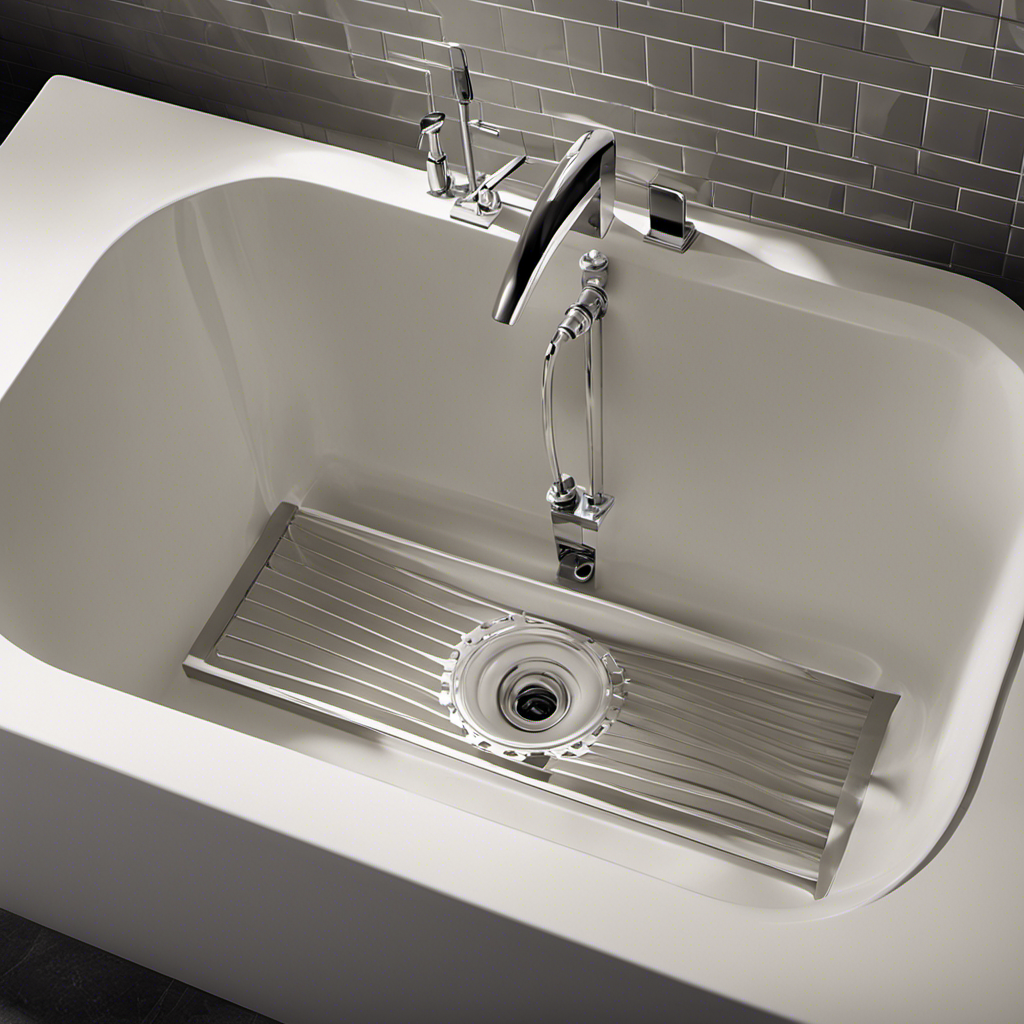
Installing the Drain and Overflow Assembly
When it comes to installing the drain and overflow assembly for your bathtub, proper drain alignment is crucial. Ensuring that the drain lines up correctly with the bathtub’s plumbing system will prevent any potential leaks or drainage issues.
Choosing the right overflow assembly is important as it helps regulate the water level in the bathtub and prevents overflow.
Proper Drain Alignment
Proper drain alignment is crucial to ensure efficient water flow in your bathtub. When it comes to drain pipe installation and bathtub plumbing techniques, getting the alignment right is essential for a properly functioning system. A misaligned drain can lead to slow drainage, clogs, and even leaks. To help you understand the importance of drain alignment, here is a table highlighting the key factors to consider:
| Factors to Consider for Proper Drain Alignment |
|---|
| 1. Position of the drain pipe |
| 2. Angle of the drain pipe |
| 3. Height of the drain pipe |
Choosing Overflow Assembly
To ensure a functional system, you should consider the type of overflow assembly that best suits your needs.
There are several bath overflow options available, each with its own advantages and considerations.
One popular choice is the trip lever overflow assembly, which allows you to control the drain by simply flipping a lever. This type of assembly is reliable and easy to use, but it may require more maintenance due to its moving parts.
Another option is the toe-tap overflow assembly, which allows you to open and close the drain by pressing on a button with your foot. This type of assembly is convenient and hygienic, but it may be more prone to leaks if not installed properly.
When troubleshooting overflow leaks, it is important to check the gasket and tighten any loose connections.

Huepar Laser Level 360 Self Leveling, Rechargeable Green Laser 3x360° Cross Line Lazer Leveler 3D Level Laser Tool for Construction and Picture Hanging, Strong Magnetic Bracket&Hard Carry Case -HM03CG
【5 Years WTY and Lifetime Technical Support】Huepar is committed to provide Best-in-Class service to our customers- 24/7 Service...
As an affiliate, we earn on qualifying purchases.
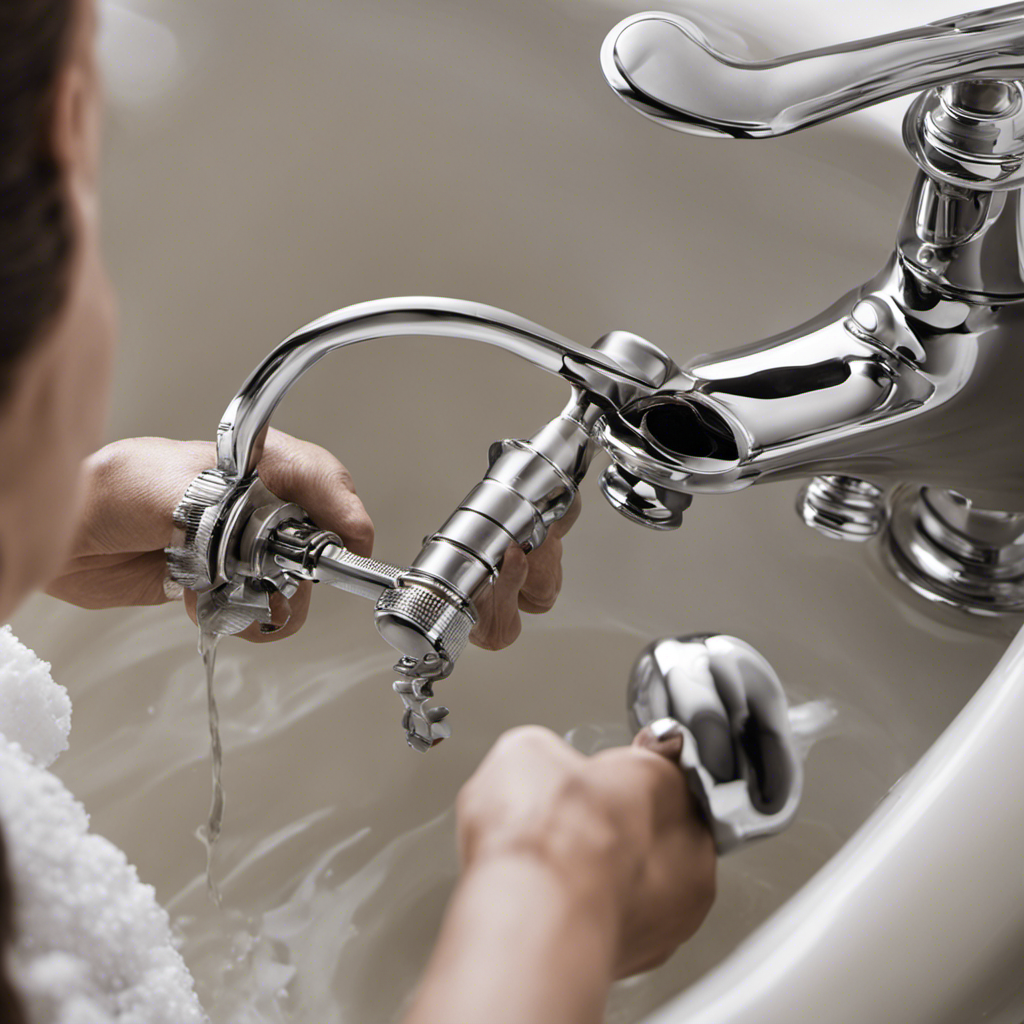
Connecting the Water Supply Lines
Make sure you’ve connected the water supply lines to the bathtub using the appropriate fittings and tighten them securely. This step is crucial to ensure a proper water supply connection for your bathtub.
Here are the detailed instructions to help you with the process:
- Gather the necessary materials: adjustable wrench, Teflon tape, and the appropriate fittings.
- Connect the hot and cold water supply lines to the corresponding fittings on the bathtub.
- Use an adjustable wrench to tighten the fittings securely, ensuring there are no leaks.
Once you have connected the water supply lines, you might need to adjust the water pressure to ensure optimal performance. This can be done by adjusting the shut-off valves located near the bathtub. Turn the valves clockwise to decrease the water pressure and counterclockwise to increase it.
Following these steps will ensure a proper water supply connection and allow you to adjust the water pressure according to your preference.
Securing the Tub to the Floor
To ensure the stability of your bathtub, it is crucial to reinforce the floor beneath it. This can be done by adding additional support beams or using a reinforced subflooring material.
Proper anchoring techniques are also essential to prevent any movement or shifting of the tub. This can be achieved by securely fastening the tub to the floor using anchor bolts or adjustable feet.
Floor Reinforcement for Stability
You’ll need to reinforce the floor beneath the bathtub for added stability. Here are some floor reinforcement techniques and bathtub stability tips to help you ensure a sturdy installation:
-
Install support beams: Place support beams perpendicular to the floor joists to provide additional strength and prevent sagging.
-
Use plywood or cement board: Lay down a layer of plywood or cement board over the subfloor to reinforce it and create a solid base for the bathtub.
-
Consider adding a mortar bed: Applying a mortar bed under the bathtub can help distribute the weight evenly and provide extra stability.
By implementing these floor reinforcement techniques, you can ensure that your bathtub is securely installed and stable.
Once you have reinforced the floor, you can move on to the next step: proper anchoring techniques.
Proper Anchoring Techniques
Once the floor has been properly reinforced, it’s important to ensure that the bathtub is securely anchored in place. This step is crucial to prevent any movement or instability, ensuring the safety and longevity of your bathroom installation. To securely anchor your bathtub, you have a few options depending on your flooring material. Take a look at the table below for a comparison of different flooring options and their corresponding anchoring techniques:
| Flooring Material | Anchoring Technique |
|---|---|
| Concrete | Adhesive or screws |
| Tile | Epoxy or mortar |
| Wood | Screws or nails |
| Vinyl | Adhesive or screws |
Installing the Faucet and Showerhead
First, make sure you have all the necessary tools and materials for installing the faucet and showerhead. Here are some faucet installation tips to ensure a successful installation:
- Turn off the water supply to the bathtub before starting the installation.
- Use plumber’s tape to secure the connections and prevent leaks.
- Align the faucet handles properly and tighten them securely.
When it comes to showerhead placement suggestions, consider the following:
- Install the showerhead at a height that is comfortable for most people.
- Position the showerhead so that it sprays directly onto the body without hitting the wall or shower curtain.
- Aim for a showerhead angle that provides optimal water coverage.
Following these tips will help you install the faucet and showerhead correctly and ensure a pleasant and functional bathing experience.
Testing for Leaks
To check for leaks after installing the faucet and showerhead, follow these steps:
- Turn on the water supply and inspect for any signs of dripping or water accumulation.
- Start by turning on the water slowly and observe the connections between the pipes and the fixtures.
- Look for any visible water droplets or moisture, paying close attention to the areas around the faucet handles, showerhead, and connections where the pipes meet.
- If you notice any leaks, tighten the connections using an adjustable wrench.
- Additionally, you can perform a water pressure test to further ensure there are no hidden leaks.
- Attach a pressure gauge to a hose bib or an outdoor faucet and turn on the water supply.
- If the pressure drops significantly, it may indicate a leak in the plumbing system that needs to be addressed.
Installing the Tile Surround
When it comes to installing the tile surround in your bathroom, there are two key points that you should keep in mind.
The first is waterproofing the tile to ensure that it remains durable and resistant to moisture. This can be achieved by using a waterproof membrane or sealant.
The second key point is grout color selection, which can greatly impact the overall aesthetic of your tile surround. Choosing the right grout color can enhance the beauty of the tiles and create a cohesive look in your bathroom.
Waterproofing the Tile
Make sure you’re using a waterproofing membrane before tiling the walls around the bathtub. This is an essential step to prevent water damage and mold growth in your bathroom.
Here are a few important things to consider when waterproofing the tile:
-
Choose the right waterproofing technique: There are different waterproofing techniques available, such as liquid applied membranes, sheet membranes, and waterproofing paints. Research and select the technique that best suits your needs and preferences.
-
Properly prepare the surface: Before applying the waterproofing membrane, make sure the surface is clean, dry, and free of any cracks or imperfections. This will ensure a strong bond between the membrane and the wall.
-
Select the right tile adhesive: When tiling over the waterproofing membrane, it’s important to choose a tile adhesive that is suitable for wet areas. Look for adhesives specifically labeled for use in showers or bathrooms to ensure long-lasting results.
Grout Color Selection
Choosing the right grout color is important for enhancing the overall aesthetic of your tiled walls around the bathtub. When it comes to grout color options, there are a variety of choices available to suit your personal style and design preferences.
Currently, there are several grout color trends that you can consider. One popular trend is using a contrasting grout color to make the tiles stand out and create a bold statement. Another trend is opting for a grout color that matches the color of the tiles, creating a seamless and cohesive look. Additionally, using a lighter grout color can help to make the space appear larger and brighter.
It’s always a good idea to consult with a professional or visit a home improvement store to see samples of different grout colors before making your final decision.
Sealing the Tub Edges
To ensure a watertight seal, you’ll need to apply silicone caulk along the edges of the bathtub. This step is crucial in preventing water leakage and maintaining the longevity of your tub.
Here are some sealing techniques and caulking tips to help you achieve a professional finish:
- Clean the surface thoroughly: Use a mild detergent and water to remove any dirt, soap residue, or old caulk.
- Dry the area: Make sure the edges of the tub are completely dry before applying the caulk.
- Apply the caulk: Use a caulking gun to apply a continuous bead of silicone caulk along the edges of the tub. Be sure to fill any gaps or cracks.
By following these sealing techniques and caulking tips, you can ensure a secure and waterproof seal for your bathtub.
Now, let’s move on to the finishing touches and cleanup to complete your plumbing project.
Finishing Touches and Cleanup
Now that you’ve finished sealing the edges of the tub, it’s time to focus on the finishing touches and cleanup.
Proper cleanup techniques are essential to ensure your plumbing project is a success and to prevent any potential water damage. Start by wiping down the area with a damp cloth to remove any excess sealant or debris.
Next, carefully inspect the connections for any leaks or drips. Use a flashlight if needed to check for any hidden leaks. If you find any issues, tighten the connections or replace faulty parts as necessary.
Once the cleanup is complete and everything is in good working order, you can move on to troubleshooting common plumbing issues. This will help you address any unexpected problems that may arise during the installation process.
Troubleshooting Common Plumbing Issues
If you’re experiencing low water pressure in your shower, it could be due to a clogged showerhead or a problem with the water supply. Before calling a plumber, there are a few troubleshooting steps you can take to try and fix the issue yourself.
-
Check for a clogged showerhead: Remove the showerhead and soak it in a solution of vinegar and water to dissolve any mineral deposits that may be blocking the water flow.
-
Inspect the water supply: Make sure the water supply valves are fully open and not restricted. If there is a problem with the water supply, you may need to contact your local water utility.
Frequently Asked Questions
How Do I Choose the Right Size Bathtub for My Bathroom?
To choose the right size bathtub for your bathroom, consider factors like the available space, your personal preferences, and the dimensions of the bathtub. Proper bathtub installation requires careful planning and measuring.
Can I Install a Bathtub Without Hiring a Professional Plumber?
You can definitely tackle a DIY bathtub installation, but there are benefits to hiring a professional plumber. It’s important to consider your skill level, the complexity of the job, and the potential risks involved.
What Should I Do if I Encounter a Leak During the Installation Process?
If you encounter a leak during the installation process, don’t panic. First, turn off the water supply. Then, identify the source of the leak and tighten any loose connections. If necessary, replace damaged parts.
How Long Does It Typically Take to Plumb a Bathtub?
When plumbing a bathtub, the time it takes can vary depending on factors like experience and the complexity of the job. Generally, it can take a few hours to a day.
Are There Any Specific Regulations or Codes I Need to Follow When Plumbing a Bathtub?
When plumbing a bathtub, it’s important to adhere to specific regulations and codes. These regulations ensure the proper installation and safety of the plumbing system. Familiarize yourself with bathtub plumbing regulations and codes to avoid any issues.
Conclusion
Congratulations! You’ve successfully plumbed your bathtub, transforming your bathroom into a haven of relaxation.
By following the precise steps outlined in this article, you’ve not only gained the necessary knowledge and skills to complete the task, but you’ve also taken control of your home’s plumbing system.
As you admire the sleek tile surround and the perfectly sealed tub edges, take a moment to appreciate your accomplishment.
Now, with your newfound expertise, you can tackle any plumbing issue that may arise in the future with confidence and precision.