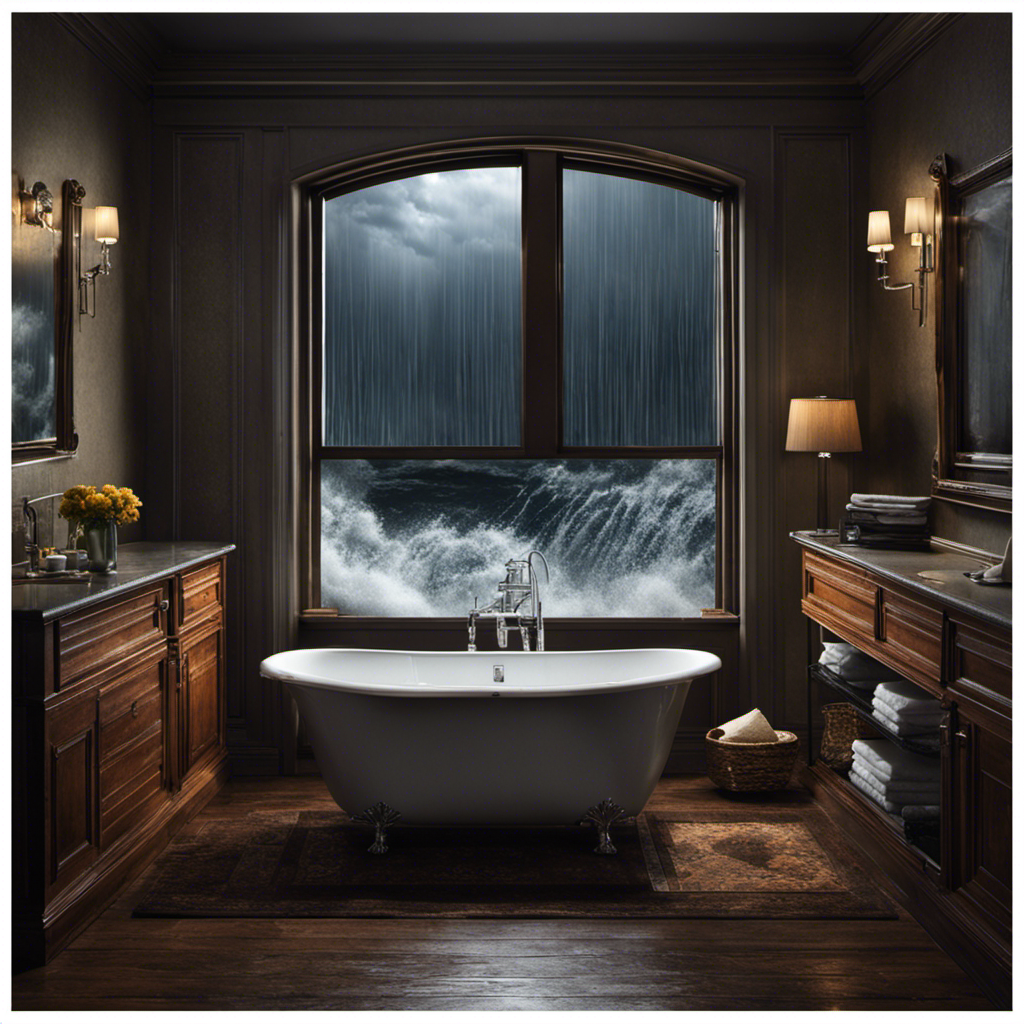
As I stand here in the empty bathroom, envisioning the luxurious bathtub that will soon grace this space, I can’t help but feel a sense of excitement and anticipation.
Putting in a bathtub may seem like a daunting task, but with the right tools and knowledge, it can be a rewarding project.
In this article, I will guide you through the step-by-step process of selecting, preparing, and installing a new bathtub.
Get ready to transform your bathroom into a serene oasis of relaxation.
Key Takeaways
- Consider budget, dimensions of the bathroom, and material options (acrylic or cast iron) when selecting a bathtub
- Prepare the bathroom by clearing out space, removing existing fixtures, and assessing the condition of walls and floor
- Follow proper steps to remove the old bathtub, including disconnecting plumbing and cleaning old pipes
- Install the new bathtub by placing it in the designated area, connecting the drain and overflow assembly, and securing the surround to the wall with adhesive or screws

KINGSTON BRASS VTDE603122R 60-Inch Contemporary Alcove Acrylic Bathtub with Right Hand Drain and Overflow Holes, White
Acrylic construction with fiberglass and resin reinforcement, three wall alcove installation with tile flange and integral tub apron…
As an affiliate, we earn on qualifying purchases.
As an affiliate, we earn on qualifying purchases.
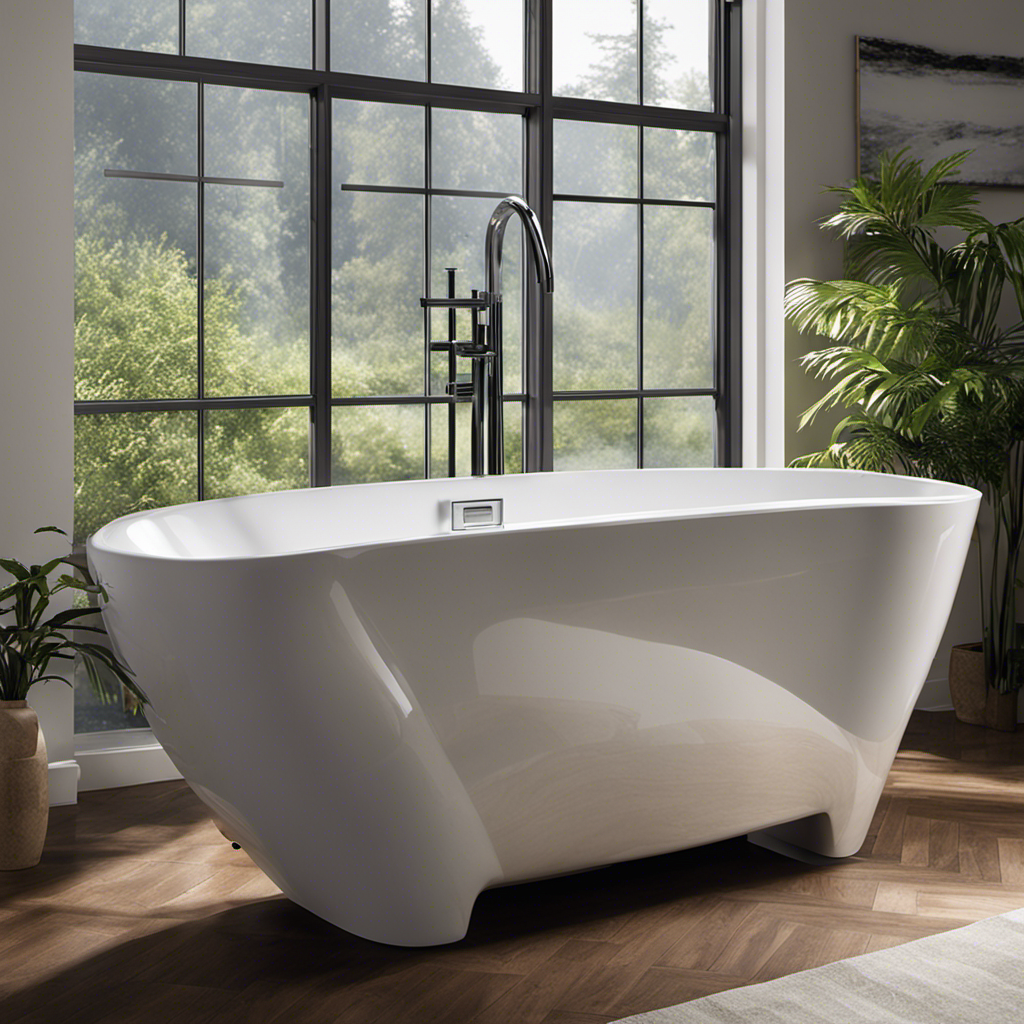
Selecting the Right Bathtub
When selecting the right bathtub, it’s important to consider your budget and the dimensions of your bathroom.
There are various bathtub materials to choose from, each with its own advantages and disadvantages. Acrylic is a popular choice as it is durable, lightweight, and easy to clean. It’s also available in different colors and styles to suit your taste.
Another option is cast iron, which is known for its durability and heat retention properties. However, it is heavy and may require additional support during installation.
Bathtub size is another crucial factor to consider. Measure the available space in your bathroom to ensure the bathtub fits comfortably without overcrowding the area. Consider the number of people who will be using the bathtub and their preferences for soaking or showering.
Taking these factors into account will help you make an informed decision when selecting the right bathtub for your bathroom.
KOHLER 876-0 Bellwether 60-Inch x 32-Inch Cast Iron Alcove Bathtub with Integral Apron and Right Hand Drain, White
60"L x 32"W x 15-1/2"H
As an affiliate, we earn on qualifying purchases.
As an affiliate, we earn on qualifying purchases.
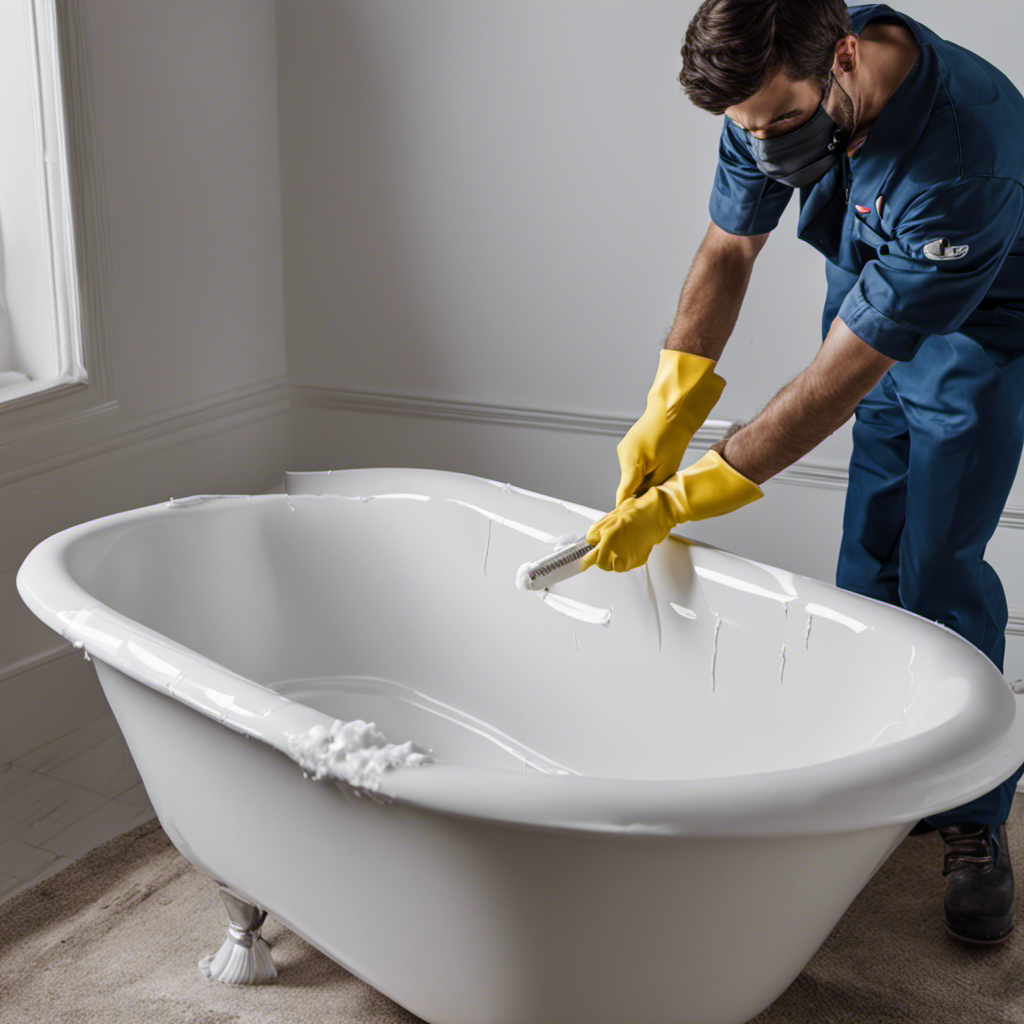
Preparing the Bathroom for Installation
Before you start, make sure you’ve cleared out enough space in your bathroom for the installation. It’s important to have a well-planned bathroom layout to ensure a smooth installation process. To begin, you’ll need to remove any existing fixtures and properly dispose of them. Next, assess the condition of your bathroom walls and floor. Waterproofing techniques are crucial to prevent any water damage. Consider using a waterproof membrane or paint on the walls and a waterproofing underlayment on the floor. These measures will help protect your bathroom from leaks and moisture. Additionally, make sure to properly seal any gaps or cracks to ensure a watertight installation. Following these steps will ensure a successful bathtub installation that will stand the test of time.
| Column 1 | Column 2 | Column 3 |
|---|---|---|
| Step 1 | Clear out space in bathroom | Remove existing fixtures |
| Step 2 | Assess condition of walls and floor | Check for any water damage |
| Step 3 | Apply waterproof membrane or paint | Prevent water leaks |
| Step 4 | Use waterproofing underlayment on the floor | Ensure a watertight installation |
| Step 5 | Seal any gaps or cracks | Protect against moisture |

Artiwell 1-1/2" Black Tubular Bath Drain Kit with Tip-Toe Bath Drain Stopper, Touch-Toe Tub Drain, Tip Toe Bathtub Drain Waste and Overflow with Plug and Bathtub Overflow Drain Cover, Matte Black
BATH TUB DRAIN KIT: This bath drain kit includes everything necessary for installation, including 1-1/2” plastic tubular, bath…
As an affiliate, we earn on qualifying purchases.
As an affiliate, we earn on qualifying purchases.
Removing the Old Bathtub
When it comes to removing an old bathtub, there are a few tools that are essential for the job. First, you’ll need a wrench to disconnect the plumbing, including the hot and cold water supply lines and the drain pipe.
Additionally, a utility knife will come in handy for cutting through any caulking or adhesive holding the bathtub in place. Once you have the necessary tools, follow these steps to disconnect the plumbing and begin the removal process.
Tools Needed for Removal
To remove the bathtub, you’ll need a few tools like a wrench, a screwdriver, and a utility knife. When it comes to tools selection, it’s important to choose ones that are suitable for the task at hand.
The wrench should have an adjustable jaw to fit different sizes of nuts and bolts. The screwdriver should have a comfortable grip and a variety of interchangeable tips. The utility knife should have a sharp blade for cutting through caulk and other materials.
Safety precautions should also be taken during the removal process. It’s important to wear protective gloves and goggles to prevent any injuries. Additionally, make sure to turn off the water supply and electricity before starting the removal process.
With the proper tools and safety measures in place, you can now move on to the next step of disconnecting the plumbing.
Steps for Disconnecting Plumbing
First, make sure you’ve turned off the water supply and electricity before disconnecting the plumbing.
To reconnect the plumbing, follow these steps:
-
Remove the old pipes: Use a pipe wrench to loosen the nuts connecting the pipes. Be careful not to damage the pipes or fittings.
-
Clean the pipes: Inspect the pipes for any debris or corrosion. Use a wire brush to clean the inside of the pipes and fittings.
-
Install new pipes: Measure and cut new pipes to the required lengths. Apply plumber’s tape to the threads of the fittings before connecting them. Use a pipe wrench to tighten the nuts securely.
-
Test for leaks: Turn on the water supply and check for any leaks. If you notice any leaks, tighten the nuts further or replace faulty fittings.
By following these steps, you can successfully reconnect the plumbing in your bathtub.
Remember to troubleshoot common plumbing issues, such as leaks, before completing the installation process.

10 Pcs Waterproofing Seal Kit, 6 Inside Waterproofing Membrane and 4 Pcs Outside Waterproofing Corner Polyethylene Seamless Membrane for Shower Bathroom Bathtub Walls and Surrounds (Brown)
Comprehensive Package Set: This waterproofing seal kit includes 6 inside waterproofing membranes and 4 outside waterproofing corner membranes,…
As an affiliate, we earn on qualifying purchases.
As an affiliate, we earn on qualifying purchases.
Installing the New Bathtub
Once you’ve measured and prepared the space, you can start installing the new bathtub. Here are the steps to follow:
-
Place the bathtub in the designated area, ensuring it is level and aligned with the plumbing.
-
Connect the drain and overflow assembly, making sure to tighten the fittings securely.
-
Install the bathtub surround, following the manufacturer’s instructions. Use adhesive or screws to secure it to the wall.
-
Seal the edges of the surround with silicone caulking to prevent water leakage.
When installing the bathtub, it is important to ensure that all connections are tight and secure. Take your time to align the bathtub properly and double-check all fittings before proceeding.
Connecting the Plumbing
Make sure you tighten the fittings securely when connecting the drain and overflow assembly. This step is crucial to prevent any leaks and ensure proper functioning of your bathtub. Common plumbing issues that may arise during this process include loose fittings, improper alignment, and incorrect sealing.
To avoid these problems, here are some tips for a successful DIY bathtub installation:
-
Use Teflon tape or plumber’s putty to create a watertight seal around the fittings.
-
Double-check the alignment of the drain and overflow assembly with the bathtub’s pre-drilled holes.
-
Tighten the fittings using a pipe wrench or adjustable pliers, making sure not to overtighten and damage the components.
-
Test the connections by filling the bathtub with water and checking for any leaks.
Finishing Touches and Maintenance
To keep your tub looking clean and new, regularly wipe down the fixtures with a gentle cleaner. This will help prevent the buildup of dirt, grime, and soap scum.
In addition to regular cleaning, it is important to address any repairs that may be needed to maintain the functionality of your bathtub. Here are some key maintenance tips for your bathtub:
- Check for any leaks or cracks in the tub and repair them promptly to prevent water damage.
- Clean the drain regularly to prevent clogs and ensure proper drainage.
- Replace any worn-out caulking around the edges of the tub to prevent water seepage.
- Keep an eye out for any signs of mold or mildew and address them immediately to maintain a healthy and hygienic environment.
Conclusion
After carefully selecting the perfect bathtub and preparing the bathroom for installation, the process of putting in a bathtub comes to an end.
With the old bathtub removed and the new one securely in place, it’s time to connect the plumbing and add the finishing touches.
This crucial step ensures that the bathtub is fully functional and ready for use. Remember to perform regular maintenance to keep your bathtub in optimal condition.
So, go ahead and enjoy your luxurious bathing experience in your newly installed bathtub.