Did you know that the average lifespan of caulk in a bathtub is only about five years? That means if you haven’t recaulked your bathtub recently, it’s probably time for some maintenance.
Don’t worry though, I’ve got you covered. In this article, I’ll walk you through the step-by-step process of recaulking your bathtub. From assessing the condition of the caulk to choosing the right materials, I’ll provide all the information you need to ensure a successful recaulking job.
So let’s dive in and get your bathtub looking brand new again!
Key Takeaways
- Proper preparation is crucial for a successful recaulking project.
- Removing old caulk is crucial for a clean surface.
- Choosing the right caulk for the job is important.
- Smoothing the caulk for a professional finish is essential.

ALLWAY CT31 3-in-1 Caulk Tool for Removal and Application
Multifunction 3-in-1 Caulk Tool: Comfortable soft-grip and made from strong engineering plastic
As an affiliate, we earn on qualifying purchases.
As an affiliate, we earn on qualifying purchases.
Assessing the Condition of the Caulk
Now, take a close look at the caulk in your bathtub to see if it’s still in good condition. Evaluating caulk integrity is essential before deciding to recaulk.
Start by examining the caulk lines for any signs of deterioration. Look for cracks, shrinkage, or discoloration. If the caulk is cracked or pulling away from the edges, it’s a clear indication that it needs to be replaced.
Discoloration could mean mold or mildew growth, which indicates a compromised seal. Additionally, if the caulk feels soft or spongy when touched, it has likely lost its effectiveness.
Pay attention to any water leaks or excessive moisture around the caulked areas, as this could signal caulk failure.

GE Advanced Silicone Caulk for Kitchen & Bathroom, Clear, 2.8 fl oz Tube, 1 Pack – 100% Waterproof Silicone Sealant, 5X Stronger Adhesion, Shrink & Crack Proof
100% Silicone Caulk Protection: This silicone caulk clear provides ultimate waterproof protection, ensuring a reliable seal against water…
As an affiliate, we earn on qualifying purchases.
As an affiliate, we earn on qualifying purchases.
Gathering the Necessary Tools and Materials
Before diving into the process of recaulking a bathtub, it’s important to gather the essential tools and materials needed for the job.
The key tools include a utility knife, caulk gun, scraper, and a caulking tool.
In addition, the necessary materials consist of caulk, caulk remover, and a cleaning solution.
Properly preparing these tools and materials is crucial for a successful recaulking project.
Essential Tools and Materials
To recaulk a bathtub, you’ll need a few essential tools and materials. Here’s what you’ll need:
- Caulk gun: This tool is essential for applying the caulk smoothly and evenly along the bathtub edges.
- Caulk remover: If you’re dealing with stubborn caulk residues, a caulk remover will help you remove them effectively.
Use a caulk remover tool or a utility knife to carefully scrape away any remaining caulk. Apply a caulk remover solution and let it sit for a few minutes before scrubbing away the residue.
When choosing caulk colors, it’s important to consider the overall aesthetics of your bathroom. You can match the caulk color to the bathtub or wall tiles for a seamless look. Alternatively, you can choose a contrasting color to make a bold statement.
When removing stubborn caulk residues, be patient and thorough. Use the right tools and solutions, and take your time to ensure a clean and smooth surface for recaulking.
Proper Preparation Steps
Make sure you gather all the necessary tools and materials before starting the preparation steps. Preparing the tools is crucial for a smooth and efficient recaulking process. Here are the essential tools and materials you will need:
| Tools | Materials | Surface Cleaning |
|---|---|---|
| Caulk gun | Silicone caulk | Soap and water |
| Utility knife | Caulk remover | Scrub brush |
| Scraper | Rubbing alcohol | Clean cloth |
To begin, thoroughly clean the surface of the bathtub using soap and water. Remove any old caulk using a caulk remover or a utility knife. Make sure to scrape away any remaining residue. Next, use rubbing alcohol to wipe down the surface to remove any grease or dirt. Once the surface is clean and dry, you are ready to begin recaulking the bathtub.
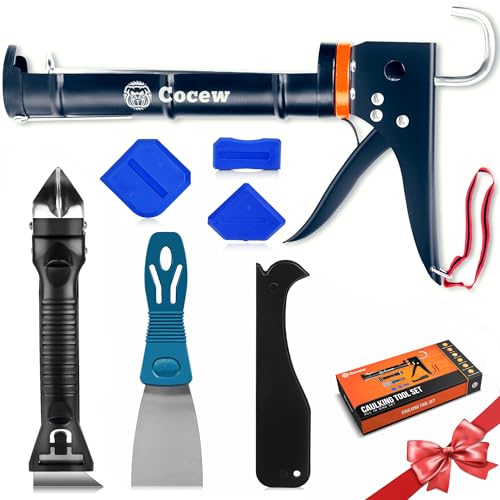
Caulk Gun Kit, Smooth Silicone Caulking Gun and Caulk Remover Tool, Sealant Finishing Tool Grout Scraper for Kitchen Bathroom Window Sink Joint, All in One with Gift Box
【Easy to operate】Cocew Caulking Gun is lightweight, the Smooth Pressure Rod is available with a high thrust ratio….
As an affiliate, we earn on qualifying purchases.
As an affiliate, we earn on qualifying purchases.
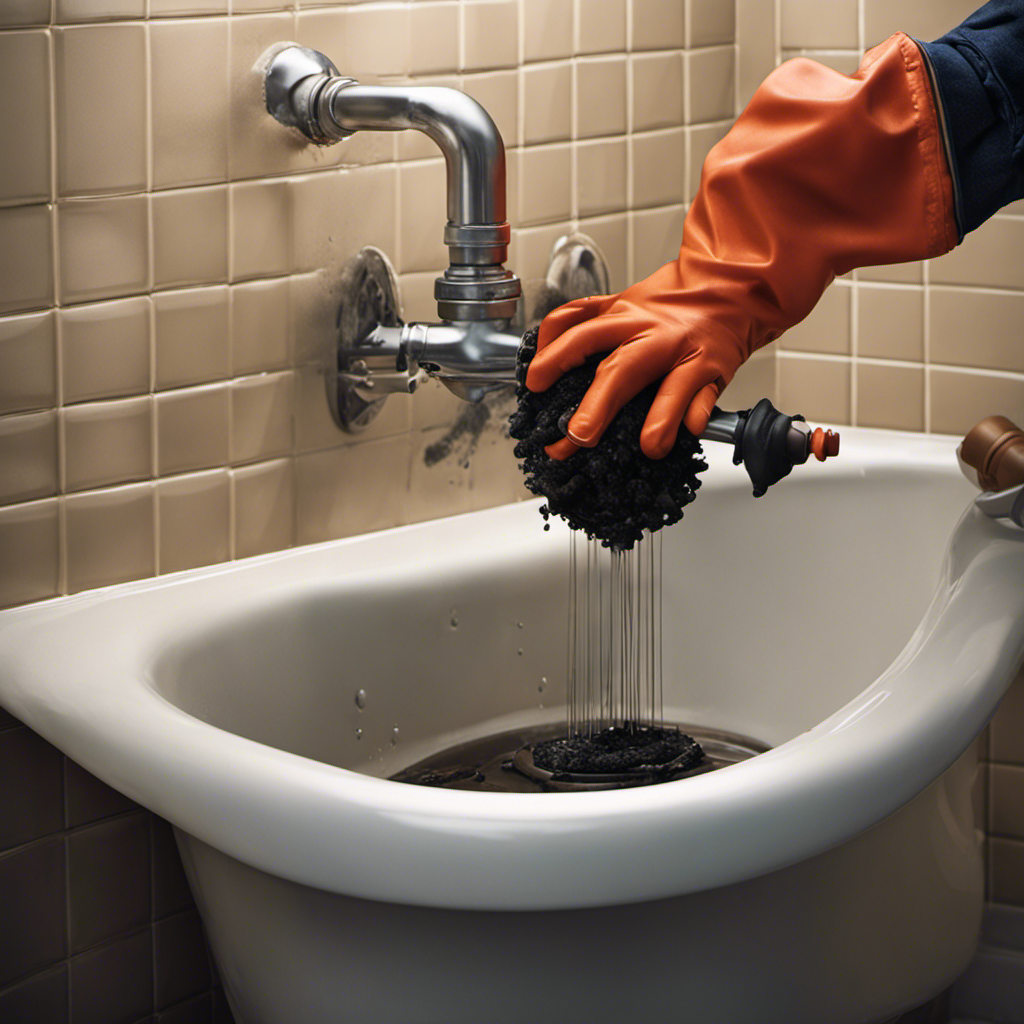
Removing the Old Caulk
You’ll need to use a caulk remover tool to carefully scrape away the old caulk from the edges of your bathtub. This tool is specifically designed to make the process easier and more efficient.
When assessing the caulk condition, look for any signs of cracking, peeling, or mold growth. These are indicators that the caulk needs to be replaced.
To ensure a successful removal, follow these caulk removal techniques:
-
Start by scoring the caulk line with a utility knife. This will create a clean edge for the caulk remover tool to grip onto.
-
Apply the caulk remover gel or liquid to soften the caulk. Leave it on for the recommended amount of time specified on the product label.
-
Use the caulk remover tool to carefully scrape away the softened caulk. Work in small sections, applying gentle pressure to avoid damaging the bathtub surface.

Caulking Tool 5 in 1 Silicone Caulking Grout Removal Sealant Finishing Tool with Grout Scraper, 6 Exchange Silicone Pads, Adhesive Residue Scraper Seam Repair Kit for Kitchen Bathroom
❤️【Multifunctional Caulking Tools】The 5 in 1 upgraded caulking remover tools can not only help you repair the gap…
As an affiliate, we earn on qualifying purchases.
As an affiliate, we earn on qualifying purchases.
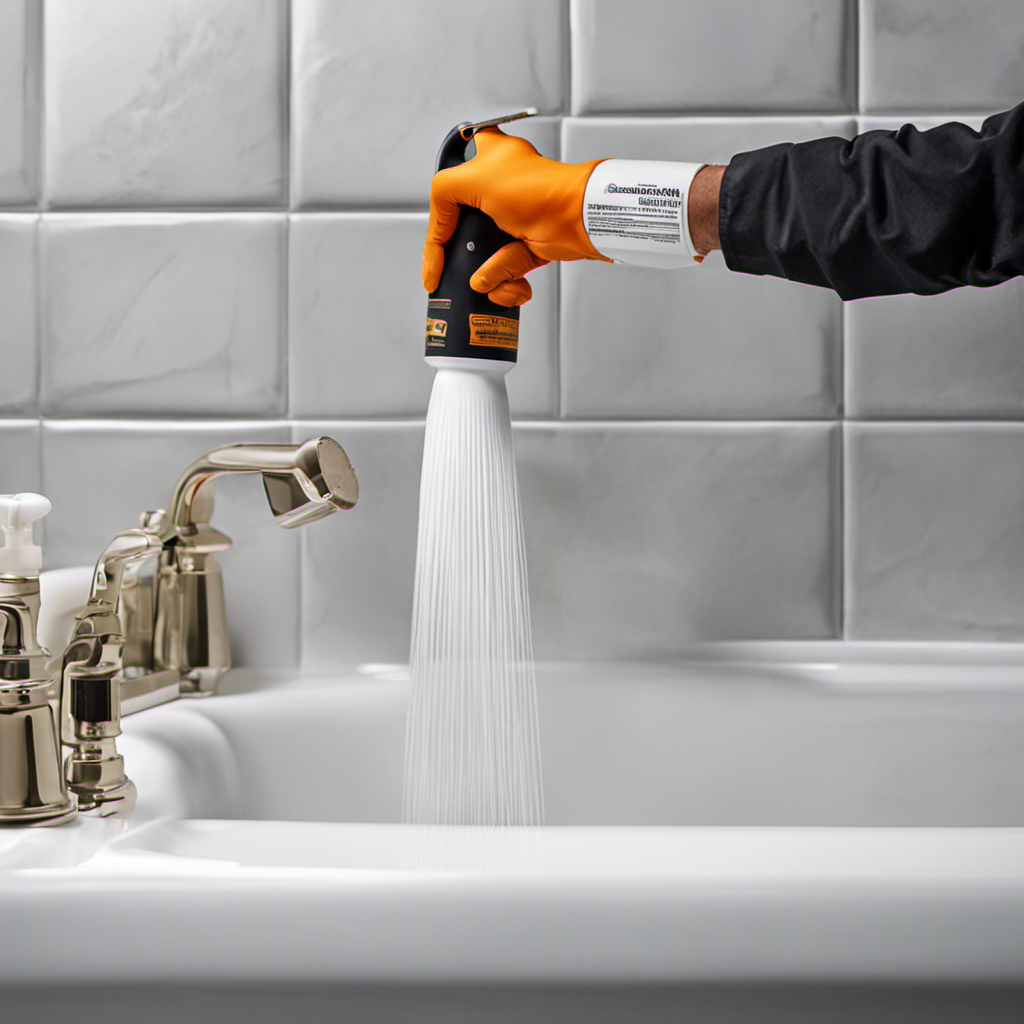
Preparing the Bathtub Surface for Recaulking
First, let’s talk about removing the old caulk. This step is crucial in preparing the bathtub surface for recaulking. I will guide you through the process of safely and effectively removing the old caulk to ensure a clean and smooth surface for the new caulk.
Once the old caulk is removed, the next step is to clean the surface thoroughly. I will provide you with tips and techniques to remove any dirt, grime, or residue that may be present on the bathtub surface.
Removing Old Caulk
To start removing old caulk, grab a caulk removal tool and carefully scrape along the edges of the bathtub. This will help loosen the old caulk and make it easier to remove.
When assessing the caulk condition, look for signs of cracking, peeling, or mildew growth. These indicate that the caulk needs to be replaced.
After removing the old caulk, thoroughly clean the bathtub surface to ensure proper adhesion of the new caulk. Use a mildew cleaner and scrub brush to remove any residue or mold.
Once the surface is clean and dry, apply a bead of new caulk along the edges of the bathtub, making sure to fill any gaps or cracks. Smooth the caulk with your finger or a caulk smoothing tool for a professional finish.
Cleaning the Surface
Now that we have successfully removed the old caulk from the bathtub, it is time to move on to the next step: cleaning the surface. This is a crucial step in ensuring a proper caulk application.
To clean the surface effectively, start by using a mild detergent or a bathroom cleaner to remove any dirt, grime, or soap scum that may be present. Make sure to scrub the surface gently with a brush or sponge to get rid of any stubborn stains. Rinse thoroughly with water to remove any residue from the cleaning product.
One common mistake people make during this step is not allowing the surface to dry completely before applying the new caulk. Moisture can interfere with the adhesion of the caulk, leading to a weaker seal. So, be patient and give it enough time to dry before proceeding to the next step.
Drying Thoroughly Before Recaulking
Make sure you allow the surface to dry completely before moving on to the next step in the process. Drying thoroughly is crucial for a successful recaulking job.
Here are some tips to ensure the surface is completely dry:
- Use a clean towel or cloth to wipe away any excess moisture.
- Open windows or use a fan to promote air circulation and aid in the drying process.
By taking these precautions, you can prevent mold growth and ensure a long-lasting seal. Mold thrives in damp environments, so it’s essential to eliminate any moisture before applying new caulk.
A dry surface will allow the caulk to adhere properly, creating a tight seal that keeps water out. Once the surface is dry, you can move on to choosing the right caulk for the job, which will be discussed in the next section.
Choosing the Right Caulk for the Job
When choosing the right caulk for the job, it’s important to consider the type of bathtub material you have. Different types of caulk are designed for specific materials, such as acrylic, fiberglass, or porcelain.
For instance, silicone caulk is a popular choice for acrylic and fiberglass tubs as it provides excellent flexibility and durability. On the other hand, a latex caulk is suitable for porcelain tubs due to its strong adhesion properties.
When comparing different caulk brands, it’s essential to look for ones that are waterproof, mildew-resistant, and easy to apply. Some reputable brands to consider include GE Silicone II, DAP, and Loctite.
Reading customer reviews and consulting with a professional can also help you make an informed decision.
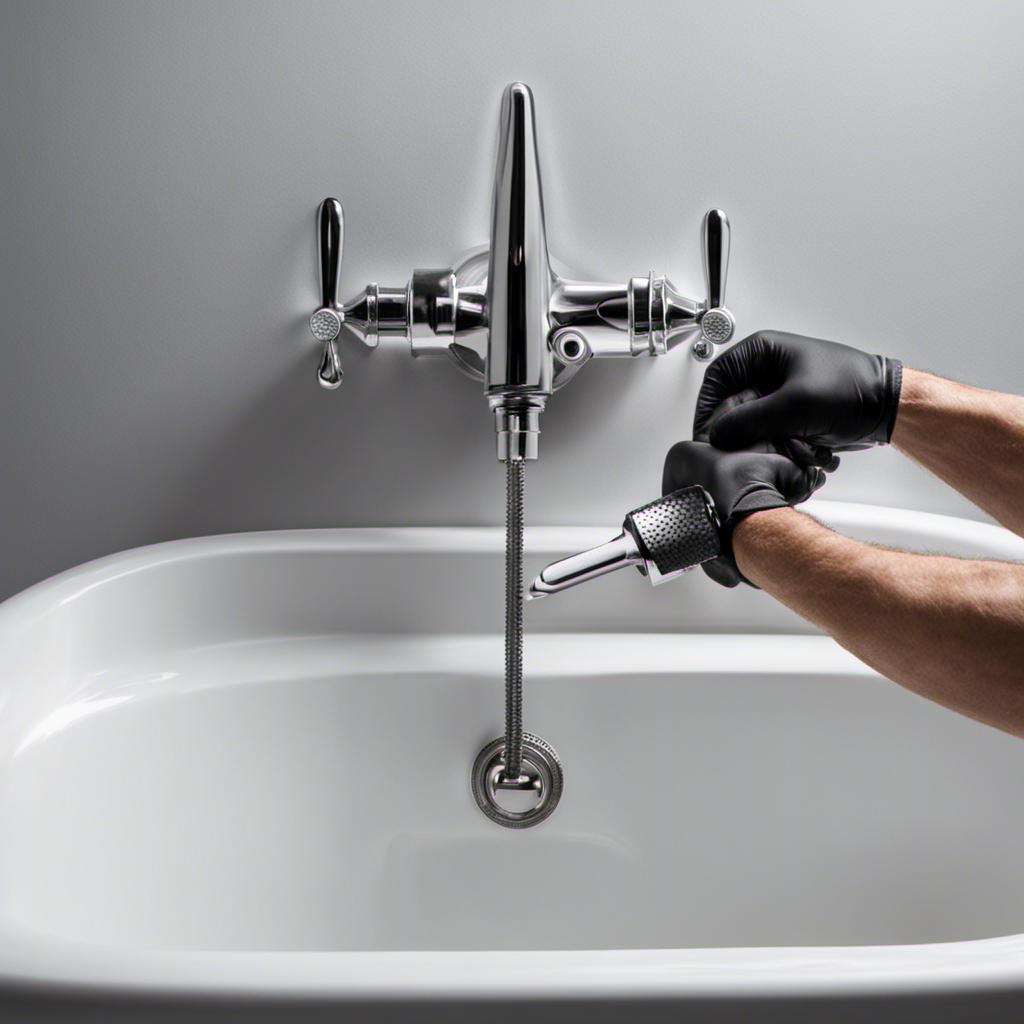
Applying the New Caulk Evenly
To ensure an even application of the new caulk, it’s best to use a caulk gun. This tool allows for precise control of the caulk flow, resulting in a smooth and consistent bead.
To achieve the desired even application, there are a few key points to keep in mind:
- Start by cutting the tip of the caulk tube at a 45-degree angle. This will create a small opening for the caulk to flow through.
- Hold the caulk gun at a 45-degree angle to the surface you are caulking, and apply steady pressure on the trigger as you move along the joint.
- Keep the caulk gun moving smoothly and steadily to maintain a consistent bead of caulk.
- Make sure the caulk consistency is appropriate for the job. It should be thick enough to stay in place but not too thick that it’s hard to work with.
By following these steps, you can ensure an even application of caulk, setting the stage for a professional finish.
Now, let’s move on to the next step: smoothing the caulk for a professional finish.
Smoothing the Caulk for a Professional Finish
After applying the caulk, it’s important to smooth it with a caulk smoothing tool to achieve a professional finish. Smoothing the caulk not only enhances the appearance but also ensures a watertight seal. There are several techniques you can use to achieve a smooth finish. First, make sure the caulk is still wet before using the smoothing tool. Hold the tool at a 45-degree angle and gently glide it over the caulk, applying even pressure. You can also dip your finger in water or use a wet sponge to smooth the caulk. Lastly, wipe away any excess caulk with a damp cloth. These finishing touches will give your bathtub a polished look and prevent any water damage.
| Smoothing Techniques | Pros | Cons |
|---|---|---|
| Caulk Smoothing Tool | Provides precise control | Requires additional tool |
| Finger | Easily accessible | May leave fingerprints |
| Wet Sponge | Smooths caulk quickly | Requires frequent rinsing |
Allowing the Caulk to Dry Properly
Make sure you give the caulk enough time to dry properly before using the bathtub. Assessing the drying time is crucial to prevent moisture damage and ensure a long-lasting seal.
Here’s what you need to know:
-
Factors that affect drying time:
-
Type of caulk: Different types of caulk have varying drying times. Read the manufacturer’s instructions for specific guidelines.
-
Temperature and humidity: Higher temperatures and lower humidity levels can speed up the drying process, while cooler temperatures and higher humidity can extend it.
-
Tips for assessing drying time:
-
Check the caulk’s appearance: It should be firm and no longer tacky to the touch.
-
Follow the manufacturer’s instructions: They usually provide an estimated drying time. Allow the caulk to dry for at least that duration before exposing it to moisture.
Cleaning up Any Excess Caulk
After allowing the caulk to dry properly, the next step in recaulking a bathtub is to clean up any excess caulk. This is an important step to ensure a smooth and professional-looking finish. There are various cleaning techniques and caulk removal methods that can be used, depending on the type of caulk and the level of residue left behind.
To make the cleaning process easier, I recommend using a 3 column and 4 row table that outlines different cleaning techniques and caulk removal methods. This table will provide a clear and organized breakdown of the options available:
| Cleaning Technique | Caulk Removal Method |
|---|---|
| Soap and Water | Plastic Scraper |
| Vinegar and Baking Soda | Caulk Softener |
| Commercial Cleaner | Heat Gun |
| Rubbing Alcohol | Razor Blade |
Inspecting the Recaulked Bathtub for Any Missed Spots
Once the excess caulk has been cleaned up, it’s important to inspect the recaulked area for any missed spots. This step is crucial to ensure that the recaulking job is done properly and effectively.
Here are some tips for inspecting the recaulked bathtub:
- Look for gaps or areas where the caulk may not have adhered properly. Use a flashlight to carefully examine the entire recaulked surface.
- Pay close attention to corners and edges, as these areas are prone to missed spots. Use a finger to gently press on the caulk to ensure it is firmly in place.
- Check for any signs of moisture or water leakage. If you notice any, it indicates that the caulk is not sealing properly.
- Take note of any discoloration or mold growth, as these are signs of recaulking mistakes or improper sealing.
Maintaining and Prolonging the Lifespan of the New Caulk
To maintain and prolong the lifespan of the new caulk, it’s important to regularly clean and dry the surface of the recaulked area. This will help prevent the growth of mold and mildew, which can deteriorate the caulk over time.
After recaulking, I recommend using a mild detergent or a mixture of vinegar and water to clean the area. Gently scrub the caulked surface with a soft brush or sponge, being careful not to damage the caulk.
Once clean, thoroughly dry the area with a towel or allow it to air dry completely. This will ensure that no moisture is trapped, preventing mold growth and helping the caulk to last longer.
Regular maintenance and cleaning will keep your recaulked bathtub looking fresh and protect the integrity of the caulk.
Frequently Asked Questions
How Do I Know if the Caulk in My Bathtub Needs to Be Replaced?
If your bathtub caulk is cracked, discolored, or peeling, it’s a sign that it needs to be replaced. To remove old caulk, use a caulk remover tool or a utility knife.
Can I Use a Regular Silicone Caulk for Recaulking My Bathtub?
Can I use regular silicone caulk for recaulking my bathtub? Oh, absolutely! It’s like using a toothpick to build a skyscraper. But if you want it done right, explore the world of bathtub caulk types and caulk removal techniques.
How Long Does It Take for the New Caulk to Dry Properly?
It typically takes around 24 hours for the new caulk to dry properly after application. This ensures a strong and durable seal. Make sure to follow the manufacturer’s instructions for best results.
What Should I Do if I Accidentally Apply Too Much Caulk?
If I accidentally apply too much caulk, I can use a putty knife or a caulk remover tool to remove the excess. Then, I can smooth out the remaining caulk with a damp cloth or my finger.
How Often Should I Inspect and Maintain the Caulk in My Bathtub?
Inspecting the caulk in my bathtub is important to maintain its integrity. I check it every six months for any signs of wear or damage. It’s recommended to use high-quality caulk products for better longevity.
Conclusion
After following these steps, you’ll be left with a beautifully recaulked bathtub that will last for years to come.
It’s important to regularly assess the condition of the caulk and take action when necessary.
By gathering the right tools and materials, removing the old caulk, and preparing the surface properly, you’re setting yourself up for success.
Choosing the right caulk and allowing it to dry properly is crucial for a long-lasting result.
Don’t forget to clean up any excess caulk and inspect for any missed spots.
By maintaining and prolonging the lifespan of the new caulk, you’ll be able to enjoy a leak-free and pristine bathtub.
So, roll up your sleeves and give your bathtub the makeover it deserves!