Are you tired of dealing with a leaky bathtub? Well, you’re in luck! In this article, we’re going to show you how to recaulk your bathtub like a pro.
By following these simple steps, you can restore the beauty and functionality of your tub in no time. So, grab your caulking gun and get ready to say goodbye to those pesky leaks.
Let’s dive right in and get started on your bathtub transformation!
Key Takeaways
- Gather necessary tools and materials: caulk remover tool, cleaning solution, scrub brush or sponge, clean cloth or towel
- Remove old caulk using caulk remover tool
- Clean the surface using cleaning solution and scrub brush or sponge
- Dry the surface with a clean cloth or towel
- Ensure the bathtub surface is ready for recaulking
- Apply caulk softener to the old caulk
- Let the caulk softener sit for the recommended time
- Gently scrape away the softened caulk with a scraper
- Ensure the old caulk is completely removed before recaulking
- Remove loose debris or residue with a putty knife or razor blade
- Apply mild detergent or vinegar solution to the area
- Scrub the area using a scrub brush or sponge
- Rinse the area thoroughly and allow it to dry completely
- Choose the right type of caulk for the job
- Prepare the surface by cleaning and removing old caulk or residue
- Apply the caulk in a smooth, continuous motion
- Fill any gaps or cracks completely with caulk
- Ensure a proper caulk application for a fresh and clean look
- Start with a clean surface by removing debris or old caulk residue
- Apply a thin bead of caulk along the edge of the bathtub
- Use a caulk smoothing tool to run along the caulk line in a steady motion
- Apply even pressure to create a smooth and uniform finish
- Wipe off any excess caulk with a damp cloth or sponge
- Check the bathtub edges and corners for cracks, gaps, or discoloration
- Pay attention to the caulk where it meets the tile or bathtub surface for lifting or peeling
- Use a flashlight to inspect hard-to-reach areas like behind faucets or under the bathtub rim
- Look for mold or mildew growth in the caulk
- Run your fingers along the caulk lines to feel for soft spots or irregularities
- Cracks in the caulk can be caused by age, movement, or settling of the bathtub
- Gaps may occur due to improper installation or shrinking of the caulk
- Discoloration in the caulk can be a sign of mold or mildew growth
- Soft or spongy feel of the caulk may indicate water absorption due to poor quality or improper application
- Use the utility knife to remove old caulk or loose material from the
Top picks for "recaulk bathtub"
Open Amazon search results for this keyword.
As an affiliate, we earn on qualifying purchases.
Preparing the Bathtub Surface
Before you can recaulk the bathtub, it’s important to prepare the surface by removing the old caulk. Bathtub surface preparation is crucial to ensure a smooth and long-lasting caulk application.
To begin, gather the necessary tools and materials. You’ll need a caulk remover tool, such as a utility knife or a caulk scraper, to carefully remove the old caulk. Additionally, have a cleaning solution, such as a mild detergent or vinegar, and a scrub brush or sponge to thoroughly clean the surface.
It’s also important to have a clean cloth or towel to dry the surface before applying the new caulk. By having these tools and materials ready, you can effectively prepare the bathtub surface for recaulking.
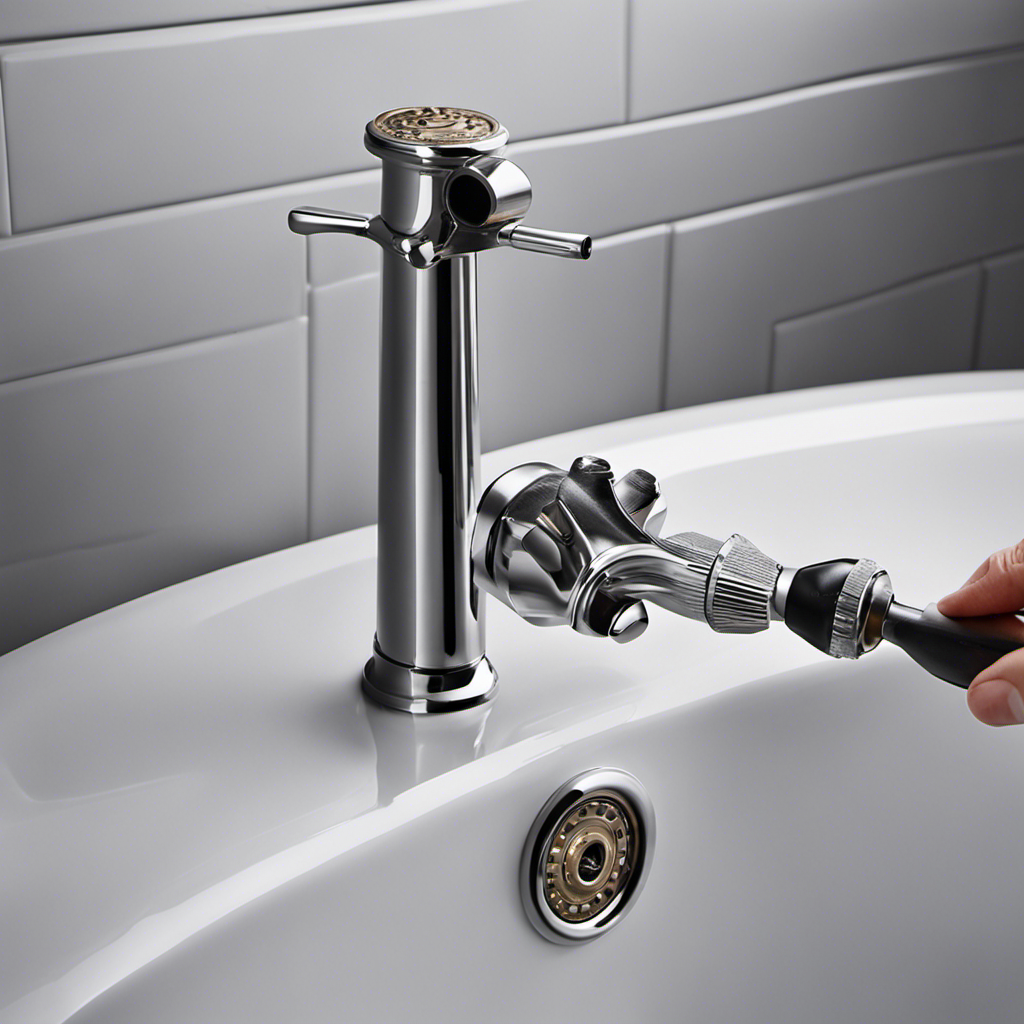
Removing Old Caulk
To start removing the old caulk, you’ll need to gather a caulk removal tool and a scraper. Bathtub caulk removal can be a tedious task, but with the right tools and techniques, it can be done efficiently.
A caulk removal tool, also known as a caulk softener, is designed to soften the caulk, making it easier to remove. It typically comes in the form of a gel or liquid that you apply to the caulk. After letting it sit for the recommended time, use a scraper to gently scrape away the softened caulk. Be careful not to damage the bathtub surface during this process.
Once the old caulk is removed, you can proceed with recaulking the bathtub for a fresh and clean look.
Cleaning the Area
After removing the old caulk, make sure you thoroughly clean the surrounding area to ensure a smooth and even application of the new caulk. Cleaning the area is an important step that helps the new caulk adhere properly and provides a clean surface. To clean the area, you will need a few cleaning products and caulking tools. Here is a table that lists the essential items you will need:
| Cleaning Products | Caulking Tools |
|---|---|
| Mild detergent or vinegar solution | Putty knife |
| Scrub brush or sponge | Caulking gun |
| Old toothbrush | Razor blade |
Start by removing any loose debris or residue using a putty knife or a razor blade. Then, apply a mild detergent or vinegar solution to the area and scrub it using a scrub brush or sponge. For stubborn stains or mold, use an old toothbrush to scrub the area. Rinse the area thoroughly and allow it to dry completely before applying the new caulk.
Applying the New Caulk
When it comes to applying caulk, it’s important to follow a few key steps to ensure a proper application and avoid common mistakes.
First, make sure you have the right type of caulk for the job, whether it’s silicone or acrylic.
Next, prepare the surface by cleaning and removing any old caulk or residue.
Finally, apply the caulk in a smooth, continuous motion, using a caulk gun or your finger, and be sure to fill any gaps or cracks completely.
Proper Caulk Application
For a neat and even application, it’s important to squeeze the caulk gun steadily and smoothly. Here are some tips to ensure a proper caulk application:
-
Caulk Selection: Choose the right caulk for your bathtub. Silicone caulk is recommended for its waterproof and mold-resistant properties. Make sure it is suitable for wet areas and can withstand constant moisture.
-
Caulk Removal Techniques: Before applying new caulk, remove the old caulk completely. Use a utility knife or caulk removal tool to carefully cut and scrape away the old caulk. Ensure the surface is clean and dry before applying the new caulk.
-
Apply Even Pressure: When using the caulk gun, apply even pressure on the trigger to control the flow of caulk. This will help achieve a consistent bead size and avoid gaps or uneven application.
-
Smooth and Shape: After applying the caulk, use a caulk smoothing tool or a damp finger to smooth and shape the bead. This will create a professional-looking finish and ensure a proper seal.
Avoiding Common Mistakes
To prevent common mistakes, it’s important to choose the right caulk and apply even pressure when using the caulk gun.
When recaulking your bathtub, there are a few things you should keep in mind to ensure a successful result.
One common mistake is using the wrong type of caulk for the job. Make sure to select a caulk that is specifically designed for bathroom use, as it will be more resistant to moisture and mold.
Another mistake is not applying enough pressure when using the caulk gun. This can result in gaps and uneven application. To avoid this, apply even pressure while smoothly moving the gun along the joint.
Smoothing the Caulk
You’ll want to use a caulk smoothing tool to smooth the caulk along the edges of the bathtub. This tool will help you achieve a professional-looking finish and ensure that the caulk adheres properly.
Here are some smoothing techniques and tips to keep in mind:
-
Start with a clean surface: Before applying the caulk, make sure the area is clean and free of any debris or old caulk residue. Use a scraper or putty knife to remove any loose caulk.
-
Apply the caulk: Squeeze a thin bead of caulk along the edge of the bathtub. Be careful not to apply too much as it can be messy and difficult to smooth.
-
Smooth the caulk: With the caulk smoothing tool, run it along the caulk line in a steady motion. Apply even pressure to create a smooth and uniform finish.
-
Wipe off excess: After smoothing, use a damp cloth or sponge to wipe off any excess caulk. This will give the caulk a clean and polished appearance.
Once you’ve finished smoothing the caulk, it’s important to allow it to dry completely before using the bathtub.
Allowing the Caulk to Dry
After smoothing the caulk, it’s crucial to let it dry completely. The drying time of caulk can vary depending on the type you use. It’s important to follow the manufacturer’s instructions for the specific caulk you’ve chosen. Generally, most caulks require at least 24 hours to fully dry. However, some may take longer, especially if the humidity is high. It’s best to wait a few days before exposing the caulk to water or moisture to ensure it has fully cured. Here is a table outlining the approximate drying times for common caulk types:
| Caulk Type | Drying Time |
|---|---|
| Silicone | 24-48 hours |
| Acrylic | 24-72 hours |
| Latex | 24-48 hours |
| Polyurethane | 24-72 hours |
| Butyl | 48-72 hours |
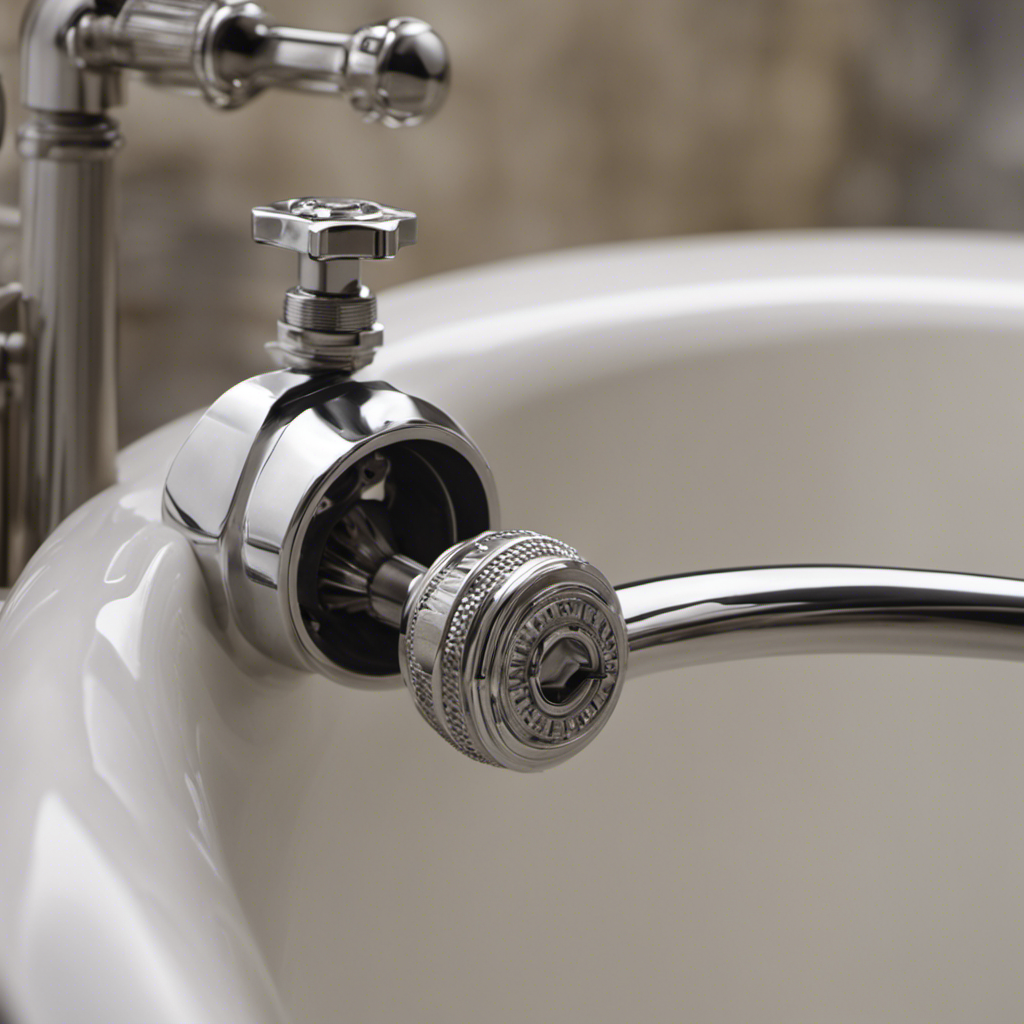
Checking for Proper Seal
When it comes to checking for a proper seal on your bathtub caulk, there are a few key techniques to keep in mind.
Visual inspection is crucial, as it allows you to identify any potential issues such as cracks or gaps in the caulk.
Additionally, water leakage indicators can provide valuable information about the effectiveness of your caulk, such as water stains or mold growth.
Finally, testing caulk adhesion is an important step to ensure that the caulk is firmly attached to the bathtub surface.
Visual Inspection Techniques
Before recaulking your bathtub, it’s important to visually inspect the current caulk for any signs of wear or damage. Here are some techniques to help you with the visual inspection:
-
Start by examining the caulk lines around the bathtub edges and corners. Look for any cracks, gaps, or discoloration that may indicate water damage.
-
Pay close attention to the areas where the caulk meets the tile or the bathtub surface. Check for any lifting or peeling of the caulk, as this can lead to water leakage.
-
Use a flashlight to inspect the caulk in hard-to-reach areas, such as behind the faucets or under the bathtub rim. Look for any mold or mildew growth, as this can be a sign of water infiltration.
-
Lastly, run your fingers along the caulk lines to feel for any soft spots or irregularities. This can help identify areas that may need recaulking.
Water Leakage Indicators
If you notice any cracks, gaps, or discoloration in the caulk, it could be an indicator of water damage. Waterproofing techniques are crucial to prevent water from seeping into unwanted areas, such as your bathtub. To ensure the effectiveness of your waterproofing, it is important to regularly inspect the caulk for any signs of damage. Here are some common indicators of water leakage in caulk:
| Indicators | Possible Causes |
|---|---|
| Cracks | Age, movement, or settling of the bathtub |
| Gaps | Improper installation or shrinking of the caulk |
| Discoloration | Mold or mildew growth due to moisture penetration |
| Soft or spongy feel | Water absorption by the caulk due to poor quality or improper application |
To address these issues, you may need to remove the damaged caulk using appropriate caulk removal methods. Once the old caulk is removed, you can proceed with recaulking the bathtub. Now, let’s move on to the next step of testing caulk adhesion.
Testing Caulk Adhesion
To properly test caulk adhesion, you’ll want to gather a few supplies:
- Utility knife: This will help you remove any old caulk or loose material from the joint.
- Plastic scraper: Use this to scrape off any remaining caulk residue or debris.
- Denatured alcohol: Wipe down the joint with alcohol to ensure it is clean and free of any oils or contaminants.
- Painter’s tape: Use tape to mask off the area around the joint, creating clean lines and preventing any damage to surrounding surfaces.
Once you have your supplies, follow these steps to perform a caulk adhesion test:
- Apply a small bead of caulk to the joint.
- Allow the caulk to dry completely according to the manufacturer’s instructions.
- Use your fingernail or a plastic scraping tool to gently scrape the caulk.
- If the caulk easily peels away or shows signs of poor adhesion, it may be necessary to reapply or choose a different caulk.
Maintaining the Caulk
When maintaining the caulk in your bathtub, you should regularly inspect it for any signs of mold or mildew. Mold and mildew can not only make your bathtub look unappealing, but they can also pose health risks.
To prevent mold growth, it is important to keep the caulk clean and dry. After each use, make sure to wipe down the caulk with a dry towel to remove any excess moisture. Additionally, consider using a caulk with mold-resistant properties to further prevent mold growth.
If you do notice any signs of mold or mildew, it is crucial to address it immediately. Use a mixture of bleach and water to clean the affected area and then reapply caulk if necessary.
Regularly inspecting and maintaining the caulk in your bathtub will help to keep it in good condition and prevent the growth of mold and mildew.
Frequently Asked Questions
Can I Use Regular Household Cleaners to Clean the Area Before Applying the New Caulk?
Yes, you can use regular household cleaners to clean the area before applying the new caulk. However, using bleach as a cleaner is not recommended. There are alternatives to household cleaners for prepping the area that are safer and just as effective.
How Long Should I Wait Before Using the Bathtub After Applying the New Caulk?
After applying the new caulk, you should wait at least 24 hours before using the bathtub to ensure proper adhesion and drying. This will help prevent any damage or premature wear of the caulk.
Can I Apply Silicone Caulk Over Old Latex Caulk?
Yes, you can apply silicone caulk over old latex caulk. However, it’s best to remove as much of the old caulk as possible for better adhesion. There are also alternative recaulking materials available.
How Often Should I Check for Proper Seal and Recaulk if Necessary?
Regular maintenance of bathtub caulking is important to ensure a proper seal. Keep an eye out for signs of deterioration such as cracks or mold growth. If you notice these, it’s time to recaulk for a watertight seal.
What Should I Do if the Caulk Starts to Crack or Peel After Some Time?
If the caulk in your bathtub starts to crack or peel, don’t panic. It’s a common problem, but easily fixable. Simply remove the damaged caulk, clean the area thoroughly, and apply a fresh layer of caulk to prevent further damage.
Conclusion
In conclusion, recaulking your bathtub is a simple and effective way to maintain its cleanliness and prevent water damage. By following the step-by-step process outlined in this article, you can easily remove old caulk, clean the area, and apply a new layer of caulk for a watertight seal.
Did you know that a study conducted by the National Association of Home Builders found that 40% of homes in the United States have some form of water damage? Taking the time to properly recaulk your bathtub can help protect your home from becoming a part of this statistic.