So you’ve got a bathtub that’s seen better days, huh? Well, fear not, because I’m here to show you just how easy it can be to refinish that worn-out tub and bring it back to its former glory.
With a few simple materials and a little bit of elbow grease, you’ll have a bathtub that looks brand new in no time. Trust me, you’ll be amazed at the transformation.
Let’s get started!
Key Takeaways
- Choose a paint specifically designed for refinishing bathtubs and follow the manufacturer’s instructions for application.
- Thoroughly clean the bathtub surface and sand down any rough areas before starting the refinishing process.
- Use smooth and even strokes to apply the primer, paying special attention to corners and edges.
- Use the appropriate grit sandpaper to sand and smooth the surface, and regularly clean and wax the refinished bathtub for maintenance.

Rust-Oleum 384165 Tub And Tile Refinishing 2-Part Kit, 32 oz, Gloss White
Prepare and paint surface the same day with a tough, with tub and tile’s 2-part epoxy acrylic formula…
As an affiliate, we earn on qualifying purchases.
As an affiliate, we earn on qualifying purchases.
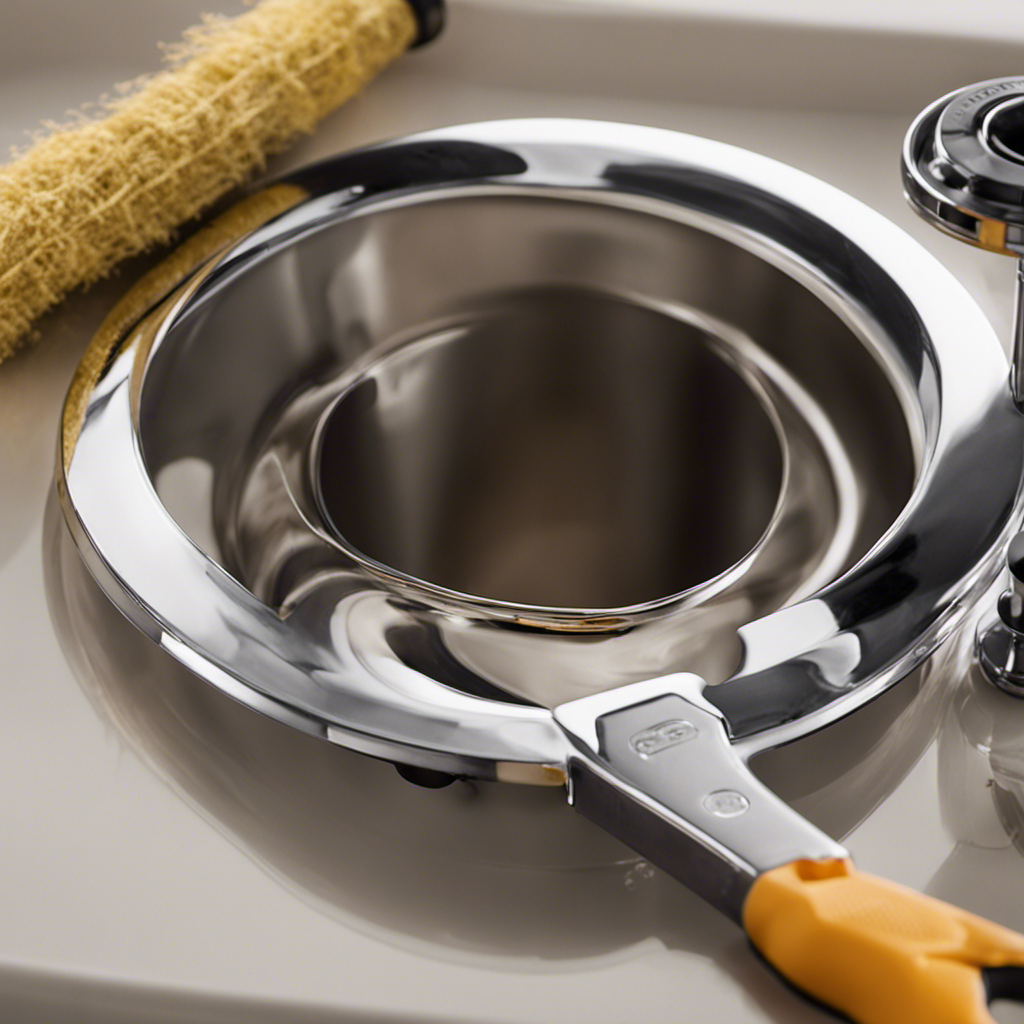
Gathering Materials and Tools
Before starting the bathtub refinishing process, make sure you have all the necessary materials and tools. Choosing the right paint is crucial for achieving a professional-looking finish. Look for a paint specifically designed for refinishing bathtubs and follow the manufacturer’s instructions for application.
Proper ventilation during the process is essential to protect yourself from harmful fumes. Open windows and use fans to circulate the air. Wear a respirator mask to further protect your respiratory system.
In terms of tools, you will need a paintbrush or roller for applying the paint, sandpaper or a sanding block for smoothing the surface, and a cleaning solution to remove any dirt or grime.
Once you have gathered all the materials and tools, you can move on to preparing the bathtub surface.
Rust-Oleum 384165 Tub And Tile Refinishing 2-Part Kit, 32 oz, Gloss White
Prepare and paint surface the same day with a tough, with tub and tile’s 2-part epoxy acrylic formula…
As an affiliate, we earn on qualifying purchases.
As an affiliate, we earn on qualifying purchases.
Preparing the Bathtub Surface
After you’ve thoroughly cleaned the surface, it’s important to sand down any rough areas. Sanding is a crucial step in surface preparation for refinishing a bathtub. It helps to remove any existing coatings, smooth out imperfections, and create a clean and even surface for the new finish to adhere to. When it comes to sanding techniques, there are a few options to consider. Using a sanding block or sandpaper with a fine grit (around 220) is a good starting point. Begin by sanding in circular motions, gradually moving in straight lines to ensure an even finish. Be sure to wear protective goggles and a mask to avoid inhaling any dust particles. Once you’ve completed the sanding process, wipe down the surface with a tack cloth to remove any residue before applying the new finish.
| Sanding Techniques | Grit Size | Motion |
|---|---|---|
| Hand Sanding | 220 | Circular then straight lines |
| Sanding Block | 220 | Circular then straight lines |
| Sandpaper | 220 | Circular then straight lines |

YNZDRWA 8 Pack Sanding Sponge, Washable and Reusable Sanding Blocks for Drywall Wood Metal Furniture, 60/80/120/220 Grit Sandpaper Block Assortment
【ASSORTED GRIT SANDING BLOCKS】Includes 8 sanding blocks in 4 grits, from coarse to superfine specifications in 60/80/120/180/220 grit,…
As an affiliate, we earn on qualifying purchases.
As an affiliate, we earn on qualifying purchases.
Applying the Primer
When applying the primer, it’s important to use smooth and even strokes to ensure proper coverage. This step is crucial in achieving a flawless and durable finish for your bathtub. Here are some primer application techniques to keep in mind:
- Start from the top and work your way down, applying the primer in long, overlapping strokes.
- Use a high-quality brush or roller to ensure even distribution of the primer.
- Pay special attention to corners and edges, as these areas tend to be more prone to chipping and peeling.
Common mistakes in primer application can lead to a less-than-perfect result. Avoid these pitfalls:
- Applying too thick of a coat, which can result in drips and uneven drying.
- Rushing the process and not allowing sufficient drying time between coats.
- Neglecting to clean and prepare the surface properly before priming, leading to adhesion issues.

DWIL Tub Paint, Tub and Tile Refinishing Kit 33oz with Tools, Tile Refinishing Kit White Bathtub Paint Water Based &Low Odor, Easy to Use Sink for Bathroom Kitchen, Semi-Gloss White, 50-55sq.ft
【Construction Kit】-Essential tools for DIYers & pros. Includes 1kg/33oz base, 20g hardener, gloves, brush, roller, masking supplies, sandpaper,…
As an affiliate, we earn on qualifying purchases.
As an affiliate, we earn on qualifying purchases.
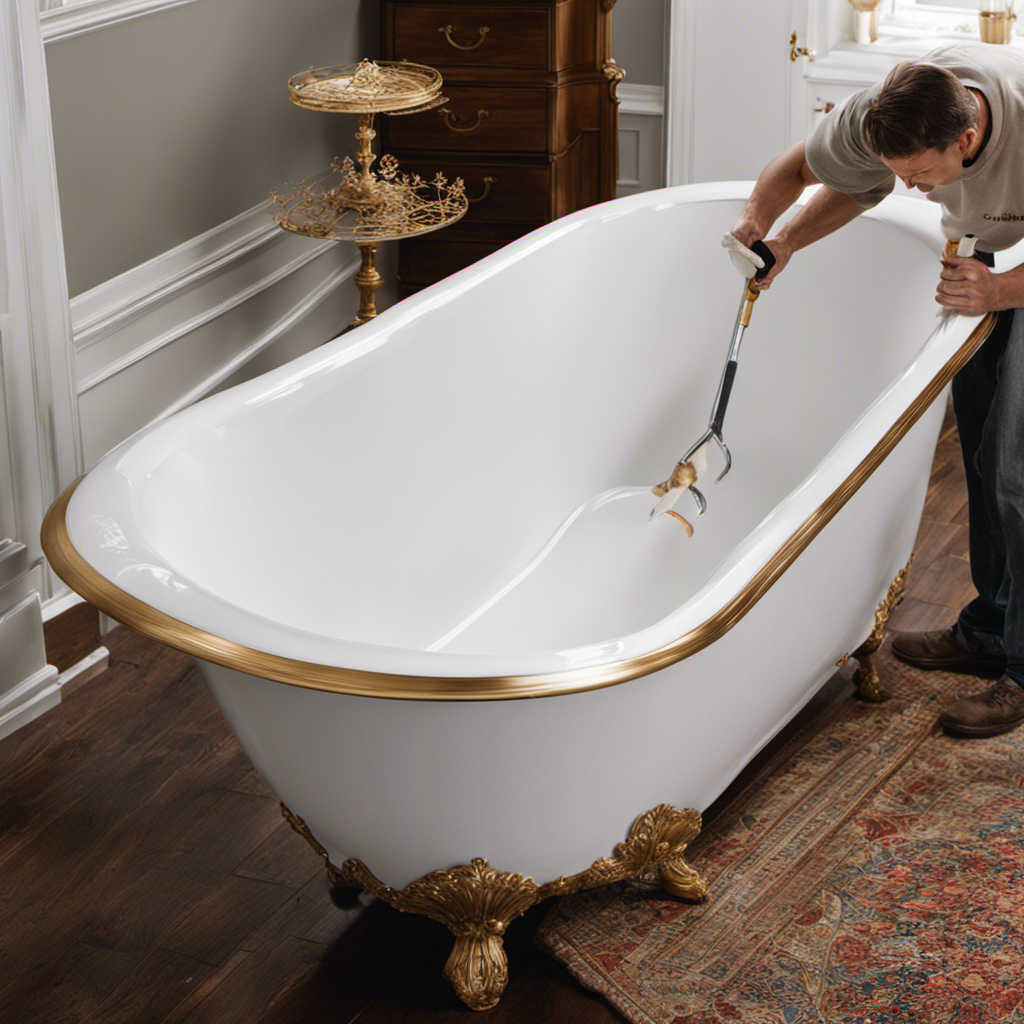
Sanding and Smoothing the Surface
When it comes to sanding and smoothing the surface of a bathtub, proper techniques and the right tools are crucial for achieving a professional finish.
First and foremost, it’s important to use a sanding block or sandpaper with the appropriate grit to effectively remove any imperfections and create a smooth surface.
Additionally, taking the time to sand in a consistent and even motion will help ensure an even finish and optimal adhesion for the next step of the refinishing process.
Proper Sanding Techniques
To achieve a smooth surface, it’s important to use fine-grit sandpaper when refinishing a bathtub. This ensures that any imperfections, such as scratches or rough patches, are smoothed out.
When it comes to sanding equipment, you’ll need the following:
- Fine-grit sandpaper: This is typically around 220 to 320 grit, which is ideal for removing any surface imperfections without causing damage.
- Sanding block: This helps to evenly distribute pressure and prevent uneven sanding.
- Dust mask: Sanding can create a lot of dust, so it’s important to protect your lungs by wearing a mask.
When starting the sanding process, begin by thoroughly cleaning the surface of the bathtub. Then, using the fine-grit sandpaper, gently sand the entire surface in a circular motion. Be sure to apply even pressure and avoid sanding too aggressively, as this can damage the bathtub’s surface.
After sanding, wipe away any dust with a damp cloth before moving on to the next step of the refinishing process.
Choosing the Right Tools
If you want a smooth surface, make sure you choose the right tools for the job. When it comes to refinishing a bathtub, selecting supplies and essential equipment is crucial for achieving professional results.
First and foremost, you’ll need a high-quality paint stripper to remove the old finish. Look for one that is specifically designed for bathtub refinishing and follow the instructions carefully.
Next, you’ll need sandpaper in various grits to smooth the surface and remove any imperfections. I recommend starting with a coarse grit to remove the old finish and gradually working your way to a finer grit for a smoother result.
Additionally, you’ll need a good quality paintbrush or sprayer to apply the topcoat evenly.
With the right tools in hand, you’re ready to move on to the next step: applying the topcoat and finishing the bathtub transformation.
Applying the Topcoat
When it comes to applying the topcoat on a bathtub, there are several key points to consider.
First, the drying time after application is crucial to ensure a smooth and durable finish.
I will discuss the recommended topcoat products that provide excellent results and offer long-lasting protection.
Additionally, I will share techniques that will help you achieve a smooth finish, ensuring a professional-looking refinished bathtub.
Drying Time After Application
The bathtub will need to dry for at least 24 hours after applying the refinishing product. This drying time is crucial to ensure a durable and long-lasting finish.
Here are some best practices to follow during this drying period:
-
Keep the bathroom well-ventilated to promote air circulation and speed up the drying process. Open windows or use a fan to remove moisture from the room.
-
Avoid touching or using the bathtub during the drying time to prevent any damage to the newly applied coating. It’s best to find alternative bathing arrangements during this period.
-
Check the manufacturer’s instructions for any specific recommendations regarding drying time and conditions. Different refinishing products may have different requirements.
Recommended Topcoat Products
To achieve the best results, you should consider using one of the recommended topcoat products for a durable and long-lasting finish on your newly refinished bathtub. After all the hard work of preparing and applying the base coat, applying a topcoat is essential to protect and seal the surface.
The topcoat acts as a shield against stains, scratches, and everyday wear and tear. When choosing a topcoat product, look for one that is specifically designed for bathtubs and has good adhesion properties. It’s also important to follow the manufacturer’s instructions for the best application techniques.
This includes using a high-quality brush or roller to apply the topcoat evenly and allowing the recommended drying time between coats. By using a recommended topcoat product and following the proper application techniques, you can ensure a beautiful and long-lasting finish for your refinished bathtub.
Techniques for Smooth Finish
Using a high-quality brush or roller will help you achieve a smooth finish on your newly refinished tub.
When it comes to sanding techniques, start by using a fine-grit sandpaper to gently remove any rough patches or imperfections on the surface. Be sure to sand in a circular motion, applying even pressure.
Next, switch to a finer grit sandpaper and continue sanding until the surface feels smooth to the touch.
For polishing methods, consider using a buffing compound to restore the tub’s shine. Apply the compound using a soft cloth or buffing pad, working in small circular motions.
Finishing Touches and Maintenance Tips
Don’t forget to regularly clean and wax your newly refinished bathtub to maintain its glossy appearance.
Maintaining a regular maintenance schedule is crucial to keep your bathtub looking its best.
For routine cleaning, use mild, non-abrasive cleaning products that won’t damage the newly refinished surface. Avoid using harsh chemicals or abrasive scrub brushes, as they can cause scratches or discoloration. Instead, opt for gentle cleaners specifically designed for refinished tubs.
It’s also important to avoid using bath oils or bath bombs that contain dyes, as they can stain the surface.
To maintain the glossy finish, apply a coat of wax every few months. This will help protect the surface from stains and make it easier to clean.
Regular cleaning and waxing will ensure your refinished bathtub stays beautiful for years to come.
Frequently Asked Questions
Can I Refinish a Bathtub Without Professional Help?
I did my own DIY bathtub refinishing without professional help. It can be done step by step. Just follow the instructions and take your time. It turned out great and saved me money.
How Long Does It Take for the Primer to Dry Before Sanding?
How long does primer take to dry before sanding? It’s crucial to allow the primer to fully dry, typically around 24 hours, before proceeding with the sanding process. This ensures a smooth and durable finish.
Can I Use Any Type of Paint for the Topcoat?
Yes, you can use different types of paint for bathtub refinishing. However, it’s important to choose a paint specifically made for this purpose. Follow best practices for applying the topcoat to ensure a durable and long-lasting finish.
Is It Necessary to Remove the Old Caulk Before Refinishing the Bathtub?
Yes, it is necessary to remove the old caulk before refinishing the bathtub. This ensures a clean surface for the new coating to adhere to, resulting in a smoother and more durable finish.
How Long Do I Have to Wait Before Using the Bathtub After Refinishing It?
I would recommend waiting for the recommended waiting time before using a newly refinished bathtub. Using it immediately could pose potential risks such as compromising the finish or not allowing enough time for proper drying and curing.
Conclusion
In conclusion, refinishing a bathtub is a cost-effective way to revitalize your bathroom. By following these steps and gathering the necessary materials, you can easily transform your worn-out bathtub into a beautiful and glossy centerpiece.
While some may argue that hiring a professional is the better option, with the right tools and a little patience, you can achieve professional-looking results on your own. So why spend a fortune when you can achieve the same outcome with a bit of DIY spirit?
Start refinishing your bathtub today and enjoy a fresh and rejuvenated bathroom space.