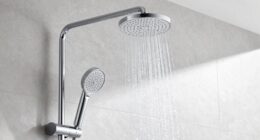
I’ve learned the hard way that a worn-out bathtub can be a real eyesore. But fear not, for I’ve discovered the ultimate solution: regrouting.
In this step-by-step guide, I’ll show you how to restore your bathtub to its former glory.
We’ll start by prepping the surface, followed by removing the old grout and cleaning the grout lines.
Then, we’ll mix and apply new grout, ensuring a smooth and flawless finish.
Finally, we’ll seal the grout to protect it from future damage.
Let’s get started!
Key Takeaways
- Thoroughly clean the surface before regrouting.
- Use a grout removal tool to remove the old grout.
- Mix a solution of equal parts water and vinegar to clean the grout lines.
- Choose a grout color that complements the tiles when applying new grout.
Top picks for "regrout bathtub"
Open Amazon search results for this keyword.
As an affiliate, we earn on qualifying purchases.
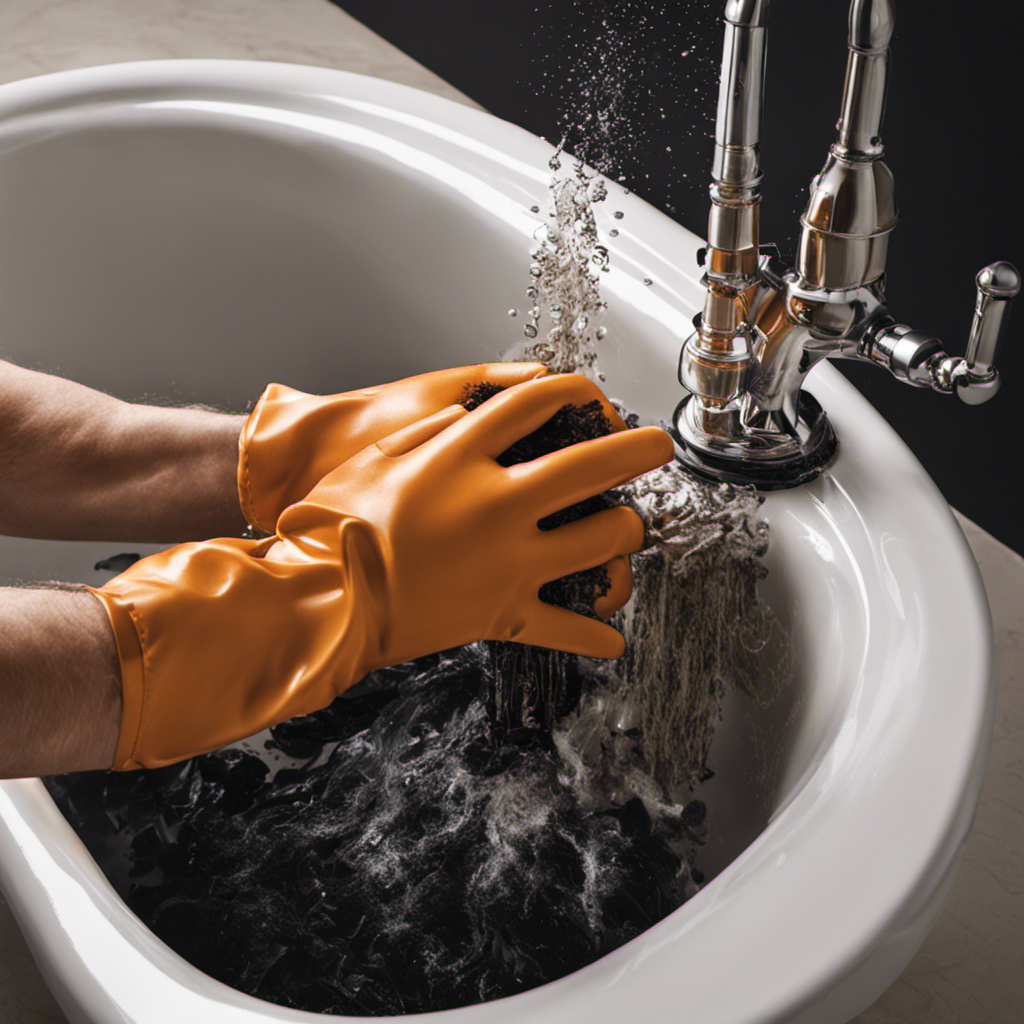
Preparing the Bathtub Surface
Before you can regrout a bathtub, you’ll need to thoroughly clean the surface. This step is crucial to ensure proper adhesion of the new grout. To prepare the bathtub surface, gather the necessary materials and tools for regrouting.
You will need a grout removal tool, such as a grout saw or rotary tool, to remove the old grout. Additionally, gather safety equipment like gloves and goggles to protect yourself during the process.
For the cleaning process, you’ll need a mildew cleaner or a mixture of vinegar and water, a stiff brush, and a sponge or cloth for wiping. These materials and tools will help you achieve a clean and smooth surface, ready for the next step of removing the old grout.
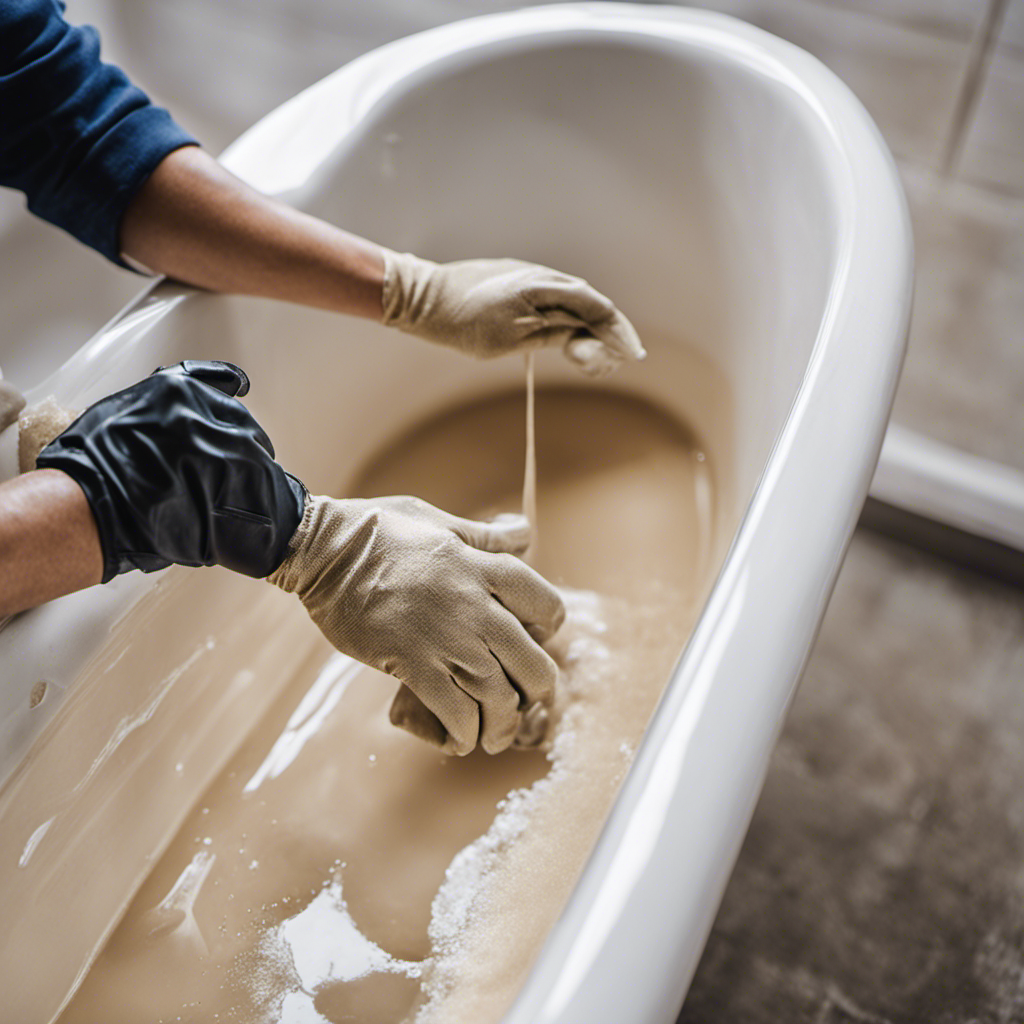
Removing Old Grout
To start removing old grout, you’ll need to use a grout saw or a rotary tool with a grout removal bit. These regrouting tools are essential for effectively and efficiently removing the old grout from the bathtub surface.
A grout saw is a manual tool with a serrated blade that allows you to scrape away the grout. On the other hand, a rotary tool with a grout removal bit offers a more automated and precise approach.
When using these tools, it is important to take safety precautions. Wear protective goggles to shield your eyes from flying debris, and consider using a dust mask to prevent inhaling any grout particles. Additionally, make sure to work in a well-ventilated area to avoid any potential health risks.
Cleaning and Prepping the Grout Lines
When cleaning and prepping the grout lines, you’ll want to start by mixing a solution of equal parts water and vinegar. This solution is effective in removing dirt, grime, and mildew that can accumulate in the grout.
Use a scrub brush or an old toothbrush to apply the solution to the grout lines. Scrub in a circular motion, focusing on any stained or discolored areas.
Rinse the grout lines thoroughly with water to remove any residue. Once the grout lines are clean, allow them to dry completely before proceeding with any regrouting or sealing.
Proper grout maintenance is essential to prevent common grout problems such as cracking, crumbling, and mold growth. Regular cleaning and sealing will help to prolong the life and appearance of your grout.
Mixing and Applying New Grout
Once you’ve mixed the new grout, apply it to the clean and dry grout lines using a grout float. Before starting, it’s important to consider the grout color options available. Choose a color that complements the tiles and enhances the overall look of the bathtub.
When applying the grout, make sure to hold the grout float at a 45-degree angle and firmly press it into the grout lines. Work in small sections to ensure even coverage. The grout float helps to push the grout into the gaps and ensures a smooth application.
It’s important to have the right tools for grout application, such as a grout float and a grout sponge for cleanup. Once the grout is applied, it’s time to move on to smoothing and finishing the grout lines for a professional and polished look.
Smoothing and Finishing the Grout
After applying the grout, you’ll want to smooth and finish the grout lines for a professional and polished look. To achieve this, you’ll need a few tools:
- Grout float: This tool helps spread and smooth the grout evenly across the surface.
- Grout sponge: A damp sponge is essential for cleaning excess grout from the tiles without disturbing the newly applied grout lines.
When smoothing and finishing the grout, keep the following troubleshooting tips in mind:
- Avoid over-sponging: Excessive wiping can remove too much grout, resulting in uneven lines and weak joints.
- Use a circular motion: Gently move the sponge in circular motions to blend the grout and create a smooth finish.
- Clean the sponge frequently: Rinse the sponge regularly to avoid spreading grout residue across the tiles.
Sealing the Grout
When it comes to regrouting a bathtub, one important step that should not be overlooked is sealing the grout.
Sealing the grout helps to protect it from stains, moisture, and damage, ensuring its longevity and maintaining its appearance.
To achieve the best sealing results, it is crucial to use the right sealing techniques, such as applying the sealer evenly and allowing sufficient drying time for optimal effectiveness.
Importance of Sealing
Sealing the grout is essential in maintaining the integrity and durability of your bathtub. It not only enhances the appearance of your bathroom but also protects the grout from moisture, dirt, and stains.
Regular grout maintenance offers several benefits, such as preventing mold and mildew growth, extending the lifespan of the grout, and reducing the risk of water damage.
When sealing grout, it is important to avoid common mistakes that can compromise its effectiveness. Some of these mistakes include applying too much sealant, not cleaning the grout properly before sealing, and not allowing the sealant enough time to cure.
Best Sealing Techniques
Now that we understand the importance of sealing, let’s dive into the best sealing techniques.
To achieve a long-lasting and effective seal, it is crucial to use high-quality sealing products and the right sealing tools.
When it comes to sealing products, look for ones specifically designed for the material you are working with, such as silicone sealants for bathtubs. These products should have excellent adhesion and flexibility to withstand the constant exposure to water and moisture.
As for sealing tools, a caulking gun is essential for precise application of the sealant. It allows for controlled dispensing of the product, ensuring even coverage and minimizing waste. Additionally, a silicone smoothing tool or a damp cloth can be used to create a smooth and professional finish.
Conclusion
In conclusion, regrouting a bathtub is a meticulous process that requires attention to detail. By following the steps outlined in this article, you can successfully restore the appearance and functionality of your bathtub.
Remember, ‘practice makes perfect’ – don’t be discouraged if your first attempt doesn’t yield perfect results. With patience and perseverance, you’ll become a pro at regrouting in no time.
So grab your tools and get ready to give your bathtub a fresh new look!