
I’ve been there – standing over a broken bathtub drain stopper, wondering how in the world I’m going to get it out. But fear not, because I’ve got you covered.
In this article, I’ll guide you through the step-by-step process of removing that stubborn drain stopper and getting your bathtub back in working order.
So grab your tools and let’s get started on this rewarding DIY project.
Key Takeaways
- Inspect the bathtub drain stopper and surrounding areas for wear, cracks, or breakage.
- Check the condition of the stopper’s threads and if it is stuck or not functioning properly.
- Examine the drain for obstructions or clogs that may have caused the stopper to break.
- Determine the best course of action based on the damage assessment.

4 Pack Washable Filter For Roborock Q5 Pro/Pro+(Plus)/ Max+(Plus)/ DuoRoller+, Q7/ Q7+, Q7 Max/Max+, Q8 Max/Max+ Robot Vacuum Cleaner Accessories Replacement Part True HEPA Filter For Robotic
Compatible Models: The True HEPA washable filter replacement parts are compatible with Roborock Q7, Q7+(Plus), Q7 Max, Q7...
As an affiliate, we earn on qualifying purchases.
Assess the Damage
First, you’ll want to take a close look at the damage to determine the best course of action. Assessing the damage is crucial in order to choose the appropriate repairing options.
Begin by inspecting the bathtub drain stopper and surrounding areas for any visible signs of wear, cracks, or breakage. Pay attention to the condition of the stopper’s threads, as they may be stripped or damaged. Check if the stopper is stuck or not functioning properly.
Carefully examine the drain itself to see if there are any obstructions or clogs that may have caused the stopper to break. Additionally, check the lever or mechanism that controls the stopper’s movement.

ALJ 3PCS Air Fryer Oven Mesh Rack for COSORI 10QT Air Fryer Toaster Oven, Premium Dehydrator Rack Shelf Grid Grill Pan Crisper Cooking Plate Tray Insert Grate for COSORI 13QT Oven, Dishwasher Safe
Air Fryer Oven Shelf for COSORI Air Fryer Oven: Our air fryer oven mesh rack is fit for...
As an affiliate, we earn on qualifying purchases.
Gather the Necessary Tools
To start, gather all the tools you’ll need for the job. Here are the necessary tools and equipment:
- Screwdriver (Phillips and flathead)
- Adjustable pliers
- Bucket or towel
- Replacement bathtub drain stopper
- Plumbers putty or silicone sealant
- Rubber gloves
- Safety glasses
Safety: Ensuring you have the right tools will prevent accidents and injuries during the process.
Efficiency: Having all the necessary tools at hand will save time and frustration, allowing for a smooth repair.
Confidence: Being prepared will give you the confidence to tackle the task and successfully replace the broken bathtub drain stopper.

EUDELE Adhesive Shower Caddy, 5 Pack Rustproof Stainless Steel Bath Organizers With Large Capacity, No Drilling Shelves for Bathroom Storage & Home Decor
5 Hanging Shower Organizer Set for Sufficient Bathroom Storage Space:The bathroom organizer comes with 5 pieces for different...
As an affiliate, we earn on qualifying purchases.
Remove the Overflow Plate
Now, you’ll need to unscrew the overflow plate using a screwdriver. This step is crucial in order to access the broken bathtub drain stopper and continue with the repair process. To make it easier to understand, let me provide a visual representation of the steps involved in removing the overflow plate:
| Steps | Description |
|---|---|
| Step 1 | Turn off the water supply to the bathtub. |
| Step 2 | Remove the screws that secure the overflow plate to the bathtub wall. |
| Step 3 | Gently pull the overflow plate away from the wall, exposing the drain stopper mechanism. |
| Step 4 | Inspect the drain stopper for any damage or signs of wear. If necessary, replace the overflow plate and the drain stopper. |
Once the overflow plate is removed, you can proceed with patching the hole if necessary and replacing the overflow plate with a new one.

Veken Shower Caddy 6-Pack, Advanced Rustproof Design, No Drilling Adhesive Shelves, Rack with Soap Holder, Large Capacity Bathroom Organizers and Storage, Wall-Mounted Kitchen & Home Decor
Comprehensive Storage Solution: This 6-piece set includes small, medium, and large caddies with a soap dish and toothbrush...
As an affiliate, we earn on qualifying purchases.
Disconnect the Linkage
Once you’ve successfully removed the overflow plate, it’s time to disconnect the linkage. This step is crucial in troubleshooting common issues with a broken bathtub drain stopper.
To ensure a smooth process, follow these steps:
- Locate the linkage assembly underneath the bathtub. It is usually connected to the drain pipe.
- Use a wrench or pliers to loosen the nut securing the linkage assembly.
- Carefully disconnect the linkage from the drain pipe by pulling it out.
- Inspect the linkage for any damage or corrosion that may be causing the stopper to malfunction.
- If necessary, replace the linkage with a new one, ensuring it is compatible with your bathtub model.
- Reconnect the new linkage to the drain pipe and tighten the nut securely.
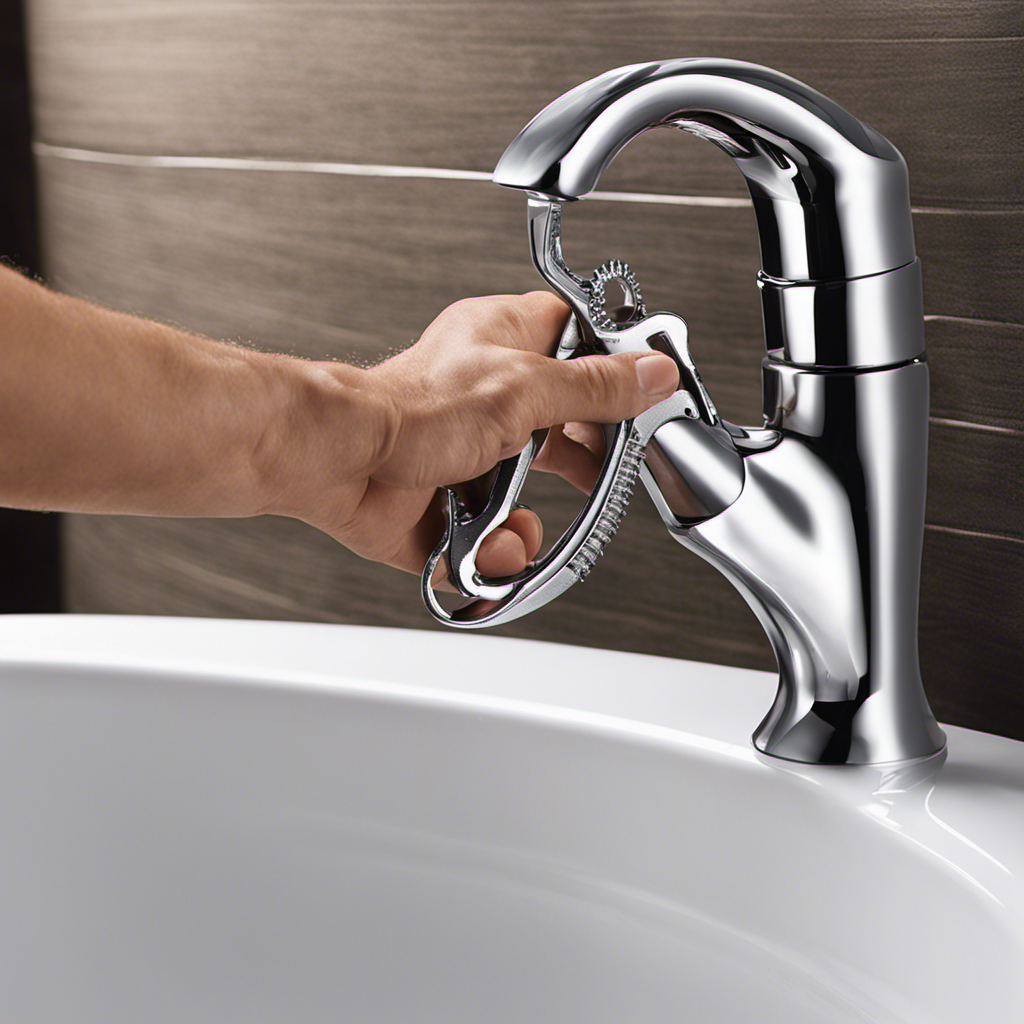
Remove the Broken Drain Stopper
First, you’ll want to carefully detach the damaged piece from the drain assembly.
To remove the broken drain stopper, start by locating the set screw on the stopper. This screw is usually located underneath the stopper or on the side. Using a screwdriver, loosen the set screw counterclockwise until it is fully unscrewed.
Once the set screw is removed, you can pull the broken stopper out of the drain assembly. Be careful not to damage any other components as you remove it.
Now that the broken stopper is out, you can replace it with a new one. Make sure to choose a stopper that is compatible with your bathtub’s drain assembly.
If you are unsure or uncomfortable with this process, it is always best to call a professional for assistance.
Clean the Drain Area
To properly clean the area around the drain, you’ll want to use a mild cleaning solution and a soft brush. Start by removing any debris or hair from the surface of the drain. Then, mix a solution of warm water and a gentle cleaning agent, such as dish soap or vinegar. Apply the solution to the drain area and use the soft brush to scrub away any dirt or grime. Rinse the area thoroughly with water to remove any residue.
-
Unclogging techniques:
-
Use a plunger to create suction and dislodge any clogs.
-
Try using a drain snake or auger to physically remove the blockage.
-
Consider using a chemical drain cleaner as a last resort, following the manufacturer’s instructions carefully.
-
Preventing future drain stopper issues:
-
Install a drain strainer to catch hair and debris before it enters the drain.
-
Regularly clean the drain area to prevent buildup.
-
Avoid pouring grease, oil, or other substances down the drain that can cause clogs.
Install a New Drain Stopper
When installing a new drain stopper, make sure to follow the manufacturer’s instructions carefully to ensure proper installation. The first step is to remove the old stopper by unscrewing it from the drain. Once the old stopper is removed, it’s time to choose the right size for the new stopper. This is an important step as using the wrong size can lead to leaks and inefficient drainage. To determine the correct size, measure the diameter of the drain opening using a ruler or tape measure. Once you have the measurements, refer to the manufacturer’s sizing chart to find the appropriate size for your drain. It’s crucial to select a stopper that fits snugly in the drain to prevent water from seeping through. Once you have the right size, follow the manufacturer’s instructions to install the new drain stopper securely.
| Diameter (inches) | Stopper Size |
|---|---|
| 1.5 | Small |
| 2 | Medium |
| 2.5 | Large |
| 3 | Extra Large |
| 3.5 | Jumbo |
Conclusion
In conclusion, removing a broken bathtub drain stopper is a tedious task that requires careful assessment and the right tools. It is like untangling a web of complications, but with patience and precision, the broken stopper can be successfully removed.
Remember to disconnect the linkage and remove the overflow plate before tackling the broken stopper itself. Once the task is complete, the drain area should be thoroughly cleaned to ensure smooth drainage.
Finally, installing a new drain stopper will restore the functionality of your bathtub.