I’ve always found it frustrating when my bathtub drain gets clogged. The toe-touch drain stopper seems like a convenient solution, but what happens when it needs to be removed?
In this article, I’ll guide you through the process of removing a toe-touch bathtub drain stopper. Armed with the right tools and a little know-how, you’ll be able to tackle this task with ease.
So, let’s dive in and get that drain flowing freely again!
Key Takeaways
- Have the necessary tools and preparation, such as pliers and a screwdriver, to remove the toe-touch bathtub drain stopper.
- Identify the type of drain stopper you have, whether it’s toe-touch, lift-and-turn, push-pull, or pop-up, to know how to properly remove it.
- Be prepared for potential challenges, such as rusted or stubborn screws, and know how to overcome them, such as using penetrating oil or heat.
- Follow the correct steps to detach and reassemble the drain stopper, including inspecting and cleaning the rubber gasket, and avoiding common reassembly mistakes.

GIOTOHUN Cat Water Fountain Filter: 12 Cat Fountain Filter Replacement - 12 Pet Fountains Filters Replacement - 6 Filters & 6 Sponges - Suitable for ATMZIQXR GIOTOHUN KOOGMOON UMOCUOY IHOUONE HOOISE
- Compatible with GIOTOHUN Stainless Steel Fountain: Fits GIOTOHUN 2.2L cat water dispenser
- Set of 12 Filters: Includes 6 carbon and 6 sponge filters
- Long-lasting Filters: Suitable for 3-6 months of use
As an affiliate, we earn on qualifying purchases.
Tools You’ll Need
You’ll need a pair of pliers and a screwdriver to remove the toe-touch bathtub drain stopper.
When it comes to bathtub drain troubleshooting, knowing the different types of drain stoppers is essential. There are several types of drain stoppers, including toe-touch, lift-and-turn, and push-pull stoppers.
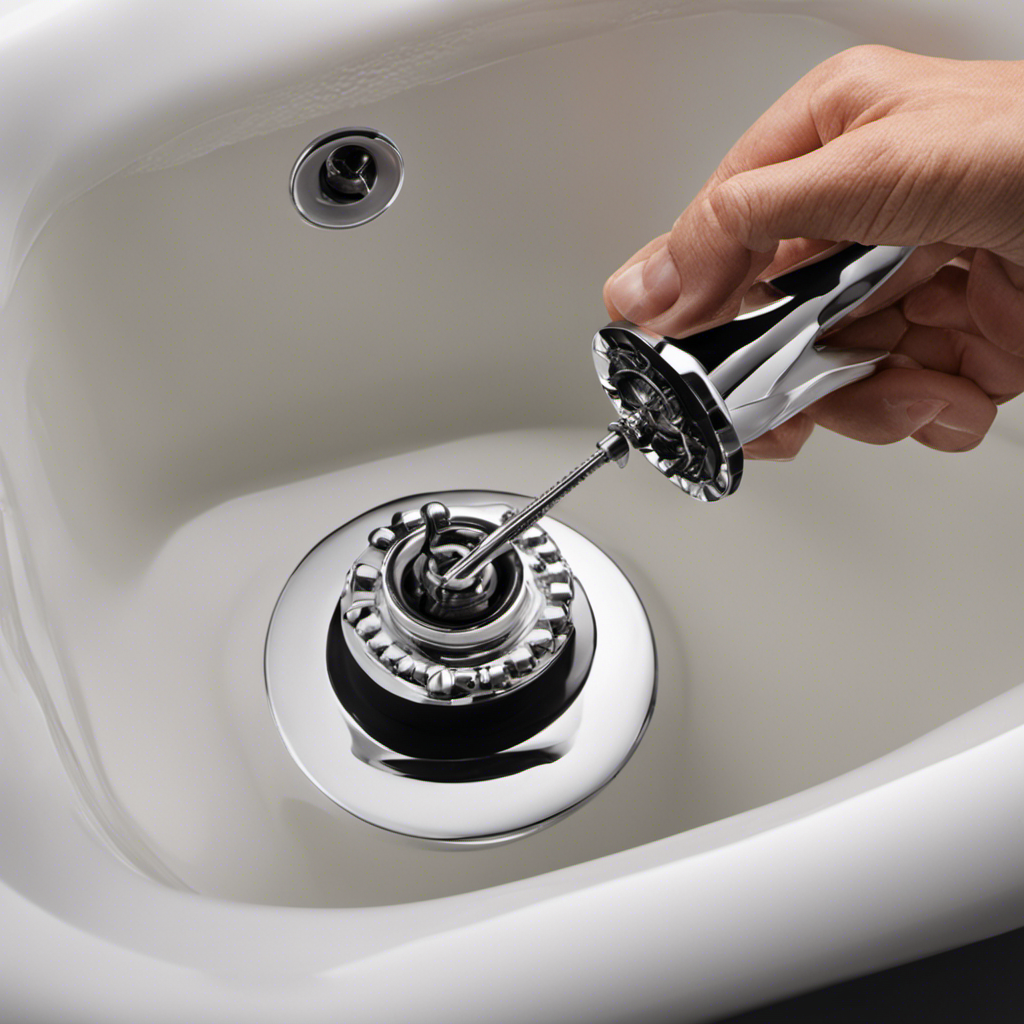
The toe-touch drain stopper is a common type found in many bathtubs. To remove it, start by locating the small setscrew on the side of the stopper and use a screwdriver to loosen it.
Once the setscrew is loose, grasp the stopper with the pliers and twist it counterclockwise until it comes free.
With the right tools and a little know-how, removing a toe-touch bathtub drain stopper can be a straightforward task.
Assessing the Drain Stopper Type
To identify the type of stopper in your bathtub drain, take a close look at its design and mechanism. There are several different drain stopper types commonly found in bathrooms, each with its own unique features and functions. Understanding the type of stopper you have will help you troubleshoot common issues and effectively remove it if needed.
Here is a table outlining the most common drain stopper types:
| Stopper Type | Description |
|---|---|
| Toe-touch | Operated by pressing on the stopper with your foot or toe. |
| Lift-and-turn | Requires lifting and turning the stopper to open or close the drain. |
| Push-pull | Involves pulling up or pushing down the stopper to control the drainage. |
| Pop-up | Activated by pushing or pulling a lever on the overflow plate to raise or lower the stopper. |
Preparing the Bathtub
Make sure your bathtub is clean and free of any debris before proceeding with the next steps. Proper bathtub cleaning is crucial for maintaining a healthy and functional drain system.
Start by removing any hair or soap scum from the drain using a drain snake or a pair of tweezers. This will prevent clogs and keep the water flowing smoothly.
Next, clean the surface of the bathtub with a mild cleaner or vinegar solution to remove any dirt or grime. Regular bathtub drain maintenance is essential to prevent future issues and ensure optimal performance.
Once your bathtub is clean and debris-free, you can move on to the next step of removing the overflow plate.
Removing the Overflow Plate
When it comes to removing the overflow plate of a bathtub, there are a few key points to keep in mind.
First, it’s important to have the proper tool for removal, which is typically a screwdriver or an Allen wrench.
Second, there may be potential challenges such as rusted or stubborn screws, which can make the removal process more difficult.
However, there are solutions available, such as using penetrating oil to loosen the screws or applying heat to the area to expand the metal and make it easier to remove.
Proper Tool for Removal
You’ll need a pair of needle-nose pliers to remove the toe-touch bathtub drain stopper. This is the proper technique for removing the stopper, but there are alternative methods as well.
Here are some options to consider:
-
Use a screwdriver: If you don’t have needle-nose pliers, a flat-head screwdriver can also do the job. Insert the screwdriver into the stopper’s slot and turn counterclockwise to unscrew it.
-
Use a drain removal tool: There are specialized tools available that are designed specifically for removing bathtub drain stoppers. These tools provide a better grip and make the removal process easier.
-
Seek professional help: If you’re unsure about removing the stopper yourself or if you encounter any difficulties, it’s always a good idea to call a professional plumber. They have the expertise and tools to handle the job effectively.
Remember to always follow the manufacturer’s instructions and exercise caution when working with plumbing fixtures.
Potential Challenges and Solutions
When it comes to removing old toe-touch bathtub drain stoppers, there can be some challenges along the way. One common challenge is that the stopper may be stuck or corroded, making it difficult to remove. In such cases, using a lubricant like WD-40 can help loosen the stopper and make it easier to unscrew or pull out. Another challenge that may arise is if the drain is clogged or not draining properly. In these situations, it is important to troubleshoot the drainage issue before attempting to remove the stopper. This can involve using a plunger or a drain snake to clear any blockages. Additionally, if the stopper is connected to a lever or linkage system, it may require some extra steps to disconnect it properly. Refer to the manufacturer’s instructions or consult a professional if needed.
| Challenge | Solution |
|---|---|
| Stuck or corroded stopper | Use a lubricant like WD-40 to loosen the stopper |
| Clogged or slow drainage | Troubleshoot the drainage issue before removing the stopper |
| Lever or linkage system | Follow manufacturer’s instructions or consult a professional |
Detaching the Drain Stopper Mechanism
To detach the drain stopper mechanism, start by unscrewing the top cap in a counterclockwise direction. This will allow you to access the inner workings of the drain stopper and troubleshoot any issues you may be experiencing. Here are some key steps to keep in mind:
- Remove the top cap by turning it counterclockwise.
- Lift the stopper assembly out of the drain.
- Inspect the rubber gasket for any signs of damage or wear.
- Clean the stopper and gasket thoroughly to remove any debris or buildup.
- If necessary, replace the gasket with a new one.
- Reassemble the drain stopper by placing the stopper assembly back into the drain and securing the top cap by turning it clockwise.
Following these steps will help you successfully detach the drain stopper mechanism and address any installation or troubleshooting issues you may encounter.
Now, let’s move on to the next section about removing the drain stopper entirely.
Removing the Drain Stopper
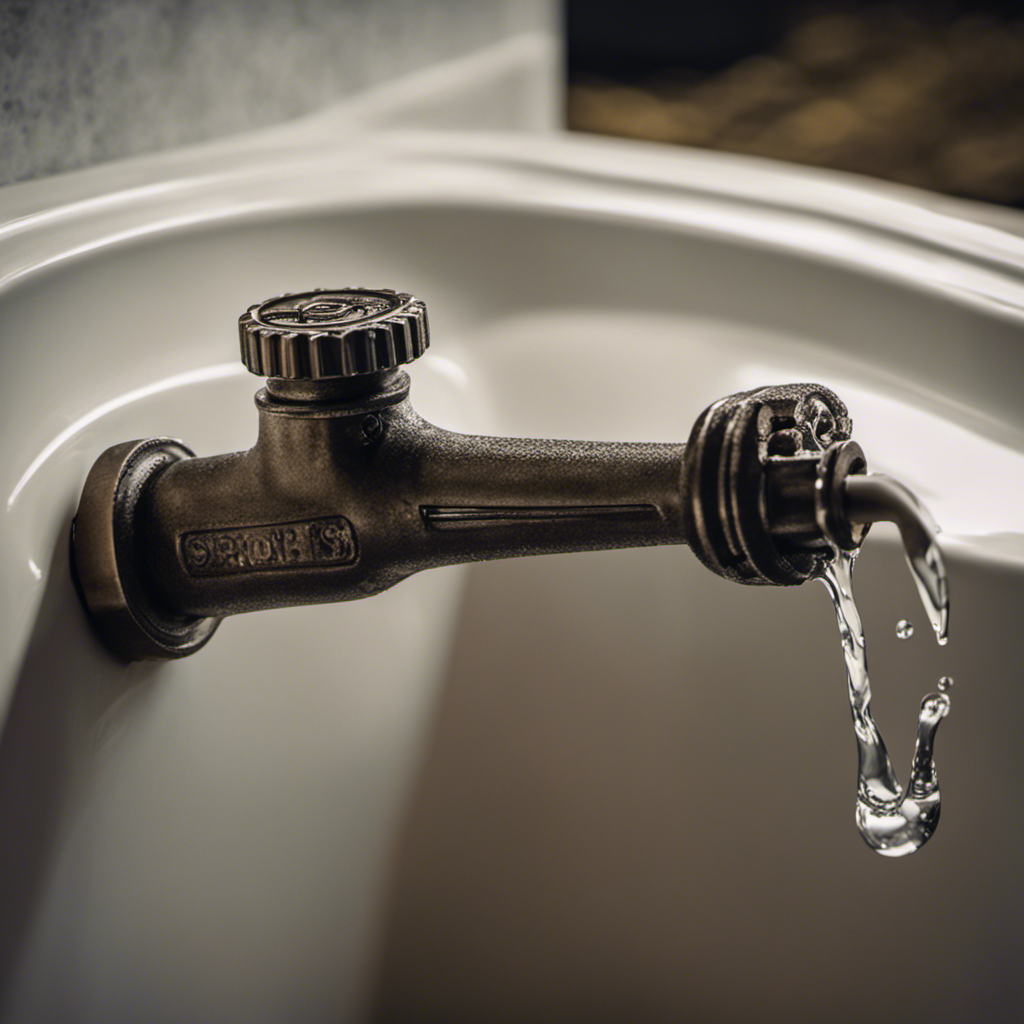
Removing the drain stopper can be done by gently twisting and lifting the stopper assembly out of the bathtub. It’s important to perform regular drain stopper maintenance to prevent clogs and ensure proper drainage. If you’re experiencing any issues with your drain stopper, troubleshooting stopper removal is the first step.
To remove the stopper, locate the small setscrew underneath the stopper assembly and loosen it with a screwdriver. Once the setscrew is loosened, you can twist the stopper counterclockwise to unscrew it from the drain. Lift the entire assembly out of the bathtub by pulling it straight up.
With the drain stopper successfully removed, you can now proceed to the next section on cleaning and reassembling the drain stopper.
Cleaning and Reassembling the Drain Stopper
When it comes to maintaining the drain stopper in your bathtub, there are a few key tips to keep in mind.
First, it’s important to regularly clean the stopper to remove any buildup or debris that could affect its functionality.
Additionally, be aware of common reassembly mistakes, such as not properly aligning the parts or overtightening the screws, which could lead to leaks or other issues.
Maintenance Tips for Stopper
You can easily keep your stopper in good condition by regularly cleaning it with a mixture of vinegar and baking soda. This simple maintenance routine will help ensure that your stopper functions properly and prevents any common issues.
Here are some tips to help you maintain your stopper’s functionality and troubleshoot common stopper issues:
- Check for hair and debris buildup around the stopper and remove it regularly.
- Lubricate the moving parts of the stopper with a silicone-based lubricant to prevent sticking.
- Inspect the stopper mechanism for any signs of damage or wear and replace any worn-out parts promptly.
Common Reassembly Mistakes
One common reassembly mistake to avoid is not aligning the stopper’s grooves properly, as this can hinder its functionality.
When reassembling a toe-touch bathtub drain stopper, it is important to ensure that the grooves on the stopper are correctly aligned with the corresponding grooves on the drain assembly. Failure to do so can result in the stopper not functioning properly, leading to issues with water drainage.
To troubleshoot this problem, simply remove the stopper and realign the grooves before reassembling it. Additionally, make sure to tighten any screws or connections securely to prevent any leaks or loose parts.
Following these reassembly tips and troubleshooting any issues with the stopper’s grooves will help ensure its proper functionality and prevent any future problems.
Conclusion
So there you have it, folks! Removing a toe-touch bathtub drain stopper may seem like a daunting task, but with the right tools and a little know-how, it can be done.
By following the steps outlined in this article, you’ll be able to successfully remove and clean your drain stopper, ensuring a smoothly functioning bathtub.
Remember, a clean and properly working drain is essential for a relaxing and enjoyable bath. So go ahead, give it a try and say goodbye to clogged drains and water buildup.
Happy bathing!