Did you know that outdated or damaged bathtub caulk can lead to water leaks and mold growth? If you’re facing this issue, don’t worry! I’ll guide you through the process of removing bathtub caulk step by step.
With the right tools and materials, you can easily soften and remove the old caulk, clean the surface, and apply new caulk for a fresh and watertight seal.
Let’s get started!
Key Takeaways
- Necessary tools and materials for removing bathtub caulk include a caulk removal tool, utility knife, scraper, safety goggles, and gloves.
- Before removing the caulk, it is important to prepare the bathtub by cleaning the surface with a mild detergent or specialized cleaner, removing dirt and grime with a scrub brush or sponge, and removing old caulk residue with a caulk remover tool or razor blade.
- Properly cleaning the surface involves using a mild detergent or soap to remove dirt and grime, gently scrubbing the surface with a soft-bristle brush, paying extra attention to areas with caulk for accumulated dirt and soap residue, rinsing the surface thoroughly with clean water, and allowing it to dry completely before proceeding.
- When removing old caulk residue, it is recommended to scrape the residue with a caulk removal tool or putty knife, apply a solvent like rubbing alcohol or acetone to soften the residue, use a caulk remover gel to dissolve stubborn caulk, follow the recommended time for the gel to work before scraping, and always wear protective gloves and ensure proper ventilation when using solvents.

ALLWAY CT31 3-in-1 Caulk Tool for Removal and Application
Multifunction 3-in-1 Caulk Tool: Comfortable soft-grip and made from strong engineering plastic
As an affiliate, we earn on qualifying purchases.
As an affiliate, we earn on qualifying purchases.
Necessary Tools and Materials
To remove bathtub caulk, you’ll need a utility knife, a caulk removal tool, a putty knife, and a caulk gun. Caulk removal techniques are essential to ensure a successful and clean removal process.
First, use the utility knife to cut along the edges of the caulk, being careful not to damage the surrounding tiles or surfaces.
Then, use the caulk removal tool to scrape away the caulk from the joint, applying steady pressure and working in small sections. For stubborn caulk, a heat gun or hairdryer can be used to soften it before scraping.
Safety precautions should always be taken during the process. Wear protective gloves and goggles to protect your hands and eyes. Additionally, ensure proper ventilation in the area to avoid inhaling any caulk dust or fumes.
caulk remover gel for bathtubs
As an affiliate, we earn on qualifying purchases.
As an affiliate, we earn on qualifying purchases.
Preparing the Bathtub
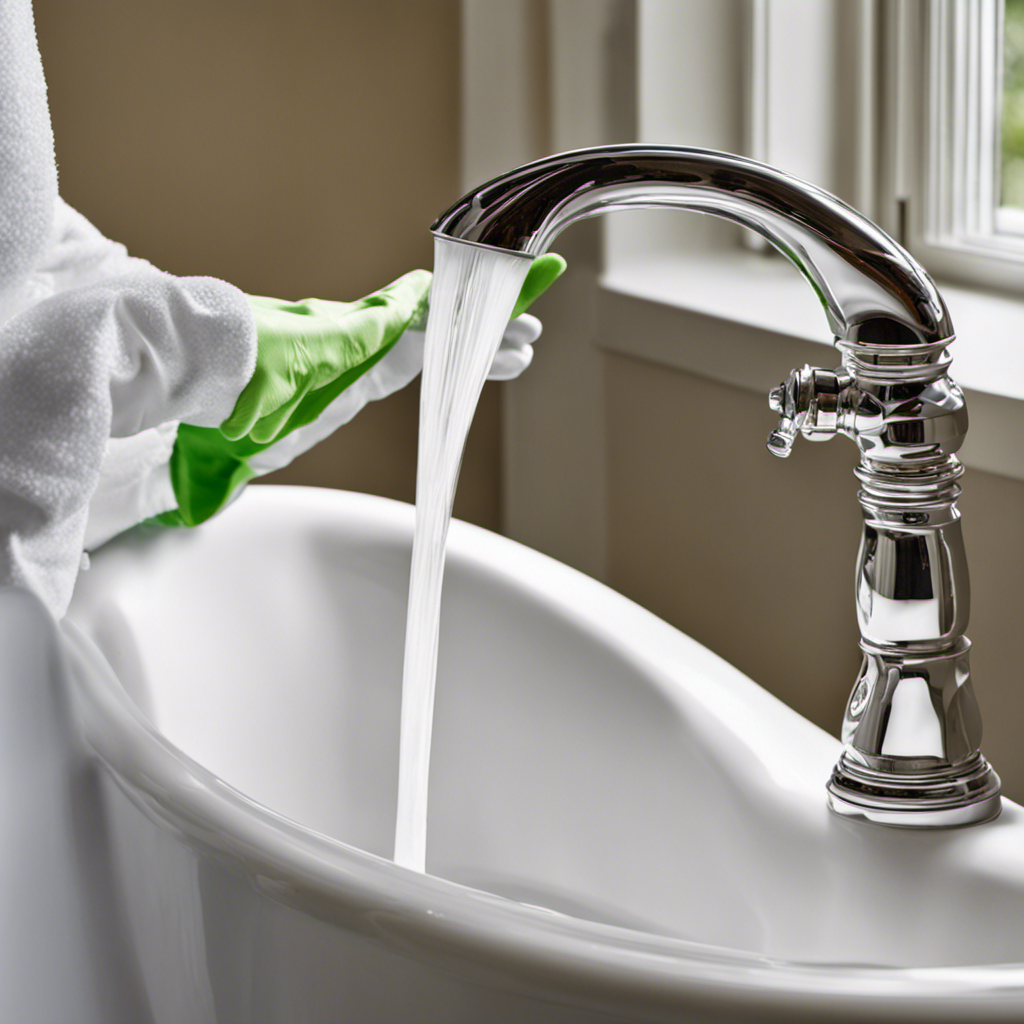
Before applying new caulk to the bathtub, it’s crucial to ensure that the surface is clean and free of any debris or residue. To clean the surface properly, I recommend using a mild detergent or a specialized bathtub cleaner, along with a scrub brush or sponge.
It’s also important to remove any old caulk residue, as this can prevent the new caulk from adhering properly. To remove old caulk residue, you can use a caulk remover tool or a razor blade, being careful not to damage the bathtub surface.
Cleaning the Surface Properly
Make sure you’re using a clean cloth to wipe down the surface before applying any cleaning solution. This step is crucial in ensuring that the caulk remover works effectively and the surface is properly prepared for the next steps.
Here are some key points to keep in mind when cleaning the surface of your bathtub:
- Use a mild detergent or soap to remove any dirt or grime.
- Scrub the surface gently with a soft-bristle brush to avoid damaging the bathtub.
- Pay extra attention to the areas with caulk, as they may have accumulated more dirt and soap residue.
- Rinse the surface thoroughly with clean water to remove any leftover cleaning solution.
- Allow the surface to dry completely before moving on to the next step. Proper drying is important to ensure that the caulk remover adheres properly to the surface.
Now that the surface is clean and dry, we can proceed to the next step of removing the bathtub caulk using a caulk remover.
Removing Old Caulk Residue
Now that you’ve cleaned and dried the surface, it’s time to tackle the residue left behind by the old caulk. Removing stubborn caulk can be a challenging task, but with the right methods, you can achieve a smooth and clean surface.
One alternative caulk removal method is using a caulk removal tool or a putty knife. Gently scrape along the residue, being careful not to damage the surface.
Another effective method is using a solvent like rubbing alcohol or acetone. Apply the solvent to a cloth and rub the residue until it softens.
You can also try using a caulk remover gel, which is specifically designed to dissolve stubborn caulk. Apply the gel to the residue and let it sit for the recommended time before scraping it off.
Remember to always wear protective gloves and ensure proper ventilation when using solvents.
silicone caulk remover
As an affiliate, we earn on qualifying purchases.
As an affiliate, we earn on qualifying purchases.
Softening the Caulk
When it comes to softening bathtub caulk for removal, there are two effective methods that I recommend: the heat gun method and chemical caulk removers.
The heat gun method involves using a heat gun to apply heat directly to the caulk, causing it to soften and become easier to remove.
On the other hand, chemical caulk removers are products specifically designed to dissolve and soften caulk, making it easier to scrape away.
Both methods have their advantages and it ultimately comes down to personal preference and the condition of the caulk.
Heat Gun Method
To remove bathtub caulk using a heat gun, you’ll want to start by plugging in the gun and putting on protective gloves. Safety is paramount when using a heat gun, so make sure to follow these guidelines:
- Keep the heat gun away from flammable materials.
- Avoid pointing the gun at yourself or others.
- Maintain a safe distance between the gun and the caulk to prevent damage.
- Work in a well-ventilated area to avoid inhaling fumes.
- Consider using alternative caulk removal methods if the heat gun is not suitable for your specific situation.
Using a heat gun can be an effective way to soften and remove stubborn caulk from your bathtub. However, it’s essential to prioritize safety and explore other options if necessary.
Chemical Caulk Removers
If you’re looking for an alternative method to remove caulk from your bathtub, you might want to consider using chemical caulk removers. These products are specifically formulated to dissolve and soften the caulk, making it easier to remove.
One of the best caulk removers on the market is a gel-like substance that you simply apply to the caulk and let it sit for a specified amount of time. The chemical remover then works to break down the caulk, allowing you to easily scrape it away with a putty knife or caulk removal tool.
This method is particularly effective for stubborn or old caulk that is difficult to remove using other methods.
Now that you know about alternative caulk removers, let’s move on to the next section about actually removing the old caulk.
bathtub caulk sealing kit
As an affiliate, we earn on qualifying purchases.
As an affiliate, we earn on qualifying purchases.
Removing the Old Caulk
Begin by applying a caulk softener to the old caulk to make it easier to remove. This softener is designed to break down the caulk, making it less sticky and more pliable. Once applied, let it sit for the recommended amount of time, usually around 30 minutes.
Afterward, you can start removing the old caulk using the following step-by-step instructions:
- Use a caulk removal tool or a utility knife to carefully cut away any loose caulk.
- Gently pry the caulk away from the surface using a putty knife or a caulk removal tool.
- If there are stubborn patches of caulk, use a caulk scraper to scrape them away.
- Clean the area with a mild detergent and warm water to remove any residue.
- Finally, dry the surface thoroughly before applying new caulk.
Tools needed: Caulk softener, caulk removal tool, utility knife, putty knife, caulk scraper.
Removing old caulk can be a tedious task, but with the right tools and step-by-step instructions, it can be done efficiently.
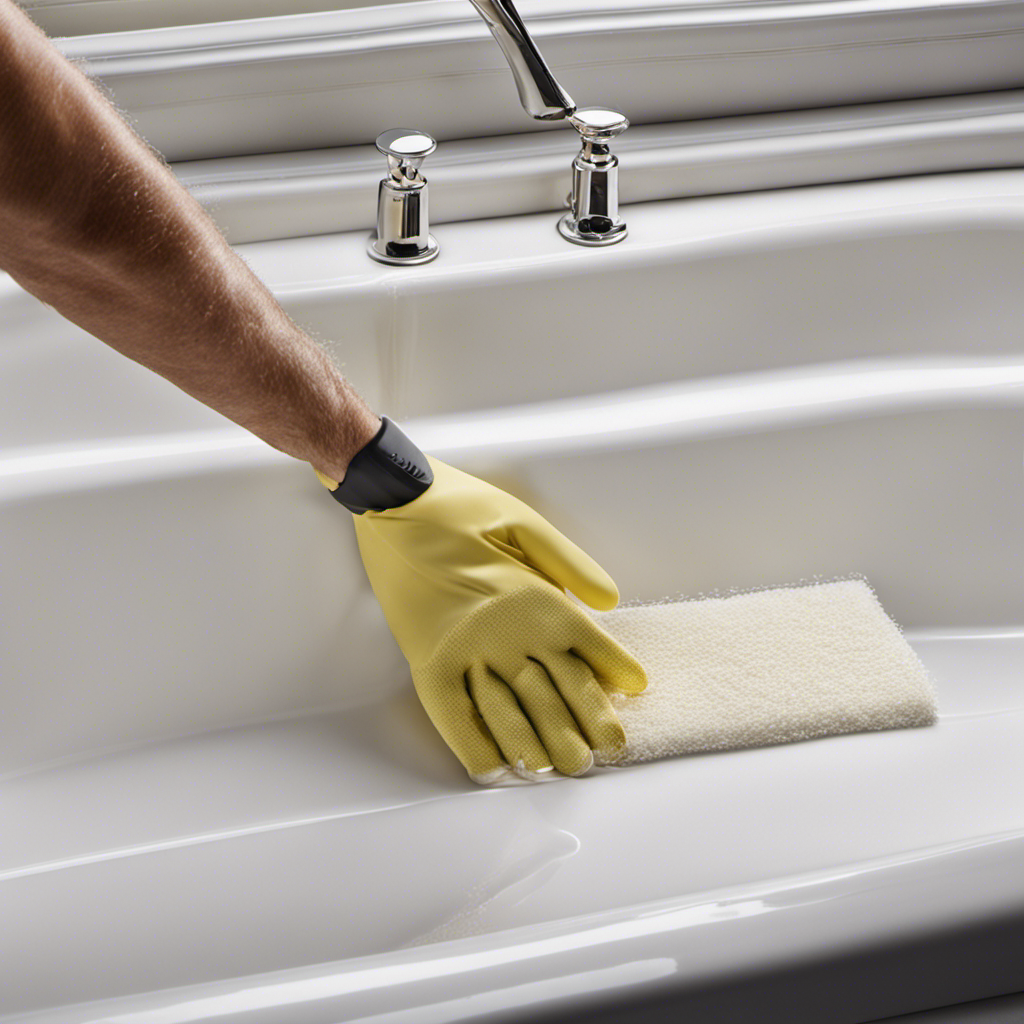
Cleaning the Surface
Once the old caulk has been removed, it’s important to thoroughly clean the surface before applying new caulk. Cleaning the surface is crucial to ensure proper adhesion and the longevity of the new caulk.
To begin, I recommend using a caulk removal tool or a putty knife to scrape away any remaining caulk residue. Be careful not to scratch or damage the surface.
Next, prepare a mixture of warm water and mild detergent. Dip a sponge or cloth into the soapy solution and gently scrub the area where the old caulk was removed. Make sure to remove any dirt, grime, or grease that may be present.
Rinse the surface with clean water and allow it to dry completely before applying new caulk. This will ensure a clean and smooth surface for the new caulk to adhere to effectively.
Applying New Caulk
To ensure a proper seal, make sure you have a caulking gun and a tube of silicone caulk. Proper application of caulk is crucial to maintaining the integrity of your bathtub and preventing water damage. Here are some key points to consider when applying new caulk:
-
Clean the surface: Before applying new caulk, make sure the surface is clean and dry. Remove any old caulk or debris using a caulk removal tool or a putty knife.
-
Choose the right caulk: There are different types of caulk available, such as silicone, acrylic, and latex. Each type has its own specific uses, so choose the one that suits your needs and the area you are sealing.
-
Cut the tip of the caulk tube: Use a utility knife to cut the tip of the caulk tube at a 45-degree angle. The size of the opening will depend on the width of the gap you need to fill.
-
Apply caulk in a continuous bead: Hold the caulking gun at a 45-degree angle and apply a steady, even pressure to create a continuous bead of caulk along the gap. Make sure the caulk fills the entire gap without any gaps or air pockets.
-
Smooth the caulk: Use a caulk smoothing tool or your finger to smooth the caulk and create a neat finish. Wipe away any excess caulk with a damp cloth.
Properly applying caulk is essential for maintaining the waterproofing and aesthetic appeal of your bathtub. Knowing the different types of caulk and their uses will help you choose the right product for your specific needs.
Finishing Touches
After smoothing the caulk, wipe away any excess with a damp cloth to achieve a clean and polished finish. Final touches are crucial in any home improvement project, and caulking is no exception. Properly finishing the caulk not only enhances the overall appearance but also ensures its durability. Here are some final touches tips to consider:
-
Trim the caulk: Use a caulk trimmer or a utility knife to remove any excess caulk and create a neat edge.
-
Smooth with your finger: Run your finger along the caulk line to smooth it out and create a seamless finish.
-
Use a caulk finishing tool: This tool helps achieve a professional look by smoothing the caulk and removing any imperfections.
-
Clean up promptly: Remove any stray caulk or smudges with a damp cloth before it dries.
-
Allow proper curing time: Follow the manufacturer’s instructions for drying and curing time to ensure optimal results.
Maintenance Tips
Now that we’ve covered the finishing touches for removing bathtub caulk, let’s move on to some maintenance tips to keep your bathtub looking its best. Taking care of your bathtub can extend its lifespan and prevent any future caulk issues.
Here are some essential maintenance tips:
-
Regular cleaning: Clean your bathtub regularly to prevent the buildup of dirt, grime, and soap scum. Use a mild cleaner and a soft cloth or sponge to avoid scratching the surface.
-
Proper ventilation: Ensure proper ventilation in your bathroom to prevent excess moisture, which can lead to mold and mildew growth. Use exhaust fans or open windows during and after showering.
-
Avoid abrasive cleaners: Harsh cleaners can damage the surface of your bathtub and cause the caulk to deteriorate. Stick to gentle, non-abrasive cleaners.
-
Check for leaks: Regularly inspect the caulk around your bathtub for any signs of cracking or gaps. If you notice any issues, promptly remove and replace the caulk to prevent water damage.
-
Use caulk removal techniques: When removing old caulk, use proper techniques to avoid damaging the bathtub surface. Use a caulk removal tool or a utility knife to carefully remove the caulk without scratching the tub.
Frequently Asked Questions
How Long Does It Take for the Caulk to Soften?
It usually takes about 1-2 hours for caulk to soften. To soften caulk quickly, you can use alternative methods like applying heat or using a caulk softener.
Can I Use a Hairdryer to Soften the Caulk Instead of a Heat Gun?
I’ve always wondered if a hairdryer could be used instead of a heat gun to soften caulk. After some research, I discovered that while it may work, a heat gun is still the preferred method for best results.
Is It Necessary to Remove All the Old Caulk Before Applying New Caulk?
Yes, it is necessary to remove all the old caulk before applying new caulk. Even if the old caulk is in good condition, it is best to remove it for proper adhesion of the new caulk. Applying new caulk over old caulk may result in a less durable and less attractive finish.
Can I Use a Putty Knife to Remove the Old Caulk?
Yes, a putty knife can be used to remove old caulk, but there are alternative tools that may be more effective. The best techniques for caulk removal involve using a combination of tools and solvents for a thorough and clean removal.
Are There Any Specific Cleaning Solutions I Should Use to Clean the Surface Before Applying New Caulk?
When applying new caulk, it’s important to clean the surface properly. I recommend using a mild cleaning solution or alternatively, a mixture of vinegar and water. This will ensure a clean surface for optimal adhesion of the new caulk.
Conclusion
In conclusion, removing bathtub caulk can be a tedious task, but with the right tools and techniques, it can be done efficiently. By softening the caulk and carefully removing it, you can ensure a clean and smooth surface for applying new caulk.
Remember to thoroughly clean the area before applying the new caulk and give it time to dry properly. With regular maintenance, your bathtub will stay caulk-free and look as good as new.
So, seize the opportunity to say goodbye to that stubborn caulk and revel in the rejuvenated beauty of your bathtub.