As a seasoned DIY enthusiast, I’ve tackled my fair share of household projects. But let me tell you, removing bathtub fixtures can be quite the challenge! However, with the right tools and know-how, it’s a task that can be conquered.
In this article, I’ll guide you through the step-by-step process of removing showerheads, faucet handles, bathtub spouts, and drain stoppers. So grab your toolbox and let’s get started on this plumbing adventure!
Key Takeaways
- Inspect the faucets, handles, and spout for wear and tear, such as rust, corrosion, or leaks.
- Shut off the water supply by locating and turning off the main water valve.
- Use the appropriate tools, such as an adjustable wrench and screwdriver set, to remove the old fixtures.
- Detach the bathtub spout and drain stopper by locating the set screw, twisting and pulling the spout, and unscrewing the overflow plate or lifting out the drain stopper.

Delta Modern 14 Series Round Rain Shower System Faucet Set, Rainfall Chrome Shower Head and Handle Set, Valve Trim Kit, 10 Inch, Chrome 342702
COMPLETE SHOWER SYSTEM: The Modern Raincan shower system includes a raincan shower head, shower arm, integrated diverter shower...
As an affiliate, we earn on qualifying purchases.
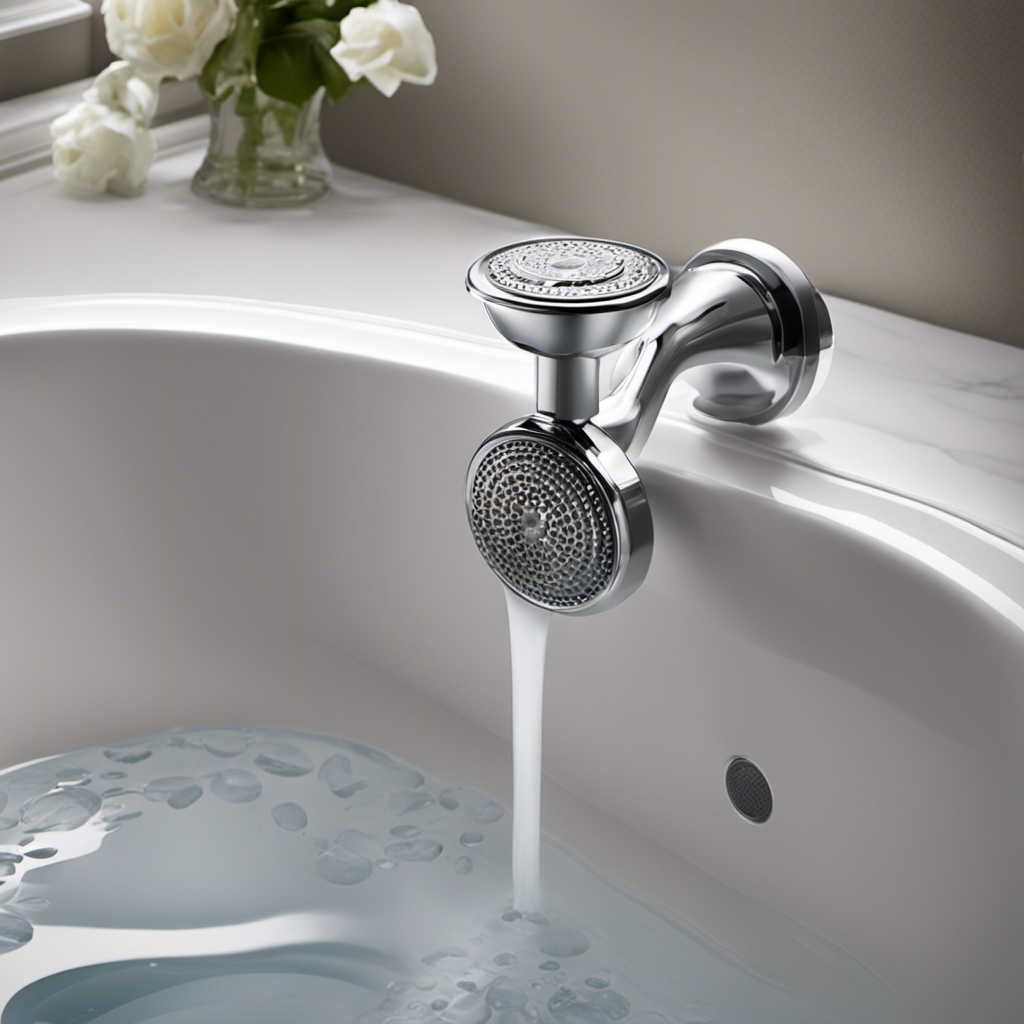
Assessing the Fixtures
Now that you’ve gathered your tools, you’ll want to start by assessing the condition of the bathtub fixtures. Evaluating the condition of the fixtures is crucial in determining whether they need to be replaced or not.
Begin by inspecting the faucets, handles, and spout for any signs of wear and tear, such as rust, corrosion, or leaks. Check the water pressure and temperature control to ensure they are functioning properly.
Additionally, examine the drain stopper and overflow plate for any damage or malfunction. Look for any cracks or chips in the porcelain or enamel finish of the bathtub itself.

Shower Faucet Set, 12" Ceiling Mount Rainfall Shower System with 12'' Top Head+6'' Side Head and Multi-function Handheld Head Push Button Diverter Shower Faucet Trim Kit (12", Matte Black)
COMPREHENSIVE SHOWER SYSTEM- This shower faucet set comes with two shower heads that can be used together or...
As an affiliate, we earn on qualifying purchases.
Gathering the Necessary Tools
First, you’ll need to gather the necessary tools for the job. Here are the essential items you’ll need:
- Adjustable wrench: This tool will help you loosen and remove the old fixtures.
- Screwdriver set: Different types of screws may be used in the fixtures, so having a variety of screwdrivers will ensure you have the right one for the job.
- Plumber’s tape: This tape is essential for creating a watertight seal when installing the new fixtures.
Selecting the right replacement fixtures is crucial for a successful installation. Make sure to measure the existing fixtures accurately and choose fixtures that match the dimensions. Additionally, cleaning and preparing the bathtub surface for installation is essential. Remove any old caulk or adhesive, and clean the area thoroughly before installing the new fixtures.
With the necessary tools at hand and the replacement fixtures selected, it’s time to move on to the next step: shutting off the water supply.

SR SUN RISE Filtered Shower Head with Handheld High Pressure 9 Spray Mode Showerhead Detachable Shower Head Water Softener Filters Beads for Hard Water Remove Chlorine 1 Filter Chrome
【Purify the Water, Enjoy healthy showers】 This SR SUN RISE newest designed handheld shower head is equipped with...
As an affiliate, we earn on qualifying purchases.
Shutting Off the Water Supply
Before starting the installation process, it’s important to shut off the water supply to prevent any potential leaks or accidents. Minimizing water damage should be a priority when removing bathtub fixtures.
To do this, locate the main water valve usually found near the water meter or where the water enters your home. Turning off the main water valve will stop the flow of water to all the fixtures in your house, including the bathtub.
It is crucial to ensure that the valve is fully closed to prevent any water from entering the pipes. This step is essential as it eliminates the risk of water leaks or accidents while working on the fixtures.
Take the time to familiarize yourself with the main water valve’s location and operation to ensure a smooth and safe removal process.

MakeFit Filtered Shower Head with Handheld Combo - Dual 2-in-1 Spa System with Massage Shower and 10 Modes Hand Held Shower High Pressure with Built in Power Wash Mode (Chrome)
2-in-1 Dual Shower Head with Handheld: The MakeFit 2-in-1 Dual Shower Head Combo Set is the perfect combination...
As an affiliate, we earn on qualifying purchases.
Removing the Showerhead and Faucet Handles
To start, you’ll want to twist the showerhead counterclockwise to loosen it from the shower arm. Once it’s loose, you can simply unscrew it the rest of the way by hand. Removing the showerhead is an important step in replacing an old one with a new one.
Here are three key things to keep in mind during this process:
-
Use a wrench: If the showerhead is stuck or difficult to remove, you may need to use a wrench to provide extra leverage. Be careful not to apply too much force, as this can damage the shower arm.
-
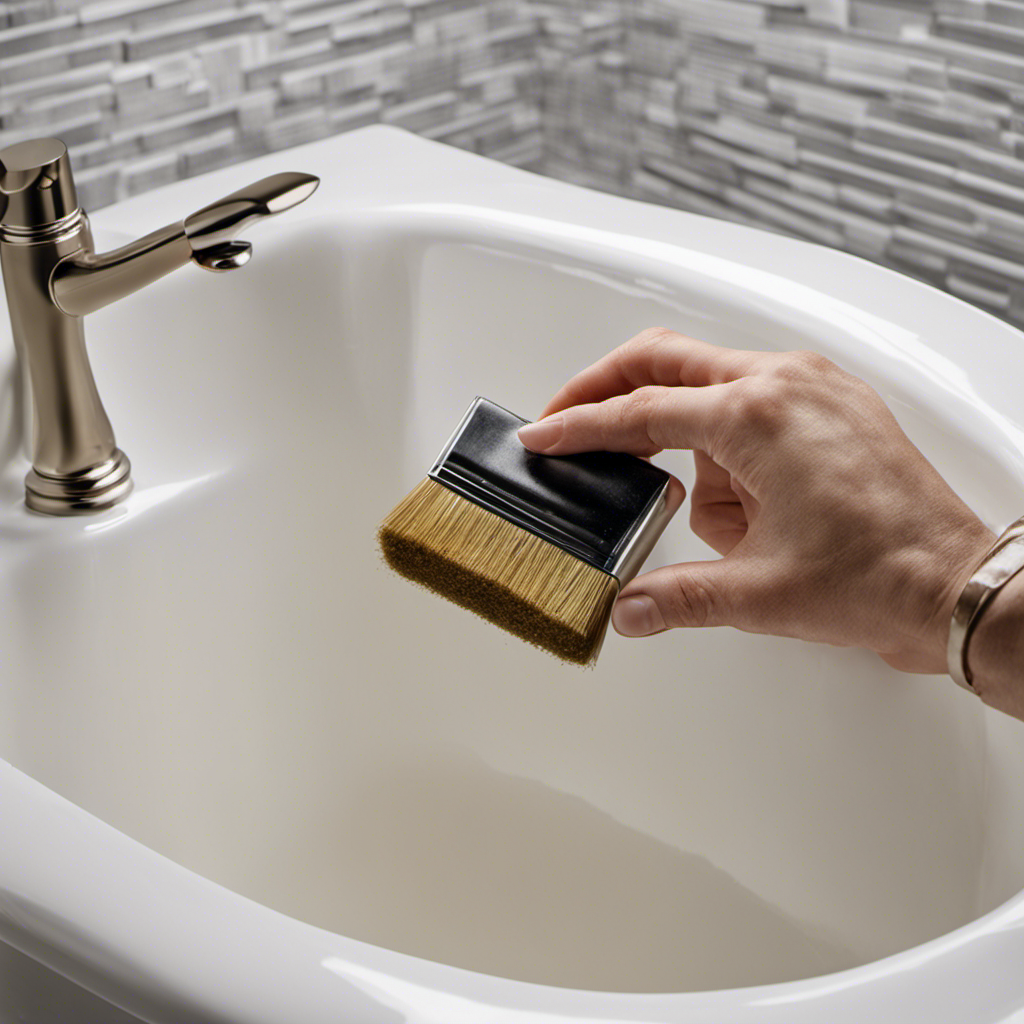
Clean the threads: Before installing the new showerhead, make sure to clean the threads on the shower arm to ensure a secure fit. Use a brush or cloth to remove any debris or old tape.
-
Maintain the faucet handles: While you’re at it, take the opportunity to clean and maintain the faucet handles as well. Use a mild cleaner and a soft cloth to remove any dirt or grime, and check for any loose or damaged parts that may need to be replaced.
Detaching the Bathtub Spout and Drain Stopper
Once you’ve finished cleaning the faucet handles, it’s time to detach the bathtub spout and drain stopper.
Inspecting the bathtub fixtures is crucial before replacing the bathtub spout. Here’s a step-by-step guide to help you with the process:
-
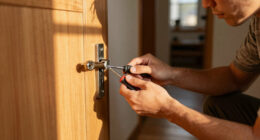
Start by locating the set screw on the underside of the spout. Use an Allen wrench to loosen and remove the screw.
-
Once the screw is removed, twist and pull the spout counterclockwise to detach it from the pipe.
-
After removing the spout, inspect the pipe for any signs of damage or corrosion. If necessary, replace the pipe before installing a new spout.
-
To detach the drain stopper, locate the trip lever on the overflow plate. Unscrew the plate and pull out the linkage assembly.
-
Finally, remove the drain stopper by unscrewing it counterclockwise or lifting it out of the drain.
Conclusion
In conclusion, removing bathtub fixtures is a task that requires careful assessment and the right tools. By shutting off the water supply and following the steps to remove the showerhead, faucet handles, bathtub spout, and drain stopper, you can successfully replace or repair your fixtures.
Remember the old saying, ‘A stitch in time saves nine.’ Taking the time to properly remove and replace your bathtub fixtures can prevent future problems and save you from costly repairs down the line.