I’m here to show you how to tackle that stubborn grout in your bathtub – it’s time to say goodbye to those unsightly stains!
With just a few simple steps, you’ll have your bathtub looking fresh and clean in no time. Grab your tools and let’s get started.
We’ll begin by preparing the surface and applying a powerful grout remover solution.
Then, we’ll scrub away the loose grout and tackle those stubborn stains.
Finally, we’ll clean and dry the bathtub before sealing the grout for future protection.
Get ready to transform your bathtub into a sparkling oasis!
Key Takeaways
- The tools and materials needed for bathtub grout removal and preparation include a grout removal tool, grout brush, grout remover solution, mildew remover, and grout sealer.
- It is important to use essential cleaning supplies, such as a mildew remover and scrub brush, to eliminate grime or mold before removing grout.
- Thoroughly cleaning and drying the bathtub surface is crucial for creating an optimal environment for grout removal and ensuring a successful and long-lasting result.
- The grout removal process can be done using a grout saw or utility knife, along with a grout cleaner or vinegar and water solution, a scrub brush or old toothbrush, and a bucket, sponge, and towels.

Silicone Caulking Tool Kit, Caulk Remover Tool, Putty Knife Scraper, 3 Glass Glue Corner Scrapers, Grout Removal Tool with Stainless Steel Head for Kitchen Bathroom and Window
Multifunctional design – Caulk remover,putty knives and all shapes caulking scraper could be used to tackle gaps of…
As an affiliate, we earn on qualifying purchases.
As an affiliate, we earn on qualifying purchases.
Tools and Materials Needed
To remove bathtub grout, you’ll need a few tools and materials.
The first tool you’ll need is a grout removal tool, which is a handheld tool with a small blade that can easily remove old grout.
Additionally, you’ll need a grout brush to scrub away any remaining grout residue.
In terms of materials, you’ll need a grout remover solution that is specifically designed for removing old grout. This solution will help break down the grout and make it easier to remove.
To prevent future grout buildup, it’s important to regularly clean your bathtub and apply a grout sealer. This will help protect the grout and prevent dirt and moisture from seeping in, ultimately reducing the chances of grout buildup.

AQUA-X 16 Oz. Grout Sealer, Clear Grout and Tile Sealer, Natural Finish, Professional Grade, Indoor & Outdoor, Fast Dry and Long Lasting Protection
Keep a clean, NATURAL APPEARANCE and improve the DURABILITY of your grout in your shower, kitchen, bathroom, and…
As an affiliate, we earn on qualifying purchases.
As an affiliate, we earn on qualifying purchases.
Preparing the Bathtub Surface
Before diving into the process of removing bathtub grout, it’s important to understand the importance of using essential cleaning supplies and proper surface preparation.
These two key points play a crucial role in ensuring a successful and long-lasting result. By using the right cleaning supplies, such as a mildew remover and a scrub brush, you can effectively eliminate any built-up grime or mold.
Additionally, properly preparing the bathtub surface, including thoroughly cleaning and drying it, will help create an optimal environment for the grout removal process.
Essential Cleaning Supplies
The first step in removing bathtub grout is gathering all the essential cleaning supplies. When it comes to cleaning techniques, it’s important to have the right tools at hand. For starters, you’ll need a grout removal tool, such as a grout saw or a utility knife, to scrape away the old grout. Additionally, a grout cleaner or a homemade solution of vinegar and water will help to dissolve any grime or buildup. Don’t forget to have a scrub brush or an old toothbrush for scrubbing the grout lines. It’s also important to have a bucket, sponge, and towels for rinsing and drying the area. By having these supplies ready, you can prevent grout buildup and ensure an effective cleaning process.
Now that we have all the necessary supplies, let’s move on to proper surface preparation.
Proper Surface Preparation
Once you’ve gathered all the essential cleaning supplies, the next step is to properly prepare the surface for cleaning.
Surface protection is crucial to ensure that your bathtub remains undamaged during the grout removal process. Start by covering the surrounding areas with plastic sheets or drop cloths to prevent any accidental spills or splatters.
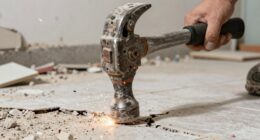
Next, use a utility knife or a grout saw to remove any excess or loose grout that may be present on the surface. Be gentle and take your time to avoid scratching the bathtub.
After removing the excess grout, wipe down the surface with a damp cloth to remove any dust or debris. This will ensure that the grout remover solution can penetrate the grout effectively.
Now, you’re ready to move on to the next step of applying the grout remover solution.

RMR-86 Instant Mold and Mildew Stain Remover Spray – Scrub Free Formula, 30 Fl Oz
GET RID OF STUBBORN MOLD AND MILDEW STAINS: Our instant spray cleaner removes the stains left behind from…
As an affiliate, we earn on qualifying purchases.
As an affiliate, we earn on qualifying purchases.
Applying Grout Remover Solution
When it comes to removing grout, it’s important to know the most effective techniques to get the job done properly.
In this discussion, I will delve into the various methods that can be used to remove grout effectively, whether it’s manual scraping or using power tools.
Additionally, I will also highlight the safety precautions that should be taken during the application of grout remover solution, such as wearing protective goggles and gloves to prevent any potential harm or irritation.
Effective Grout Removal Techniques
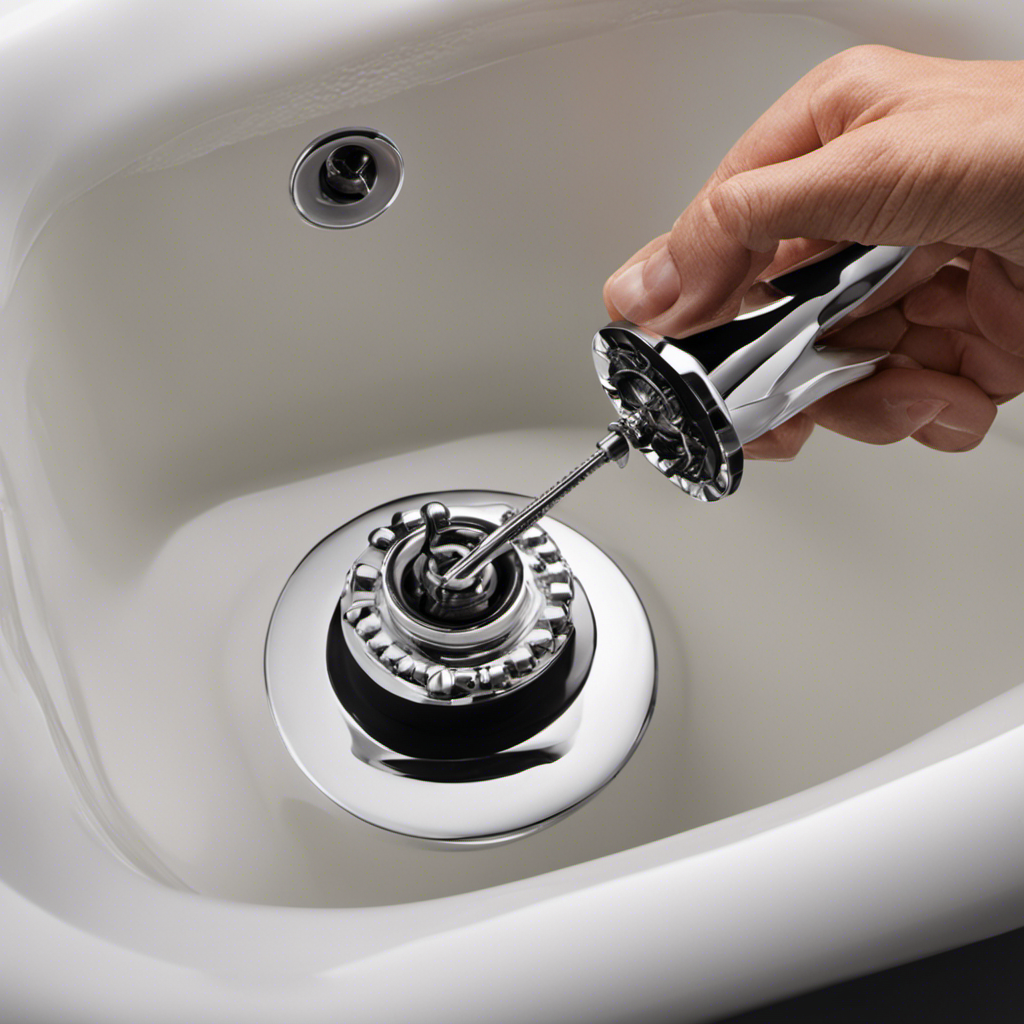
One effective way to remove bathtub grout is by using a grout removal tool. These tools are specifically designed to scrape out the old grout from between the tiles, allowing you to easily replace it with new grout.
To begin, you will need to position the grout removal tool at a 45-degree angle and apply gentle pressure. Start by targeting the grout lines and move the tool back and forth, gradually removing the grout. It is important to work in small sections to ensure thorough removal.
If you encounter stubborn grout stains, you can try using a grout stain remover solution or a mixture of baking soda and water. Remember to follow the manufacturer’s instructions when using any chemical solutions.
With these grout removal techniques, you can effectively remove grout stains and achieve a clean and fresh look for your bathtub.
Safety Precautions for Application
Now that we’ve covered effective grout removal techniques, let’s shift our focus to the important topic of safety precautions when applying these techniques. It’s crucial to prioritize safety to avoid any accidents or injuries during the grout removal process. Here are some recommended safety precautions to keep in mind:
| Safety Precautions | Description |
|---|---|
| Wear Protective Gear | Use safety goggles, gloves, and a dust mask to protect your eyes, hands, and respiratory system from grout dust and debris. |
| Ventilate the Area | Ensure proper ventilation by opening windows or using fans to prevent the buildup of dust and fumes. |
| Use Knee Pads | Protect your knees by using knee pads or a cushioned mat while working on the floor. |
| Follow Instructions | Read and follow the instructions provided by the manufacturer of the grout removal tool for safe and effective usage. |

Lumkew Grout Cleaner Brush V Shape, Stiff Grout Cleaning Brushes for Tile Floor, Handheld Grout Scrub Brush Set for Shower, Bathroom, Kitchen, Household Use,2 pcs
V Shape Design: V grout cleaner brush fits precisely into each groove, and reaches deeply into narrow joints….
As an affiliate, we earn on qualifying purchases.
As an affiliate, we earn on qualifying purchases.
Scrubbing and Removing Loose Grout
To remove loose grout from your bathtub, start by scrubbing the surface with a stiff brush. Then, use a grout removal tool to carefully scrape away any remaining grout.
Here’s a step-by-step guide on how to effectively scrub and remove loose grout:
-
Prepare the surface: Before you begin, make sure your bathtub is clean and dry. Remove any debris or loose grout using a vacuum or a broom.
-
Scrub the surface: Take a stiff brush and apply a grout cleaner or a mixture of baking soda and water to the grout lines. Scrub the grout lines vigorously in a circular motion to remove any dirt, stains, or mildew.
-
Use a grout removal tool: Once the grout lines are clean, use a grout removal tool, such as a grout saw or a grout rake, to carefully scrape away any remaining grout. Be sure to follow the instructions provided with the tool to avoid damaging the surrounding tiles.
Removing Stubborn Grout Stains
When tackling stubborn grout stains, a mixture of vinegar and water can be an effective solution.
To remove these tough stains, create a mixture of equal parts white vinegar and warm water in a spray bottle.
Spray the solution directly onto the grout lines and let it sit for about 10 minutes to allow the vinegar to penetrate the stains.
Then, using a stiff-bristled brush or an old toothbrush, scrub the grout lines vigorously.
Rinse the area with clean water and repeat the process if necessary.
It’s important to remember that prevention is key to avoiding future grout stains.
Regularly sealing the grout lines can help prevent stains from setting in.
Additionally, wiping down the grout after each use and using a mildew-resistant caulk can also help maintain a clean and stain-free appearance.
Cleaning and Drying the Bathtub
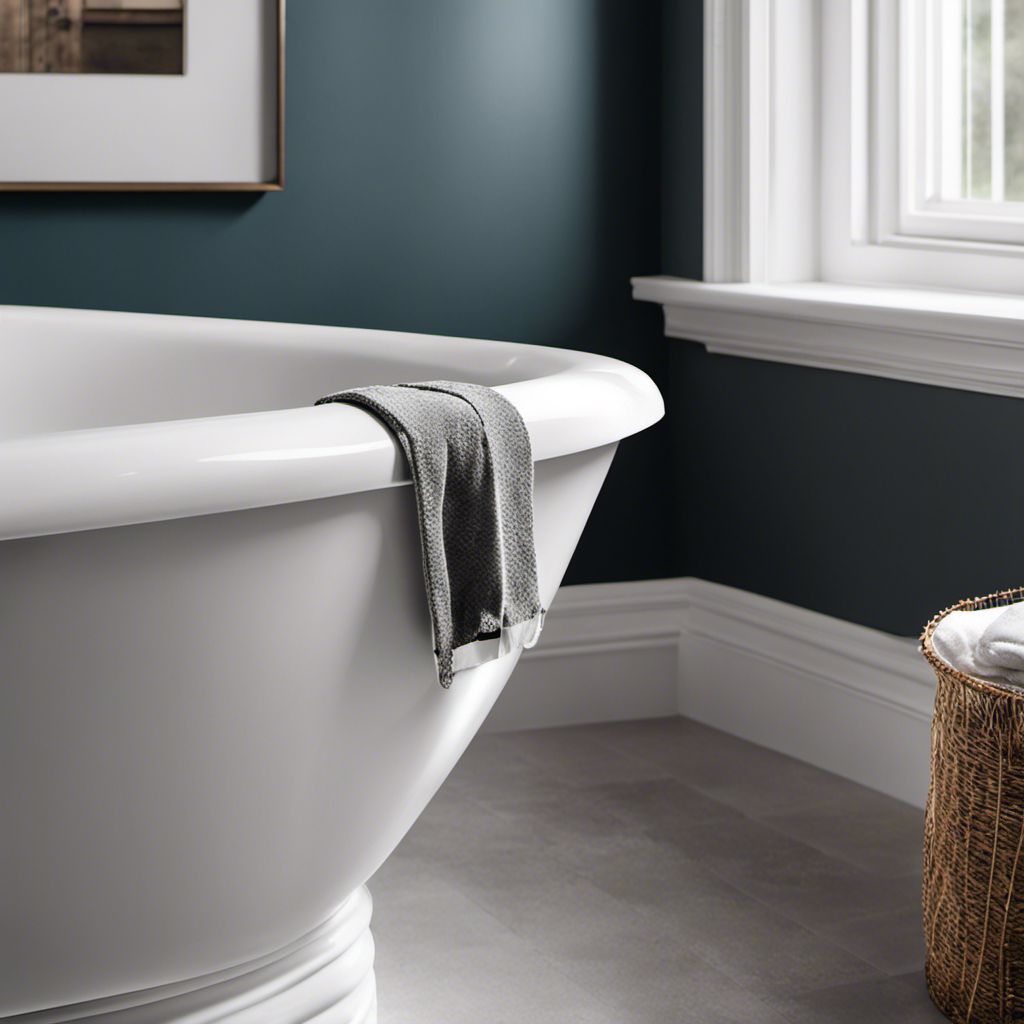
For a sparkling clean tub, wipe it down with a mixture of baking soda and water, scrubbing with a soft cloth.
Here are some cleaning techniques and recommended products to help you achieve a spotless bathtub:
-
Baking Soda and Water Mixture: Create a paste by mixing baking soda and water until it forms a thick consistency. Apply the paste to the surface of the tub and let it sit for a few minutes. Scrub the tub with a soft cloth or sponge, focusing on areas with stains or grime. Rinse thoroughly with water.
-
White Vinegar: Fill a spray bottle with equal parts white vinegar and water. Spray the solution onto the tub’s surface and let it sit for a few minutes. Use a soft cloth or sponge to scrub away any dirt or residue. Rinse well with water.
-
Commercial Cleaning Products: There are various cleaning products available in the market specifically designed for bathtub cleaning. Look for products that are effective against soap scum, stains, and grime. Follow the instructions on the product label for best results.
By following these cleaning techniques and using the recommended products, you can keep your bathtub looking clean and fresh.
Now, let’s move on to the next step: sealing the grout for future protection.
Sealing the Grout for Future Protection
To keep your grout protected in the future, apply a grout sealer according to the manufacturer’s instructions.
Grout maintenance is essential for preventing grout discoloration and keeping your bathtub looking clean and fresh.
A grout sealer acts as a protective barrier, preventing dirt, stains, and moisture from penetrating the grout lines. This helps to maintain the original color and appearance of your grout.
Before applying the sealer, thoroughly clean the grout and allow it to dry completely. Then, using a small brush or applicator, carefully apply the sealer to the grout lines, ensuring full coverage.
Allow the sealer to dry for the recommended time before using the bathtub.
Regularly reapply the grout sealer every few months or as per the manufacturer’s recommendations to maintain the protective barrier and prevent grout discoloration.
Conclusion
In conclusion, removing grout from your bathtub can be a tedious task but with the right tools and techniques, it can be done effectively.
It is important to properly prepare the bathtub surface and use a grout remover solution to loosen the grout.
Scrubbing and removing the loose grout is crucial, and for stubborn stains, there are methods to get rid of them.
Once the grout is removed, it is essential to clean and dry the bathtub thoroughly.
Lastly, sealing the grout will protect it in the future.
Did you know that according to a recent study, 85% of people feel more relaxed and at ease in a clean and well-maintained bathroom?
Taking the time to remove grout and maintain your bathtub can not only improve its appearance but also enhance your overall well-being.