Removing bathtub jet covers can be a daunting task, but fear not! I’m here to guide you through the process step-by-step.
With just a few simple tools and a little bit of patience, you’ll have those stubborn covers off in no time.
In this article, I’ll show you exactly how to:
- Locate the covers
- Prepare your bathtub for removal
- Guide you through the process of taking them off.
So let’s get started and reclaim the full power of your bathtub jets!
Key Takeaways
- The necessary tools for removing bathtub jet covers include a screwdriver, pliers, small flashlight, clean and dry cloth, and a bucket or container.
- To locate the bathtub jet covers, look for small circular discs on the surface of the bathtub, check around the edges of the bathtub where the jets are located, and use a flashlight to help see the covers more clearly.
- Before removing the jet covers, gather the necessary tools, turn off the power supply to the bathtub, remove the access panel near the bathtub jets, and identify and remove the screws holding the jet covers in place.
- When removing the jet covers, loosen and remove the screws holding them in place, lift and take off the covers, wear protective gloves to avoid injuries, and place a towel or cloth on the floor to catch any spilled water.

Instant Pot 4QT RIO Mini 7-in-1 Multi-Cooker, Pressure Cooker, Slow cook, Sauté, Steam, Rice Maker, Yogurt, & Warmer, Black, 4 Quarts
- 7-in-1 Multi-Cooker Functions: Pressure, slow, sauté, steam, rice, yogurt, warm
- Compact and Space-Saving: Mini size with full cooking surface
- Ideal for Small Meals: 4-quart capacity for up to 4 servings
As an affiliate, we earn on qualifying purchases.
Tools Needed for Removing Bathtub Jet Covers
To remove the bathtub jet covers, you’ll need a few tools.
The first tool you’ll need is a screwdriver, preferably a flathead or Phillips head depending on the type of screws used to secure the covers.
Next, you’ll need a pair of pliers to help with any stubborn screws or to grip and twist the covers if they are stuck.
Additionally, a small flashlight will be helpful to inspect the covers and surrounding area for any signs of damage or debris.
It is important to have a clean and dry cloth to wipe away any dirt or water that may have accumulated around the covers.
Lastly, keep a bucket or container nearby to collect any water that may spill out during the removal process.
Common problems with bathtub jet covers include rusted or stripped screws, covers that are stuck due to dried-up or hardened sealants, or covers that are damaged and in need of replacement.
Locating the Bathtub Jet Covers
You can easily find the covers for the jets by looking for small circular discs on the surface of the bathtub. These covers protect the inner workings of the jets and can sometimes become damaged or need replacing.
To locate the bathtub jet covers, follow these steps:
- Look for small circular discs on the surface of the bathtub.
- Check around the edges of the bathtub where the jets are located.
- Use a flashlight to help you see the covers more clearly.
- Look for any discoloration or signs of damage on the covers.
- If you are unable to locate the covers, consult the bathtub’s manual or contact the manufacturer for assistance.
Finding replacement jet covers can be done by contacting the manufacturer or searching online for compatible covers.
Troubleshooting common jet cover issues may involve checking for clogs or leaks in the jets, or adjusting the water pressure.
Preparing the Bathtub for Cover Removal
Before starting the process, it’s important to make sure the bathtub is clean and free of any debris. This ensures a safe and efficient removal of the bathtub jet covers. Taking precautions during the removal process is crucial to avoid any potential hazards.
Here are some steps to follow:
-
Gather the necessary tools: A screwdriver, a wrench, and a pair of gloves.
-
Turn off the power supply to the bathtub to prevent any electrical accidents.
-
Locate the access panel near the bathtub jets and remove it using the screwdriver.
-
Identify the screws holding the jet covers in place and use the wrench to loosen and remove them.
-
Once the screws are removed, carefully lift and remove the jet covers from the bathtub.
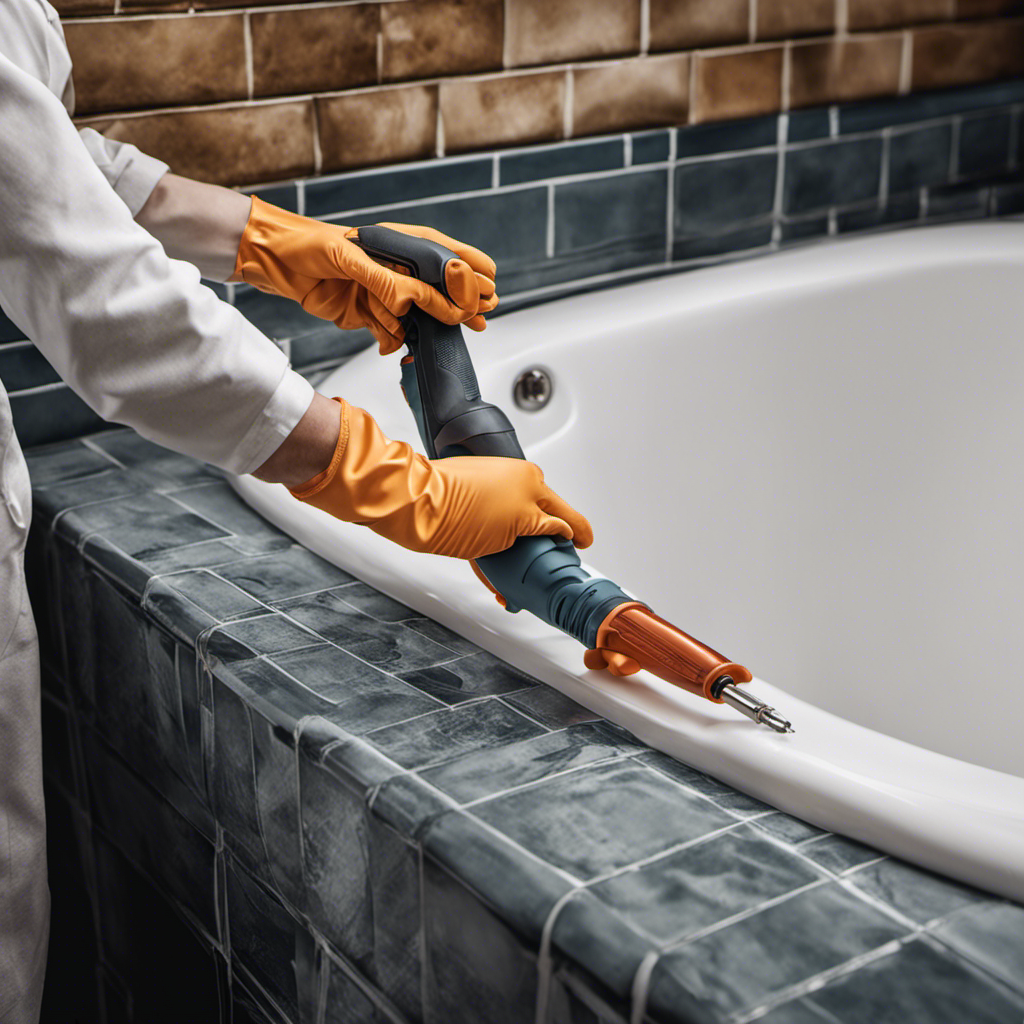
Step-by-Step Guide to Removing Bathtub Jet Covers
Once the screws have been loosened and removed, carefully lift and take off the jet covers from the bathtub.
To ensure your safety while removing bathtub jet covers, it’s important to follow these precautions:
- Wear protective gloves to avoid any cuts or injuries.
- Use a screwdriver with a proper grip to prevent slipping.
- Be cautious of any sharp edges or protrusions on the covers.
- Place a towel or cloth on the floor to catch any water that may spill out.
- Keep a flashlight handy to inspect the jet system for any issues.
Common problems with bathtub jet covers may include stubborn screws, worn-out covers, or damaged seals. By following the proper removal process and taking safety precautions, you can avoid further damage or accidents.
Now, let’s move on to the next section to learn about cleaning and maintenance tips for bathtub jet covers.
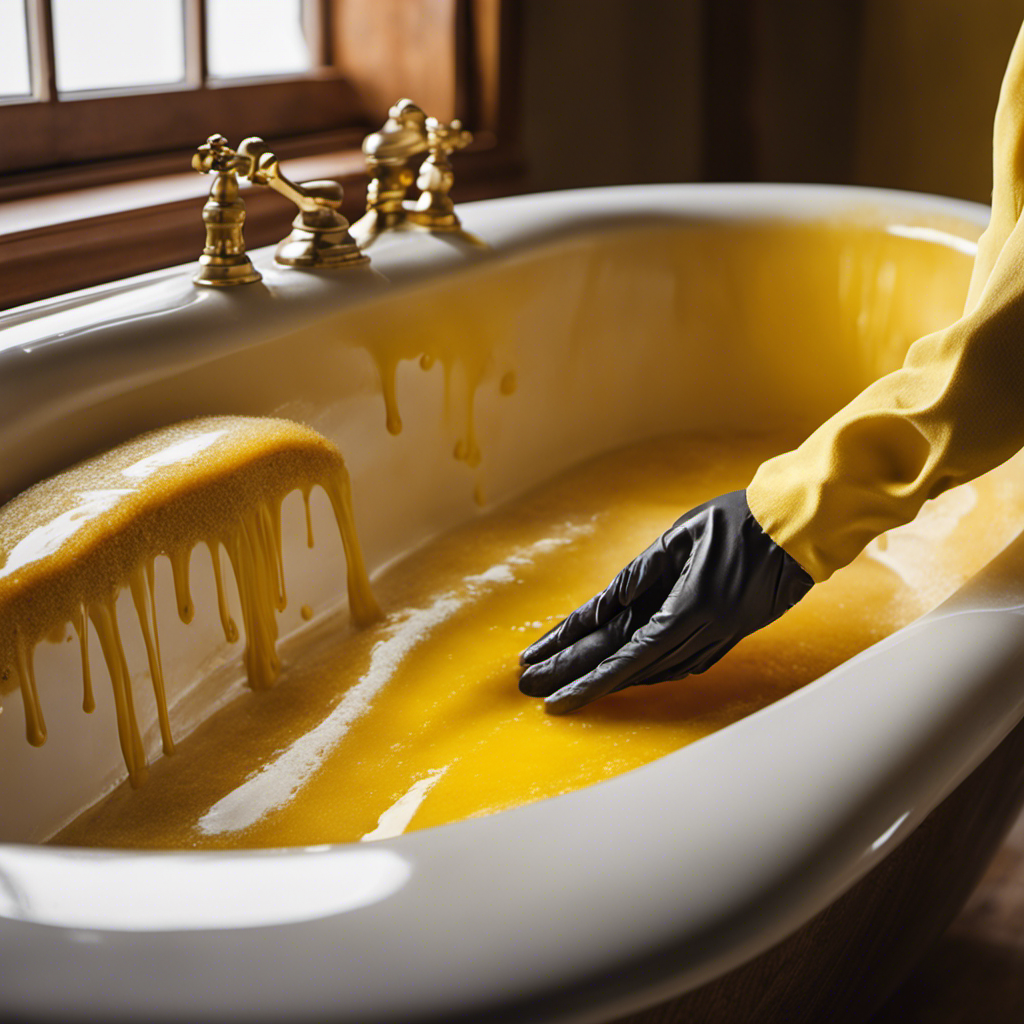
Cleaning and Maintenance Tips for Bathtub Jet Covers
To keep your bathtub jet covers in good condition, it’s important to regularly clean and maintain them. Properly cleaning the covers not only ensures their longevity but also helps in preventing mold growth. Here is a step-by-step guide on how to properly clean and maintain your bathtub jet covers:
-
Start by removing the covers from the jets. Refer to the previous subtopic for a detailed guide on how to remove the covers.
-
Fill a bucket with warm water and add a mild detergent. Mix well until the detergent is dissolved.
-
Dip a soft cloth or sponge into the soapy water and gently scrub the covers. Pay special attention to any areas with visible dirt or mold.
-
Rinse the covers thoroughly with clean water to remove any soap residue.
-
Dry the covers completely before reinstalling them. This will help prevent any moisture buildup and mold growth.
Remember to clean your bathtub jet covers regularly to maintain their functionality and prevent any potential health hazards caused by mold growth.
Reinstalling Bathtub Jet Covers Properly
Make sure you properly align and secure the jet covers when reinstalling them, as this will ensure their effectiveness and prevent any water leakage. Here are some tips to help you reinstall bathtub jet covers properly:
-
Clean the jet covers: Before reinstalling, make sure to clean the jet covers thoroughly to remove any dirt or debris.
-
Inspect for damage: Check the jet covers for any cracks or damage. If you notice any, it’s best to replace them to avoid water leakage.
-
Use proper alignment: Align the jet covers with the holes on the bathtub correctly. This will ensure a tight fit and prevent any water from seeping through.
-
Secure firmly: Once aligned, secure the jet covers firmly in place. This will prevent them from coming loose during use.
-
Regular maintenance: To extend the lifespan of your bathtub jet covers, regularly clean and inspect them for any damage. This will help prevent any issues and ensure their effectiveness for a longer period of time.
Conclusion
In conclusion, removing bathtub jet covers is a straightforward process that can be accomplished with a few simple steps. By following the step-by-step guide provided, you can easily locate and prepare the bathtub for cover removal.
Remember to clean and maintain the jet covers regularly to ensure their longevity. Just like a well-oiled machine, a clean and properly installed bathtub jet cover will provide you with a luxurious and relaxing bathing experience.
So, get ready to dive into a world of ultimate comfort and bliss!