I’ve battled with mold in my bathtub caulk for years, and I finally found a solution that works like magic. In this article, I’ll guide you through the step-by-step process of removing mold from bathtub caulk.
We’ll start by gathering the necessary tools and materials, then prepare the caulk for treatment.
With the mold removal solution applied, we’ll scrub and clean the caulk until it’s spotless.
And finally, I’ll share some tips on how to prevent future mold growth.
Let’s get rid of that pesky mold once and for all!
Key Takeaways
- Wear gloves and a mask for safety measures during the mold removal process.
- Choose a caulk remover with ingredients like bleach or hydrogen peroxide for effective mold removal.
- Thoroughly clean the caulk surface with mild soap and water before applying the mold removal solution.
- Regularly clean and dry the affected areas, and use mildew-resistant caulk to prevent future mold growth.

BISSELL ProHeat 2X Revolution Pet Turbo Upright Carpet Cleaner, 35799
- Powerful Suction: 40% more suction with TurboStrength motor
- Quiet Operation: 50% noise reduction for quieter cleaning
- Max Clean Mode: Removes dirt, stains, and allergens
As an affiliate, we earn on qualifying purchases.
Tools and Materials Needed
You’ll need a few tools and materials to remove mold from bathtub caulk. First, let’s talk about safety precautions. Mold can release harmful spores, so it’s important to wear gloves and a mask to protect yourself.
Additionally, make sure the area is well-ventilated to avoid inhaling any toxic fumes.
Now, onto choosing the right caulk remover. There are several options available, but the most effective ones contain ingredients like bleach or hydrogen peroxide to kill the mold. Look for a product specifically designed for removing mold from caulk.
It’s also a good idea to read reviews and choose a remover that has a track record of success.
Once you have your safety gear and caulk remover, you’re ready to tackle that moldy caulk!
Preparing the Bathtub Caulk
To get started, it’s important to first check the condition of your bathtub caulk before taking any further steps. Here are some pre-cleaning steps and tips to help you prepare your bathtub caulk for mold removal:
- Inspect the caulk for any signs of damage or deterioration.
- Clean the surface of the caulk using a mild soap and water solution.
- Remove any loose or peeling caulk using a caulk removal tool or a utility knife.
- Make sure the area is well-ventilated to prevent the spread of mold spores.
Choosing the right mold removal product is crucial for effective and safe cleaning. Look for a product specifically designed to remove mold from caulk. Consider factors such as the type of caulk, severity of the mold growth, and any specific instructions provided by the manufacturer. Always follow the product’s instructions carefully to ensure proper application and effective mold removal.
Applying the Mold Removal Solution
Once the surface has been properly cleaned and prepped, it’s time to apply the mold removal solution to the affected areas.
Before beginning this step, it is important to ensure proper ventilation in the bathroom. Open windows and use fans to circulate fresh air, as the mold removal solution can release strong fumes.
Now, wearing protective gloves and a mask, apply the mold removal solution directly onto the moldy caulk. Be sure to cover all affected areas thoroughly.
Allow the solution to sit for the recommended amount of time specified on the product label.
Once the time has elapsed, it’s important to safely dispose of any mold-infested materials. This ensures that the mold does not spread further.
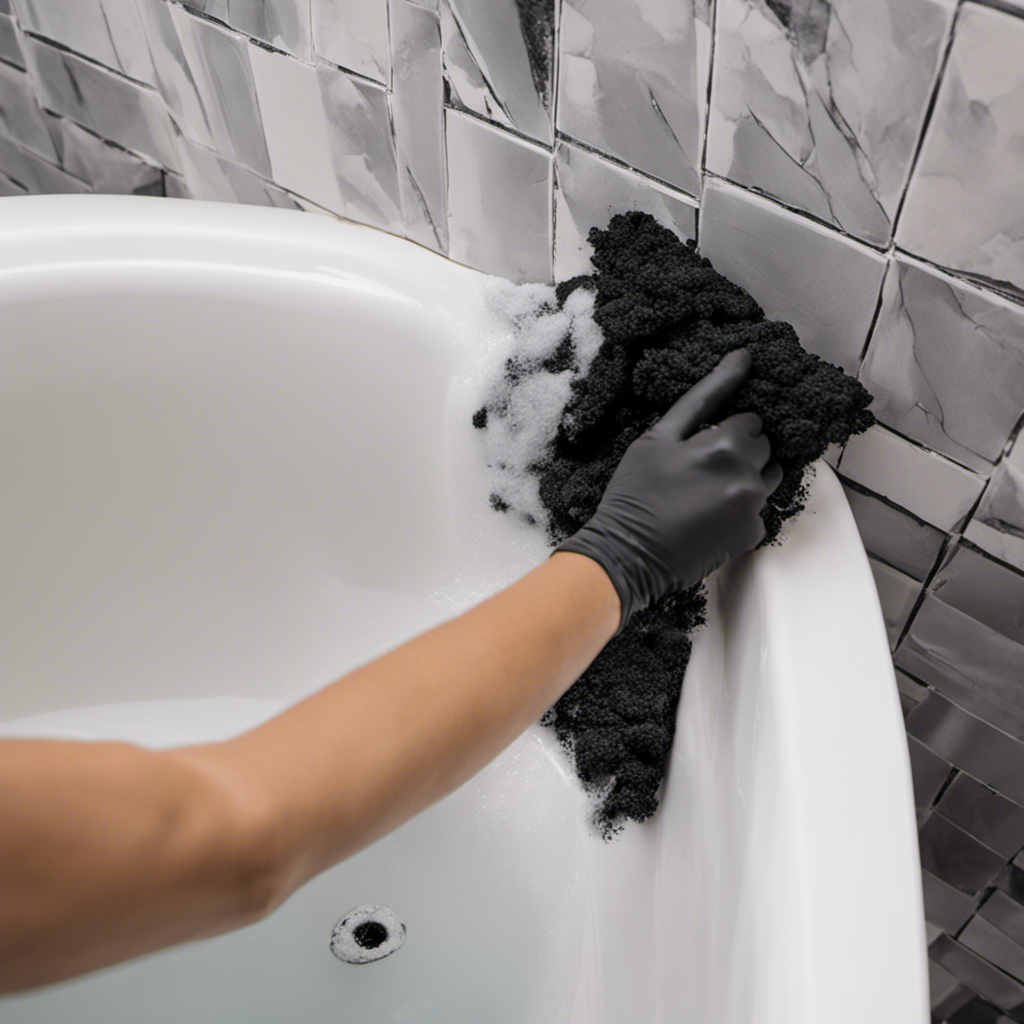
Scrubbing and Cleaning the Caulk
Now that the solution has been applied, it’s time to scrub and clean the affected areas of the caulk. Here’s how you can effectively remove stubborn stains using natural cleaning methods:
- Mix equal parts of white vinegar and water in a spray bottle.
- Spray the solution onto the stained caulk and let it sit for about 15 minutes.
- Scrub the caulk with a soft-bristle brush or an old toothbrush.
- Rinse the area with warm water to remove any residue.
By following these steps, you can easily remove mold stains from your bathtub caulk without the use of harsh chemicals.
It’s important to be thorough and make sure you scrub all the affected areas. Once you have successfully cleaned the caulk, you can move on to preventing future mold growth.
Preventing Future Mold Growth
By regularly cleaning and drying the affected areas, you can effectively prevent the growth of future mold in your bathroom.
To prevent mold growth, it is important to maintain the cleanliness of the caulk in your bathtub. Mold thrives in damp and humid environments, so keeping the caulk dry is crucial. After each use, make sure to wipe down the caulk with a dry cloth or towel to remove any moisture.
Additionally, it is recommended to use a mildew-resistant caulk, which contains additives that inhibit mold growth. Regularly inspect the caulk for any signs of damage or wear, as cracks or gaps can provide a breeding ground for mold. If you notice any issues, promptly repair or replace the caulk to prevent mold from taking hold.
Conclusion
In conclusion, removing mold from bathtub caulk is a simple yet essential task to maintain a clean and healthy bathroom environment. By following the steps outlined in this article, you can effectively eliminate mold and prevent future growth.
Did you know that according to a study conducted by the Institute of Medicine, exposure to mold can cause respiratory symptoms such as coughing and wheezing? Taking the time to properly clean and maintain your bathtub caulk can help prevent these health issues.
So why wait? Get rid of that mold today!