
I’ll guide you through the process of removing a stubborn bathtub spigot with ease. With just a few tools and some patience, you’ll have that old spigot out in no time.
In this article, I’ll show you step-by-step how to:
- Access the spigot assembly
- Remove the handle and escutcheon plate
- Detach the old spigot from the wall.
So let’s dive in and get your bathtub ready for a shiny new spigot!
Key Takeaways
- The tools needed for removing a bathtub spigot include an adjustable wrench, screwdriver, pipe wrench, and plumber’s tape.
- It is important to follow proper safety precautions, such as wearing safety goggles and gloves, when working with plumbing components.
- The handle and escutcheon plate of the spigot need to be removed before detaching the spigot from the wall.
- When installing a new bathtub spigot, it is crucial to turn off the water supply, use plumber’s tape for secure connections, and regularly clean and check for leaks or worn parts.

iSpring Whole House Water Filter System, Highly Reduces Sediment, Taste, Odor, and up to 99% Chlorine, 3-Stage w/ 20-Inch Sediment and Carbon Block Filters, Model: WGB32B, 1" Inlet/Outlet
Chlorine-Free, Pure Water: Shield your family and appliances with the WGB32B whole house water filter—eradicating up to 99%...
As an affiliate, we earn on qualifying purchases.
Tools Needed for Removing Bathtub Spigot
To remove the bathtub spigot, you’ll need a few tools. The most common mistake people make is not having the right tools on hand. Here are the essential tools you’ll need for this task:
- Adjustable wrench: This will help you loosen and remove the spigot nut.
- Screwdriver: You’ll need this to remove any screws holding the spigot in place.
- Pipe wrench: Sometimes the spigot may be tightly secured, and a pipe wrench will provide extra leverage.
- Plumber’s tape: This will help create a watertight seal when reinstalling the spigot.
Alternatively, if you don’t have the necessary tools, there are a few alternative methods you can try. For example, you can use a strap wrench or a pair of locking pliers to loosen the spigot nut. Additionally, applying heat to the spigot with a hairdryer can help loosen the grip of any adhesive or sealant.

Waterdrop Whole House Water Filter System, with Carbon Filter and Sediment Filter, 5-Stage Filtration, Highly Reduce Lead, Chlorine, Odor and Taste, 2-Stage 5 Micron WD-WHF21-PG, 1" Inlet/Outlet
【Efficient filtration】The impressive 10” x 4.5” PP filter and GAC filter combination achieves a 5-stage filtration, effectively reducing...
As an affiliate, we earn on qualifying purchases.
Step-By-Step Guide for Accessing the Spigot Assembly
When accessing the spigot assembly, it’s important to first locate the access panel. This panel is usually located on the front side of the bathtub, near the spigot. Here is a step-by-step guide for accessing the spigot assembly:
-
Turn off the water supply: Before starting any work, it’s crucial to turn off the water supply to avoid any accidents or water damage.
-
Remove the access panel: Use a screwdriver to remove the screws holding the access panel in place. Carefully lift the panel to expose the spigot assembly.
-
Inspect for common problems: Once the access panel is removed, inspect the spigot assembly for any common problems such as corrosion, leaks, or loose fittings. Address these issues accordingly before proceeding with further repairs.
Remember to wear safety goggles and gloves when working with plumbing components. Always follow proper safety precautions to prevent any injuries or damage.

Waterdrop 3-Stage Whole House Water Filter System,with Carbon Filter&Sediment Filter,7-Stage Filtration Highly Reduce Lead,Chlorine,Odor and Taste,5 Micron WHF3T-PG,1" Inlet/Outlet
𝟗𝟕.𝟕𝟐% 𝐂𝐡𝐥𝐨𝐫𝐢𝐧𝐞 𝐑𝐞𝐝𝐮𝐜𝐭𝐢𝐨𝐧:Our water filter with a KDF composite filter and an GAC filter covered with high-quality carbon...
As an affiliate, we earn on qualifying purchases.
Removing the Handle and Escutcheon Plate
First, unscrew the handle and the escutcheon plate to access the inner workings of the spigot assembly. To remove the handle, locate the set screw on the underside and use an Allen wrench to loosen and remove it. Once the set screw is removed, carefully pull the handle away from the spigot stem.
Next, remove the escutcheon plate by unscrewing the mounting screws that secure it to the wall. Once the screws are removed, gently pull the escutcheon plate away from the wall, exposing the spigot stem. This is also a good time to clean the escutcheon plate using a mild detergent and a soft cloth.
With the handle and escutcheon plate removed, you can now proceed to the next step of detaching the old spigot from the wall.

Waterdrop 3-Stage Whole House Water Filter System,Reduce Iron&Manganese,with Carbon &Sediment Filters,7-Stage Filtration,Reduce Lead,Chlorine,Odor,5 Micron WHF3T-FG,1" Inlet/Outlet
𝐒𝐆𝐒 𝐓𝐞𝐬𝐭𝐞𝐝 𝐚𝐧𝐝 𝐂𝐞𝐫𝐭𝐢𝐟𝐢𝐞𝐝:Tested by SGS, Waterdrop whole house water filter system effectively reduces 95.9% of iron、99.7% of...
As an affiliate, we earn on qualifying purchases.
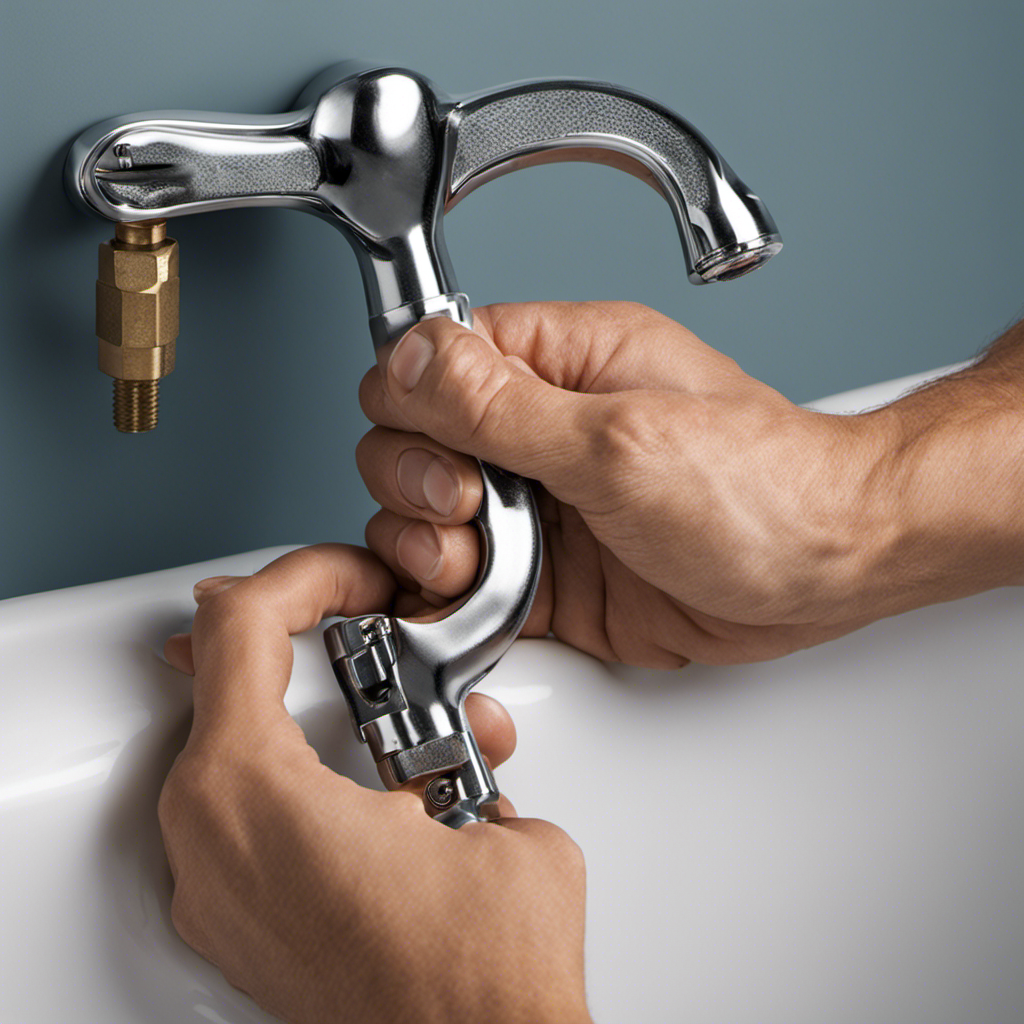
Detaching the Old Spigot From the Wall
Once you’ve unscrewed the handle and escutcheon plate, the next step is detaching the old spigot from the wall. To successfully remove the old spigot, follow these steps:
-
Locate the connection point: Inspect the area where the spigot meets the wall. Look for any screws or bolts securing it in place.
-
Disconnect the water supply: Before removing the spigot, turn off the water supply to prevent any leaks. This can usually be done by shutting off the main water valve for your home.
-
Loosen and remove the spigot: Use a wrench or pliers to loosen the nuts or screws holding the spigot in place. Once loose, carefully pull the spigot away from the wall, detaching it completely.
Tips for Installing a New Bathtub Spigot
To successfully install a new spigot in your bathtub, make sure to follow these helpful tips. Proper maintenance is essential to prolong the lifespan of a bathtub spigot. Regular cleaning and checking for any leaks or worn parts can prevent costly repairs or replacements. When installing a new spigot, it is important to avoid common mistakes that can lead to water leaks or damage. Here are some key points to remember:
| Tips for Installing a New Bathtub Spigot |
|---|
| 1. Turn off the water supply before starting the installation process. |
| 2. Use plumber’s tape to securely seal the connections. |
| 3. Tighten the spigot firmly but avoid over-tightening to prevent damage. |
Frequently Asked Questions
How Do I Know if My Bathtub Spigot Needs to Be Replaced?
If my bathtub spigot is leaking, it may need to be replaced. Signs of an old and worn spigot include rust, corrosion, and difficulty turning. I will fix it by removing and installing a new one.
Can I Remove the Bathtub Spigot Without Turning off the Water Supply?
No, you cannot remove the bathtub spigot without turning off the water supply. It is essential to shut off the water before attempting any removal. Alternatives to removing the spigot include hiring a professional plumber.
What Should I Do if the Spigot Is Stuck and Won’t Come Off?
To remove a stuck bathtub spigot, I would first try using a wrench to loosen it. If that doesn’t work, I might need to use penetrating oil or heat to help loosen it.
Are There Any Specific Safety Precautions I Should Take When Removing the Spigot?
When removing a bathtub spigot, it is essential to take specific safety precautions. This includes wearing protective gloves and using the necessary tools, such as an adjustable wrench, to avoid any accidents or injuries.
Can I Use the Same Tools for Removing the Spigot on Different Types of Bathtubs?
Yes, you can use the same tools for removing the spigot on different types of bathtubs. It is important to have a wrench, pliers, and a screwdriver to effectively remove the spigot.
Conclusion
In conclusion, removing a bathtub spigot may seem daunting, but it can be easily accomplished with the right tools and steps.
By following the step-by-step guide, you can access the spigot assembly, remove the handle and escutcheon plate, and detach the old spigot from the wall.
Remember, installing a new bathtub spigot can enhance your bathing experience, so don’t hesitate to take the plunge.
Just remember, like a fish swimming in clear waters, you’ll be enjoying a refreshing and rejuvenating bath in no time.