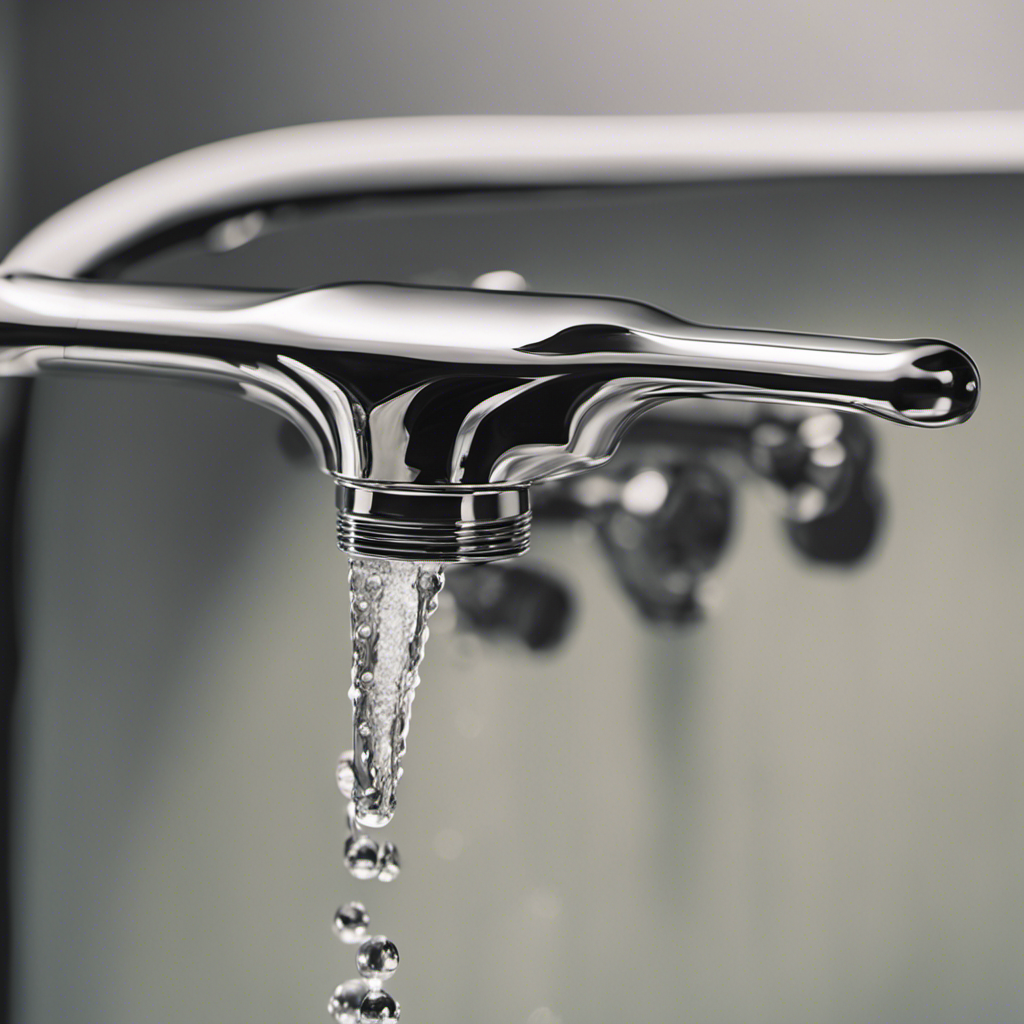

Are you tired of dealing with a leaky and outdated three handle bathtub faucet? Well, I’ve got good news for you!
In this article, I will guide you through the step-by-step process of replacing your old faucet with a brand new one. With just a few tools and materials, you’ll be able to shut off the water supply, remove the old handles, and install the new faucet like a pro.
So, let’s get started on transforming your bathroom into a sleek and functional oasis!
Key Takeaways
- Regular cleaning and maintenance is important to prevent mineral deposits and dirt buildup in a three handle bathtub faucet.
- Promptly fixing any leaks or drips is crucial to avoid water damage.
- Periodically lubricating the faucet’s components will help ensure smooth operation and prolong its lifespan.
- Shutting off the water supply before replacing the faucet provides a safe working environment.

ZeroWater Official Replacement Filter - 5-Stage 0 TDS Water Filter Replacement IAPMO Certified to Reduce Lead, Chromium, and PFOA/PFOS 4-Pack
- Filter Pack Includes 4 Filters: Each with 15-gallon lifespan
- Effective 5-Stage Filtration: Removes dissolved solids for pure water
- Certified for Safety and Purity: IAPMO certified, BPA-free, reduces contaminants
As an affiliate, we earn on qualifying purchases.
Tools and Materials Needed
You’ll need a set of wrenches, a screwdriver, plumber’s tape, and a replacement three handle bathtub faucet.
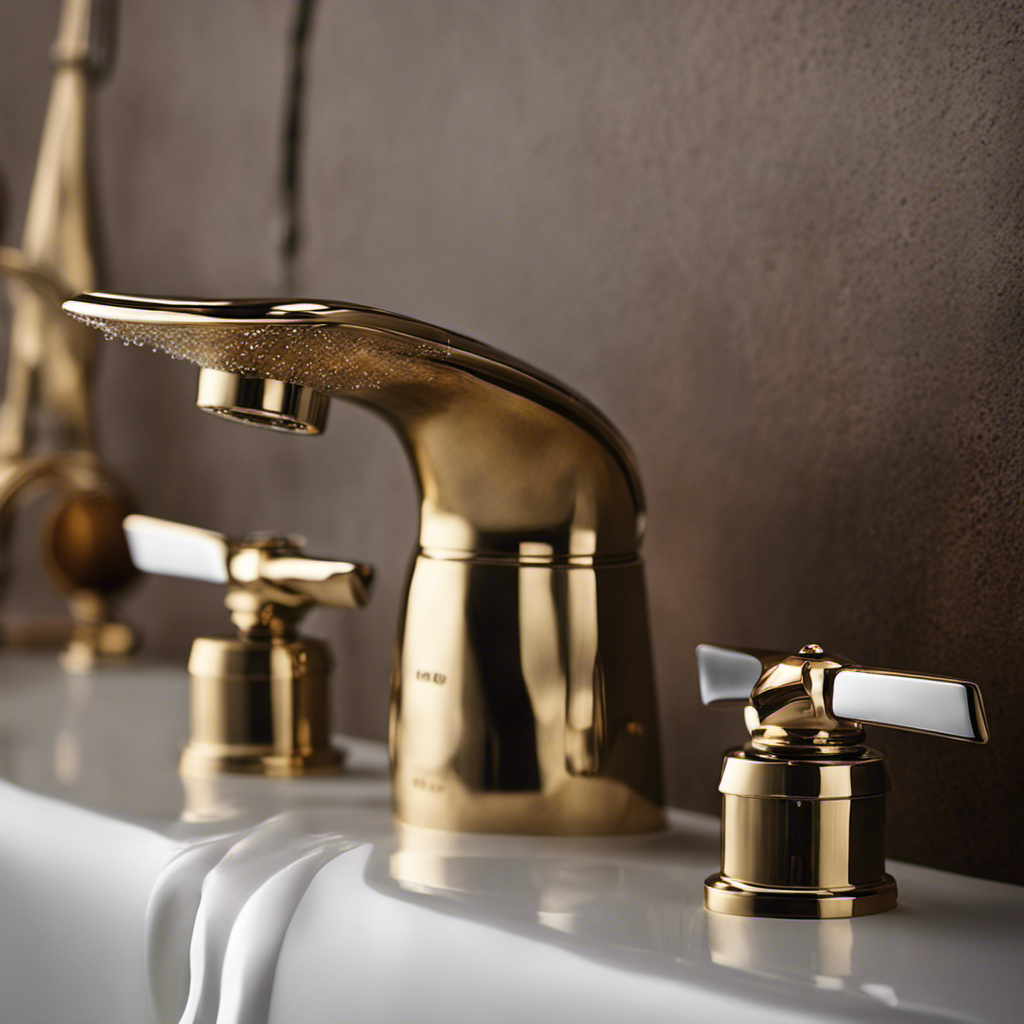
When it comes to choosing the right faucet style, it’s important to consider the overall design of your bathroom. Are you going for a modern, sleek look or a more traditional one? Take into account the finish, such as chrome or brushed nickel, and the functionality of the faucet.
Now, let’s talk about some tips for maintaining a three handle bathtub faucet.
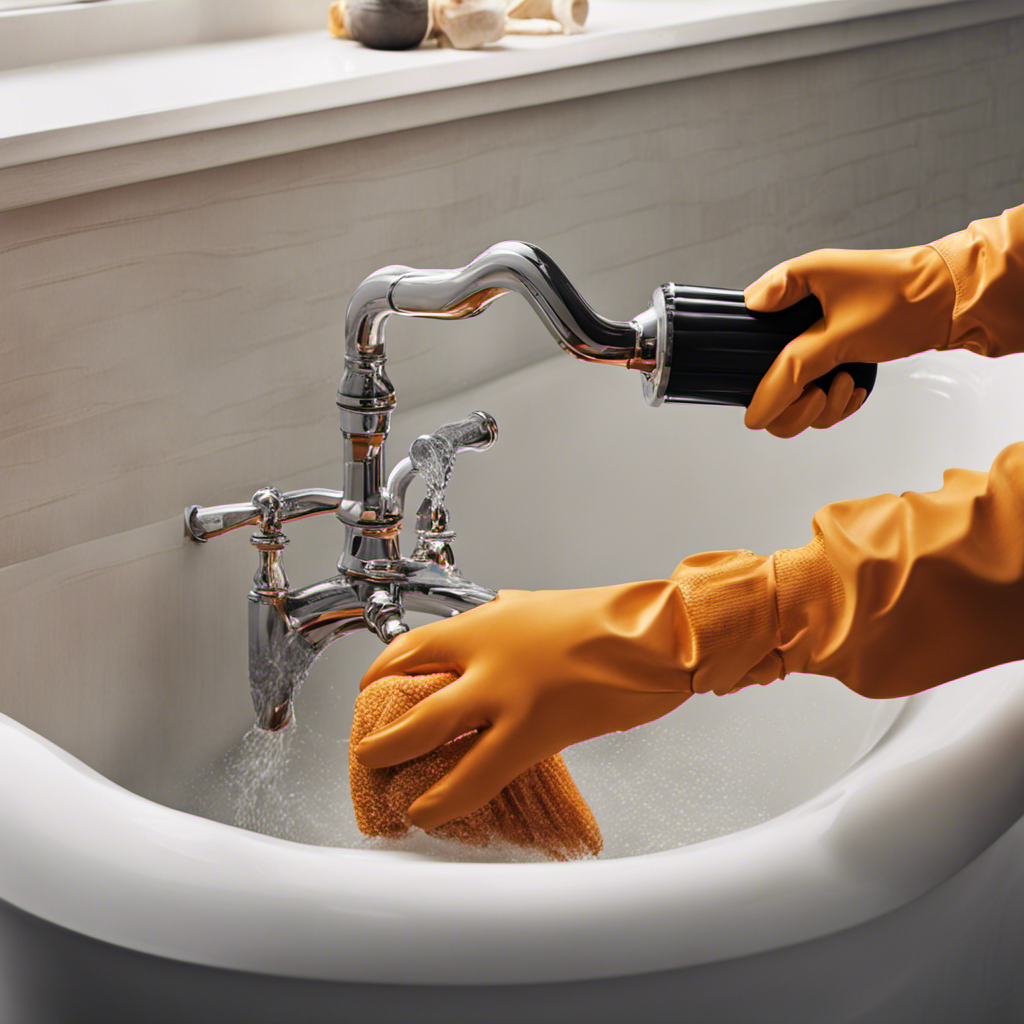
First, regular cleaning is essential to prevent the buildup of mineral deposits and dirt.
Secondly, check for any leaks or drips and fix them promptly to avoid water damage.
Lastly, lubricate the faucet’s components periodically to ensure smooth operation.
Following these tips will help prolong the lifespan of your three handle bathtub faucet.
Shutting Off the Water Supply
To stop the water flow, turn off the main water valve. This is an essential step before replacing a three-handle bathtub faucet.
The main valve is usually located near the water meter or where the water supply enters your home. It is crucial to shut off the water to prevent any accidental leaks or water damage during the faucet replacement process.
Locate the main valve and turn it clockwise until it is fully closed. You may need a wrench to provide extra leverage if the valve is difficult to turn.
Once the main valve is shut off, test the water flow in the bathtub to ensure it has stopped completely. This will provide a safe working environment for replacing the faucet.
Removing the Old Faucet Handles
Once the water supply has been shut off, it’s time to remove the old faucet handles. This step is crucial in the process of replacing a three handle bathtub faucet. Follow these steps to successfully remove the old faucet handles:
-
Locate the decorative cap on top of each handle and gently pry it off using a flathead screwdriver.
-
Once the caps are removed, you will see a screw securing the handle in place. Use a screwdriver to unscrew and remove the screws.
-
With the screws removed, firmly grasp the handle and pull it straight outwards. If the handle is stuck, try using a handle puller tool for added leverage.
-
After removing the handles, take the opportunity to clean them thoroughly. Wipe away any dirt or debris using a mild soap and warm water solution. Rinse and dry the handles before moving on to the next step.
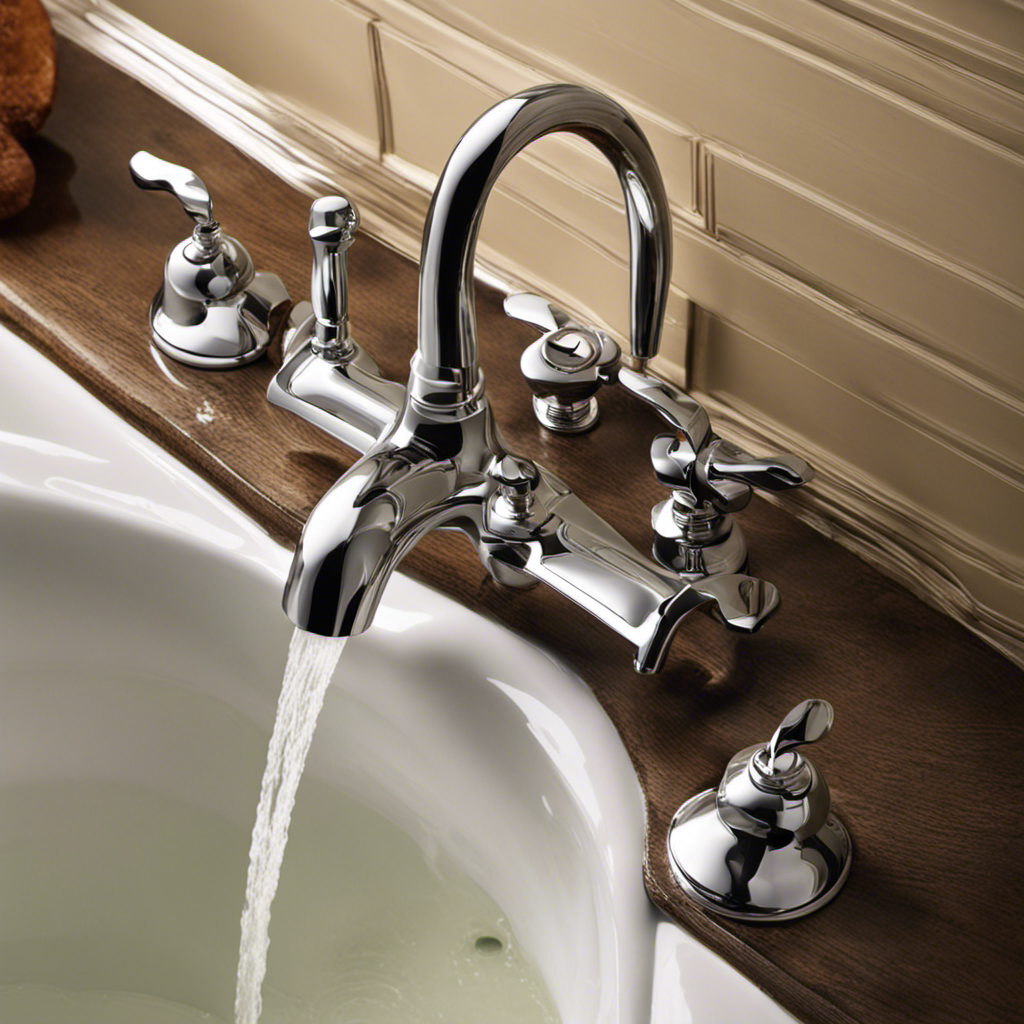
Installing the New Three Handle Bathtub Faucet
Now that the old faucet handles have been removed, it’s time to install the new ones. Proper alignment is crucial for a successful installation, ensuring that the handles operate smoothly and efficiently. To begin, I carefully align the new handles with the corresponding holes in the faucet body. Once aligned, I secure the handles using the provided screws, making sure they are tightened firmly but not overly so. With the handles securely in place, I move on to adjusting the water temperature. This can be done by rotating the middle handle, which controls the hot and cold water flow. By finding the perfect balance between hot and cold, I can achieve the desired water temperature for a comfortable and enjoyable bathing experience.
| Step | Action |
|---|---|
| 1 | Align the new handles with faucet body holes |
| 2 | Secure handles with screws |
| 3 | Adjust water temperature by rotating middle handle |
Testing and Finishing Touches
After completing the installation, it’s important to test the water flow and temperature to ensure everything is working correctly. Here are some testing techniques and common mistakes to avoid:
-
Turn on each handle individually: Start by turning on each handle one at a time to check if the water flow is consistent. If there are any leaks or uneven water pressure, it may indicate a problem with the installation.
-
Adjust the temperature: Test the hot and cold water separately to ensure they are functioning properly. Make sure the temperature can be adjusted smoothly without any sudden changes or fluctuations.
-
Check for leaks: Carefully inspect all connections and joints for any signs of leakage. Even a small drip can lead to bigger problems if left unattended.
-
Test the diverter: If your faucet has a diverter for a showerhead or hand shower, make sure it diverts the water properly without any leaks or loss of pressure.
Conclusion
Well, folks, we’ve reached the end of our journey to replace that pesky three handle bathtub faucet. It may have been a wild ride, but with the right tools and a little know-how, we’ve conquered this plumbing challenge.
Now, go forth and enjoy your new and improved bathing experience. Just remember, when it comes to fixing faucets, you’re the master now.
Stay tuned for more thrilling DIY adventures, where we tackle everything from leaky toilets to clogged drains. Until then, happy plumbing!